2013.5 PEUGEOT 2008 display
[x] Cancel search: displayPage 57 of 336

55
2
Access
Boot
After unlocking the boot or the vehicle using the remote control or the key, press the opening control, then raise the tailgate.
Tailgate release
System for mechanical unlocking of the boot in the event of a central locking malfunction.
Opening Closing
Lower the tailgate using the interior grab handle. If necessary, press down on the tailgate to fully close it.
- when the engine is running , this warning lamp comes on, accompanied by the display of an alert message for a few seconds,
- when the vehicle is moving (speed above 6 mph (10 km/h)), this warning lamp comes on, accompanied by an audible signal and the display of an alert message for a few seconds. Unlocking
Fold back the rear seats to gain access to the lock from inside the boot. Insert a small screwdriver into hole A of the lock to unlock the tailgate.
If the tailgate is not closed correctly:
Page 70 of 336

68
Comfort
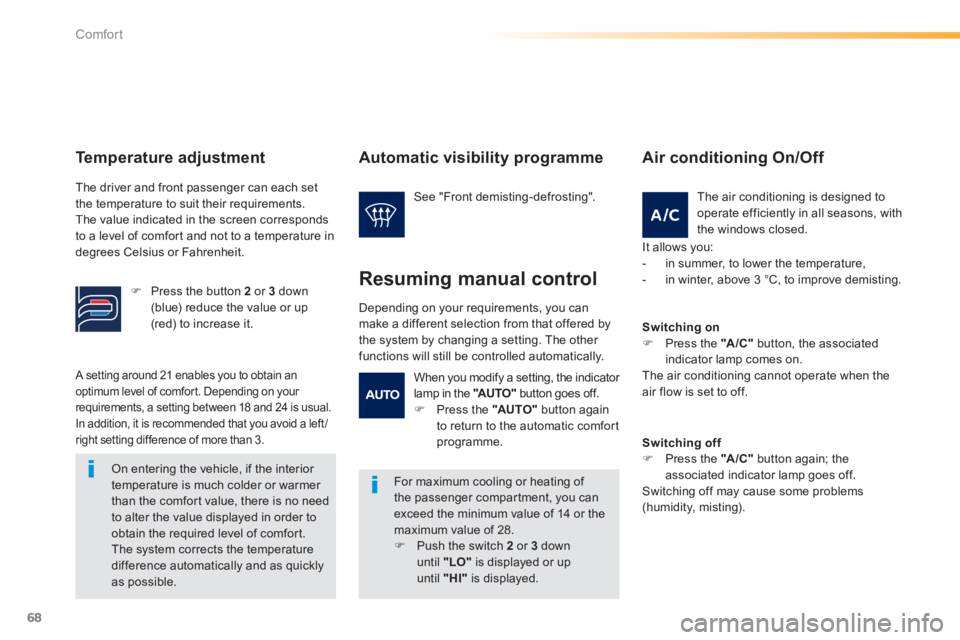
A setting around 21 enables you to obtain an optimum level of comfort. Depending on your requirements, a setting between 18 and 24 is usual. In addition, it is recommended that you avoid a left /right setting difference of more than 3.
On entering the vehicle, if the interior temperature is much colder or warmer than the comfort value, there is no need to alter the value displayed in order to obtain the required level of comfort. The system corrects the temperature difference automatically and as quickly as possible.
Automatic visibility programme
For maximum cooling or heating of the passenger compartment, you can exceed the minimum value of 14 or the maximum value of 28. Push the switch 2 or 3 down until "LO" is displayed or up until "HI" is displayed.
See "Front demisting-defrosting".
Depending on your requirements, you can make a different selection from that offered by the system by changing a setting. The other functions will still be controlled automatically.
Resuming manual control
The air conditioning is designed to operate efficiently in all seasons, with the windows closed.
Air conditioning On/Off
It allows you: - in summer, to lower the temperature, - in winter, above 3 °C, to improve demisting.
Switching on Press the "A/C" button, the associated indicator lamp comes on. The air conditioning cannot operate when the air flow is set to off.
Switching off Press the "A /C " button again; the associated indicator lamp goes off. Switching off may cause some problems (humidity, misting).
When you modify a setting, the indicator lamp in the "AUTO" button goes off. Press the "AUTO" button again to return to the automatic comfort programme.
Temperature adjustment
The driver and front passenger can each set the temperature to suit their requirements. The value indicated in the screen corresponds to a level of comfort and not to a temperature in degrees Celsius or Fahrenheit.
Press the button 2 or 3 down (blue) reduce the value or up (red) to increase it.
Page 71 of 336

69
3
Comfort
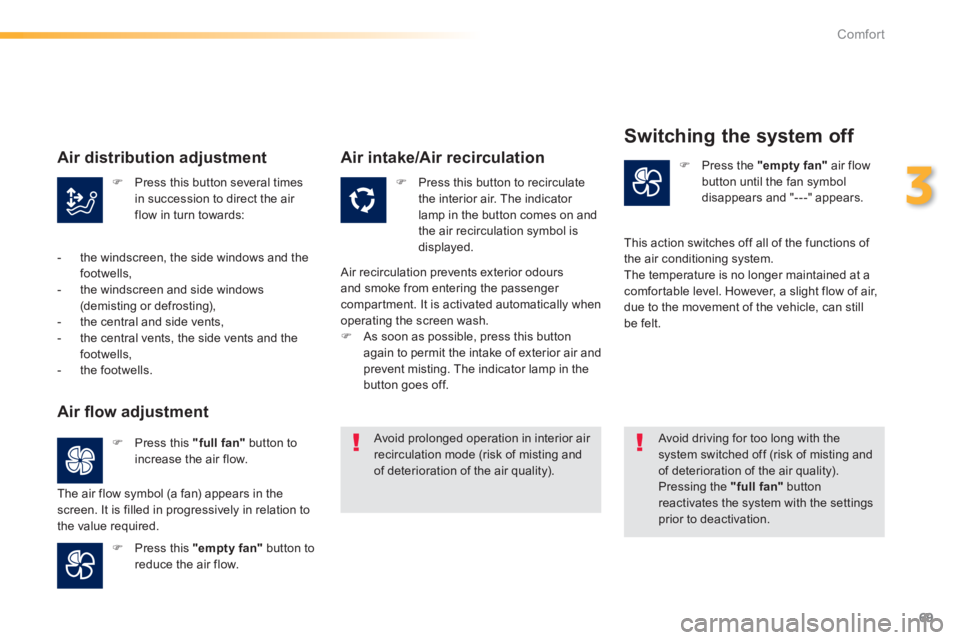
Press this button several times in succession to direct the air flow in turn towards:
Press this button to recirculate the interior air. The indicator lamp in the button comes on and the air recirculation symbol is displayed.
Press the "empty fan" air flow button until the fan symbol disappears and "---" appears.
Press this "full fan" button to increase the air flow.
Press this "empty fan" button to reduce the air flow.
Avoid prolonged operation in interior air recirculation mode (risk of misting and of deterioration of the air quality).
Avoid driving for too long with the system switched off (risk of misting and of deterioration of the air quality). Pressing the "full fan" button reactivates the system with the settings prior to deactivation.
Air distribution adjustment
- the windscreen, the side windows and the footwells, - the windscreen and side windows (demisting or defrosting), - the central and side vents, - the central vents, the side vents and the footwells, - the footwells.
Air fl ow adjustment
The air flow symbol (a fan) appears in the screen. It is filled in progressively in relation to the value required.
Air intake/Air recirculation
Air recirculation prevents exterior odours and smoke from entering the passenger compartment. It is activated automatically when operating the screen wash. As soon as possible, press this button again to permit the intake of exterior air and prevent misting. The indicator lamp in the button goes off.
Switching the system off
This action switches off all of the functions of the air conditioning system. The temperature is no longer maintained at a comfortable level. However, a slight flow of air, due to the movement of the vehicle, can still be felt.
Page 75 of 336

73
3
Comfort
Additional USB port
Depending on version, your vehicle may be fitted with a second USB port, located on the centre console. When in use, the USB por t / Jack auxiliar y socket must not be used to charge a por table device (risk of overload).
USB port / Jack auxiliary socket
This connection box, consisting of a JACK auxiliary socket and a USB port, is located on the centre console. It allows the connection of portable device, such as a digital audio player of the iPod ® type ® type ®
or a USB memory stick. It reads the audio files which are transmitted to your audio system and played via the vehicle's speakers. You can manage these files using the steering mounted controls or the audio system control panel and display them in the instrument panel screen.
When the USB port is used, the portable device charges automatically.
For more information on the use of this
system, refer to the "Audio equipment and telematics" section.
Page 81 of 336

79
4
Driving
Starting - Stopping the engine
Insert the key in the ignition switch. The system recognises the starting code. Turn the key fully towards the dashboard to position 3 (Starting) . When the engine starts, release the key.
Starting the engine
A heavy object (key fob...), attached to the key and weighing down on its shaft in the ignition switch, could cause a malfunction.
Key left in the "Ignition on" position
On opening the driver's door, an alert message is displayed, accompanied by an audible signal, to remind you that the key is still in the ignition switch at position 1 (Stop) .
Immobilise the vehicle. Turn the key fully towards you to position 1 (Stop) . Remove the key from the ignition switch.
Switching the engine off
If the key has been left in the ignition
switch at position 2 (Ignition on) , the ignition will be switched off automatically after one hour. To switch the ignition back on, turn the key to position 1 (Stop) , then back to position 2 (Ignition on) .
Free-wheeling
For safety reasons, do not free-wheel. When free-wheeling, some vehicle functions will no longer be active.
Switching off the engine leads to a loss of braking assistance.
With a manual gearbox , put the gear lever in neutral. With an electronic gearbox , put the gear lever at N . With an automatic gearbox , put the gear lever at P or N .
Page 85 of 336

83
4
Driving
Display in the instrument panel
Gear lever positions
N. Neutral R. Reverse 1, 2, 3, 4, 5. Gears in manuall mode AUTO. This comes on when the automated mode is selected. It switches off on changing to manual mode.
Select position N . Press the brake pedal fully. Start the engine.
Moving off
N flashes in the instrument panel screen if the gear lever is not in position N on starting.
Place your foot on the brakewhen this warning lamp flashes (e.g.: starting the engine).
There is an audible signal on engagement of reverse.
When moving off on a slope, accelerate
gradually while releasing the parking brake.
Select first gear (position M or A ) or A ) or Areverse (position R ) .R ) .R Release the parking brake. Progressively take your foot off the brake pedal, then move off.
AUTO and 1 or R appear in the instrument panel.
Stopping - Moving off on a slope
When stopping on a slope, do not use the accelerator to immobilise the vehicle; apply the parking brake.
Manual mode
AUTO disappears and the gears engaged appear in succession in the instrument panel.
After starting the vehicle, select position Mto change to manual mode.
The gear change commands are only carried out if the engine speed permits. When driving at low speed, on approaching a stop sign or traffic lights for example, the gearbox changes down to first gear automatically.
You must press the brake pedal firmly while starting the engine.
Automated mode
Following use of the sequential mode, select position A to return to the automated mode.
AUTO and the gear engaged appear
in the instrument panel.
The gearbox then operates in auto-adaptive mode, without any action on the part of the driver. It continuously selects the most suitable gear for: - optimisation of fuel consumption, - the driving style, - the road conditions,
- the vehicle load.
N appears in the instrument panel.
Page 86 of 336

84
Driving
Never select neutral N while the vehicle is moving. Only engage reverse gear R when the vehicle is immobilised, with your foot on the brake pedal. In all cases, you must apply the parking brake to immobilise the vehicle.
"Auto sequential" mode
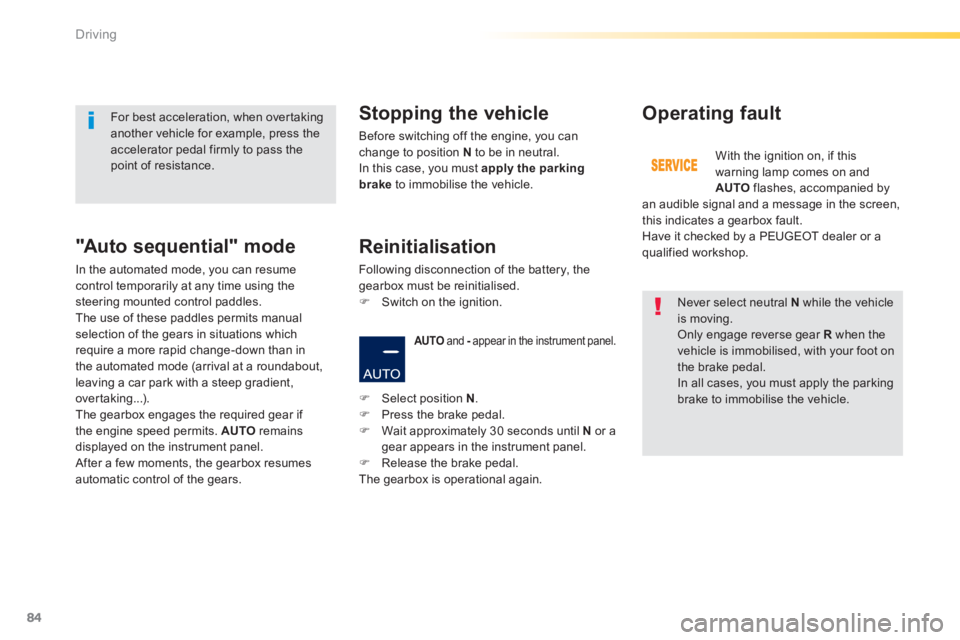
In the automated mode, you can resume control temporarily at any time using the steering mounted control paddles. The use of these paddles permits manual selection of the gears in situations which require a more rapid change-down than in the automated mode (arrival at a roundabout, leaving a car park with a steep gradient, over taking...). The gearbox engages the required gear if the engine speed permits. AUTO remains displayed on the instrument panel. After a few moments, the gearbox resumes automatic control of the gears.
Stopping the vehicle
Before switching off the engine, you can change to position N to be in neutral. In this case, you must apply the parking brake to immobilise the vehicle.
AUTO and - appear in the instrument panel. - appear in the instrument panel. -
Operating fault
With the ignition on, if this warning lamp comes on and AUTO flashes, accompanied by an audible signal and a message in the screen, this indicates a gearbox fault. Have it checked by a PEUGEOT dealer or a qualified workshop.
For best acceleration, when overtaking another vehicle for example, press the accelerator pedal firmly to pass the point of resistance.
Select position N . Press the brake pedal. Wait approximately 30 seconds until N or a gear appears in the instrument panel. Release the brake pedal. The gearbox is operational again.
Reinitialisation
Following disconnection of the battery, the gearbox must be reinitialised. Switch on the ignition.
Page 88 of 336

86
Driving
Engagement of reverse gear is accompanied by an audible signal.
N flashes in the instrument panel, accompanied by an audible signal and a message in the instrument panel screen, if the gear lever is not in position N on starting.
For optimum acceleration, for example when overtaking another vehicle, press the accelerator pedal firmly past the point of resistance.
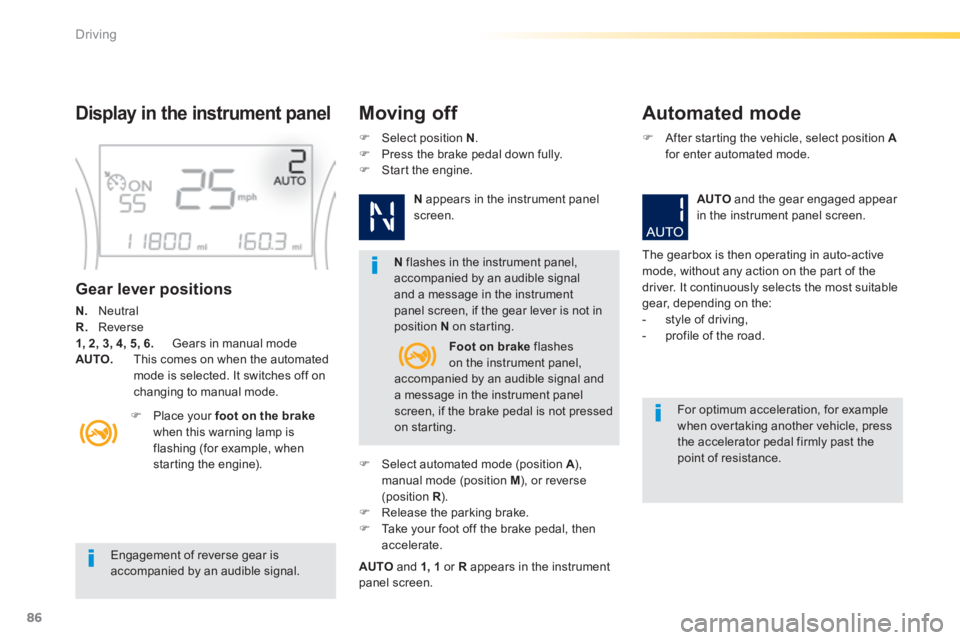
Display in the instrument panel Moving off Automated mode
Gear lever positions
N. Neutral R. Reverse 1, 2, 3, 4, 5, 6. Gears in manual mode AUTO. This comes on when the automated mode is selected. It switches off on changing to manual mode.
Place your foot on the brakewhen this warning lamp is flashing (for example, when starting the engine).
Select position N . Press the brake pedal down fully. Start the engine.
N appears in the instrument panel screen.
Select automated mode (position A ), A ), Amanual mode (position M ), or reverse (position R ). R ). R Release the parking brake. Take your foot off the brake pedal, then accelerate.
AUTO and 1, 1 or R appears in the instrument panel screen.
After starting the vehicle, select position Afor enter automated mode.
AUTO and the gear engaged appear in the instrument panel screen.
The gearbox is then operating in auto-active mode, without any action on the part of the driver. It continuously selects the most suitable gear, depending on the: - style of driving, - profile of the road. Foot on brake flashes on the instrument panel, accompanied by an audible signal and a message in the instrument panel screen, if the brake pedal is not pressed on starting.