Page 17 of 172
1-7
1
YAMAHA MOTOR CO., LTD.
2500 SHINGAI, IWATA, JAPAN
******
*** kW
*** kg
****1
2
34 This pictogram shows trailer Hitch Tow
weight limit. (Combined weight of the trailer
and all cargo in the trailer.)
Overloading can cause loss of control.
Loss of control can result in severe injury or
death.
This pictogram shows trailer Hitch Tongue
weight limit. (Weight on the trailer tongue.)
Overloading can cause loss of control.
Loss of control can result in severe injury or
death.
1
2
3
4Year of construction
Model Name
Max. Power
Mass In Running Order
U1HP60E0.book Page 7 Monday, April 11, 2011 7:56 PM
Page 20 of 172

1-10
1
37S-F151F-00
Recommended
Minimum: FRONT
REAR
: FRONT
REAR: 35 kPa (5.0 psi)
: 30 kPa (4.4 psi)
: 32 kPa (4.6 psi)
: 27 kPa (4.0. psi)Never set tire pressure below minimum. It could cause
the tire to dislodge from the rim.Cargo or a trailer can affect stability and handling.
Read owner’s manual before loading or towing.
When riding with cargo or towing a trailer : Reduce speed
and allow more room to stop. Avoid hills and rough terrain.
Maximum Vehicle Load : 220 kg, (485 lbs)
Includes weight of operator, cargo and accessories
(and if applicable, trailer tongue weight).
WARNING
1HP-F816M-00
YAMAHAIMPROPER TIRE PRESSURE OR OVERLOADING CAN
CAUSE LOSS OF CONTROL.
LOSS OF CONTROL CAN RESULT IN SEVERE
INJURY OR DEATH.OPERATING TIRE PRESSURE : Set with tires coldLOADING/TRAILER TOWING
WARNINGUNDER
16
Operating this ATV if you are under
the age of 16 increases your chance
of severe injury or death.
NEVER operate this ATV if you are
under age 16.
1P0-F816L-00
YAMAHA
67
8
U1HP60E0.book Page 10 Monday, April 11, 2011 7:56 PM
Page 33 of 172

4-6
4 Clock mode
Pushing the “CLOCK” button switches the display
between the clock mode “CLOCK” and the hour
meter mode “HOUR” in the following order:
CLOCK → HOUR → CLOCK
To set the clock
1. Set the display to the clock mode.
2. Push the “SELECT” button and “RESET” but-
ton together for at least three seconds.
3. When the hour digits start flashing, push the
“RESET” button to set the hours.
4. Push the “SELECT” button, and the minute
digits will start flashing.
5. Push the “RESET” button to set the minutes.
6. Push the “SELECT” button and then release it
to start the clock.
Fuel meter
The fuel meter indicates the amount of fuel in the
fuel tank. The display segments of the fuel meter
disappear from “F” (full) towards “E” (empty) as the
fuel level decreases. When the “E” segment disap-
pears and the fuel level warning indicator flashes,
refuel as soon as possible.
TIPThis fuel meter is equipped with a self-diagnosis
system. If the electrical circuit is not working cor-
rectly, all the display segments and fuel level warn-
ing indicator will start flashing. If this occurs, have
a Yamaha dealer check the electrical circuit.1. Fuel level warning indicator
2. Fuel meter
3.“E” segment
U1HP60E0.book Page 6 Monday, April 11, 2011 7:56 PM
Page 41 of 172

4-14
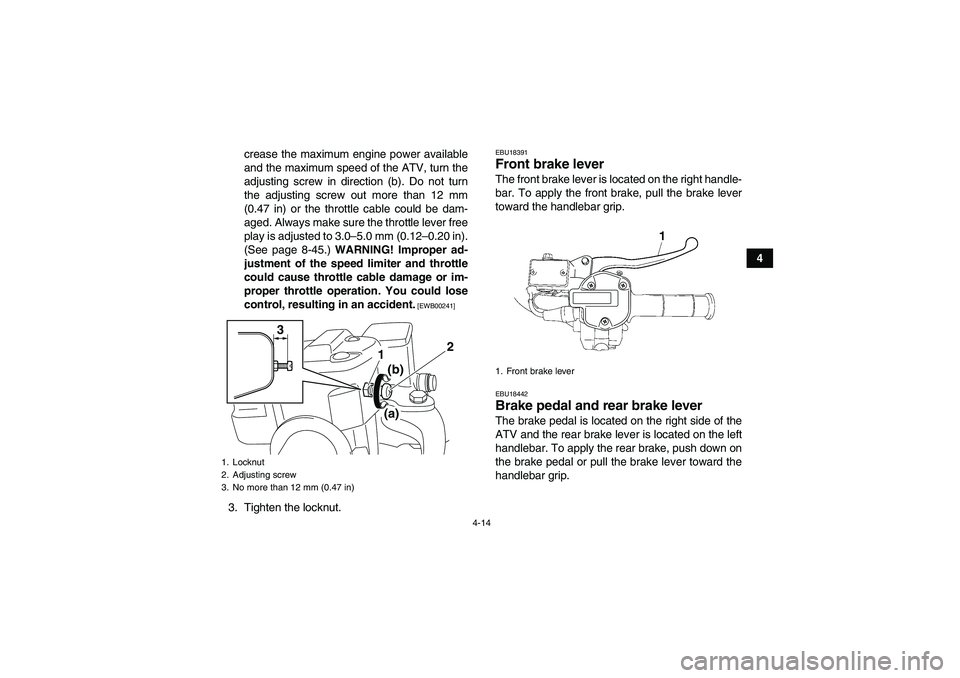
4 crease the maximum engine power available
and the maximum speed of the ATV, turn the
adjusting screw in direction (b). Do not turn
the adjusting screw out more than 12 mm
(0.47 in) or the throttle cable could be dam-
aged. Always make sure the throttle lever free
play is adjusted to 3.0–5.0 mm (0.12–0.20 in).
(See page 8-45.) WARNING! Improper ad-
justment of the speed limiter and throttle
could cause throttle cable damage or im-
proper throttle operation. You could lose
control, resulting in an accident.
[EWB00241]
3. Tighten the locknut.
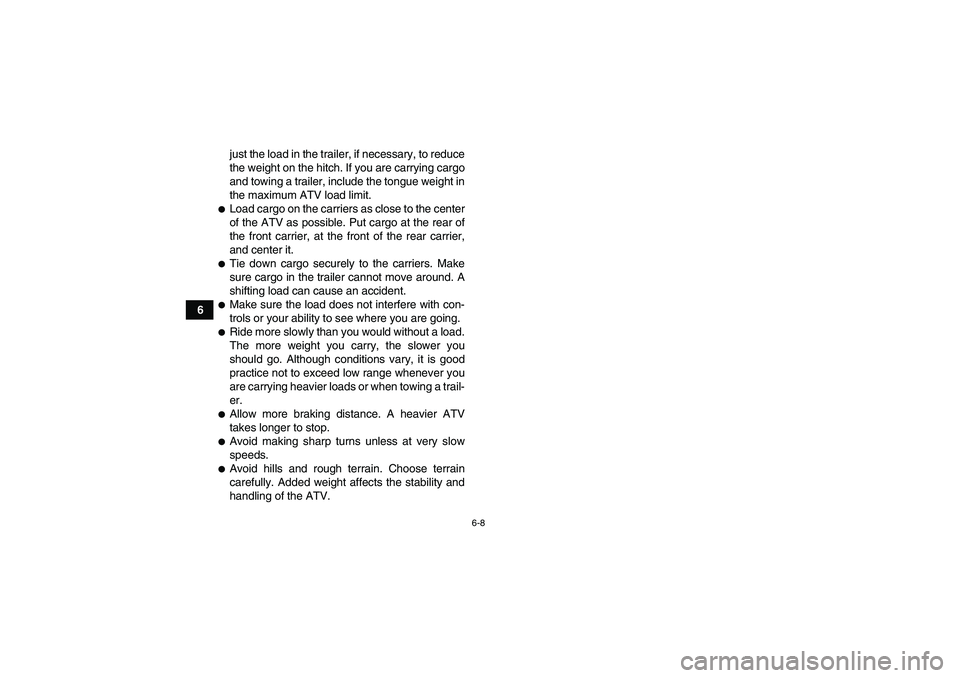
EBU18391Front brake lever The front brake lever is located on the right handle-
bar. To apply the front brake, pull the brake lever
toward the handlebar grip.EBU18442Brake pedal and rear brake lever The brake pedal is located on the right side of the
ATV and the rear brake lever is located on the left
handlebar. To apply the rear brake, push down on
the brake pedal or pull the brake lever toward the
handlebar grip.
1. Locknut
2. Adjusting screw
3. No more than 12 mm (0.47 in)
2
1 3
(b)
(a)
1. Front brake lever
U1HP60E0.book Page 14 Monday, April 11, 2011 7:56 PM
Page 65 of 172

6-7
6 bulky object attached to the handlebars which
could make steering difficult, an accessory that
limits your ability to move around on the seat, or
one that limits your view.
�Use extra caution when riding an ATV with ac-
cessories. The ATV may handle differently than
it does without accessories.EBU27571Loading
WARNING
EWB00820Never exceed the stated load capacity for this
ATV. Overloading this ATV or carrying or tow-
ing cargo improperly could cause changes in
ATV handling which could lead to an accident.
Cargo should be properly distributed and se-
curely attached. Reduce speed when carrying
cargo or pulling a trailer. Allow greater dis-
tance for braking.Cargo or a trailer can change the stability and han-
dling of an ATV.
You must use common sense and good judgment
when carrying cargo or towing a trailer. Keep the
following points in mind:
�Never exceed the weight limits shown. An over-
loaded ATV can be unstable.�Do not exceed the maximum tongue weight.
You can measure tongue weight with a bath-
room scale. Put the tongue of the loaded trailer
on the scale with the tongue at hitch height. Ad-MAXIMUM LOADING LIMIT
ATV loading limit (total weight of rider, cargo,
accessories, and tongue):
220.0 kg (485 lb)
Fron t c a rr ie r :
45.0 kg (99 lb)
Rear carrier:
85.0 kg (187 lb)
Front storage compartment:
0.5 kg (1 lb)
Rear storage compar tment:
2.0 kg (4 lb)
Trailer hitch:
Pulling load (total weight of trailer and car-
go):
5880 N (600 kgf, 1322 lbf)
Tongue weight (ver tical weight on trailer
hitch point):
147 N (15 kgf, 33 lbf)
U1HP60E0.book Page 7 Monday, April 11, 2011 7:56 PM
Page 66 of 172

6-8
6just the load in the trailer, if necessary, to reduce
the weight on the hitch. If you are carrying cargo
and towing a trailer, include the tongue weight in
the maximum ATV load limit.
�Load cargo on the carriers as close to the center
of the ATV as possible. Put cargo at the rear of
the front carrier, at the front of the rear carrier,
and center it.�Tie down cargo securely to the carriers. Make
sure cargo in the trailer cannot move around. A
shifting load can cause an accident.�Make sure the load does not interfere with con-
trols or your ability to see where you are going.�Ride more slowly than you would without a load.
The more weight you carry, the slower you
should go. Although conditions vary, it is good
practice not to exceed low range whenever you
are carrying heavier loads or when towing a trail-
er.�Allow more braking distance. A heavier ATV
takes longer to stop.�Avoid making sharp turns unless at very slow
speeds.�Avoid hills and rough terrain. Choose terrain
carefully. Added weight affects the stability and
handling of the ATV.
U1HP60E0.book Page 8 Monday, April 11, 2011 7:56 PM
Page 72 of 172

7-6
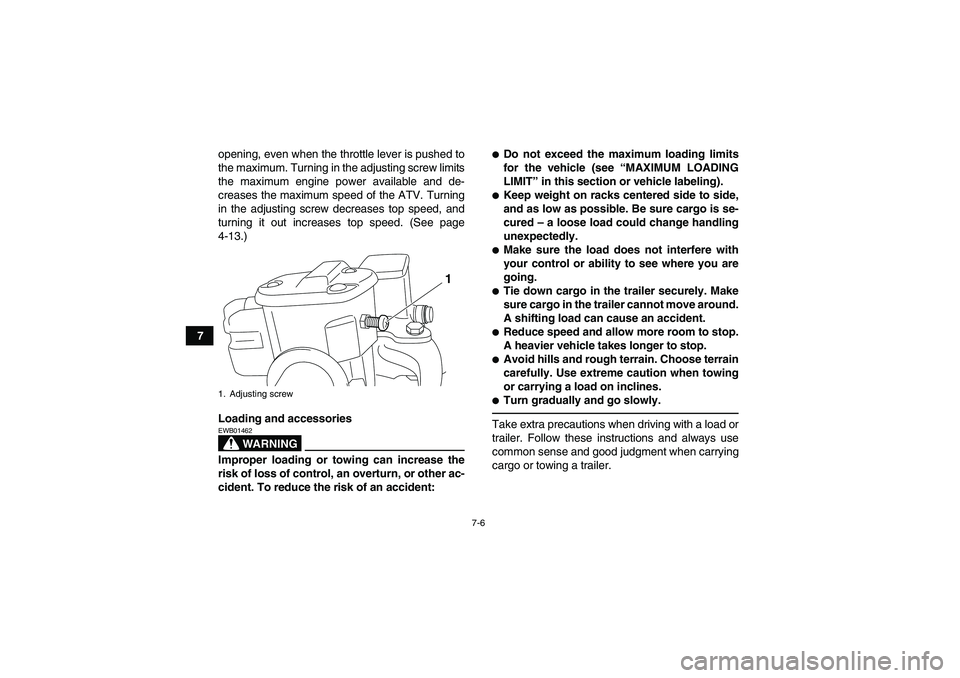
7opening, even when the throttle lever is pushed to
the maximum. Turning in the adjusting screw limits
the maximum engine power available and de-
creases the maximum speed of the ATV. Turning
in the adjusting screw decreases top speed, and
turning it out increases top speed. (See page
4-13.)
Loading and accessories
WARNING
EWB01462Improper loading or towing can increase the
risk of loss of control, an overturn, or other ac-
cident. To reduce the risk of an accident:
�Do not exceed the maximum loading limits
for the vehicle (see “MAXIMUM LOADING
LIMIT” in this section or vehicle labeling).�Keep weight on racks centered side to side,
and as low as possible. Be sure cargo is se-
cured – a loose load could change handling
unexpectedly.�Make sure the load does not interfere with
your control or ability to see where you are
going.�Tie down cargo in the trailer securely. Make
sure cargo in the trailer cannot move around.
A shifting load can cause an accident.�Reduce speed and allow more room to stop.
A heavier vehicle takes longer to stop.�Avoid hills and rough terrain. Choose terrain
carefully. Use extreme caution when towing
or carrying a load on inclines.�Turn gradually and go slowly.Take extra precautions when driving with a load or
trailer. Follow these instructions and always use
common sense and good judgment when carrying
cargo or towing a trailer.
1. Adjusting screw
1
U1HP60E0.book Page 6 Monday, April 11, 2011 7:56 PM
Page 73 of 172

7-7
7
Drive more slowly than you would without a load.
The more weight you carry, the slower you should
go. Although conditions vary, it is good practice to
drive slowly (shift into first gear or low drive if avail-
able on this model) whenever you are carrying
heavier loads or when towing a trailer.During operation
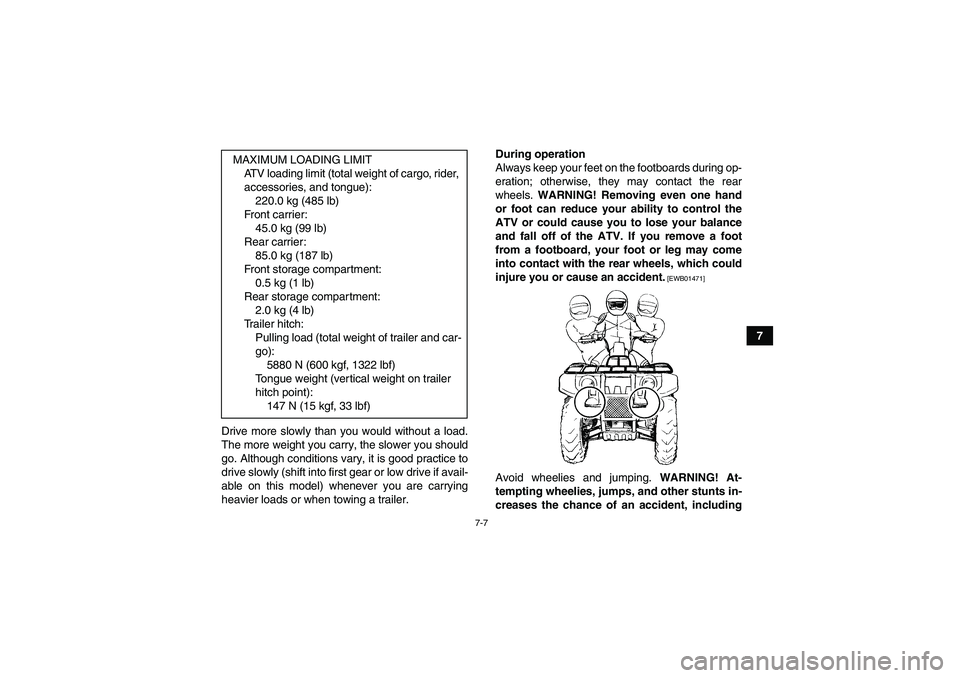
Always keep your feet on the footboards during op-
eration; otherwise, they may contact the rear
wheels. WARNING! Removing even one hand
or foot can reduce your ability to control the
ATV or could cause you to lose your balance
and fall off of the ATV. If you remove a foot
from a footboard, your foot or leg may come
into contact with the rear wheels, which could
injure you or cause an accident.
[EWB01471]
Avoid wheelies and jumping. WARNING! At-
tempting wheelies, jumps, and other stunts in-
creases the chance of an accident, including MAXIMUM LOADING LIMIT
ATV loading limit (total weight of cargo, rider,
accessories, and tongue):
220.0 kg (485 lb)
Fron t c a rr ie r :
45.0 kg (99 lb)
Rear carrier:
85.0 kg (187 lb)
Front storage compartment:
0.5 kg (1 lb)
Rear storage compar tment:
2.0 kg (4 lb)
Trailer hitch:
Pulling load (total weight of trailer and car-
go):
5880 N (600 kgf, 1322 lbf)
Tongue weight (ver tical weight on trailer
hitch point):
147 N (15 kgf, 33 lbf)
U1HP60E0.book Page 7 Monday, April 11, 2011 7:56 PM