Page 2 of 106

EAU50920
Read this manual carefully before operating this vehicle. This manual should stay with this vehicle if it is sold.
General manager of quality assurance div.
Date of issue: 1 Aug. 2002 Place of issue: Shizuoka, Japan
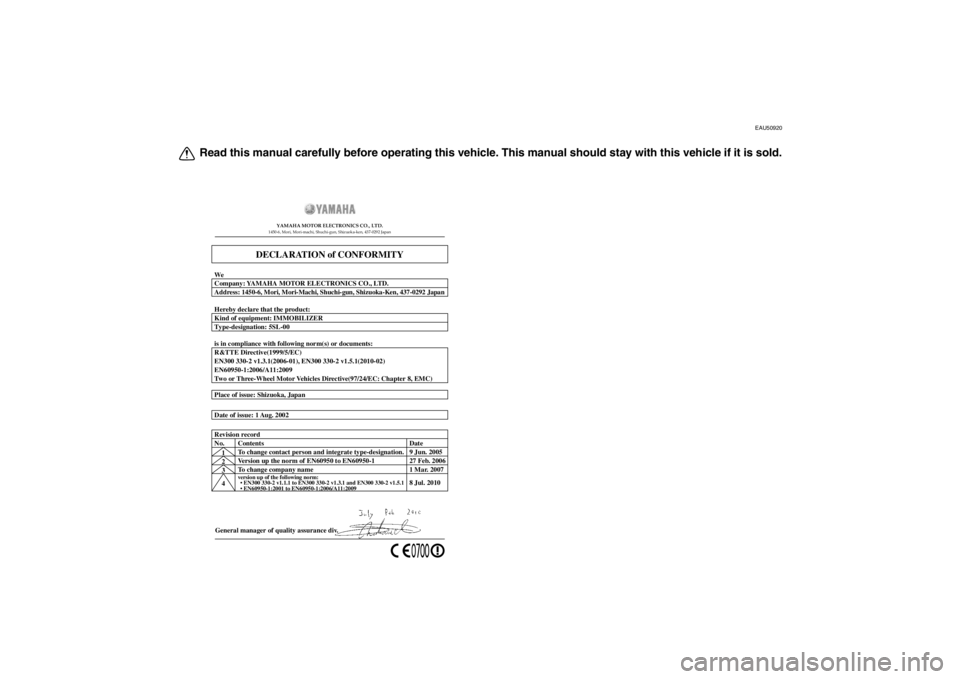
DECLARATION of CONFORMITY
YAMAHA MOTOR ELECTRONICS CO., LTD.1450-6, Mori, Mori-machi, Shuchi-gun, Shizuoka-ken, 437-0292 Japan
Company: YAMAHA MOTOR ELECTRONICS CO., LTD. We
Address: 1450-6, Mori, Mori-Machi, Shuchi-gun, Shizuoka-Ken, 437-0292 Japan
Kind of equipment: IMMOBILIZER Hereby declare that the product:
Type-designation: 5SL-00
is in compliance with following norm(s) or documents:
R&TTE Directive(1999/5/EC)
EN300 330-2 v1.3.1(2006-01), EN300 330-2 v1.5.1(2010-02)
EN60950-1:2006/A11:2009
Two or Three-Wheel Motor Vehicles Directive(97/24/EC: Chapter 8, EMC)
1
2
3
4 Version up the norm of EN60950 to EN60950-1
To change company name
version up of the following norm:
• EN300 330-2 v1.1.1 to EN300 330-2 v1.3.1 and EN300 330-2 v1.5.1
27 Feb. 2006
1 Mar. 2007
8 Jul. 2010
Revision record
No. Contents
To change contact person and integrate type-designation. Date
9 Jun. 2005
U1CAE1E0.book Page 1 Tuesday, September 13, 2011 5:02 PM
Page 70 of 106

PERIODIC MAINTENANCE AND ADJUSTMENT
6-20
6
●
Use only the tire valves and
valve cores listed below to
avoid tire deflation during a
high-speed ride.
After extensive tests, only the tires list-
ed below have been approved for this
model by Yamaha Motor Co., Ltd.
WARNING
EWA10600
This motorcycle is fitted with super-
high-speed tires. Note the following
points in order to make the most ef-
ficient use of these tires.
●
Use only the specified replace-
ment tires. Other tires may run
the danger of bursting at super
high speeds.
●
Brand-new tires can have a rela-
tively poor grip on certain road
surfaces until they have been
“broken in”. Therefore, it is ad-
visable before doing any high-
speed riding to ride conserva-
tively for approximately 100 km
(60 mi) after installing a new tire.
●
The tires must be warmed up
before a high-speed run.
●
Always adjust the tire air pres-
sure according to the operating
conditions.
EAU21962
Cast wheels To maximize the performance, durabil-
ity, and safe operation of your vehicle,
note the following points regarding the
specified wheels.●
The wheel rims should be checked
for cracks, bends, warpage or oth-
er damage before each ride. If any
damage is found, have a Yamaha
dealer replace the wheel. Do not
attempt even the smallest repair to
the wheel. A deformed or cracked
wheel must be replaced.
●
The wheel should be balanced
whenever either the tire or wheel
has been changed or replaced. An
unbalanced wheel can result in
poor performance, adverse han-
dling characteristics, and a short-
ened tire life.
Front tire:Size:120/70 ZR17M/C (58W)
Manufacturer/model: DUNLOP/D221FA
Rear tire:
Size:190/50 ZR17M/C (73W)
Manufacturer/model:
DUNLOP/D221G
FRONT and REAR: Tire air valve:
TR412
Va l ve c o r e : #9100 (original)
U1CAE1E0.book Page 20 Tuesday, September 13, 2011 5:02 PM
Page 75 of 106

PERIODIC MAINTENANCE AND ADJUSTMENT
6-25
6
EAU22731
Changing the brake fluid Have a Yamaha dealer change the
brake fluid at the intervals specified in
the TIP after the periodic maintenance
and lubrication chart. In addition, have
the oil seals of the master cylinders and
calipers as well as the brake hoses re-
placed at the intervals listed below or
whenever they are damaged or leak-
ing.●
Oil seals: Replace every two
years.
●
Brake hoses: Replace every four
years.
EAU22760
Drive chain slack The drive chain slack should be
checked before each ride and adjusted
if necessary.
EAU22794
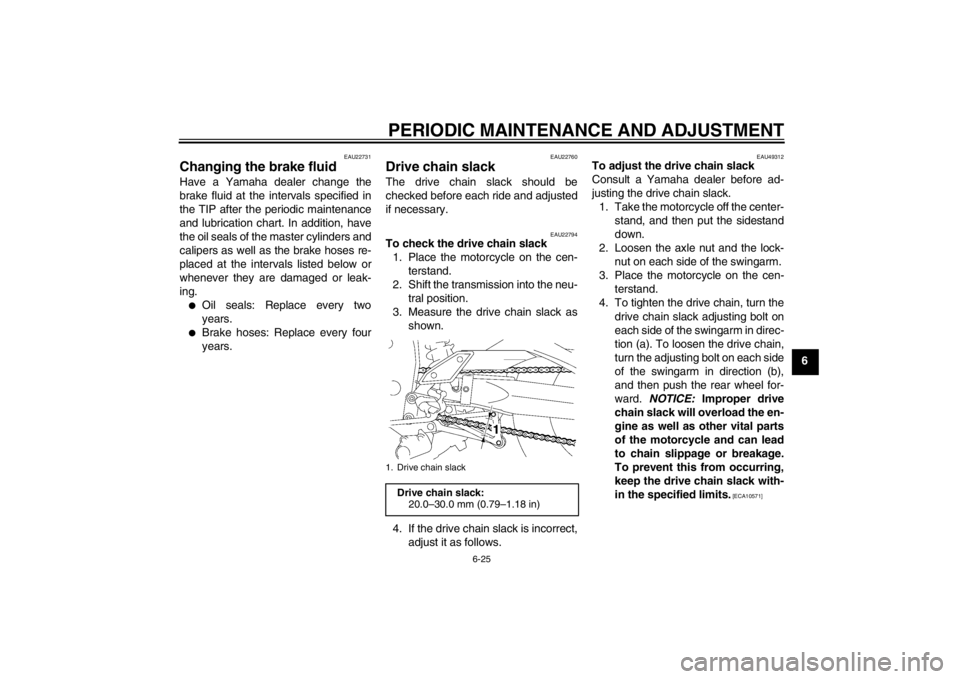
To check the drive chain slack1. Place the motorcycle on the cen- terstand.
2. Shift the transmission into the neu- tral position.
3. Measure the drive chain slack as shown.
4. If the drive chain slack is incorrect, adjust it as follows.
EAU49312
To adjust the drive chain slack
Consult a Yamaha dealer before ad-
justing the drive chain slack.1. Take the motorcycle off the center- stand, and then put the sidestand
down.
2. Loosen the axle nut and the lock- nut on each side of the swingarm.
3. Place the motorcycle on the cen- terstand.
4. To tighten the drive chain, turn the drive chain slack adjusting bolt on
each side of the swingarm in direc-
tion (a). To loosen the drive chain,
turn the adjusting bolt on each side
of the swingarm in direction (b),
and then push the rear wheel for-
ward. NOTICE: Improper drive
chain slack will overload the en-
gine as well as other vital parts
of the motorcycle and can lead
to chain slippage or breakage.
To prevent this from occurring,
keep the drive chain slack with-
in the specified limits.
[ECA10571]
1. Drive chain slack
Drive chain slack: 20.0–30.0 mm (0.79–1.18 in)
U1CAE1E0.book Page 25 Tuesday, September 13, 2011 5:02 PM