2012 VOLKSWAGEN TRANSPORTER ECO mode
[x] Cancel search: ECO modePage 146 of 486
m If the vehicle battery charge level is low, the W electrical connection to the trailer will be in-terrupted automatically.
Loading the trailer
ill1 First read and observe the introductory L-W.! information and safety warnings & on page 139.
Trailer weight and drawbar load
The trailer weight is the weight that the vehicle can pull &. The drawbar load is the weight that the towing bracket exerts on the ball coupling vertically from above.
The figures for trailer weights and draw bar weights that are given on the data plate of the towing bracket are for certification purposes only. The cor-rect values for your specific model, which may be lower than these figures, are given in the vehicle registration documents. All data in the official vehi-cle documents take precedence over these data.
In the interest of road safety, Volkswagen Commer-cial Vehicles recommends that you always trans-port the maximum drawbar load. The response of the trailer on the road will be poor if the drawbar load is too small.
The drawbar load increases the weight on the rear axle and reduces the maximum load level as a re-sult.
Gross combination weight rating
The combination weight is made up of the actual weight of the loaded vehicle and of the loaded trail-er.
Loading the trailer
The weight of the load should be distributed even-ly. The maximum permitted drawbar load should be utilised. Do not place the load only at the front or the rear of the trailer:
Towing a trailer
ill1 First read and observe the introductory L-W.! information and safety warnings & on page 139.
146 Before the Journey
m When the engine is running, electrical con-w sumers in the trailer are supplied with voltage via the electrical connection (pin 9 and pin 10 of the trailer socket).
• Secure all loads on the trailer properly.
Tyre pressure
Follow the trailer manufacturer's recommendations concerning the tyre pressure for the trailer tyres.
When towing a trailer, inflate the wheels on the towing vehicle with the maximum permitted tyre pressure 367.
A WARNING
Accidents and serious injuries can occur if you exceed the vehicle's maximum permitted gross axle weight rating, drawbar load, gross vehicle weight rating or gross combination weight rating.
• Never exceed the specified values .
• Never let the actual weights at the front and rear axles exceed the gross axle weight ratings. Never exceed the permissible gross vehicle weight for the vehicle with weight at the front and rear of the vehicle.
A wARNING
Loads that may slide can severely Impair sta-bility and driving safety, which can cause ac-cidents and severe injuries.
• Always load trailers correctly .
• Always secure loads using suitable and undamaged securing straps.
Headlight adjustment
Towing a trailer can raise the front end of the vehi-cle enough for the dipped beam to blind other road users. Use the headlight range control to lower the
Page 152 of 486
Cooling the stowage compartment
There is a vent in the rear panel 117 Q). If the air conditioning is switched on, cooled air can be directed into the compartment. Turn the vents to open and close them.
A WARNING
If the stowage compartment on the front pas-senger side is left open, this can Increase the risk of serious injury In the event of an acci-dent or during sudden braking or driving ma-noeuvres.
Other stowage compartments
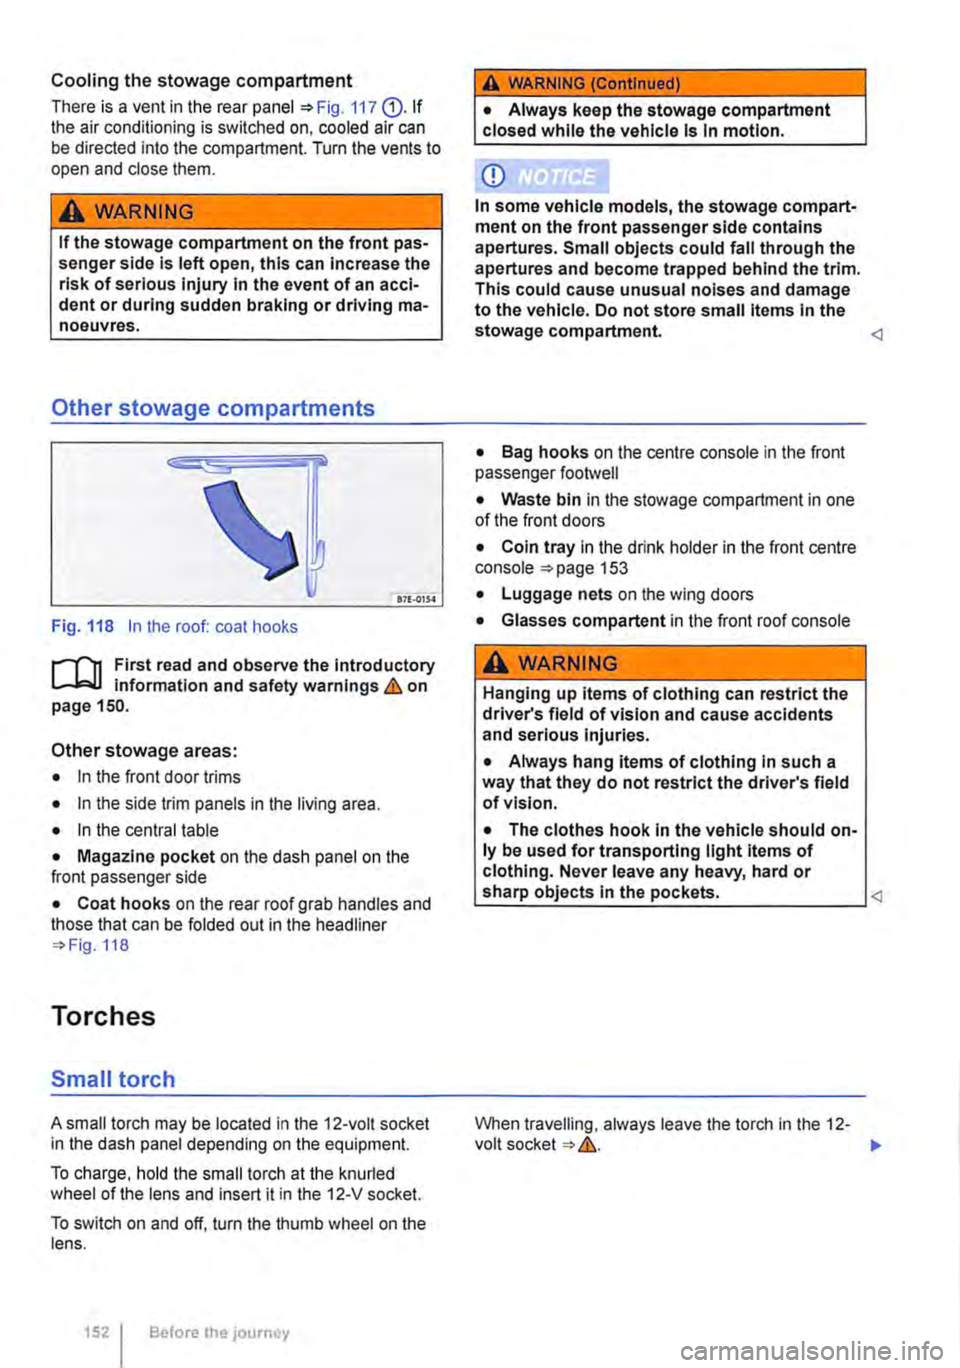
Fig. 118 In the roof: coat hooks
r-T'n First read and observe the Introductory 1...-J,:.lJ information and safety warnings&. on page 150.
Other stowage areas:
• In the front door trims
• In the side trim panels in the living area.
• In the central table
• Magazine pocket on the dash panel on the front passenger side
• Coat hooks on the rear roof grab handles and those that can be folded out in the headliner 118
Torches
Small torch
A small torch may be located in the 12-volt socket in the dash panel depending on the equipment.
To charge, hold the small torch at the knurled wheel of the lens and insert it in the 12-V socket.
To switch on and off, turn the thumb wheel on the lens.
1521 Before the journey
A WARNING (Continued)
• Always keep the stowage compartment closed while the vehicle Is In motion.
CD
In some vehicle models, the stowage compart-ment on the front passenger side contains apertures. Small objects could fall through the apertures and become trapped behind the trim. This could cause unusual noises and damage to the vehicle. Do not store small Items In the stowage compartment.
• Bag hooks on the centre console in the front passenger footwell
• Waste bin in the stowage compartment in one of the front doors
• Coin tray in the drink holder in the front centre console 153
• Luggage nets on the wing doors
• Glasses compartent in the front roof console
A WARNING
Hanging up items of clothing can restrict the driver's field of vision and cause accidents and serious Injuries.
• Always hang items of clothing In such a way that they do not restrict the driver's field of vision.
• The clothes hook In the vehicle should on-ly be used for transporting light Items of clothing. Never leave any heavy, hard or
When travelling, always leave the torch in the 12-volt socket &.. ..,.
Page 187 of 486
Switching on the refrigerator box
• Slide the cover open =>Fig. 149 (D.
• Move switch =>Fig. 150 CD to I position. When the refrigerator box is switched on, the lamp in the box lights up.
• Fill the refrigerator box and then close the lid =>&.
Switching off the refrigerator box
• Slide the cover open =>Fig. 149 (D.
• Move switch =>Fig. 150 CD to 0 position. The in-dicator lamp in the refrigerator box goes out.
• Close the cover.
Notes on cleaning and care
Clean the refrigerator box thoroughly before using it for the first time, if it is dirty or if it has not been used for a long time.
To avoid stains and mildew in the refrigerator box if it remains unused for a long time, leave the cover slightly open.
• Use water and normal household cleaning fluid to clean the refrigerator box.
• The refrigerator box should be defrosted regu-larly to prevent layers of ice forming. To do this, switch the refrigerator box off and leave the cover open. Do not use an additional heat source to de-frost the refrigerator more quickly. This could dam-age the refrigerator =>
If the refrigerator box is left on when the engine is not running, the additional battery runs down. The refrigerator box is therefore fitted with a battery monitor. The battery monitor will switch the refriger-ated box off if the charge of the additional battery becomes too low. The battery monitor will switch the refrigerator box on again as soon as the addi-tional battery has reached a suitable charge level, for example, after a long journey.
Rear-seat telephony, Business
a:n Introduction
This chapter contains information on the following subjects:
Components . . . . . . . . . . . . . . . . . . . . . . . . . . . . 189
Pairing a mobile telephone before using it for the first time . . . . . . . . . 190
Functional description ........... . 190
A WARNING
Objects that are not secured, or are secured incorrectly, can cause serious injuries in the event of a sudden driving or braking manoeu-vre or accident.
• The refrigerator box lid must always be kept closed and locked when the vehicle is in motion.
• Never use the refrigerator box as a table or stowage compartment when the vehicle is In motion.
A WARNING
If the ambient temperature In the vehicle Is too low, the temperature in the refrigerator box could fall below +2 •c {+35 °F) degrees. ThIs could cause the contents of the refriger-ator box to freeze and bottles and other con-tainers to burst, potentially causing Injuries.
• Do not use the refrigerator box when the ambient temperature Is too low.
CD
Handling the refrigerator box incorrectly could damage it.
• Do not place containers, food or other ob-jects which are warmer than +50 •c (+122 •F) In the refrigerator box.
• Do not place corrosive substances or sol-vents in the refrigerator box.
• Do not use an additional heat source to de-frost the refrigerator box.
m The refrigerator box is not suitable for cooling W the vehicle interior. The refrigerator box should only be used to keep food cool and for transporting heat-sensitive items on short journeys.
The rear-seat telephony system (hands-free sys-tem in the passenger compartment with Private Mode) works independently of other provision for mobile telephones fitted in the vehicle. Neither the
Equipment, Business 1187
Page 191 of 486
When the mobile telephone has been paired with the rear-seat telephony system via Bluetooth, the following applies:
• There is a connection between the mobile tele-phone and the microphone at the rear on the right in the passenger compartment headliner.
• Incoming calls are output over the vehicle loud-speaker in the rear right side trim paneL
• The digital voice enhancement (DVE) is switch-ed off during a telephone calL
When a paired mobile telephone is in the charging base (telephone holder), the following applies:
• The mobile telephone is connected to the exter-nal aerial via the charging base.
• If the vehicle key is in the ignition lock. the bat-tery in the mobile telephone will be charged, if nec-essary.
Using the telephone handset
Active telephone calls can also be conducted by means of the telephone handset 152.
• Open the storage compartment in the armrest of the 2-seat arrangement.
• Pick up the handset during an active telephone calL
The microphone and the vehicle loudspeaker in the side trim panel will then be switched off. The telephone call will only be audible via the tele-phone handset ("Private Mode").
If the handset is replaced in its holder, the micro-phone and the vehicle loudspeaker in the side trim panel will be switched on again and the telephone call will not be ended.
• To end the telephone call, press the corre-sponding button on the mobile telephone.
Deleting the list of all devices from the rear-seat telephony system
• Close the existing Bluetooth connection on the mobile telephone.
• Press and hold button 151@ for longer than 10 seconds.
• A signal will sound to confirm that the data has been deleted.
m All other functions must be carried out direct-L!J ly from the mobile telephone.
Page 259 of 486
0 "' <(
"' ::;
oc "' N
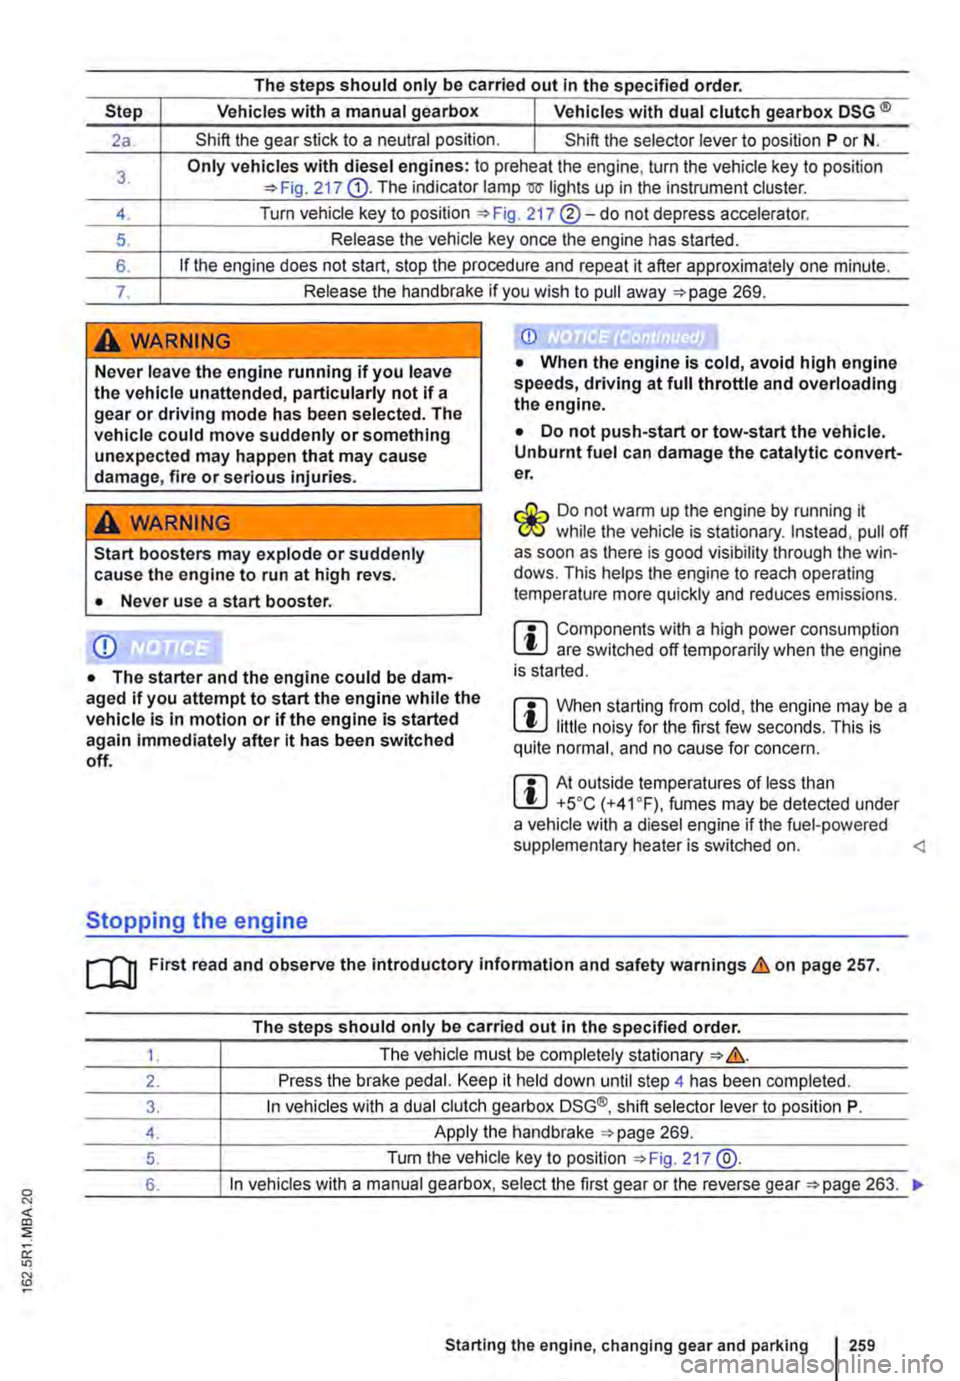
The steps should only be carried out In the specified order.
Step Vehicles with a manual gearbox I Vehicles with dual clutch gearbox DSG ®
2a. Shift the gear stick to a neutral position. I Shift the selector lever to position P or N.
3. Only vehicles with diesel engines: to preheat the engine, turn the vehicle key to position 217 G). The indicator lamp mr lights up in the instrument cluster.
4. Turn vehicle key to position 217 ®-do not depress accelerator.
5. Release the vehicle key once the engine has started.
6. If the engine does not start, stop the procedure and repeat it after approximately one minute.
7. Release the handbrake if you wish to pull away =>page 269.
A WARNING
Never leave the engine running if you leave the vehicle unattended, particularly not if a gear or driving mode has been selected. The vehicle could move suddenly or something unexpected may happen that may cause damage, fire or serious injuries.
A WARNING
Start boosters may explode or suddenly cause the engine to run at high revs.
• Never use a start booster.
CD
• The starter and the engine could be dam-aged if you attempt to start the engine while the vehicle Is In motion or if the engine is started again immediately after it has been switched off.
Stopping the engine
CD
• When the engine is cold, avoid high engine speeds, driving at full throttle and overloading the engine.
• Do not push-start or tow-start the vehicle. Unburnt fuel can damage the catalytic convert-er.
&-, Do not warm up the engine by running it W while the vehicle is stationary. Instead, pull off as soon as there is good visibility through the win· dows. This helps the engine to reach operating temperature more quickly and reduces emissions.
m Components with a high power consumption L!:J are switched off temporarily when the engine is started.
m When starting from cold, the engine may be a L!:J little noisy for the first few seconds. This is quite normal, and no cause for concern.
m At outside temperatures of less than L!:J +5oC (+41°F), fumes may be detected under a vehicle with a diesel engine if the fuel-powered supplementary heater is switched on.
The steps should only be carried out In the specified order.
1. The vehicle must be completely stationary => &.
2. Press the brake pedal. Keep it held down until step 4 has been completed.
3. In vehicles with a dual clutch gearbox DSG®, shift selector lever to position P.
4. Apply the handbrake =>page 269.
5. Turn the vehicle key to position =>Fig. 217 @.
6. In vehicles with a manual gearbox, select the first gear or the reverse gear =>page 263. .,.
Starting the engine, changing gear and parking I 259
Page 277 of 486
Brake fluid
B7E.02AO
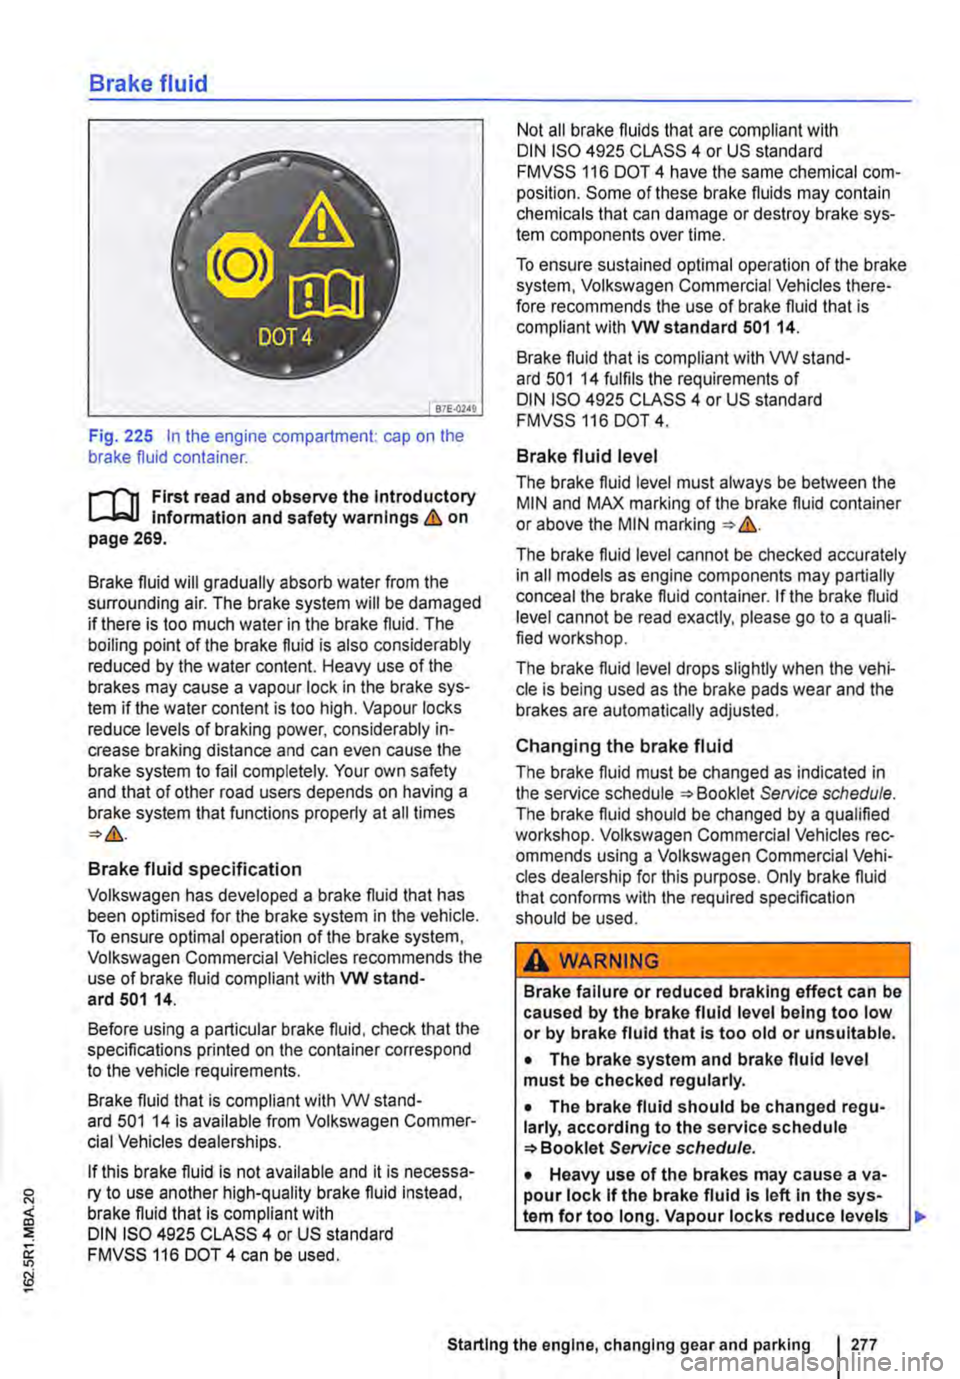
Fig. 225 In the engine compartment: cap on the brake fluid container.
r-111 First read and observe the Introductory l-Jr:,U Information and safety warnings&. on page 269.
Brake fluid will gradually absorb water from the surrounding air. The brake system will be damaged if there is too much water in the brake fluid. The boiling point of the brake fluid is also considerably reduced by the water content. Heavy use of the brakes may cause a vapour lock in the brake sys-tem if the water content is too high. Vapour locks reduce levels of braking power, considerably in-crease braking distance and can even cause the brake system to fail completely. Your own safety and that of other road users depends on having a brake system that functions properly at all times
Brake fluid specification
Volkswagen has developed a brake fluid that has been optimised for the brake system in the vehicle. To ensure optimal operation of the brake system, Volkswagen Commercial Vehicles recommends the use of brake fluid compliant with VW stand-ard 501 14.
Before using a particular brake fluid, check that the specifications printed on the container correspond to the vehicle requirements.
Brake fluid that is compliant with VW stand-ard 501 14 is available from Volkswagen Commer-cial Vehicles dealerships.
If this brake fluid is not available and it is necessa-ry to use another high-quality brake fluid instead, brake fluid that is compliant with DIN ISO 4925 CLASS 4 or US standard FMVSS 116 DOT 4 can be used.
Not all brake fluids that are compliant with DIN ISO 4925 CLASS 4 or US standard FMVSS 116 DOT 4 have the same chemical com-position. Some of these brake fluids may contain chemicals that can damage or destroy brake sys-tem components over time.
To ensure sustained optimal operation of the brake system, Volkswagen Commercial Vehicles there-fore recommends the use of brake fluid that is compliant with VW standard 501 14.
Brake fluid that is compliant with VW stand-ard 501 14 fulfils the requirements of DIN ISO 4925 CLASS 4 or US standard FMVSS 116 DOT 4.
Brake fluid level
The brake fluid level must always be between the MIN and MAX marking of the brake fluid container or above the MIN marking &.
The brake fluid level cannot be checked accurately in all models as engine components may partially conceal the brake fluid container. If the brake fluid level cannot be read exactly, please go to a quali-fied workshop.
The brake fluid level drops slightly when the vehi-cle is being used as the brake pads wear and the brakes are automatically adjusted.
Changing the brake fluid
The brake fluid must be changed as indicated in the service schedule Service schedule. The brake fluid should be changed by a qualified workshop. Volkswagen Commercial Vehicles rec-ommends using a Volkswagen Commercial Vehi-cles dealership for this purpose. Only brake fluid that confonns with the required specification should be used.
A WARNING
Brake failure or reduced braking effect can be caused by the brake fluid level being too low or by brake fluid that Is too old or unsuitable.
• The brake system and brake fluid level must be checked regularly.
• The brake fluid should be changed regu-larly, according to the service schedule Service schedule.
• Heavy use of the brakes may cause a va-pour lock If the brake fluid Is left In the sys-tem for too long. Vapour locks reduce levels
Starting the engine, changing gear and parking I 277
Page 279 of 486
Changing gear earlier
In principle, the highest gear is always the most economical gear. A rule of thumb for most vehicles: at a speed of 30 kmlh (19 m ph} drive in third gear, at 40 km/h (25 mph) in 4th gear and at 50 km/h (31 mph) In 5th gear.
If the traffic and driving situation allows it, skipping gears when changing up a gear will also save fuel.
Do not drive gears to their upper limit. Use first gear only for pulling away then quickly change up to second gear. Avoid using the kickdown func-tion in vehicles with a DSG® dual clutch gearbox.
Vehicles with a gear display help to improve fuel economy by indicating the optimum time to change gear.
Rolling to a stop
Taking your foot off the accelerator will interrupt the supply of fuel to the engine and decrease fuel con-sumption.
Therefore, in situations such as approaching a red traffic light, let the vehicle roll without applying the accelerator.
Only press on the dutch pedal to disengage if the vehicle becomes too slow or if the stopping dis-tance is longer. The engine will then run at idling speed 263.
Switch off the engine in situations when the vehicle might be stationary for a long time, e.g. at a level crossing. In vehicles with an active start/stop sys-tem, the engine will switch off automatically when the vehicle Is stationary.
Thinking ahead when driving, and driving with the flow of traffic
Applying the brake and accelerator too often will significantly increase fuel consumption. If you think ahead when driving and maintain a sufficient dis-tance from the vehicle in front, simply keeping your foot off the accelerator should stop the speed from fluctuating. This means that active braking and ac-celerating is not always necessary.
Driving smoothly and evenly
Smoothness is even more important than speed. The more evenly you drive, the lower your fuel consumption will be.
When driving on a motorway, it is much more ef-fective to drive at a constant moderate speed than to drive with constant acceleration and braking. As a rule, driving with a constant style will get you to your destination just as quickly.
The cruise control system will help you to maintain a constant driving style.
Using additional equipment in moderation
lt is always important to be comfortable in your ve-hicle, but it is also important to consider the envi-ronment.
Some equipment will increase fuel consumption when switched on:
• The cooling function of the air conditioning sys-tem: if the air conditioning system is set to a very high or low temperature it will require a lot of ener-gy, which is generated by the engine. Therefore the temperature setting in the vehicle should not vary too much from the outside temperature. lt may be a good idea to air the vehicle before setting off and then to travel a short distance with the win-dows open. The air conditioning system should then be switched on once the windows have been closed. Keep the windows closed when driving at high speeds. Having the windows open increases fuel consumption.
• Switch the seat heating off as soon as it has served its purpose.
• Switch the windscreen and rear window heating off as soon as the windows have defogged and are clear of ice.
• Do not leave the supplementary heating system on when the vehicle is moving 332.
Other factors that Increase fuel consumption (examples):
• Fault in engine management.
• Driving in hilly regions.
• Driving with a trailer.
Page 283 of 486
A WARNING
Failure to observe illuminated warning lamps and text messages can lead to your vehicle breaking down in traffic, and can cause acci-dent and serious injury.
• Never ignore any illuminated warning lamps or text messages.
Start/stop system
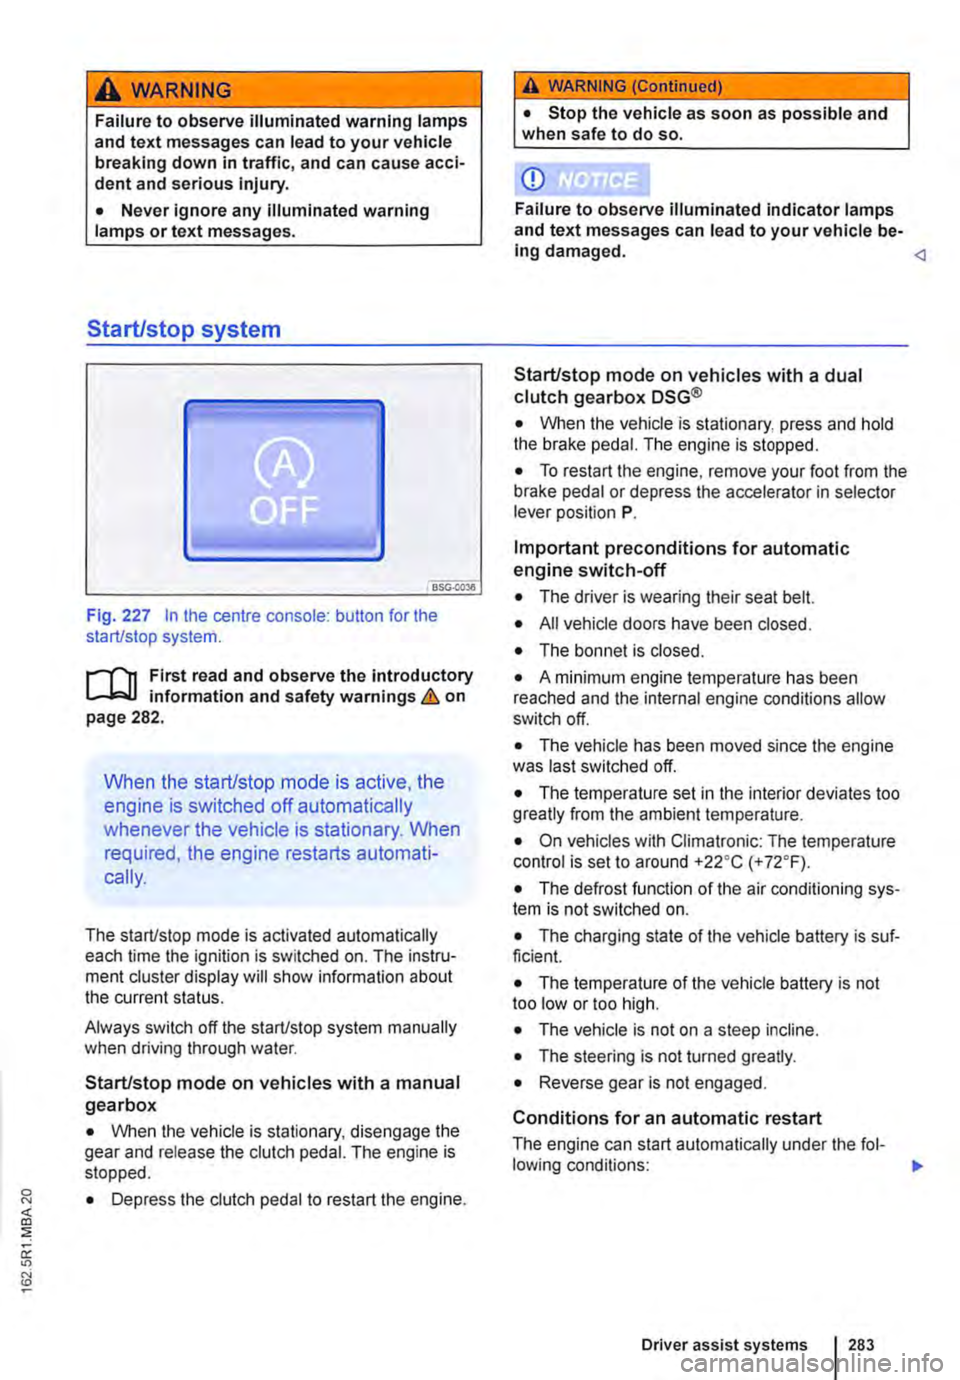
Fig. 227 In the centre console: button for the start/stop system.
r--flt First read and observe the introductory l-J,::JJ information and safety warnings & on page 282.
When the start/stop mode is active, the
engine is switched off automatically
whenever the vehicle is stationary. When
required, the engine restarts automati-
cally.
The start/stop mode is activated automatically each time the ignition is switched on. The instru-ment cluster display will show information about the current status.
Always switch off the start/stop system manually when driving through water.
Start/stop mode on vehicles with a manual gearbox
• When the vehicle is stationary, disengage the gear and release the clutch pedal. The engine is stopped.
• Depress the clutch pedal to restart the engine.
A WARNING (Continued)
• Stop the vehicle as soon as possible and when safe to do so.
CD
Failure to observe illuminated indicator lamps and text messages can lead to your vehicle be-ing damaged.
• When the vehicle is stationary, press and hold the brake pedal. The engine is stopped.
• To restart the engine, remove your foot from the brake pedal or depress the accelerator in selector lever position P.
Important preconditions for automatic engine switch-off
• The driver is wearing their seat belt.
• All vehicle doors have been closed.
• The bonnet is closed.
• A minimum engine temperature has been reached and the internal engine conditions allow switch off.
• The vehicle has been moved since the engine was last switched off.
• The temperature set in the interior deviates too greatly from the ambient temperature.
• On vehicles with Climatronic: The temperature control is set to around +22oC (+ 72°F).
• The defrost function of the air conditioning sys-tem is not switched on.
• The charging state of the vehicle battery is suf-ficient.
• The temperature of the vehicle battery is not too low or too high.
• The vehicle is not on a steep incline.
• The steering is not turned greatly.
• Reverse gear is not engaged.
Conditions for an automatic restart
The engine can start automatically under the fol-lowing conditions: IIJ>
Driver assist systems 283