2012 VOLKSWAGEN GOLF MK6 key
[x] Cancel search: keyPage 56 of 516
Destination input options
Meaning of the symbo ls in the Navigation main
menu (left to right):
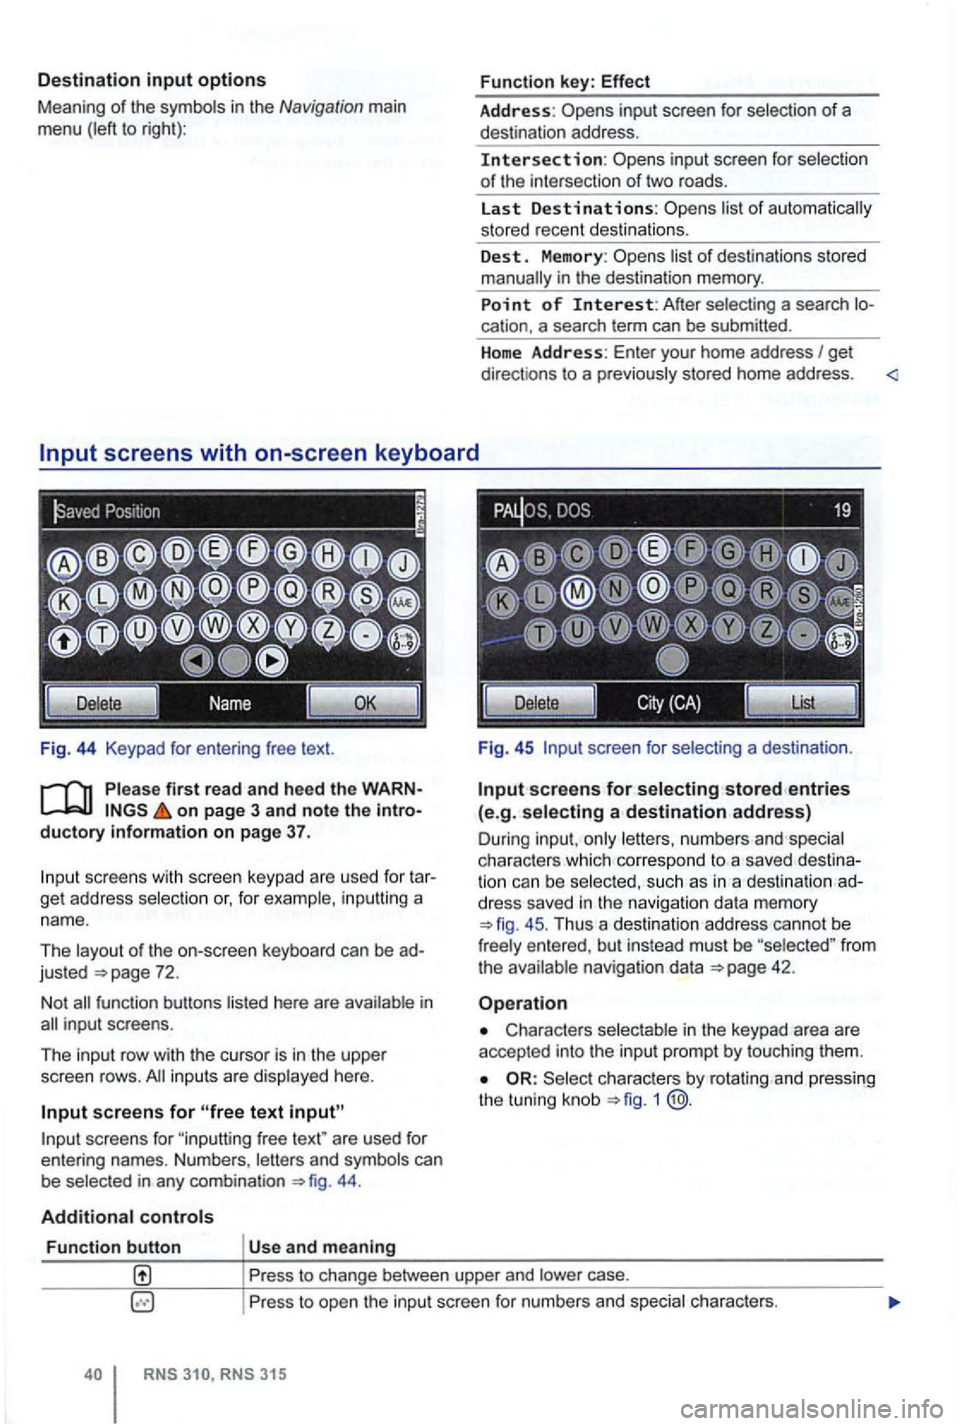
Fig . 44 Keypad
on page 3 and note the introductory information on page 37.
scree ns with scree n keypad are use d fo r t ar
get address selection or, for example , in puttin g a
nam e.
Th e layout of the on-screen keyboard
can be ad
justed
44 .
Additional controls
Function button Us e and meaning Function
key:
Effect
Address: inp ut screen for selection of a
des tination address .
Intersection: selectio n
o f the inte rsection of tw o road s.
La st
Destinations:
list o f destinations sto red
manually in the destination memory.
Point of Interest: A fter sele cting a sea rch location. a search term can be submitted .
H
ome Address: Enter your home address I get
direct ions to a p rev ious ly stored home address . <
Fig . 45 screen for selecting a dest inatio n.
Input screens for selecting stored entries (e.g. selecting a destination address)
Dur ing inpu t, on ly lett ers , n umbers and spec ia l
c h arac ters which co rre spond to a sav ed dest ination can b e selec ted, s uch as in a des tinati on ad
dress saved in the navigation data mem ory
45 . Thu s a de stination address cannot be
fr ee ly e ntered , bu t in stead must be "selected " fro m the ava ilable navigat ion data
Characters selectable in the keypad area are
accepted into the inpu t pro mpt by to uching them .
Select ch arac ters by rota ting and pressing
the tunin g knob 1 @.
Pr ess to change between upper and lower case.
P ress to ope n the input screen for numbers a
nd special ch arac ters.
RNS
Page 60 of 516
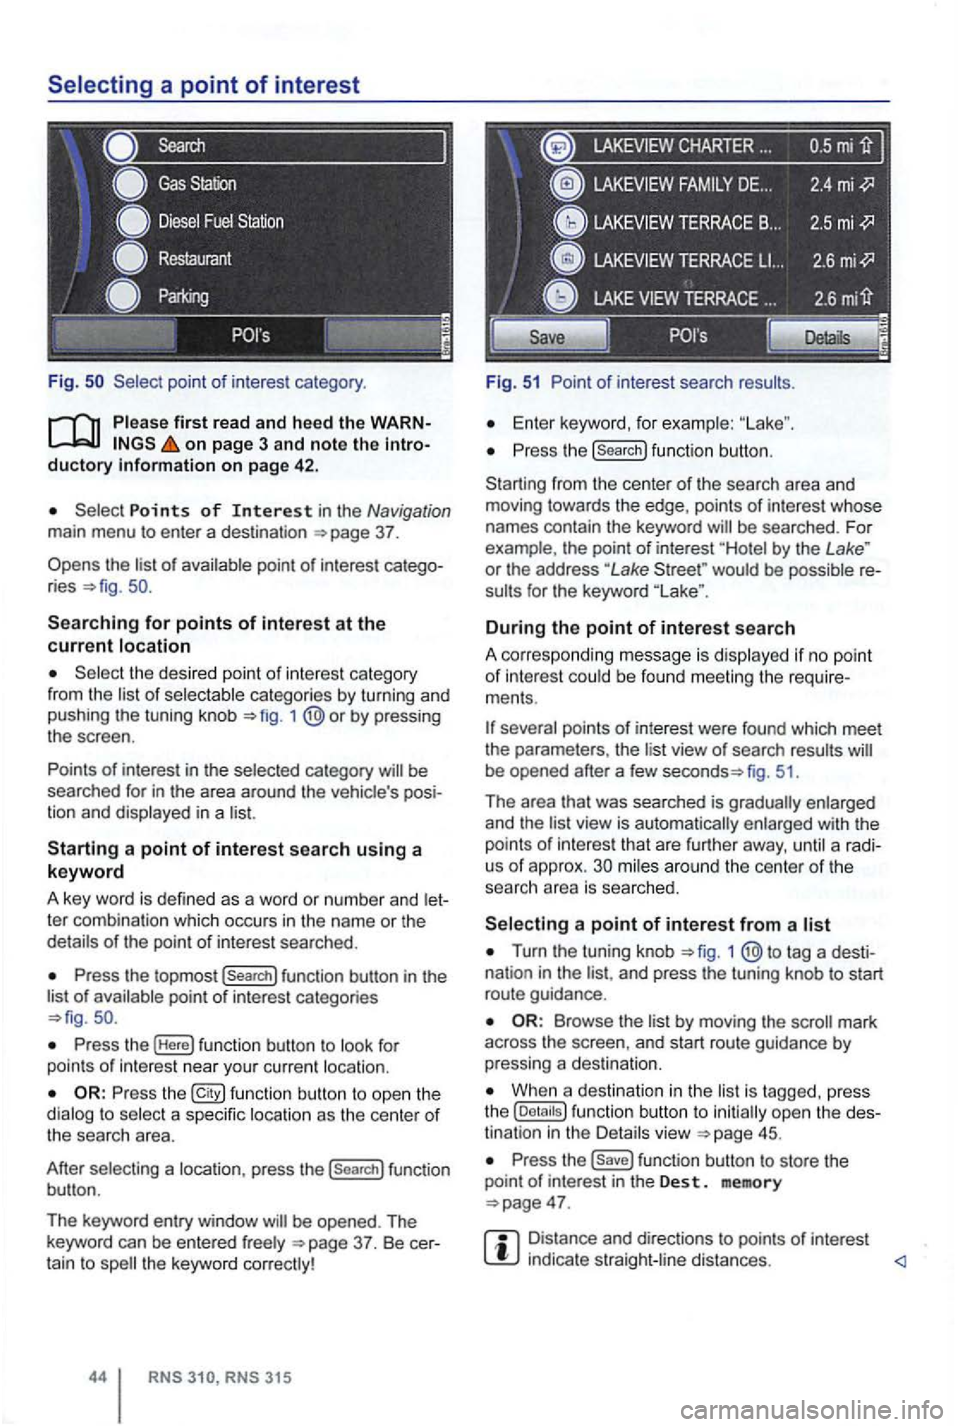
Fig .
on page 3 and note the introductory on pag e 42 .
Points of Interest in the Navigation main menu to enter a destination
Searching for points of interest at the current location
the desired point of interest category
from the list of selectable categories by turning and
pushing the tuning knob 1
Press the topmost (Search] function button in the
list of availab le point of interest categories
Press the (Here] function button to look for
points of int erest near your current location.
Press the function button to ope n the
dialog to select a specific location as the center of the searc h area.
After selecting a location, press the
(search] function
button .
The keyword entry window
CHARTER ...
Fig. 51 Point of interest search results.
Enter keyword, for examp le:
Press the (search] function button.
Starting from the center
of the search area and
moving towards the edge , points of interest whose
names contain the keyword
by the Lake " or the address "Lake would be possible re
sults for the keyword
During the point of interest search
A correspo nding message is disp layed if no point of interest could be found meeting the require
ments .
fig. 51.
Th e area that was searched is gradually enlarged
and the
view is automatically enlarged with the
points of int erest that are further away, until a radi
us of approx. mi les around the center of the
searc h area is searched.
Turn the tuning knob 1 tag a desti
nation in the and press the tuning knob to start
route guidance .
by moving the mark
across the screen , and start route guidance by pressing a destina tion.
When a destination in the is tagg ed , press
the
Press the function button to store the
point of in terest in the Des t. memory
Distance and directions to points of interest indica te straight -line distances.
Page 74 of 516
Navigation settings menu
Route
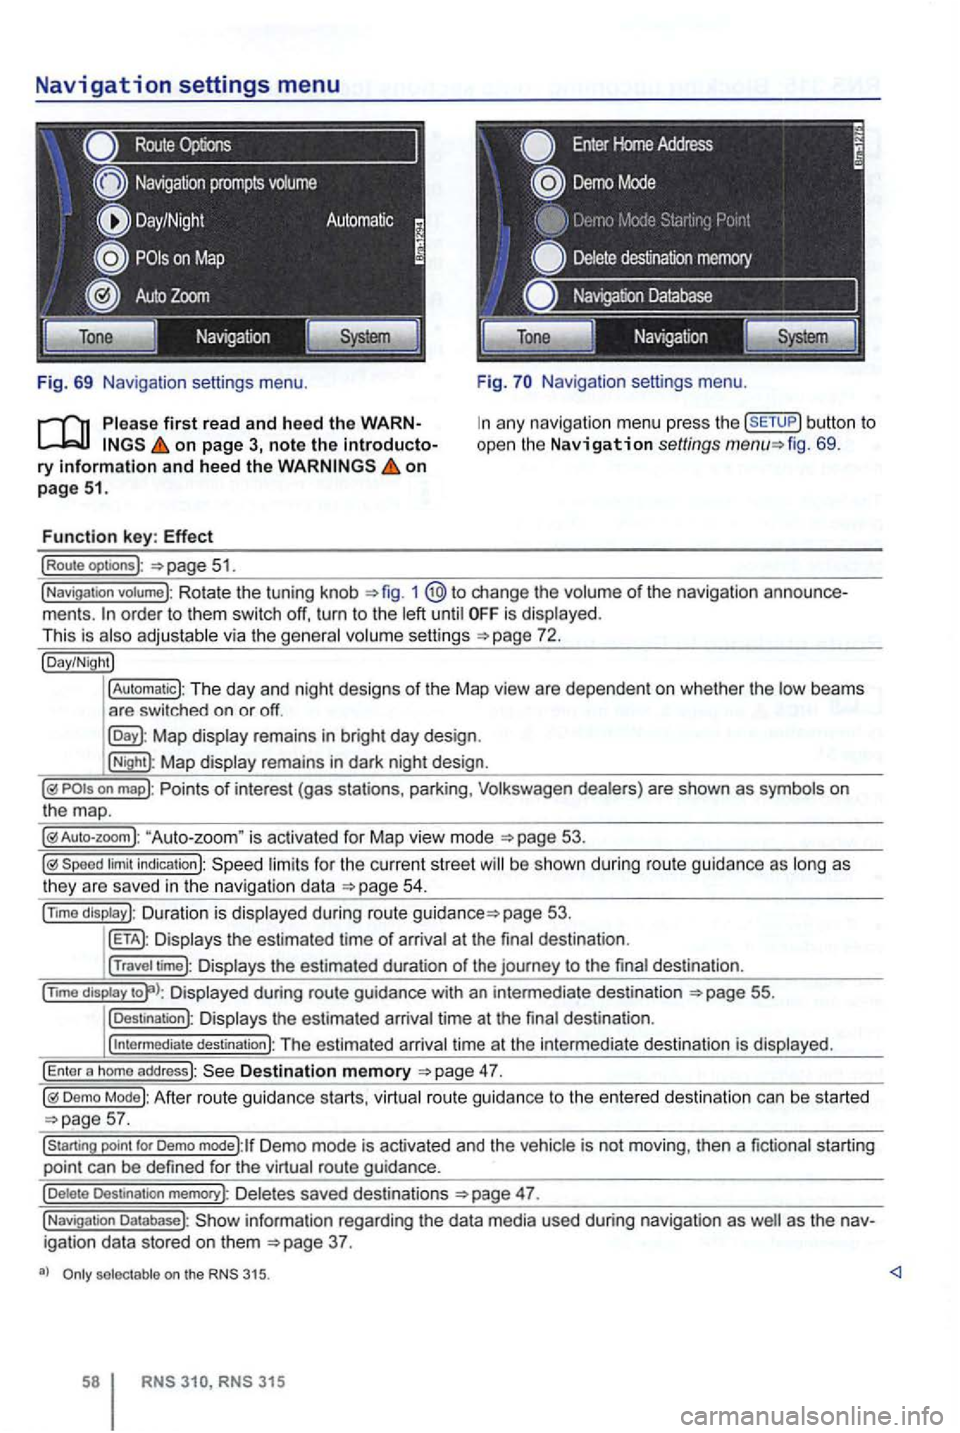
Fig. 69 Navigation settings menu.
on page 3, note the introductory information and heed the on page 51.
Function key: Effect
(Route optoons ):
Navigation settings menu.
any navigation menu press the (SETUP) button to
open the Navigation settings fig. 69.
(Navigation votume): Rotate the tuning knob 1 change the volume of the navigation order to them switch off, turn to the until is displayed.
This is
Map display remains in bright day design .
(Night): Map display remains in dark night design .
"Auto-zoom " is activated for Map vie w mode
Speed limit indication): limits for the current street be s hown duri ng route guidance as
page 53.
Displays the estimated time of arrival at the final des tination .
(Travel time): Displays the estimated duration of the journey to the final destina tion .
(nm o
display Displayed during route guidance with an intermedi ate destination 55.
(Destination): Displays the estimated arrival time at the final destination .
(
intermediate destination): The estimated arriva l time at the intermediate destination is displayed.
(Enter a homo address): Destination memory
Demo Mode): After route guidance starts, virtual route guidance to the entered destination can be started
Demo mode):lf Demo mode is activated and the vehicle is not moving , then a fictional starting
point can be defined for the virtual route guidance.
(Delete Destination memory): De letes saved destinations 47.
(Navigation Database): information regarding the data media used during navigation as igation data stored on them
selectable on the 315.
315
Page 78 of 516
Please first read and note the introductory information and hee d the WARN on page 59.
A
one-time pairi ng of both devices is necessary to
connect a
some countries , pairing driving is not possi
For 315, the radio navigation system can be
used to complete pairing.
63.
When connecting via the
315 radio navigation
system , the mobile ph one can be connected in one
of two ways :
Active connection
The Bluetooth® function must be activated
and v isible on both the
The should be disa
The phone's key and warning tones should be disabled .
You
phone be automatically transferred . T he
length of the transfer depends on the volume of data saved on the phone . After the transfer is com
p lete , the data is
active telephone pairing
An active mobile phone connection ends an exist
ing connection to anot her mobile phone.
Press the button.
Press the (SETUP ) button.
Press the [Biuetooth settings)l l func tion button .
Press the [search for devices) function button.
T he scan ning process can
15 to seconds .
When the process has bee n comple ted, the names
o f t he Bluetoot h devices f ound
72.
Access the telephone to be paired from the 72.
T he radio navigation system and the mobile phone
code displaye d on th e screen of th e rad io nav
i gation system.
When the pairing is successfully completed, the
63 .
passive telephone pairing
Press the button.
Press button.
Press th e [Biuetooth settings)1l funct ion button.
Press the (Make BT fu nc tion butto n .
15 to phone
of Bluetooth audio accesso ries and
start a connec tion.
T he radio naviga tio n system and the
some cases, additional entries are required on the phone to complete the connection of both devices.
Where the code displayed on the
radio navigation system's screen must be entered
and confirmed with
is entered inco rrectly. For safety reasons ,
t h e duration of the radio navigatio n system's toot h visibil ity is li m ited to precisely 5 min utes.
When the pairing is successfully completed, the
63 .
tho connection function butto ns are not the d evice has to be connected via the instrument p age 63.
Page 84 of 516
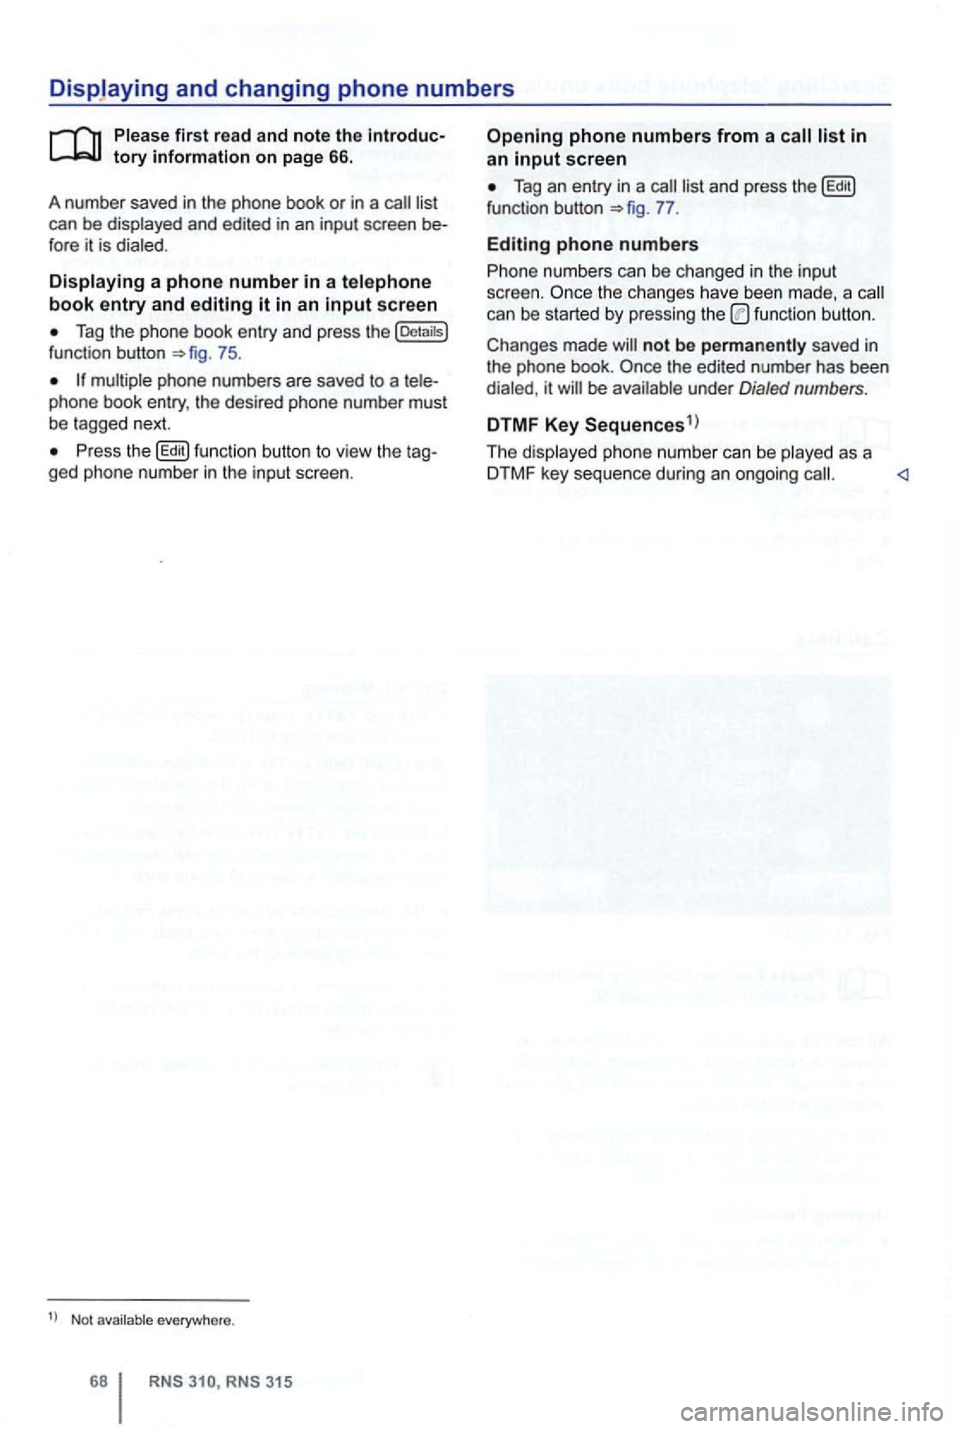
can be displayed and edited in an input screen
Tag the phone book entry and press the [Detaitsl function button 75.
Press the button to view the ged phone number in the input screen.
Not everywhere .
RNS RNS 31 5
screen
Tag an entry in a function button 77.
Editing phone numbers
Phone numbers can be changed in the input
screen. the ch anges have been made , a can be started by pressing the functio n button .
not be saved in
the phone book.
be under Dialed numbers .
DTMF Key Sequences1
)
The displayed ph one number can be played as a
DTMF key sequence during an ongoing
Page 89 of 516
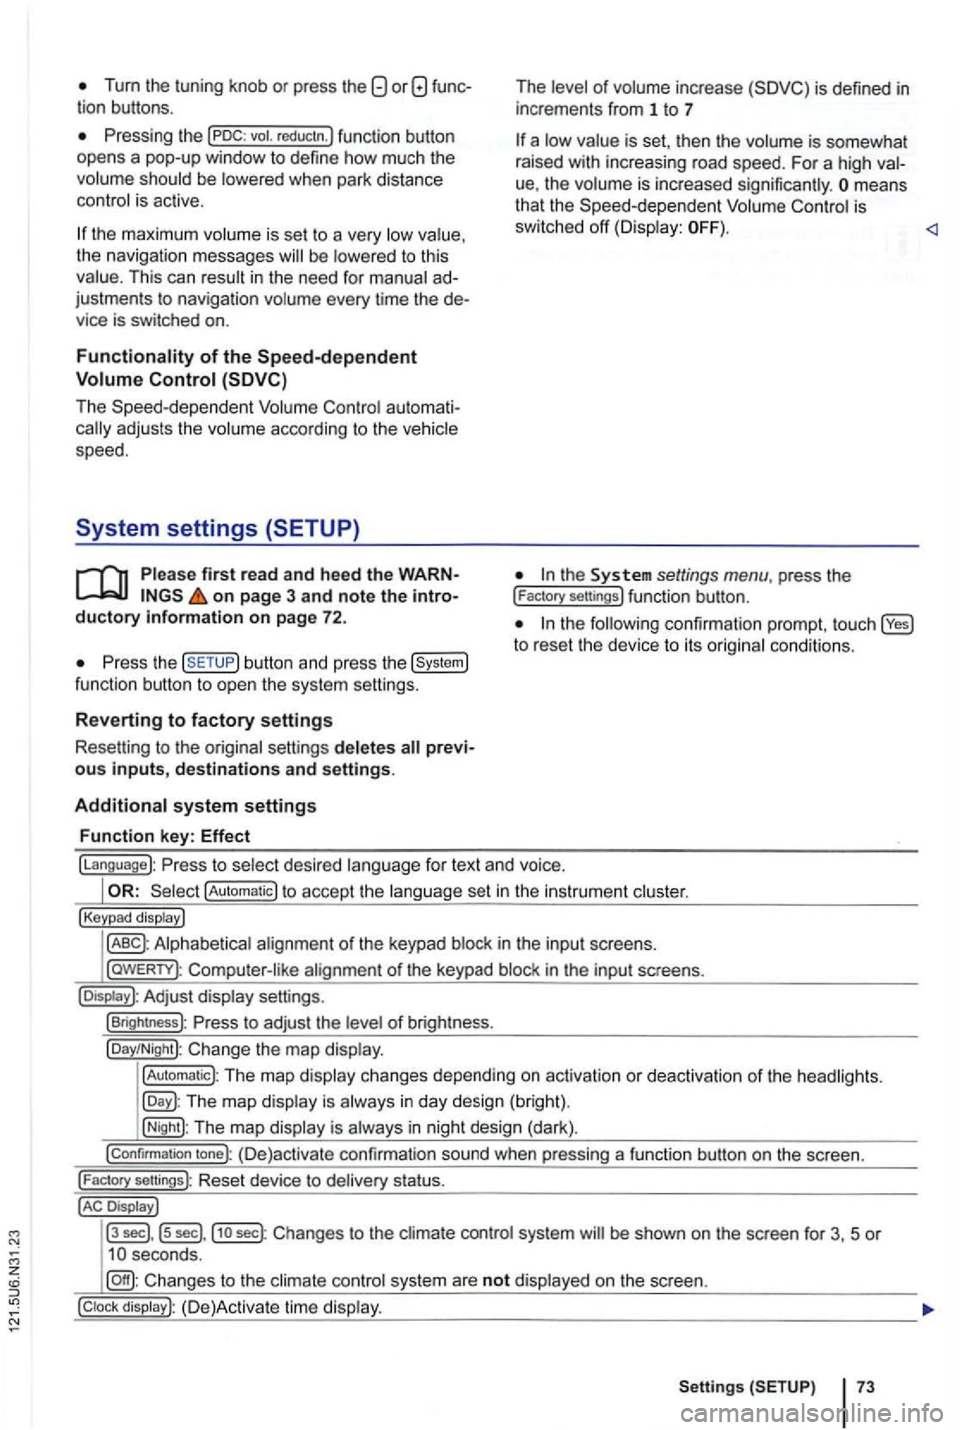
Tum the tuning knob or press the
be
the maximum is se t to a very the navigation messages to this This can in the need for ad
justments to navigation every time the de
vice is switched on.
au toma ti
firs t read and heed the WARNon page 3 and note the introductory information on page 72.
the button and press the
of inc rease
is set , th en the is somewhat
rai sed with increasing road speed. For a high
ue, the means
that the is
sw itched off
the to reset the device to its
fo r text and voice.
!Automatic) to accept the set in the instru ment
!Keypad display)
in th e inpu t sc reens.
l
aWERTY) : in the input screens.
settings.
!Brightness): of br igh tness.
!Day/Night): Change the map
!Automatic): The map changes depending on activation or deactiva tion of th e head lights.
The map in day design (bright).
!Night): The map is in night design (dark).
!Confirmation tone): (D e)activate confirmation sound when pressing a function button on the screen.
!
Factory sellings): Reset dev ice to stat us.
Display J
l3
sec] , ls sec],j1o sec) : Changes to the system be shown on the screen for 3, 5 or
system are not on the screen.
Setting s 73
Page 90 of 516
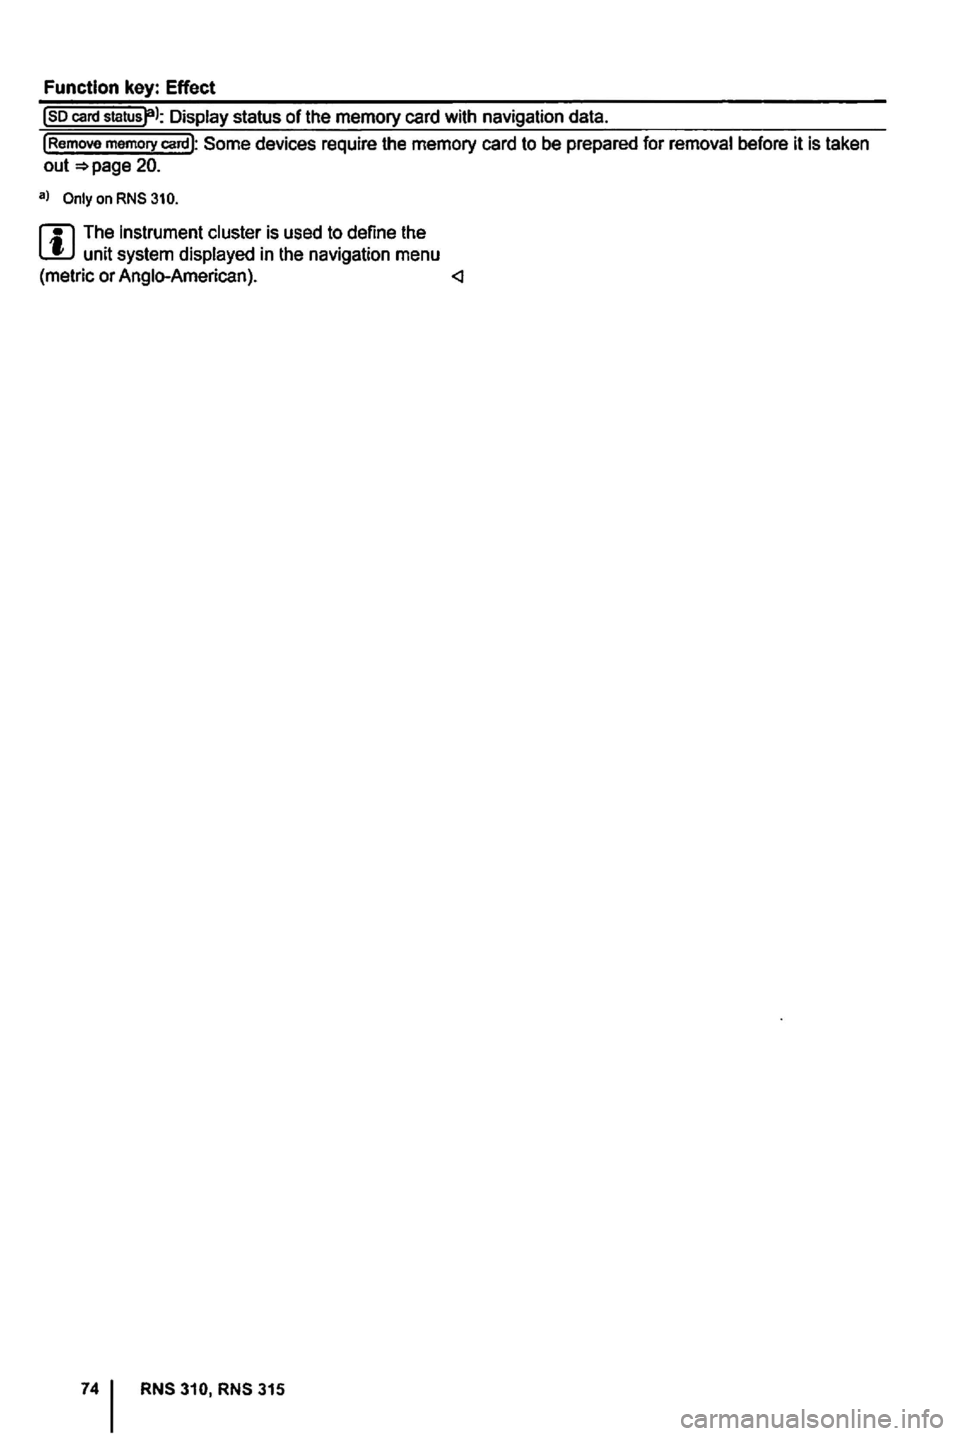
Function key: Effect
Page 92 of 516
AM . . . . . . . . . . . . . . . . . . . . . . . . . . . . . . . 13 , 75
Anti-theft protection code number .......•........ o 8 rad io coding ........ 8 Auto-zoom ........ 53
AUX
.......................•..•... 24,75
B
A UX volume . . . . . . . . . . . . . . . . . . . . . . . . 29
external audio source . . . . . . . . . . . . . . . . . 24 mul timedia socket . . . . . . . . . . . . 24 playba ck volu me . . . . . . . . . . . . . . . . . . . . 29
Balanc e
.............................. 72
Balance (Balance/Fader) . . . . . . . . . . . . . . 72
Bass . .....................•......... 72
Bluetooth audio ............. o 24
Brief introduction ........ ... 3
browsing ........ 11 BT audio see Bluetooth Audio . . . . . . . . . . . . . . . . . . 24 volume ..................•..•...... 29
c
eject .......... o 22 mode see : . . . . . . . . . . . . . . . . . . . . . . . . 22
Changing frequency bands ... 13
Characteristics coding ..... 8
L owering volume ... . 8
r a dio coding ........ o 8
Clear memory see : Del eting .... 73
Code
number ............... 8 Confirmation tone Switching on or off ... 73 Controls ............. 6
Coordinates
....... 49 Cursor cu rsor .......... 41 see : Cu rso r ........ 41
D
Default settings . . . . . . . . . . . . . . . . . . . . . . . 73
RNS
Tags ................ 33
D elete entries
see : D ele ting .................. o 73
deleting
Navi gat ion data on memory card . . . . . . . . 38
user profile . . . . . . . . . . . . . . . . . 64
Deleting
ent ries . . . . . . . . . . . . . . . . . . . . . . . . . . 73
d es tinatio n m emory . . . . . . . . . . . . . . . . . . 48
destination s from the desti nation memory . 48
n
avigation destinations . . . . . . . . . . . . . . . 48
rad io memor y ........... 19
recent destinat ions ....... 48
Deleting data
see : Delet ing
........... 73
D eleting
user entries
see : Deleting ........... o 73
Demo
mode (Navigation) ... 57
D estination gas station or parking ..... 44
home address .......... 43
Last dests . . ............ 4 7
saved destinations .............. 43
D
estination guidance I nterm ediate de stination . . . . . . . . . . . . . . . 55
Routing options ......... 51
Destination
input .......... 42
Destination
memory . . . . . . . . . . . . . . . . . . . 47 48
D est. memory delet ing destinations ..... 48
L ast dests . . ............ 4 7
renam ing destinations ....... 48
D evice buttons (hard keys) . . . . . . . . . . . . . overview ..... .............
6 Display AC display ............. 73
brightness .............. . . 73
keypad display ............. 73
ki lometers or m il es .......... 7 4
map appearance ........... 73
time .............................. 73 Driving recommendations . . . . . . . . . . . . . . 53