Page 547 of 704
547 4-3. Do-it-yourself maintenance
4
Maintenance and care
YARIS_F (including HV)_WE_52C79ETurn the bulb base counterclock-
wise.
Remove the light bulb.
When installing, reverse the steps listed.
License plate lights
Remove the cover.
Insert a properly sized screw-
driver into the hole of the cover,
and ply off the cover as shown in
the illustration.
To prevent damaging the vehicle,
wrap the screwdriver with a tape.
Page 548 of 704
548 4-3. Do-it-yourself maintenance
YARIS_F (including HV)_WE_52C79ERemove the light bulb.
When installing, reverse the steps listed.
Replacing the following lights
If any of the lights listed below has burnt out, have it replaced by
any authorized Toyota dealer or repairer, or another duly qualified
and equipped professional.
Front position lights and daytime running lights (LED type)
Stop/tail lights (LED type)
High mounted stoplight
Page 589 of 704
5
589 5-2. Steps to take in an emergency
When trouble arises
YARIS_F (including HV)_WE_52C79EVehicles with aluminum wheels:
Remove the center wheel orna-
ment by pushing from the
reverse side.
Be careful not to lose the wheel
ornament.
Stow the flat tire, tire jack and all tools.
The compact spare tire
The compact spare tire is identified by the label “TEMPORARY USE
ONLY” on the tire sidewall.
Use the compact spare tire temporarily, and only in an emergency.
Make sure to check the tire inflation pressure of the compact spare tire.
(P. 672)
If you have a flat front tire on a road covered with snow or ice
Install the compact spare tire on one of the rear wheels of the vehicle. Per-
form the following steps and fit tire chains to the front tires:
Replace a rear tire with the compact spare tire.
Replace the flat front tire with the tire removed from the rear of the
vehicle.
Fit tire chains to the front tires.
Page 627 of 704
5
627 5-2. Steps to take in an emergency
When trouble arises
YARIS_F (including HV)_WE_52C79E
Vehicles without a smart entry & start system: Maintain the
engine speed of the second vehicle and turn the engine
switch to the “ON” position, then start the vehicle’s engine.
Vehicles with a smart entry & start system: Maintain the
engine speed of the second vehicle and turn the “ENGINE
START STOP” switch to IGNITION ON mode, then start the
vehicle’s engine.
Once the vehicle’s engine has started, remove the jumper
cables in the exact reverse order from which they were con-
nected.
Once the engine starts, have the vehicle inspected at any autho-
rized Toyota dealer or repairer, or another duly qualified and
equipped professional as soon as possible.
Page 632 of 704

632 5-2. Steps to take in an emergency
YARIS_F (including HV)_WE_52C79E
Starting the hybrid system when the 12-volt battery is discharged
The hybrid system cannot be started by push-starting.
To prevent 12-volt battery discharge
Turn off the headlights and the audio system while the hybrid system is
off.
Turn off any unnecessary electrical components when the vehicle is run-
ning at a low speed for an extended period, such as in heavy traffic.
Precautions when the 12-volt battery is discharged
In some cases, it may not be possible to unlock the doors using the smart
entry & start system immediately after the 12-volt battery has been dis-
connected and reconnected. Use the wireless remote control or the
mechanical key to lock or unlock the doors.
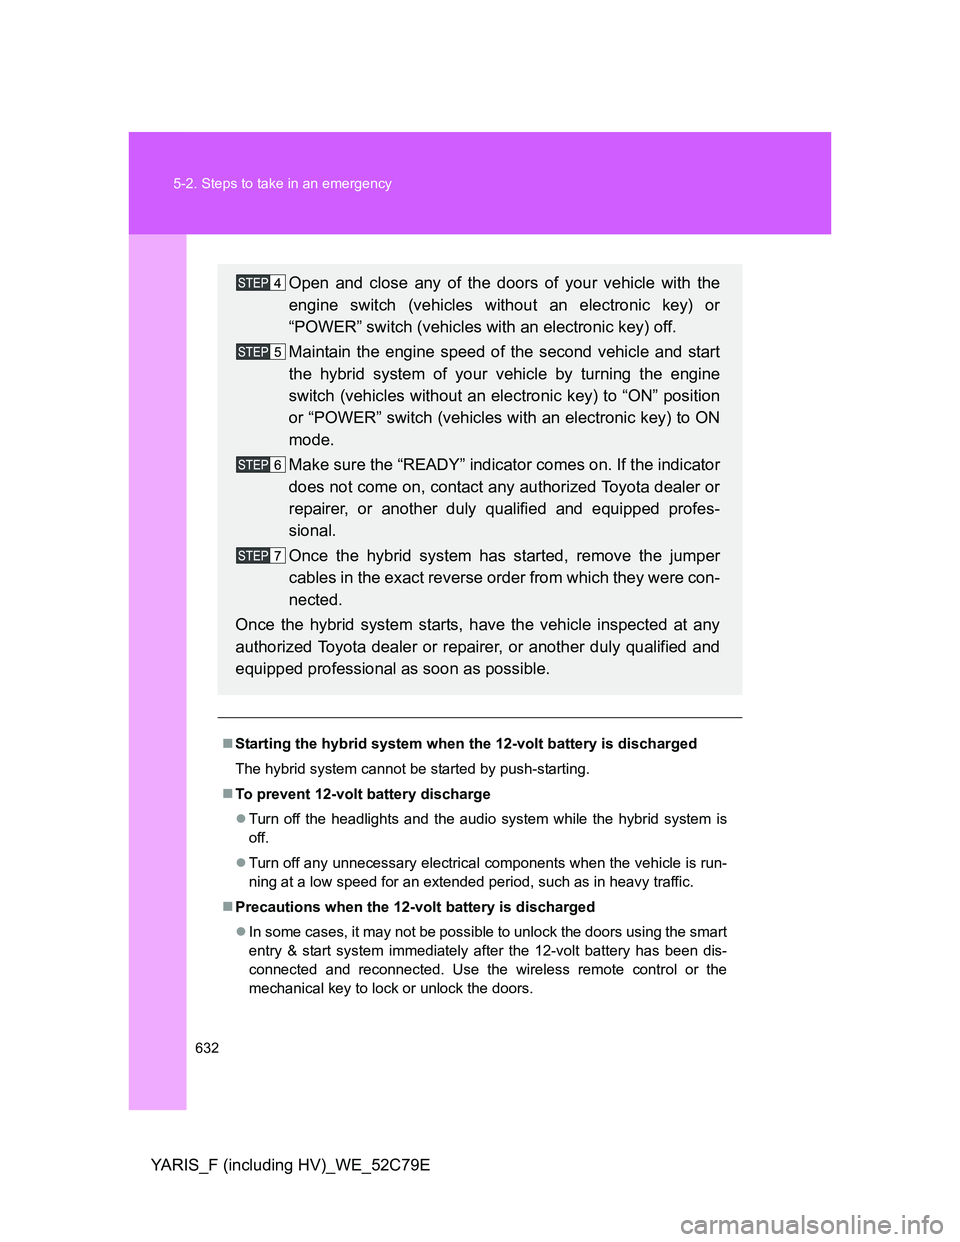
Open and close any of the doors of your vehicle with the
engine switch (vehicles without an electronic key) or
“POWER” switch (vehicles with an electronic key) off.
Maintain the engine speed of the second vehicle and start
the hybrid system of your vehicle by turning the engine
switch (vehicles without an electronic key) to “ON” position
or “POWER” switch (vehicles with an electronic key) to ON
mode.
Make sure the “READY” indicator comes on. If the indicator
does not come on, contact any authorized Toyota dealer or
repairer, or another duly qualified and equipped profes-
sional.
Once the hybrid system has started, remove the jumper
cables in the exact reverse order from which they were con-
nected.
Once the hybrid system starts, have the vehicle inspected at any
authorized Toyota dealer or repairer, or another duly qualified and
equipped professional as soon as possible.
Page:
< prev 1-8 9-16 17-24