Page 5 of 692

1
2
3
4
5
6
5
L/C200_EE (OM60G38E)
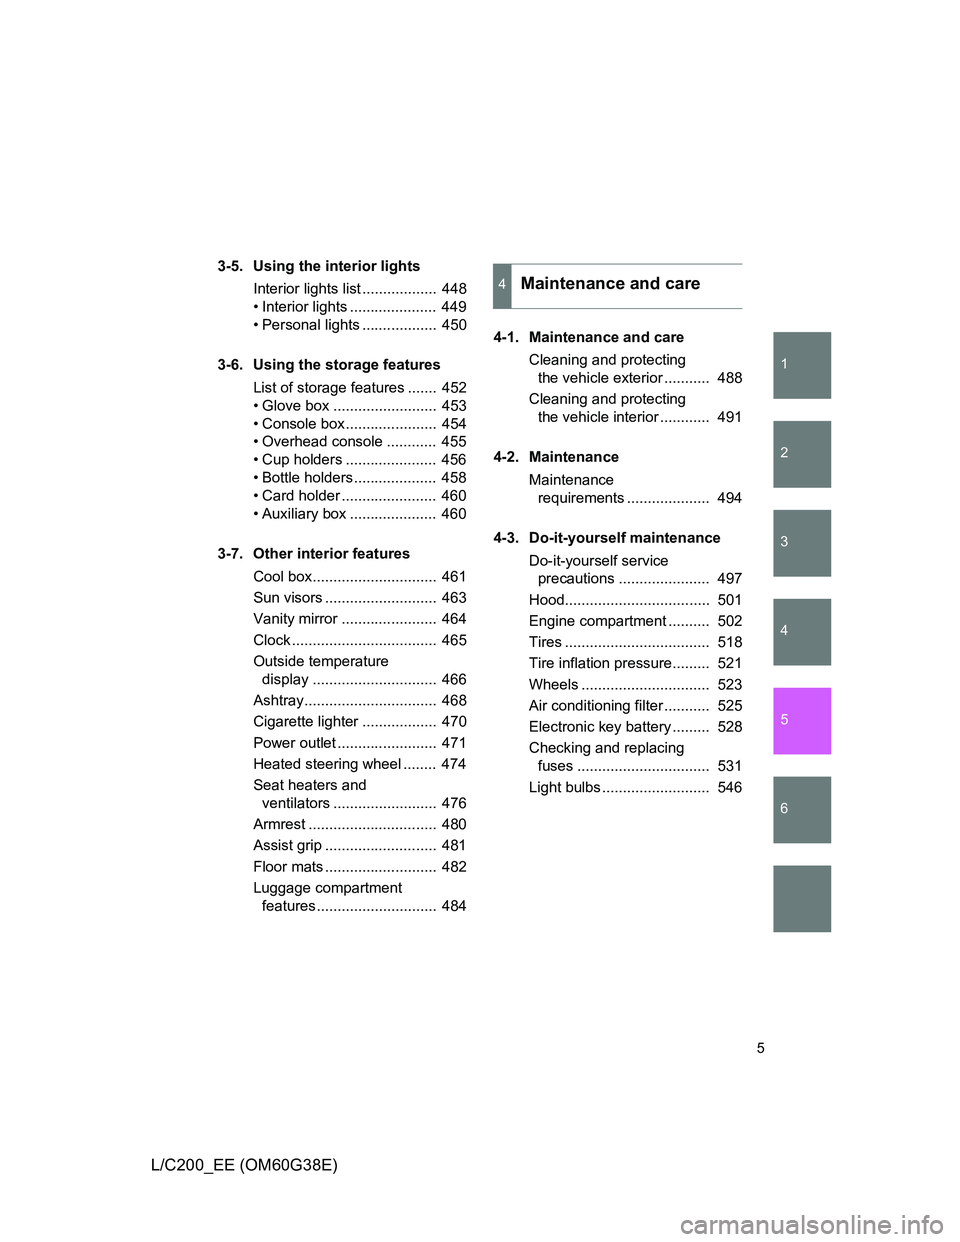
3-5. Using the interior lights
Interior lights list .................. 448
• Interior lights ..................... 449
• Personal lights .................. 450
3-6. Using the storage features
List of storage features ....... 452
• Glove box ......................... 453
• Console box...................... 454
• Overhead console ............ 455
• Cup holders ...................... 456
• Bottle holders.................... 458
• Card holder ....................... 460
• Auxiliary box ..................... 460
3-7. Other interior features
Cool box.............................. 461
Sun visors ........................... 463
Vanity mirror ....................... 464
Clock ................................... 465
Outside temperature
display .............................. 466
Ashtray................................ 468
Cigarette lighter .................. 470
Power outlet ........................ 471
Heated steering wheel ........ 474
Seat heaters and
ventilators ......................... 476
Armrest ............................... 480
Assist grip ........................... 481
Floor mats ........................... 482
Luggage compartment
features............................. 4844-1. Maintenance and care
Cleaning and protecting
the vehicle exterior ........... 488
Cleaning and protecting
the vehicle interior ............ 491
4-2. Maintenance
Maintenance
requirements .................... 494
4-3. Do-it-yourself maintenance
Do-it-yourself service
precautions ...................... 497
Hood................................... 501
Engine compartment .......... 502
Tires ................................... 518
Tire inflation pressure......... 521
Wheels ............................... 523
Air conditioning filter ........... 525
Electronic key battery ......... 528
Checking and replacing
fuses ................................ 531
Light bulbs .......................... 546
4Maintenance and care
Page 200 of 692
200
2-1. Driving procedures
L/C200_EE (OM60G38E)
Turn signal lever
Turn signals can be operated when
The “ENGINE START STOP” switch is in IGNITION ON mode.
If the indicators flash faster than usual
Check that a light bulb in the front or rear turn signal lights has not burned
out.
Right turn
Left turn
Move and hold the lever
partway to signal a lane
change.
The right hand signal will flash
until you release the lever.
Move and hold the lever
partway to signal a lane
change.
The left hand signal will flash
until you release the lever.
ITO21C035
Page 487 of 692
4Maintenance and care
487
L/C200_EE (OM60G38E)
4-1. Maintenance and care
Cleaning and protecting
the vehicle exterior ......... 488
Cleaning and protecting
the vehicle interior .......... 491
4-2. Maintenance
Maintenance
requirements................... 494
4-3. Do-it-yourself maintenance
Do-it-yourself service
precautions ..................... 497
Hood ................................. 501
Engine compartment......... 502
Tires .................................. 518
Tire inflation pressure ....... 521
Wheels .............................. 523
Air conditioning filter ......... 525
Electronic key battery ....... 528
Checking and replacing
fuses ............................... 531
Light bulbs ........................ 546
Page 545 of 692

545 4-3. Do-it-yourself maintenance
4
Maintenance and care
L/C200_EE (OM60G38E)
After a fuse is replaced
If the lights do not turn on even after the fuse has been replaced, a bulb
may need replacement. (P. 546)
If the replaced fuse blows again, have the vehicle inspected by any
authorized Toyota dealer or repairer, or another duly qualified and
equipped professional.
If there is an overload in the circuits
The fuses are designed to blow, protecting the wiring harness from damage.
CAUTION
To prevent system breakdowns and vehicle fire
Observe the following precautions.
Failing to do so may cause damage, and possibly a fire or injury.
Never use a fuse of a higher amperage rating than indicated, or use any
other object in place of a fuse.
Always use a genuine Toyota fuse or equivalent.
Never replace a fuse with a wire, even as a temporary fix.
This can cause extensive damage or even fire.
Do not modify the fuse or the fuse box.
NOTICE
Before replacing fuses
Have the cause of electrical overload determined and repaired by any autho-
rized Toyota dealer or repairer, or another duly qualified and equipped pro-
fessional, as soon as possible.
Page 546 of 692
546
4-3. Do-it-yourself maintenance
L/C200_EE (OM60G38E)
Light bulbs
You may replace the following bulbs yourself. The difficulty level of
replacement varies depending on the bulb. If necessary bulb
replacement seems difficult to perform, contact any authorized
Toyota dealer or repairer, or another duly qualified and equipped
professional.
For more information about replacing other light bulbs, contact any
authorized Toyota dealer or repairer, or another duly qualified and
equipped professional.
Prepare a replacement light bulb
Check the wattage of the light bulb being replaced. (P. 661)
Remove the engine compartment cover
P. 504
Front bulb locations
Front fog light (if equipped)Front turn signal light
Headlight
high beam
Page 547 of 692
547 4-3. Do-it-yourself maintenance
4
Maintenance and care
L/C200_EE (OM60G38E)
Rear bulb locations
Rear fog light Rear turn signal light Back-up light
License plate lights
Page 548 of 692
548 4-3. Do-it-yourself maintenance
L/C200_EE (OM60G38E)
Replacing light bulbs
Headlight high beams
Turn the bulb base counterclock-
wise.
Unplug the connector while
depressing the lock release.
STEP1
ITY43C041
STEP2
Page 549 of 692
549 4-3. Do-it-yourself maintenance
4
Maintenance and care
L/C200_EE (OM60G38E)Replace the light bulb, and install
the bulb base.
Align the 3 tabs on the light bulb
with the mounting, and insert.
Turn and secure the bulb base.
Shake the bulb base gently to
check that it is not loose, turn the
headlights on once and visually
confirm that no light is leaking
through the mounting.
STEP3
STEP4