Page 596 of 772
596 4-3. Do-it-yourself maintenance
AVENSIS_EE (OM20B44E)Rear turn signal light (wagon)
Open the back door and remove
the cover.
Turn the bulb bases counter-
clockwise.
Remove the light bulb.
When installing, reverse the steps listed.
STEP1
STEP2
STEP3
STEP4
Page 597 of 772
597 4-3. Do-it-yourself maintenance
4
Maintenance and care
AVENSIS_EE (OM20B44E)Rear fog light (sedan)
Left-hand drive vehicles:
Remove the clip and partly
remove the under cover.
Turn the bulb bases counter-
clockwise.
Unplug the connector while
pushing the lock release.
When installing, reverse the steps listed.
STEP1
STEP2
STEP3
STEP4
Page 679 of 772
5
679 5-2. Steps to take in an emergency
When trouble arises
AVENSIS_EE (OM20B44E)
Emergency repair method
Position the nail or screw that
has punctured the tire at the bot-
tom, in contact with the ground.
Remove the cap from the valve.
Bring the protruding part of the
valve core tool into contact with
the valve to discharge air.
Pull out the valve core by turning
it counterclockwise using the
valve core tool.
Shake the sealant bottle up and down several times.
Remove the cap of the sealant bottle.
STEP1
Cap
Va l v e
STEP2
Va l v e c o r e
tool
Protruding partVa l v e
STEP3
Va l v e c o r e
STEP4
STEP5
Page 681 of 772
5
681 5-2. Steps to take in an emergency
When trouble arises
AVENSIS_EE (OM20B44E)Inject the sealant that is in the
bottle. Hold and tilt the bottle,
then squeeze sealant out of the
bottle as shown.
Attach the sticker as shown.
Remove the injection hose from
the valve and screw the valve
core in the valve securely by
turning it clockwise with the
valve core tool.
STEP9
STEP10
STEP11
Va l v e
core tool
Va l v e c o r e
Page 694 of 772
694 5-2. Steps to take in an emergency
AVENSIS_EE (OM20B44E)Turn over the left side floor mat
in the trunk.
Remove or break the seal cover-
ing the releasing hole.
Push the parking brake release
tool in as far as it will go, making
sure that it does not move when
your hand is released, and turn it
clockwise until the clutch sound
is heard. (approx. 600 revolu-
tions, approx. 20 minutes)
It spins free if rotate the releasing
tool in counterclockwise direction.
After releasing the parking brake,
make sure to remove the release
tool and place it in the tool tray.
STEP3
STEP4
STEP5
Page 696 of 772
696 5-2. Steps to take in an emergency
AVENSIS_EE (OM20B44E)Push the parking brake release
tool in as far as it will go, making
sure that it does not move when
your hand is released, and turn it
clockwise until the clutch sound
is heard. (approx. 600 revolu-
tions, approx. 20 minutes)
It spins free if rotate the releasing
tool in counterclockwise direction.
After releasing the parking brake,
make sure to remove the release
tool and place it in the tool tray.
STEP5
When the seal is damaged
The seal needs to replace by any authorized Toyota dealer or repairer, or
another duly qualified and equipped professional.
If the trunk/luggage compartment has flooded with water when the seal has
been broken or is missing (for example, if the vehicle has been left outside in
the rain with the trunk lid open or removed), the parking brake system will
need to be replaced.
Manual operation of the parking brake
The parking brake cannot be set manually.
Page 758 of 772

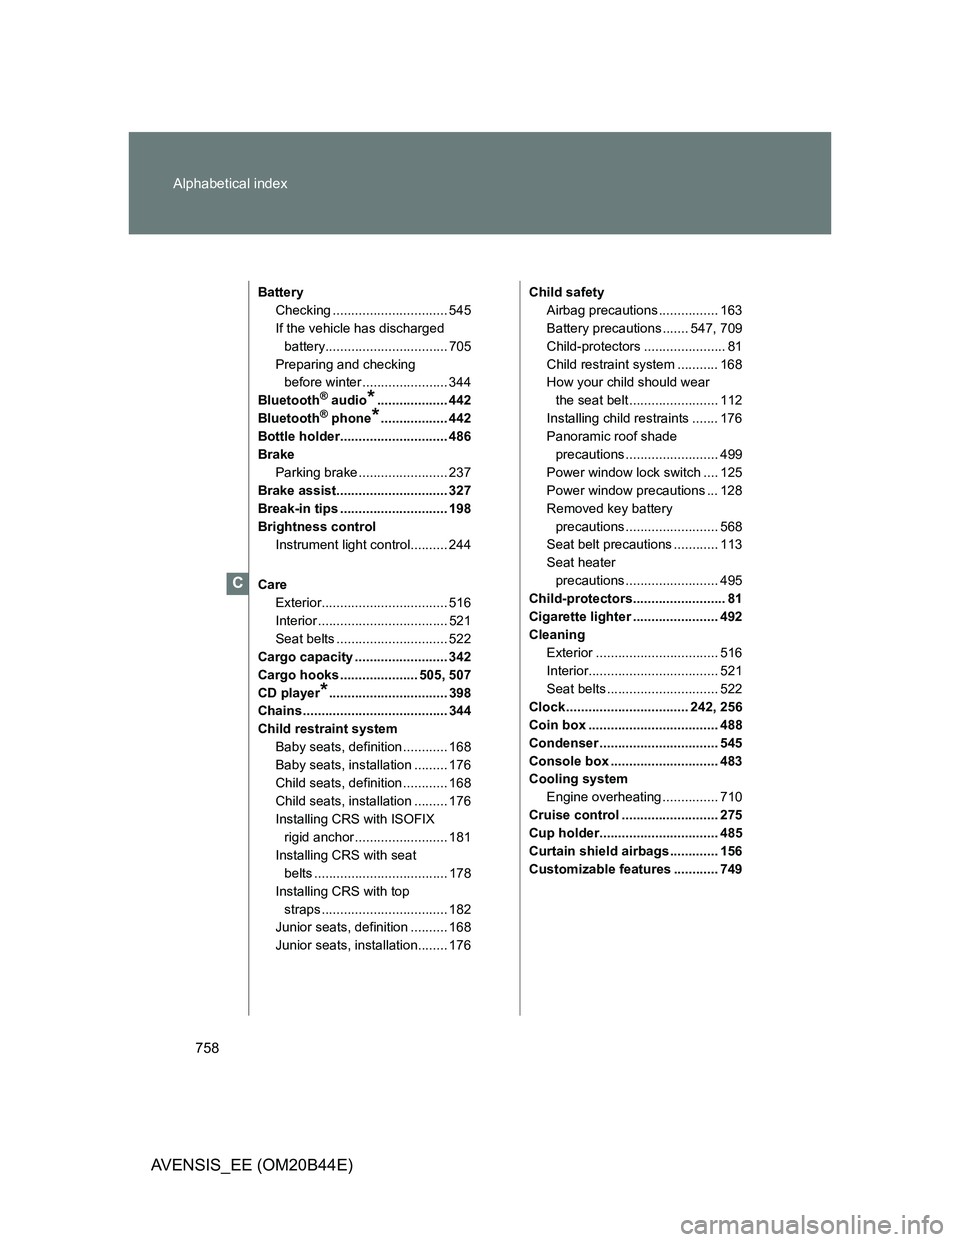
758 Alphabetical index
AVENSIS_EE (OM20B44E)
Battery
Checking ............................... 545
If the vehicle has discharged
battery................................. 705
Preparing and checking
before winter ....................... 344
Bluetooth
® audio*................... 442
Bluetooth® phone*.................. 442
Bottle holder............................. 486
Brake
Parking brake ........................ 237
Brake assist.............................. 327
Break-in tips ............................. 198
Brightness control
Instrument light control.......... 244
Care
Exterior.................................. 516
Interior ................................... 521
Seat belts .............................. 522
Cargo capacity ......................... 342
Cargo hooks ..................... 505, 507
CD player
*................................ 398
Chains ....................................... 344
Child restraint system
Baby seats, definition ............ 168
Baby seats, installation ......... 176
Child seats, definition ............ 168
Child seats, installation ......... 176
Installing CRS with ISOFIX
rigid anchor ......................... 181
Installing CRS with seat
belts .................................... 178
Installing CRS with top
straps .................................. 182
Junior seats, definition .......... 168
Junior seats, installation........ 176Child safety
Airbag precautions ................ 163
Battery precautions ....... 547, 709
Child-protectors ...................... 81
Child restraint system ........... 168
How your child should wear
the seat belt ........................ 112
Installing child restraints ....... 176
Panoramic roof shade
precautions ......................... 499
Power window lock switch .... 125
Power window precautions ... 128
Removed key battery
precautions ......................... 568
Seat belt precautions ............ 113
Seat heater
precautions ......................... 495
Child-protectors......................... 81
Cigarette lighter ....................... 492
Cleaning
Exterior ................................. 516
Interior................................... 521
Seat belts .............................. 522
Clock ................................. 242, 256
Coin box ................................... 488
Condenser ................................ 545
Console box ............................. 483
Cooling system
Engine overheating ............... 710
Cruise control .......................... 275
Cup holder................................ 485
Curtain shield airbags ............. 156
Customizable features ............ 749
C
Page:
< prev 1-8 9-16 17-24