2012 SUBARU IMPREZA WRX parking brake
[x] Cancel search: parking brakePage 263 of 416
7-20Starting and operating
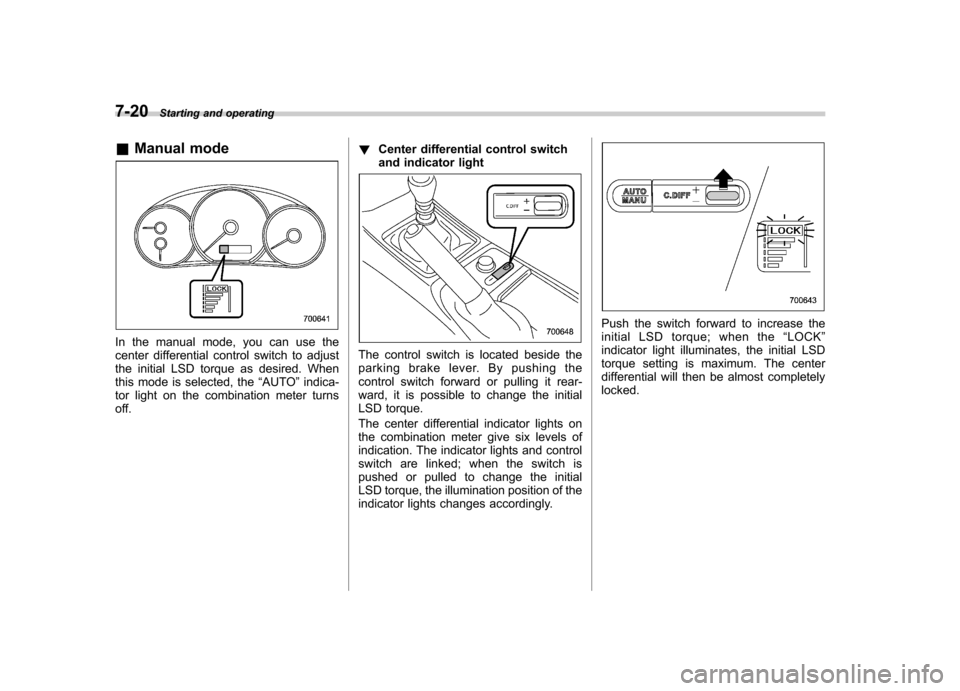
& Manual mode
In the manual mode, you can use the
center differential control switch to adjust
the initial LSD torque as desired. When
this mode is selected, the “AUTO ”indica-
tor light on the combination meter turns
off. !
Center differential control switch
and indicator lightThe control switch is located beside the
parking brake lever. By pushing the
control switch forward or pulling it rear-
ward, it is possible to change the initial
LSD torque.
The center differential indicator lights on
the combination meter give six levels of
indication. The indicator lights and control
switch are linked; when the switch is
pushed or pulled to change the initial
LSD torque, the illumination position of the
indicator lights changes accordingly.
Push the switch forward to increase the
initial LSD torque; when the “LOCK ”
indicator light illuminates, the initial LSD
torque setting is maximum. The center
differential will then be almost completelylocked.
Page 264 of 416
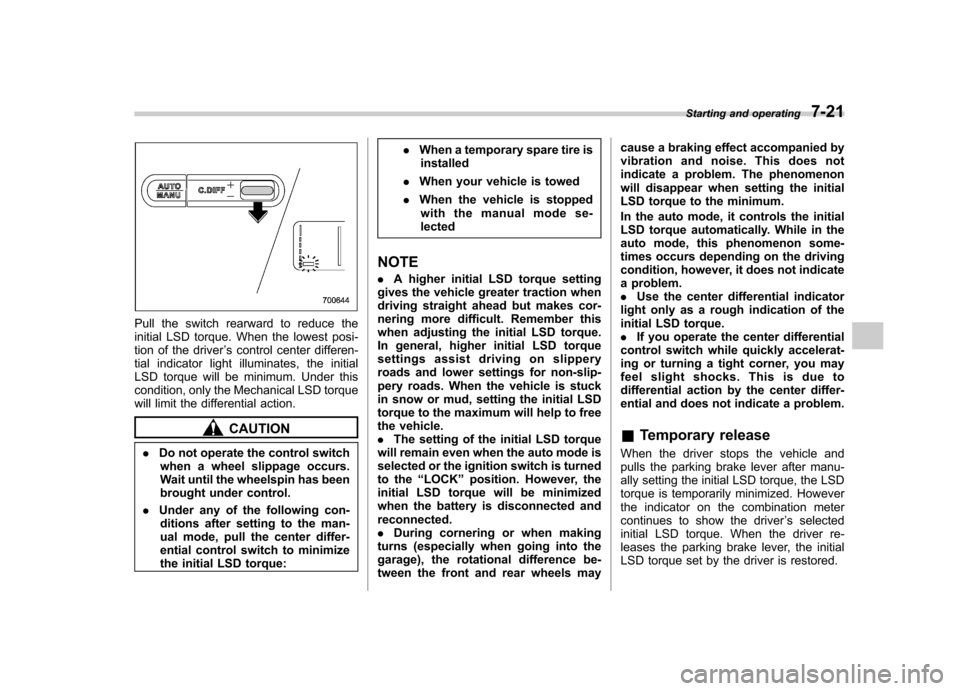
Pull the switch rearward to reduce the
initial LSD torque. When the lowest posi-
tion of the driver’s control center differen-
tial indicator light illuminates, the initial
LSD torque will be minimum. Under this
condition, only the Mechanical LSD torque
will limit the differential action.
CAUTION
. Do not operate the control switch
when a wheel slippage occurs.
Wait until the wheelspin has been
brought under control.
. Under any of the following con-
ditions after setting to the man-
ual mode, pull the center differ-
ential control switch to minimize
the initial LSD torque: .
When a temporary spare tire is
installed
. When your vehicle is towed
. When the vehicle is stopped
with the manual mode se-lected
NOTE . A higher initial LSD torque setting
gives the vehicle greater traction when
driving straight ahead but makes cor-
nering more difficult. Remember this
when adjusting the initial LSD torque.
In general, higher initial LSD torque
settings assist driving on slippery
roads and lower settings for non-slip-
pery roads. When the vehicle is stuck
in snow or mud, setting the initial LSD
torque to the maximum will help to free
the vehicle.. The setting of the initial LSD torque
will remain even when the auto mode is
selected or the ignition switch is turned
to the “LOCK ”position. However, the
initial LSD torque will be minimized
when the battery is disconnected andreconnected.. During cornering or when making
turns (especially when going into the
garage), the rotational difference be-
tween the front and rear wheels may cause a braking effect accompanied by
vibration and noise. This does not
indicate a problem. The phenomenon
will disappear when setting the initial
LSD torque to the minimum.
In the auto mode, it controls the initial
LSD torque automatically. While in the
auto mode, this phenomenon some-
times occurs depending on the driving
condition, however, it does not indicate
a problem..
Use the center differential indicator
light only as a rough indication of the
initial LSD torque.. If you operate the center differential
control switch while quickly accelerat-
ing or turning a tight corner, you may
feel slight shocks. This is due to
differential action by the center differ-
ential and does not indicate a problem. & Temporary release
When the driver stops the vehicle and
pulls the parking brake lever after manu-
ally setting the initial LSD torque, the LSD
torque is temporarily minimized. However
the indicator on the combination meter
continues to show the driver ’s selected
initial LSD torque. When the driver re-
leases the parking brake lever, the initial
LSD torque set by the driver is restored. Starting and operating
7-21
Page 270 of 416
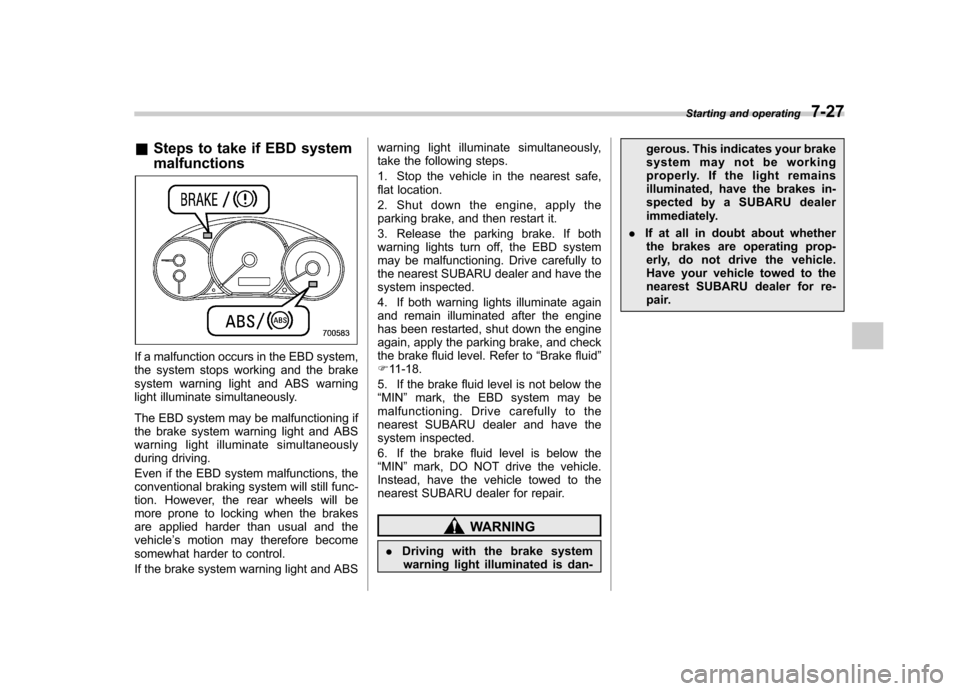
&Steps to take if EBD system malfunctions
If a malfunction occurs in the EBD system,
the system stops working and the brake
system warning light and ABS warning
light illuminate simultaneously.
The EBD system may be malfunctioning if
the brake system warning light and ABS
warning light illuminate simultaneously
during driving.
Even if the EBD system malfunctions, the
conventional braking system will still func-
tion. However, the rear wheels will be
more prone to locking when the brakes
are applied harder than usual and thevehicle ’s motion may therefore become
somewhat harder to control.
If the brake system warning light and ABS warning light illuminate simultaneously,
take the following steps.
1. Stop the vehicle in the nearest safe,
flat location.
2. Shut down the engine, apply the
parking brake, and then restart it.
3. Release the parking brake. If both
warning lights turn off, the EBD system
may be malfunctioning. Drive carefully to
the nearest SUBARU dealer and have the
system inspected.
4. If both warning lights illuminate again
and remain illuminated after the engine
has been restarted, shut down the engine
again, apply the parking brake, and check
the brake fluid level. Refer to
“Brake fluid ”
F 11-18.
5. If the brake fluid level is not below the“ MIN ”mark, the EBD system may be
malfunctioning. Drive carefully to the
nearest SUBARU dealer and have the
system inspected.
6. If the brake fluid level is below the “ MIN ”mark, DO NOT drive the vehicle.
Instead, have the vehicle towed to the
nearest SUBARU dealer for repair.
WARNING
. Driving with the brake system
warning light illuminated is dan- gerous. This indicates your brake
system may not be working
properly. If the light remains
illuminated, have the brakes in-
spected by a SUBARU dealer
immediately.
. If at all in doubt about whether
the brakes are operating prop-
erly, do not drive the vehicle.
Have your vehicle towed to the
nearest SUBARU dealer for re-
pair. Starting and operating
7-27
Page 276 of 416

CAUTION
. Do not place metal film or any
metal parts in the cargo area/
trunk. This may cause poor re-
ception of the signals from the
tire pressure sensors, and the
tire pressure monitoring system
will not function properly.
. FCC WARNING
Changes or modifications not
expressly approved by the party
responsible for compliance
could void the user ’s authority
to operate the equipment.
NOTE
This device complies with Part 15 of
the FCC Rules and RSS-Gen of IC
Rules. Operation is subject to the
following two conditions: (1) this de-
vice may not cause harmful interfer-
ence, and (2) this device must accept
any interference received, including
interference that may cause undesiredoperation. Parking your vehicle &
Parking brake
To set the parking brake, depress the
brake pedal firmly and hold it down until
the parking brake lever is fully pulled up.
To release the parking brake, pull the lever
up slightly, press the release button, then
lower the lever while keeping the button pressed.
When the parking brake is set while the
engine is running, the parking brake
warning light illuminates. After starting
the vehicle, be sure that the warning light
has turned off before the vehicle is driven.
Refer to “Parking brake warning ”F 3-19.
CAUTION
Never drive while the parking brake
is set because this will cause un-
necessary wear on the brake lin-
ings. Before starting to drive, always
make sure that the parking brake
has been fully released.
& Parking tips
When parking your vehicle, always per-
form the following items. . Apply the parking brake firmly.
. Put the shift lever in “1 ” (1st) for an
upgrade or “R ” (Reverse) for a down-
grade.
Never rely on the transmission alone to
hold the vehicle. Starting and operating
7-33
– CONTINUED –
Page 278 of 416
Hill start assist system
CAUTION
The Hill start assist system is a
device only for helping the driver
to START the vehicle on an uphill
grade. To prevent accidents when
the vehicle is parked on a slope, be
sure to firmly set the parking brake.
When setting the parking brake,
make sure that the vehicle remains
stationary when the clutch pedal isreleased.
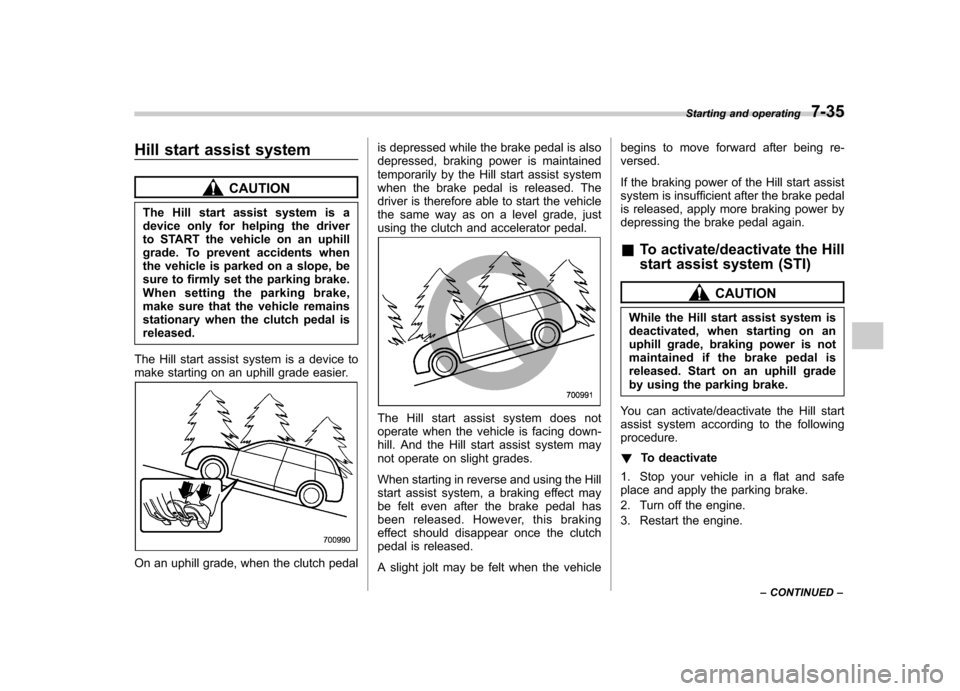
The Hill start assist system is a device to
make starting on an uphill grade easier.
On an uphill grade, when the clutch pedal is depressed while the brake pedal is also
depressed, braking power is maintained
temporarily by the Hill start assist system
when the brake pedal is released. The
driver is therefore able to start the vehicle
the same way as on a level grade, just
using the clutch and accelerator pedal.
The Hill start assist system does not
operate when the vehicle is facing down-
hill. And the Hill start assist system may
not operate on slight grades.
When starting in reverse and using the Hill
start assist system, a braking effect may
be felt even after the brake pedal has
been released. However, this braking
effect should disappear once the clutch
pedal is released.
A slight jolt may be felt when the vehiclebegins to move forward after being re- versed.
If the braking power of the Hill start assist
system is insufficient after the brake pedal
is released, apply more braking power by
depressing the brake pedal again. &
To activate/deactivate the Hill
start assist system (STI)
CAUTION
While the Hill start assist system is
deactivated, when starting on an
uphill grade, braking power is not
maintained if the brake pedal is
released. Start on an uphill grade
by using the parking brake.
You can activate/deactivate the Hill start
assist system according to the followingprocedure. ! To deactivate
1. Stop your vehicle in a flat and safe
place and apply the parking brake.
2. Turn off the engine.
3. Restart the engine. Starting and operating
7-35
– CONTINUED –
Page 290 of 416
!Before driving your vehicle
Before entering the vehicle, remove any
snow or ice from your shoes because that
could make the pedals slippery and
driving dangerous.
While warming up the vehicle before
driving, check that the accelerator pedal,
brake pedal, and all other controls operate
smoothly.
Clear away ice and snow that has
accumulated under the fenders to avoid
making steering difficult. During severe
winter driving, stop when and where it is
safe to do so and check under the fenders
periodically. ! Parking in cold weather
Do not use the parking brake when
parking for long periods in cold weather
since it could freeze in that position.
Instead, you should observe the followingtips.
1. Place the shift lever in “1 ” or “R ”.
2. Use tire stops under the tires to
prevent the vehicle from moving.
When the vehicle is parked in snow or
when it snows, raise the wiper blades off
the glass to prevent damage to them.
When the vehicle has been left parked
after use on roads heavily covered with snow, or has been left parked during a
snowstorm, icing may develop on the
brake system, which could cause poor
braking action. Check for snow or ice
buildup on the suspension, disc brakes
and brake hoses underneath the vehicle.
If there is caked snow or ice, remove it,
being careful not to damage the disc
brakes and brake hoses and ABS har-ness.
WARNING
Snow can trap dangerous exhaust
gases under your vehicle. Keep
snow clear of the exhaust pipe and
from around your vehicle if you park
the vehicle in snow with the enginerunning.
! Refueling in cold weather
To help prevent moisture from forming in
the fuel system and the risk of its freezing,
use of an antifreeze additive in the fuel
tank is recommended during cold weather.
Use only additives that are specifically
designed for this purpose. When an
antifreeze additive is used, its effect lasts
longer if the tank is refilled whenever the
fuel level reaches half empty.
If your SUBARU is not going to be used for an extended period, it is best to have
the fuel tank filled to capacity. &
Driving on snowy and icy roads
To prevent skidding and slipping, avoid
sudden braking, abrupt acceleration, high-
speed driving, and sharp turning when
driving on snowy or icy roads.
Always maintain ample distance between
your vehicle and the vehicle ahead of you
to avoid the need for sudden braking.
To supplement the foot brake, use the
engine brake effectively to control the
vehicle speed. (Shift into a lower gear
when necessary.)
Avoid shifting down abruptly. Such beha-
vior can cause the wheels to lock, possibly
leading to loss of vehicle control.
An anti-lock brake system (ABS) en-
hances your vehicle ’s braking perfor-
manceonsnowyandicyroads.For
information on braking on slippery sur-
faces, refer to “ABS (Anti-lock Brake
System) ”F 7-26 and “Vehicle Dynamics
Control system ”F 7-28.
WARNING
Do not use the cruise control on
slippery roads such as snowy or icy
roads. This may cause loss of Driving tips
8-7
– CONTINUED –
Page 303 of 416
9-6In case of emergency
.Always turn off the engine before
raising the flat tire off the ground
using the jack. Never swing or
push the vehicle supported with
the jack. The jack can come out
of the jacking point due to a jolt
and this can result in a severeaccident.
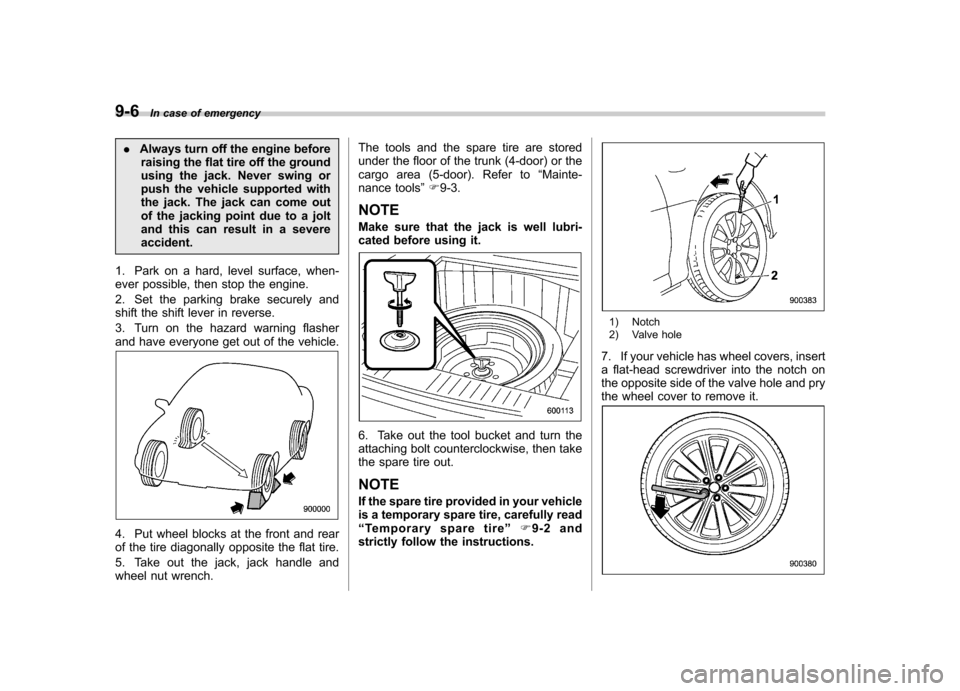
1. Park on a hard, level surface, when-
ever possible, then stop the engine.
2. Set the parking brake securely and
shift the shift lever in reverse.
3. Turn on the hazard warning flasher
and have everyone get out of the vehicle.
4. Put wheel blocks at the front and rear
of the tire diagonally opposite the flat tire.
5. Take out the jack, jack handle and
wheel nut wrench. The tools and the spare tire are stored
under the floor of the trunk (4-door) or the
cargo area (5-door). Refer to
“Mainte-
nance tools ”F 9-3.
NOTE
Make sure that the jack is well lubri-
cated before using it.
6. Take out the tool bucket and turn the
attaching bolt counterclockwise, then take
the spare tire out. NOTE
If the spare tire provided in your vehicle
is a temporary spare tire, carefully read“ Temporary spare tire ”F9-2 and
strictly follow the instructions.
1) Notch
2) Valve hole
7. If your vehicle has wheel covers, insert
a flat-head screwdriver into the notch on
the opposite side of the valve hole and pry
the wheel cover to remove it.
Page 312 of 416
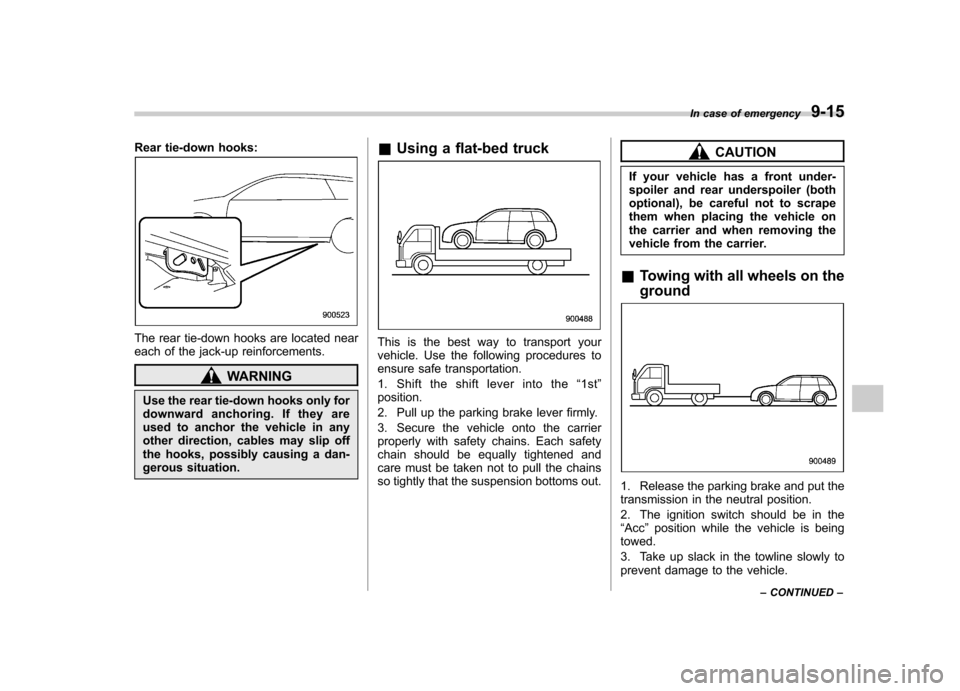
Rear tie-down hooks:
The rear tie-down hooks are located near
each of the jack-up reinforcements.
WARNING
Use the rear tie-down hooks only for
downward anchoring. If they are
used to anchor the vehicle in any
other direction, cables may slip off
the hooks, possibly causing a dan-
gerous situation. &
Using a flat-bed truck
This is the best way to transport your
vehicle. Use the following procedures to
ensure safe transportation.
1. Shifttheshiftleverintothe “1st ”
position.
2. Pull up the parking brake lever firmly.
3. Secure the vehicle onto the carrier
properly with safety chains. Each safety
chain should be equally tightened and
care must be taken not to pull the chains
so tightly that the suspension bottoms out.
CAUTION
If your vehicle has a front under-
spoiler and rear underspoiler (both
optional), be careful not to scrape
them when placing the vehicle on
the carrier and when removing the
vehicle from the carrier.
& Towing with all wheels on the ground
1. Release the parking brake and put the
transmission in the neutral position.
2. The ignition switch should be in the “Acc ”position while the vehicle is being
towed.
3. Take up slack in the towline slowly to
prevent damage to the vehicle. In case of emergency
9-15
– CONTINUED –