2012 SUBARU IMPREZA WRX light
[x] Cancel search: lightPage 280 of 416
&Hill start assist warning light/
Hill start assist OFF indicator light
Refer to “Hill start assist warning light/Hill
start assist OFF indicator light (STI) ”F 3-
20. Cruise control
Cruise control enables you to maintain a
constant vehicle speed without holding
your foot on the accelerator pedal and it is
operative when the vehicle speed is 25
mph (40 km/h) or more.
WARNING
Do not use the cruise control under
any of the following conditions.
These may cause loss of vehiclecontrol. . driving up or down a steep grade
. driving on slippery or winding
roads
. driving in heavy traffic
NOTE . If you press the “CRUISE ”main
switch button while turning the ignition switch “ON ”, the cruise control func-
tion is deactivated and the cruise
control indicator light flashes. To re-
activate the cruise control function,
turn the ignition switch back to the“ Acc ”or “LOCK ”position, and then
turn it again to the “ON ”position.
. Make sure the “CRUISE ”main
switch is turned off when the cruise control is not in use to avoid uninten-
tionally setting of the cruise control.
& To set cruise control
1. Push the “CRUISE ”main switch but-
ton.
Starting and operating 7-37
– CONTINUED –
Page 281 of 416

7-38Starting and operating
The cruise control indicator light on the
combination meter will illuminate.
2. Depress the accelerator pedal until the
vehicle reaches the desired speed.
3. Push the “SET/COAST ”button and
release it. Then release the accelerator pedal.
At this time, the cruise control set indicator
light is illuminated on the combination
meter.
The vehicle will maintain the desired speed.
Vehicle speed can be temporarily in-
creased while driving with the cruise
control activated. Simply depress the
accelerator pedal to accelerate the vehi-
cle. When the accelerator pedal is re-
leased, the vehicle will return to and
maintain the previous cruising speed. &
To temporarily cancel the
cruise control
The cruise control can be temporarily
canceled in the following ways.
. Push the “CANCEL ”button.
. Depress the brake pedal.
. Depress the clutch pedal.
. Shift the shift lever into the neutral
position.
The cruise control set indicator light on the
combination meter turns off when the
cruise control is canceled.
Page 282 of 416
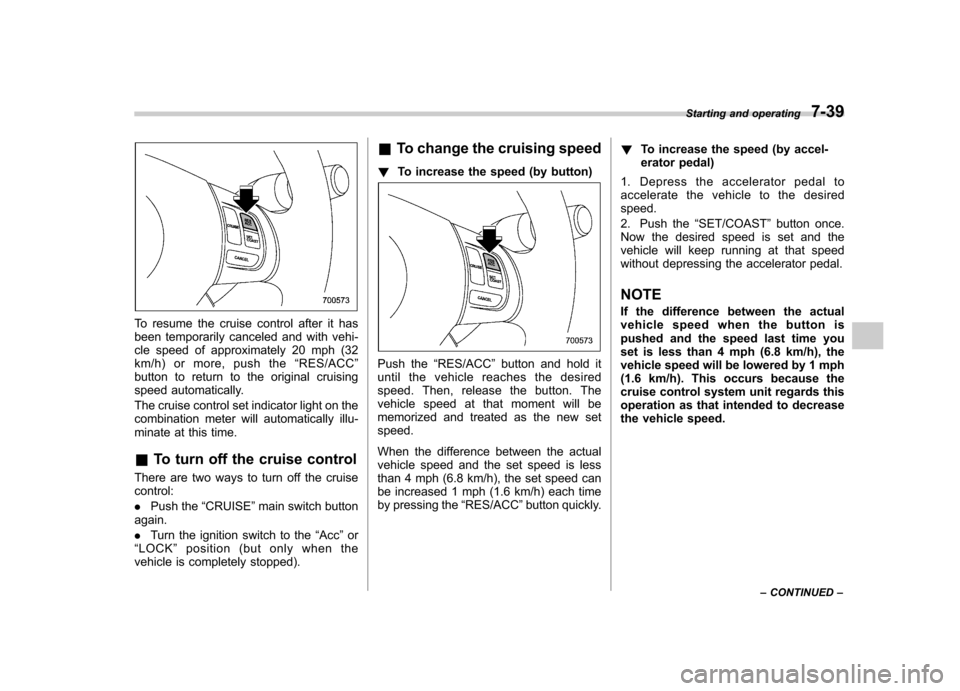
To resume the cruise control after it has
been temporarily canceled and with vehi-
cle speed of approximately 20 mph (32
km/h) or more, push the“RES/ACC ”
button to return to the original cruising
speed automatically.
The cruise control set indicator light on the
combination meter will automatically illu-
minate at this time. & To turn off the cruise control
There are two ways to turn off the cruise control: . Push the “CRUISE ”main switch button
again.. Turn the ignition switch to the “Acc ”or
“ LOCK ”position (but only when the
vehicle is completely stopped). &
To change the cruising speed
! To increase the speed (by button)
Push the “RES/ACC ”button and hold it
until the vehicle reaches the desired
speed. Then, release the button. The
vehicle speed at that moment will be
memorized and treated as the new setspeed.
When the difference between the actual
vehicle speed and the set speed is less
than 4 mph (6.8 km/h), the set speed can
be increased 1 mph (1.6 km/h) each time
by pressing the “RES/ACC ”button quickly. !
To increase the speed (by accel-
erator pedal)
1. Depress the accelerator pedal to
accelerate the vehicle to the desiredspeed.
2. Push the “SET/COAST ”button once.
Now the desired speed is set and the
vehicle will keep running at that speed
without depressing the accelerator pedal.
NOTE
If the difference between the actual
vehicle speed when the button is
pushed and the speed last time you
set is less than 4 mph (6.8 km/h), the
vehicle speed will be lowered by 1 mph
(1.6 km/h). This occurs because the
cruise control system unit regards this
operation as that intended to decrease
the vehicle speed. Starting and operating
7-39
– CONTINUED –
Page 283 of 416
7-40Starting and operating
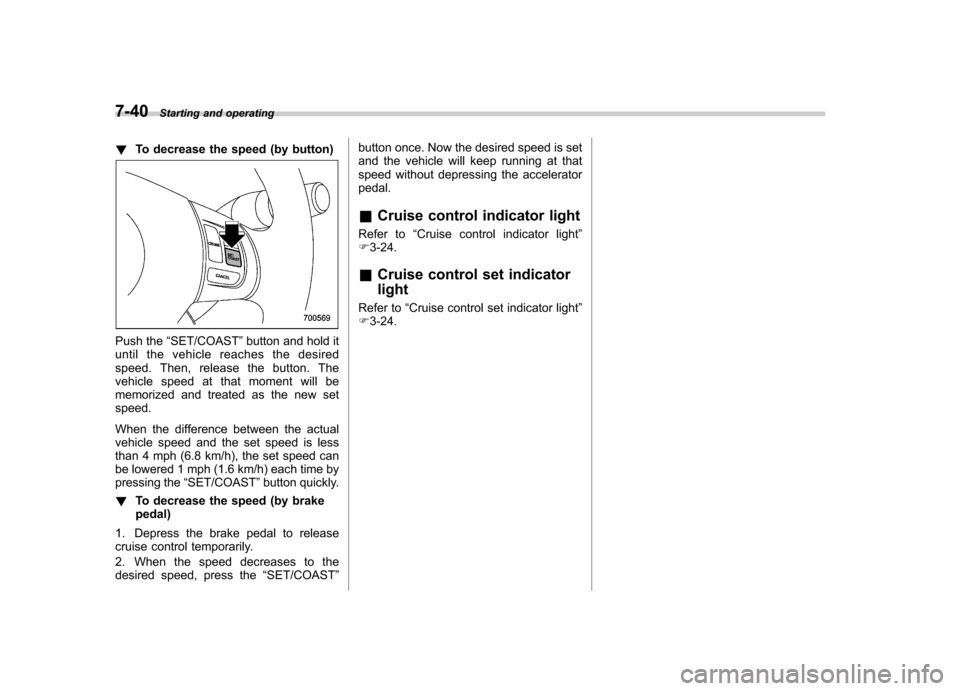
! To decrease the speed (by button)
Push the “SET/COAST ”button and hold it
until the vehicle reaches the desired
speed. Then, release the button. The
vehicle speed at that moment will be
memorized and treated as the new setspeed.
When the difference between the actual
vehicle speed and the set speed is less
than 4 mph (6.8 km/h), the set speed can
be lowered 1 mph (1.6 km/h) each time by
pressing the “SET/COAST ”button quickly.
! To decrease the speed (by brakepedal)
1. Depress the brake pedal to release
cruise control temporarily.
2. When the speed decreases to the
desired speed, press the “SET/COAST ”button once. Now the desired speed is set
and the vehicle will keep running at that
speed without depressing the acceleratorpedal.
& Cruise control indicator light
Refer to “Cruise control indicator light ”
F 3-24.
& Cruise control set indicator light
Refer to “Cruise control set indicator light ”
F 3-24.
Page 292 of 416
.You must install four winter tires
that are of the same size, circum-
ference, construction, manufac-
turer, brand (tread pattern), de-
gree of wear, speed symbol and
load index. Mixing tires of other
sizes or constructions may result
in severe mechanical damage to
the drive train of your vehicle and
may affect ride, handling, braking
and speedometer/odometer cali-
bration. It also may be dangerous
and lead to loss of vehicle con-trol.
. Do not use a combination of
radial, belted bias or bias tires
since it may cause dangerous
handling characteristics and lead
to an accident.
Your vehicle is equipped with “summer
tires ”as original equipment, which are
inadequate for driving on slippery roads
such as on snow-covered or icy roads.
Compared with winter and all-season
tires, summer tires give significantly less
grip on snowy and icy road surfaces.
Therefore, use of winter tires is strongly
recommended when driving with such
road conditions.
When you choose to install winter tires on
your vehicle, be sure to use the correct tire size and type. You must install four winter
tires that are of the same size, construc-
tion, brand and load range and you should
never mix radial, belted bias or bias tires
since this may result in dangerous hand-
ling characteristics. When you choose a
tire, make sure that there is enough
clearance between the tire and vehicle
body.
Remember to drive with care at all times
regardless of the type of tires on yourvehicle.
& Tire chains
CAUTION
Tire chains cannot be used on your
Impreza, WRX and STI because of
the lack of clearance between the
tires and vehicle body.
& Rocking the vehicle
If you must rock the vehicle to free it from
snow, sand, or mud, depress the accel-
erator pedal slightly and move the shift
lever back and forth between “1 ” and “R ”
repeatedly. Do not race the engine. For
the best possible traction, avoid spinning
the wheels when trying to free the vehicle. When the road surface is extremely
slippery, you can obtain better traction by
starting the vehicle with the transmission
in 2nd than 1st.
Driving tips
8-9
Page 299 of 416
9-2In case of emergency
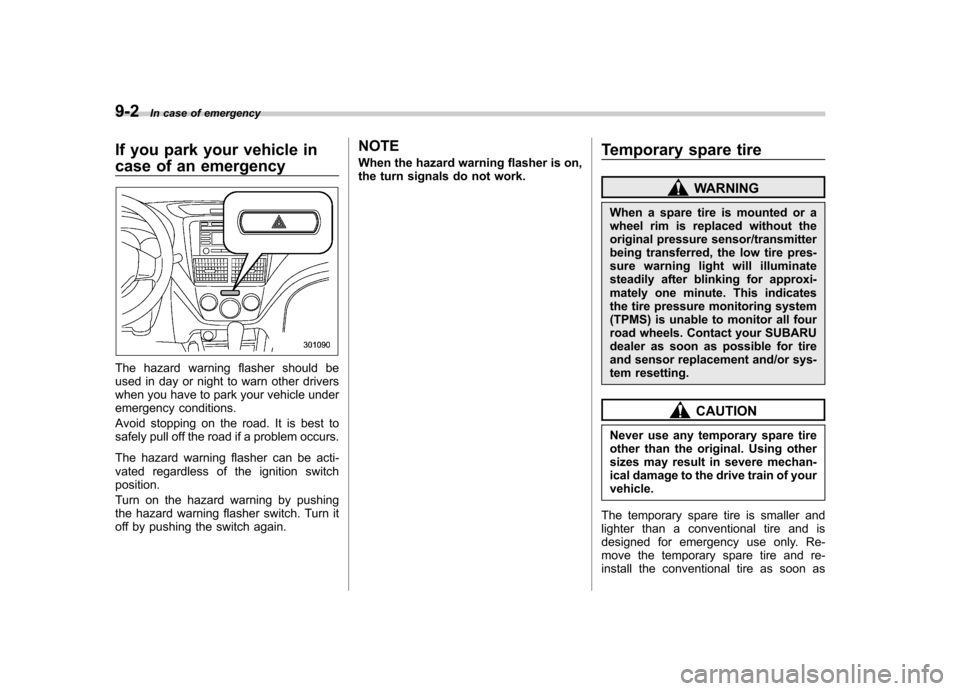
If you park your vehicle in
case of an emergency
The hazard warning flasher should be
used in day or night to warn other drivers
when you have to park your vehicle under
emergency conditions.
Avoid stopping on the road. It is best to
safely pull off the road if a problem occurs.
The hazard warning flasher can be acti-
vated regardless of the ignition switchposition.
Turn on the hazard warning by pushing
the hazard warning flasher switch. Turn it
off by pushing the switch again. NOTE
When the hazard warning flasher is on,
the turn signals do not work.
Temporary spare tire
WARNING
When a spare tire is mounted or a
wheel rim is replaced without the
original pressure sensor/transmitter
being transferred, the low tire pres-
sure warning light will illuminate
steadily after blinking for approxi-
mately one minute. This indicates
the tire pressure monitoring system
(TPMS) is unable to monitor all four
road wheels. Contact your SUBARU
dealer as soon as possible for tire
and sensor replacement and/or sys-
tem resetting.
CAUTION
Never use any temporary spare tire
other than the original. Using other
sizes may result in severe mechan-
ical damage to the drive train of yourvehicle.
The temporary spare tire is smaller and
lighter than a conventional tire and is
designed for emergency use only. Re-
move the temporary spare tire and re-
install the conventional tire as soon as
Page 305 of 416
9-8In case of emergency
WARNING
Do not use oil or grease on the
wheel studs or nuts when the spare
tire is installed. This could cause the
nuts to become loose and lead to anaccident.
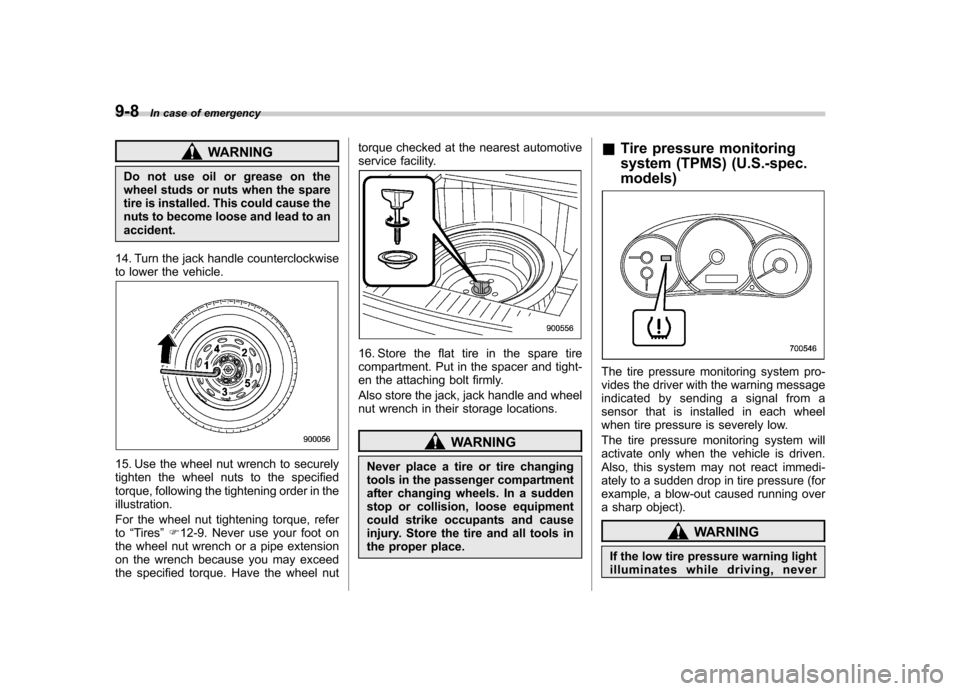
14. Turn the jack handle counterclockwise
to lower the vehicle.
15. Use the wheel nut wrench to securely
tighten the wheel nuts to the specified
torque, following the tightening order in theillustration.
For the wheel nut tightening torque, refer to “Tires ”F 12-9. Never use your foot on
the wheel nut wrench or a pipe extension
on the wrench because you may exceed
the specified torque. Have the wheel nut torque checked at the nearest automotive
service facility.
16. Store the flat tire in the spare tire
compartment. Put in the spacer and tight-
en the attaching bolt firmly.
Also store the jack, jack handle and wheel
nut wrench in their storage locations.
WARNING
Never place a tire or tire changing
tools in the passenger compartment
after changing wheels. In a sudden
stop or collision, loose equipment
could strike occupants and cause
injury. Store the tire and all tools in
the proper place. &
Tire pressure monitoring
system (TPMS) (U.S.-spec. models)
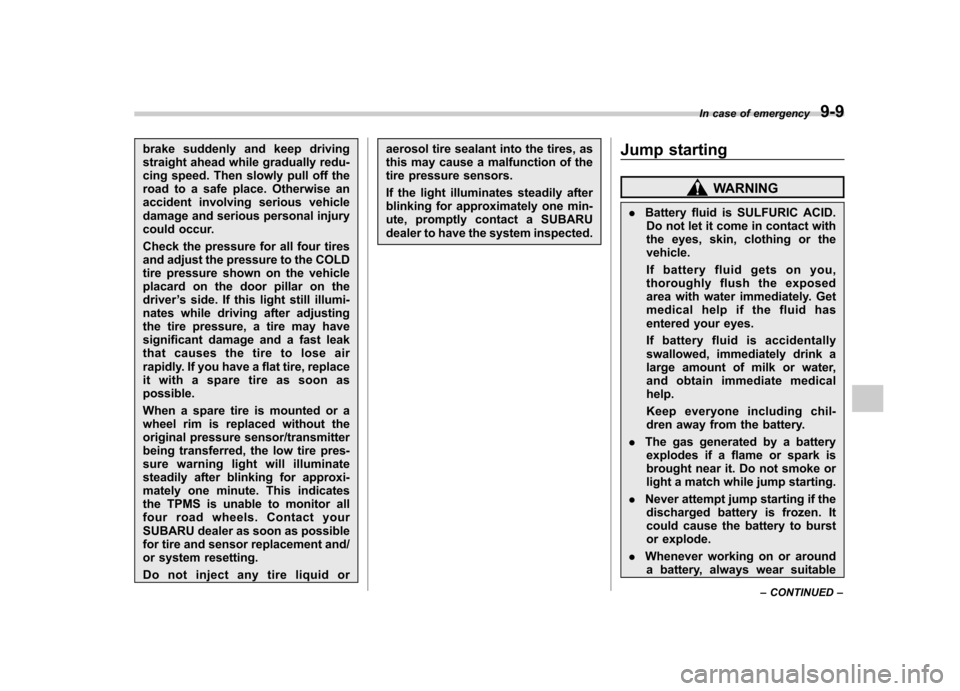
The tire pressure monitoring system pro-
vides the driver with the warning message
indicated by sending a signal from a
sensor that is installed in each wheel
when tire pressure is severely low.
The tire pressure monitoring system will
activate only when the vehicle is driven.
Also, this system may not react immedi-
ately to a sudden drop in tire pressure (for
example, a blow-out caused running over
a sharp object).
WARNING
If the low tire pressure warning light
illuminates while driving, never
Page 306 of 416
brake suddenly and keep driving
straight ahead while gradually redu-
cing speed. Then slowly pull off the
road to a safe place. Otherwise an
accident involving serious vehicle
damage and serious personal injury
could occur.
Check the pressure for all four tires
and adjust the pressure to the COLD
tire pressure shown on the vehicle
placard on the door pillar on thedriver’s side. If this light still illumi-
nates while driving after adjusting
the tire pressure, a tire may have
significant damage and a fast leak
that causes the tire to lose air
rapidly. If you have a flat tire, replace
it with a spare tire as soon aspossible.
When a spare tire is mounted or a
wheel rim is replaced without the
original pressure sensor/transmitter
being transferred, the low tire pres-
sure warning light will illuminate
steadily after blinking for approxi-
mately one minute. This indicates
the TPMS is unable to monitor all
four road wheels. Contact your
SUBARU dealer as soon as possible
for tire and sensor replacement and/
or system resetting.
Do not inject any tire liquid or aerosol tire sealant into the tires, as
this may cause a malfunction of the
tire pressure sensors.
If the light illuminates steadily after
blinking for approximately one min-
ute, promptly contact a SUBARU
dealer to have the system inspected.
Jump starting
WARNING
. Battery fluid is SULFURIC ACID.
Do not let it come in contact with
the eyes, skin, clothing or thevehicle.
If battery fluid gets on you,
thoroughly flush the exposed
area with water immediately. Get
medical help if the fluid has
entered your eyes.
If battery fluid is accidentally
swallowed, immediately drink a
large amount of milk or water,
and obtain immediate medicalhelp.
Keep everyone including chil-
dren away from the battery.
. The gas generated by a battery
explodes if a flame or spark is
brought near it. Do not smoke or
light a match while jump starting.
. Never attempt jump starting if the
discharged battery is frozen. It
could cause the battery to burst
or explode.
. Whenever working on or around
a battery, always wear suitable In case of emergency
9-9
– CONTINUED –