Page 389 of 508

8. Lower the jack to its fully closed position. If the jack
will not lower by turning the dial (thumbwheel) by hand,
it may be necessary to use the jack drive tube in order to
lower the jack. Stow the replaced tire, jack, and tools as
previously described.
9. Adjust the tire pressure when possible.
NOTE:Do not oil wheel studs. For chrome wheels, do
not substitute with chrome plated wheel nuts.
Hub Caps/Wheel Covers — If Equipped
The hub caps must be removed before raising the vehicle
off the ground.
CAUTION!
Use extreme caution when removing the front and
rear center caps. Damage can occur to the center cap
and/or the wheel if screwdriver type tools are used. A
pulling motion, not a pry off motion, is recom-
mended to remove the caps.
For single rear wheel (SRW) models, use the blade on the
end of the lug wrench to pry the hub cap off. Insert the
blade end into the pry off notch and carefully pop off the
hub cap with a back and forth motion.
On 3500 models with dual rear wheels (DRW), you must
first remove the hub caps. The jack handle driver has a
hook at one end that will fit in the pry off notch of the
rear hub caps. Position the hook and pull out on the
ratchet firmly. The hub cap should pop off. The wheel
skins can now be removed. For the front hub cap on
6
WHAT TO DO IN EMERGENCIES 387
Page 412 of 508

CAUTION! (Continued)
•Your vehicle has been built with improved fluids
that protect the performance and durability of
your vehicle and also allow extended maintenance
intervals. Do not use chemical flushes in these
components as the chemicals can damage your
engine, transmission, power steering or air condi-
tioning. Such damage is not covered by the New
Vehicle Limited Warranty. If a flush is needed
because of component malfunction, use only the
specified fluid for the flushing procedure.
Engine Oil
Checking Oil Level
To assure proper lubrication of your vehicle’s engine, the
engine oil must be maintained at the correct level. Check
the oil level at regular intervals, such as every fuel stop.The best time to check the engine oil level is about five
minutes after a fully warmed up engine is shut off.
Checking the oil while the vehicle is on level ground will
improve the accuracy of the oil level readings. Always
maintain the oil level within the SAFE zone on the
dipstick. Adding one quart of oil when the reading is at
the bottom of the SAFE zone will result in a reading at the
top of the safe zone on these engines.
CAUTION!
Overfilling or underfilling the crankcase will cause
oil aeration or loss of oil pressure. This could damage
your engine.
410 MAINTAINING YOUR VEHICLE
Page 462 of 508
Once A Month
•Check tire pressure and look for unusual wear or
damage.
•Inspect the battery and clean and tighten the terminals
as required.
•Check the fluid levels of coolant reservoir, brake
master cylinder, power steering and transmission and
add as needed.
•Check all lights and other electrical items for correct
operation.At Each Oil Change
•Change the engine oil filter.
•Inspect the brake hoses and lines.
CAUTION!
Failure to perform the required maintenance items
may result in damage to the vehicle.
Required Maintenance Intervals
Refer to the Maintenance Schedules on the following
pages for the required maintenance intervals.
8
M
A
I
N
T
E
N
A
N
C
E
S
C
H
E
D
U
L
E
S460 MAINTENANCE SCHEDULES
Page 496 of 508
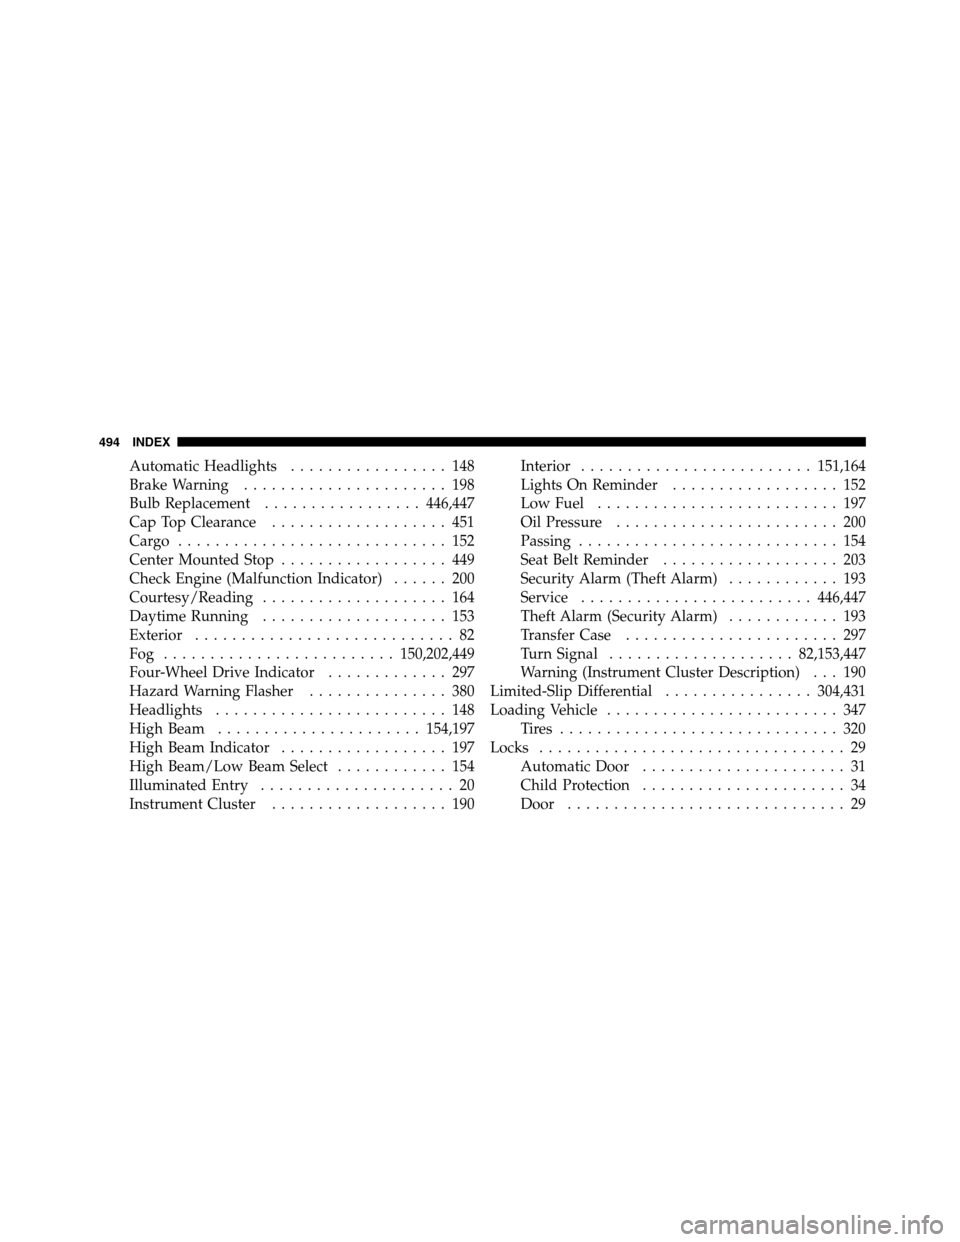
Automatic Headlights................. 148
Brake Warning...................... 198
Bulb Replacement.................446,447
Cap Top Clearance................... 451
Cargo ............................. 152
Center Mounted Stop.................. 449
Check Engine (Malfunction Indicator)...... 200
Courtesy/Reading.................... 164
Daytime Running.................... 153
Exterior............................ 82
Fog .........................150,202,449
Four-Wheel Drive Indicator............. 297
Hazard Warning Flasher............... 380
Headlights......................... 148
High Beam......................154,197
High Beam Indicator.................. 197
High Beam/Low Beam Select............ 154
Illuminated Entry..................... 20
Instrument Cluster................... 190Interior.........................151,164
Lights On Reminder.................. 152
Low Fuel.......................... 197
Oil Pressure........................ 200
Passing............................ 154
Seat Belt Reminder................... 203
Security Alarm (Theft Alarm)............ 193
Service.........................446,447
Theft Alarm (Security Alarm)............ 193
Transfer Case....................... 297
Turn Signal.................... 82,153,447
Warning (Instrument Cluster Description) . . . 190
Limited-Slip Differential................304,431
Loading Vehicle......................... 347
Tires .............................. 320
Locks................................. 29
Automatic Door...................... 31
Child Protection...................... 34
Door.............................. 29
494 INDEX
