2012 Peugeot Boxer Benne ECO mode
[x] Cancel search: ECO modePage 46 of 184
44
Starting and stopping
Going into engine START mode
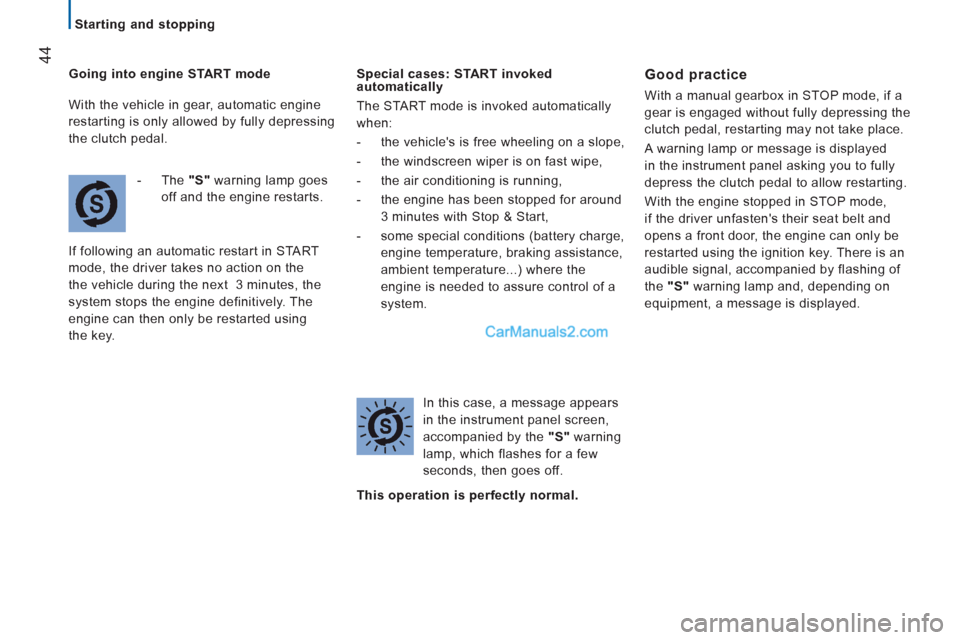
- The "S"
warning lamp goes
off and the engine restarts.
If following an automatic restart in START
mode, the driver takes no action on the
the vehicle during the next 3 minutes, the
system stops the engine definitively. The
engine can then only be restarted using
the key.
Special cases: START invoked
automatically
The START mode is invoked automatically
when:
- the vehicle's is free wheeling on a slope,
- the windscreen wiper is on fast wipe,
- the air conditioning is running,
- the engine has been stopped for around
3 minutes with Stop & Start,
- some special conditions (battery charge,
engine temperature, braking assistance,
ambient temperature...) where the
engine is needed to assure control of a
system.
In this case, a message appears
in the instrument panel screen,
accompanied by the "S"
warning
lamp, which flashes for a few
seconds, then goes off.
Good practice
With a manual gearbox in STOP mode, if a
gear is engaged without fully depressing the
clutch pedal, restarting may not take place.
A warning lamp or message is displayed
in the instrument panel asking you to fully
depress the clutch pedal to allow restarting.
With the engine stopped in STOP mode,
if the driver unfasten's their seat belt and
opens a front door, the engine can only be
restarted using the ignition key. There is an
audible signal, accompanied by flashing of
the "S"
warning lamp and, depending on
equipment, a message is displayed.
This operation is perfectly normal.
With the vehicle in gear, automatic engine
restarting is only allowed by fully depressing
the clutch pedal.
Page 50 of 184
48 AUTOMATIC ILLUMINATION OF HEADLAMPS
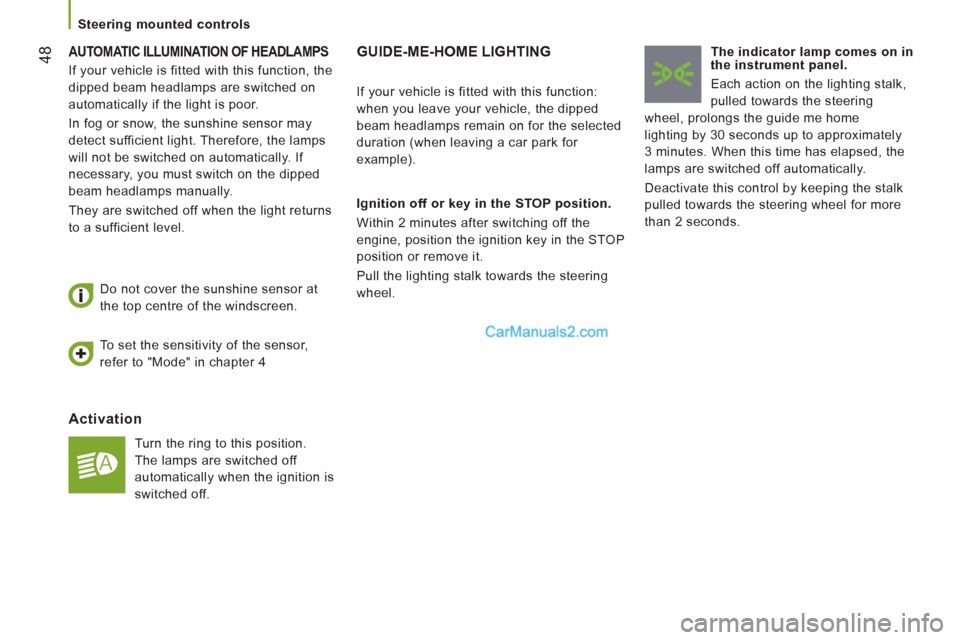
Activation
Turn the ring to this position.
The lamps are switched off
automatically when the ignition is
switched off.
Do not cover the sunshine sensor at
the top centre of the windscreen.
GUIDE-ME-HOME LIGHTING
Ignition off or key in the STOP position.
Within 2 minutes after switching off the
engine, position the ignition key in the STOP
position or remove it.
Pull the lighting stalk towards the steering
wheel.
The indicator lamp comes on in
the instrument panel.
Each action on the lighting stalk,
pulled towards the steering
wheel, prolongs the guide me home
lighting by 30 seconds up to approximately
3 minutes. When this time has elapsed, the
lamps are switched off automatically.
Deactivate this control by keeping the stalk
pulled towards the steering wheel for more
than 2 seconds.
If your vehicle is fitted with this function:
when you leave your vehicle, the dipped
beam headlamps remain on for the selected
duration (when leaving a car park for
example).
To set the sensitivity of the sensor,
refer to "Mode" in chapter 4
If your vehicle is fitted with this function, the
dipped beam headlamps are switched on
automatically if the light is poor.
In fog or snow, the sunshine sensor may
detect sufficient light. Therefore, the lamps
will not be switched on automatically. If
necessary, you must switch on the dipped
beam headlamps manually.
They are switched off when the light returns
to a sufficient level.
Steerin
g mounted controls
Page 59 of 184
57
3
EASE OF USE
and
COMFOR
T
Ventilation
Intake of exterior air
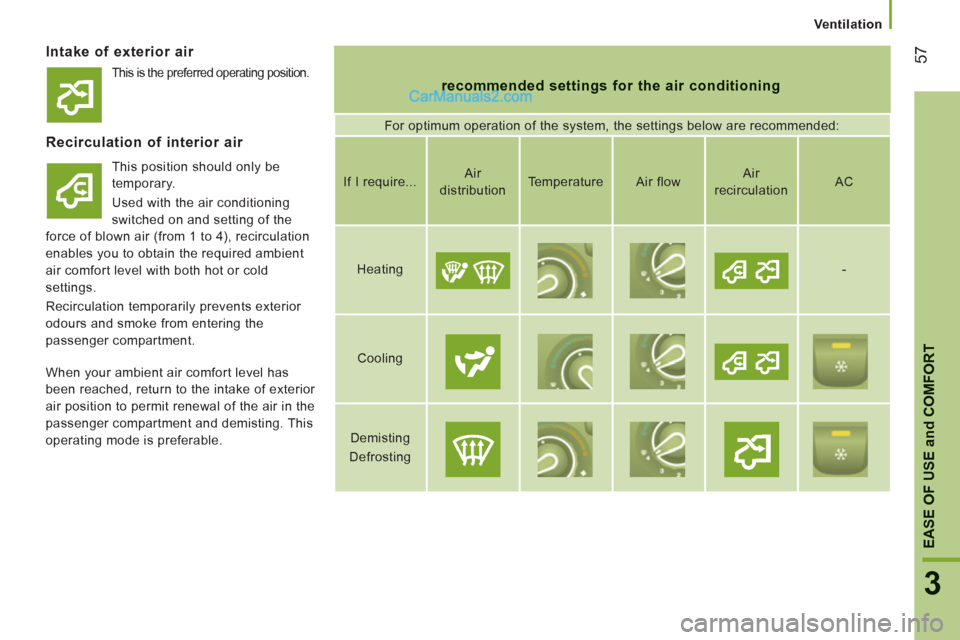
recommended settings for the air conditioning
For optimum operation of the system, the settings below are recommended:
Recirculation of interior air
This position should only be
temporary.
Used with the air conditioning
switched on and setting of the
force of blown air (from 1 to 4), recirculation
enables you to obtain the required ambient
air comfort level with both hot or cold
settings.
Recirculation temporarily prevents exterior
odours and smoke from entering the
passenger compartment.
If I require...
Air
distribution
Temperature
Air flow
Air
recirculation
AC
Heating
-
Cooling
Demisting
Defrosting
When your ambient air comfort level has
been reached, return to the intake of exterior
air position to permit renewal of the air in the
passenger compartment and demisting. This
operating mode is preferable.
This is the preferred operating position.
Page 81 of 184
79
4
TECHNOLOGY
on
BOAR
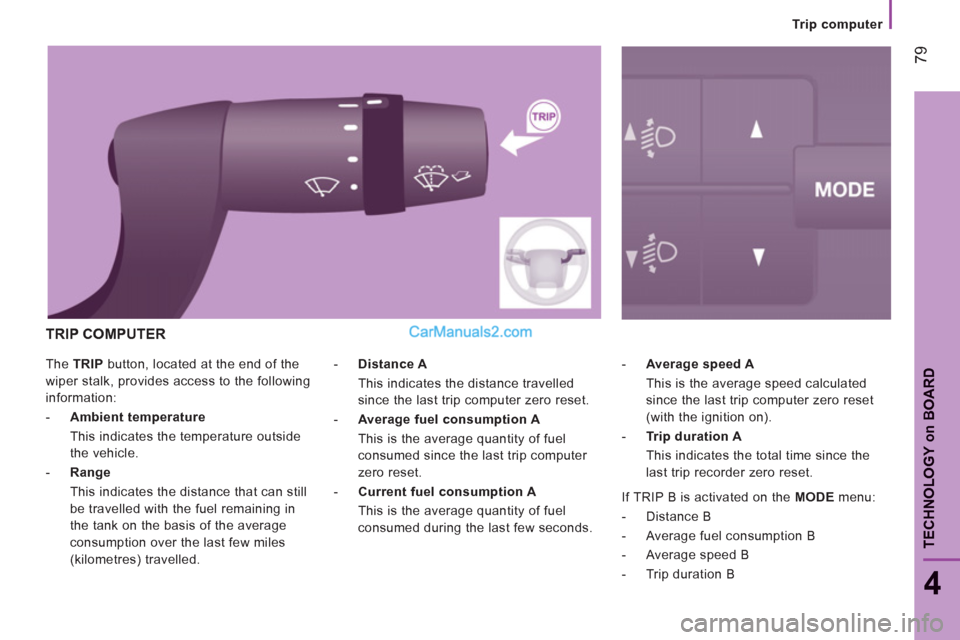
D The TRIP
button, located at the end of the
wiper stalk, provides access to the following
information:
- Ambient temperature
This indicates the temperature outside
the vehicle.
- Range
This indicates the distance that can still
be travelled with the fuel remaining in
the tank on the basis of the average
consumption over the last few miles
(kilometres) travelled.
- Average speed A
This is the average speed calculated
since the last trip computer zero reset
(with the ignition on).
- Trip duration A
This indicates the total time since the
last trip recorder zero reset.
- Distance A
This indicates the distance travelled
since the last trip computer zero reset.
- Average fuel consumption A
This is the average quantity of fuel
consumed since the last trip computer
zero reset.
- Current fuel consumption A
This is the average quantity of fuel
consumed during the last few seconds.
TRIP COMPUTER
If TRIP B is activated on the MODE
menu:
- Distance B
- Average fuel consumption B
- Average speed B
- Trip duration B
Trip computer
Page 83 of 184
81
4
TECHNOLOGY
on
BOAR
D
Mode
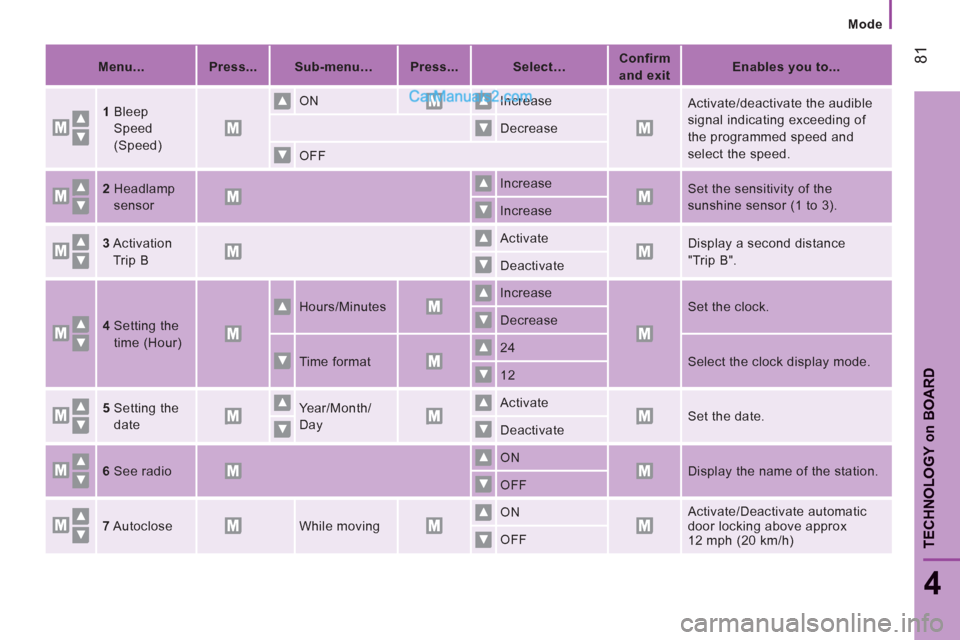
Menu...
Press...
Sub-menu…
Press...
Select…
Confirm
and exit
Enables you to...
1
Bleep
Speed
(Speed) ON Increase
Activate/deactivate the audible
signal indicating exceeding of
the programmed speed and
select the speed. Decrease
OFF
2
Headlamp
sensor Increase
Set the sensitivity of the
sunshine sensor (1 to 3).
Increase
3
Activation
Trip B Activate
Display a second distance
"Trip B".
Deactivate
4
Setting the
time (Hour) Hours/Minutes Increase
Set the clock.
Decrease
Time format 24
Select the clock display mode.
12
5
Setting the
date Year/Month/
Day Activate
Set the date.
Deactivate
6
See radio ON
Display the name of the station.
OFF
7
Autoclose While moving ON Activate/Deactivate automatic
door locking above approx
12 mph (20 km/h) OFF
Page 112 of 184
11
0
Bluetooth hands-free system
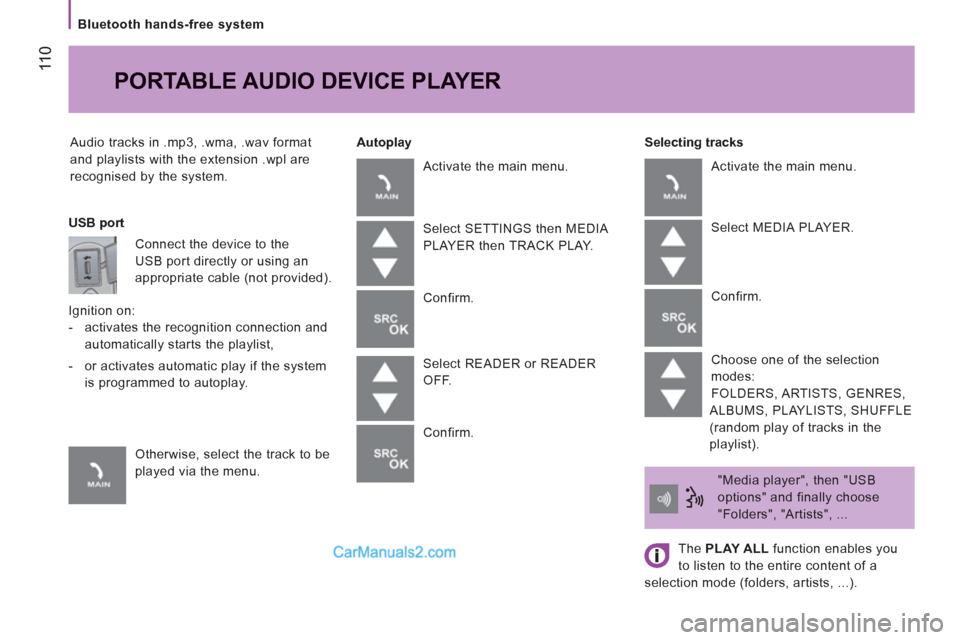
Audio tracks in .mp3, .wma, .wav format
and playlists with the extension .wpl are
recognised by the system.
Selecting tracks
PORTABLE AUDIO DEVICE PLAYER
Autoplay
USB port
Connect the device to the
USB port directly or using an
appropriate cable (not provided).
Ignition on:
- activates the recognition connection and
automatically starts the playlist,
- or activates automatic play if the system
is programmed to autoplay.
Otherwise, select the track to be
played via the menu. Activate the main menu.
Select SETTINGS then MEDIA
PLAYER then TRACK PLAY.
Confirm.
Select READER or READER
OFF.
Confirm. Activate the main menu.
Select MEDIA PLAYER.
Confirm.
Choose one of the selection
modes:
FOLDERS, ARTISTS, GENRES,
ALBUMS, PLAYLISTS, SHUFFLE
(random play of tracks in the
playlist).
"Media player", then "USB
options" and finally choose
"Folders", "Artists", ...
The PLAY ALL
function enables you
to listen to the entire content of a
selection mode (folders, artists, ...).
Page 136 of 184
134
Cooling:
towing a trailer on a slope
increases the coolant temperature.
As the fan is electrically controlled, its
cooling capacity is not dependent on the
engine speed.
On the contrary, use a high gear to lower the
engine speed and reduce your speed.
In all cases, pay attention to the coolant
temperature.
Tyres:
check the tyre pressures of the
towing vehicle (see the "Identification
markings" section of chapter 9) and of
the trailer, observing the recommended
pressures.
We recommend the use of original
PEUGEOT towbars and their harnesses,
which have been tested and approved from
the design stage of your vehicle and that
the fitting of this equipment is entrusted to a
PEUGEOT dealer.
If this equipment is not fitted by a PEUGEOT
dealer, it is imperative that it is fitted using
the electrical pre-equipment installed at the
rear of the vehicle and in accordance with
the manufacturer's instructions.
Good practice
In certain cases of particularly arduous
use (towing the maximum load up a steep
slope in high temperatures), the engine
automatically limits its power. In this
case, the automatic cutting off of the air
conditioning allows the engine power to be
recovered.
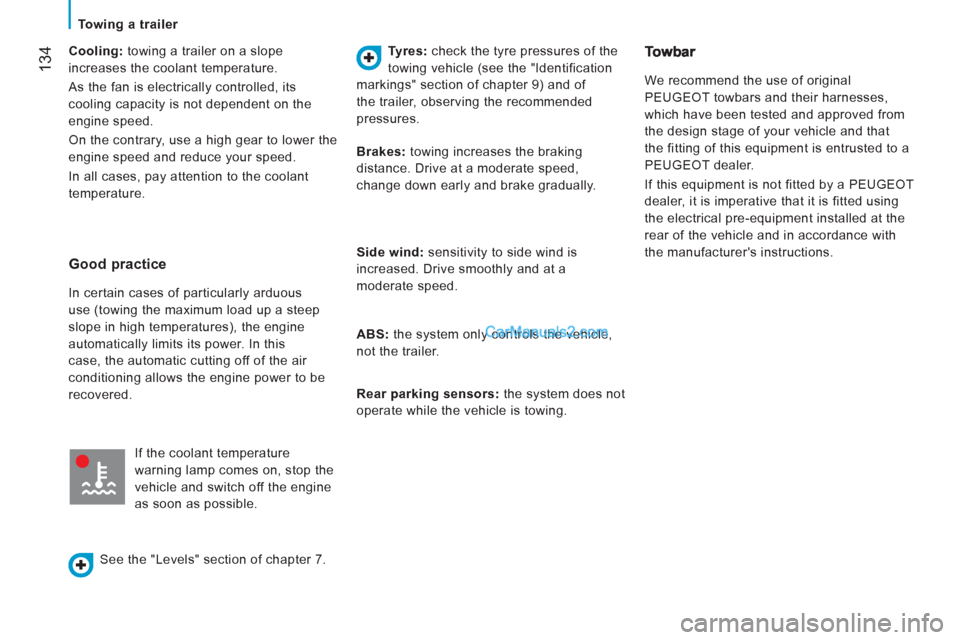
If the coolant temperature
warning lamp comes on, stop the
vehicle and switch off the engine
as soon as possible.
See the "Levels" section of chapter 7.
Brakes:
towing increases the braking
distance. Drive at a moderate speed,
change down early and brake gradually.
Side wind:
sensitivity to side wind is
increased. Drive smoothly and at a
moderate speed.
ABS:
the system only controls the vehicle,
not the trailer.
Rear parking sensors:
the system does not
operate while the vehicle is towing.
Towing a trailer
Page 137 of 184
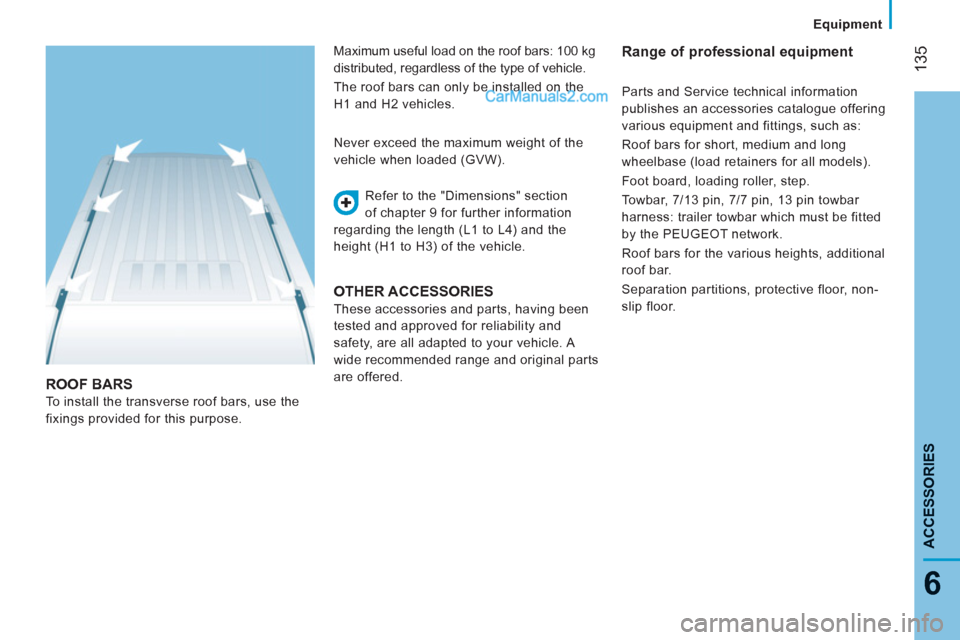
ROOF BARS
To install the transverse roof bars, use the
fixings provided for this purpose. Refer to the "Dimensions" section
of chapter 9 for further information
regarding the length (L1 to L4) and the
height (H1 to H3) of the vehicle. Never exceed the maximum weight of the
vehicle when loaded (GVW).
OTHER ACCESSORIES
These accessories and parts, having been
tested and approved for reliability and
safety, are all adapted to your vehicle. A
wide recommended range and original parts
are offered.
Range of professional equipment Maximum useful load on the roof bars: 100 kg
distributed, regardless of the type of vehicle.
The roof bars can only be installed on the
H1 and H2 vehicles. Parts and Service technical information
publishes an accessories catalogue offering
various equipment and fittings, such as:
Roof bars for short, medium and long
wheelbase (load retainers for all models).
Foot board, loading roller, step.
Towbar, 7/13 pin, 7/7 pin, 13 pin towbar
harness: trailer towbar which must be fitted
by the PEUGEOT network.
Roof bars for the various heights, additional
roof bar.
Separation partitions, protective floor, non-
slip floor.
Equipment
135
6
ACCESSORIE
S