Page 125 of 320

TROUBLESHOOTING GUIDE
SymptomPossible CauseRemedy
When pushing the door handle request
switch The front door beep sounds for approxi-
mately 2 seconds.
The doors cannot be locked.Take out the Intelligent Key from the vehicle
and push the door handle request switch.
When closing the doors The front door beep sounds for approxi-
mately 10 seconds.
The ignition switch is not in the LOCK
position.Place the ignition switch to LOCK.
The key warning light in the instrument
panel blinks in red and the front door warn-
ing beep sounds for approximately 3
seconds. The Intelligent Key is not in the vehicle. Be sure to carry the Intelligent Key with you.
The front door beep sounds for approxi-
mately 3 seconds and all doors unlock. The Intelligent Key is left in the vehicle. Take out the Intelligent Key from the vehicle
and close the door.
When opening the driver’s door A warning chime sounds continuously. The ignition switch is not in the LOCK
position, or the mechanical key is inserted
into the ignition knob.Turn the ignition knob to LOCK.
Remove the mechanical key from the igni-
tion knob.
When stopping the engine The P position warning light in the instru-
ment panel blinks in red. The shift selector is not in the P (Park)
position.Make sure that the shift selector is in the P
(Park) position and place the ignition switch
to LOCK.
When turning the ignition knob The warning chime sounds The ignition switch is not in the LOCK
position. Place the ignition switch in the LOCK
position.
When starting the engine The key warning light in the instrument
panel blinks in green. The battery charge is low.
Replace the battery with a new one. See
“Battery replacement” in the “Maintenance
and do-it-yourself” section.
When turning the ignition switch A warning chime sounds continuously. The ignition switch is not turned to the
LOCK position.Place the ignition switch in the LOCK
position.
A warning chime sounds continuously and
the Intelligent Key lock warning light blinks.
When pushing the ignition switch The Intelligent Key system warning light in
the instrument panel illuminates red. The Intelligent Key is not in the vehicle. If the Intelligent Key system warning light
illuminates red even while you are carrying
the Intelligent Key, the battery is completely
discharged. Replace the battery with a new
one. See “Battery replacement” in the
“Maintenance and do-it-yourself” section.
3-22Pre-driving checks and adjustments
Page 126 of 320

1. Pull the hood lock release handle�1located
below the instrument panel until the hood
springs up slightly.
2. Locate the lever
�2in between the hood and
grille and push the lever sideways with your
fingertips.
3. Raise the hood
�3.
4. Remove the support rod
�4and insert it into
the slot
�5. Hold the coated parts
�Awhen removing or
resetting the support rod. Avoid direct con-
tact with the metal parts, as they may be
hot immediately after the engine has been
stopped.
When closing the hood, return the support rod to
its original position, lower the hood to approxi-
mately 12 inches (30 cm) above the latch and
release it. This allows proper engagement of the
hood latch.
WARNING
● Make sure the hood is completely
closed and latched before driving. Fail-
ure to do so could cause the hood to fly
open and result in an accident.
● If you see steam or smoke coming from
the engine compartment, to avoid injury
do not open the hood.
WPD0463
HOOD
Pre-driving checks and adjustments3-23
Page 127 of 320
WARNING
The rear hatch must be closed securely
before driving. An open rear hatch could
allow dangerous exhaust gases to be
drawn inside the vehicle. See “Exhaust
gas” in the “Starting and driving” section
of this manual.
OPENING THE REAR HATCH
To open the rear hatch, unlock it with one of the
following operations, then push the opener
switch
�A.
● Push the power door lock switch to the
unlock position.
● Unlock all doors using the key.
● Press the
button on the keyfob (if
equipped) twice. See “Remote keyless entry
system” earlier in this section. ●
Push the rear hatch request switch or door
handle request switch (if equipped) twice.
See “NISSAN Intelligent Key™” earlier in this
section.
● Press the
button on the Intelligent Key
(if equipped) twice. See “NISSAN Intelligent
Key™” earlier in this section.
SPA2048
REAR HATCH
3-24Pre-driving checks and adjustments
Page 128 of 320
REAR HATCH RELEASE
The rear hatch release mechanism allows the rear
hatch to be opened in the event of a discharged
battery.
To release the rear hatch from the inside of the
vehicle, perform the following operations:1. Fold the rear seats down. See “Folding rear seat” in the “Safety — seats, seat belts and
supplemental restraint system” section of
this manual. 2. Put a hand or a suitable tool in the underside
of the rear hatch to access the release lever
�A. Move the release lever to the right. The
rear hatch will be unlatched.
3. Push the rear hatch up to open.
NOTE:
If you had to open the rear hatch using this
lever, have your vehicle checked by a
NISSAN dealer as soon as possible.
OPENER OPERATION
The fuel-filler lid release is located below the
instrument panel. To open the fuel-filler lid, pull
the release. To lock, close the fuel-filler lid se-
curely.
LPD0352WPD0372
FUEL-FILLER DOOR
Pre-driving checks and adjustments3-25
Page 130 of 320
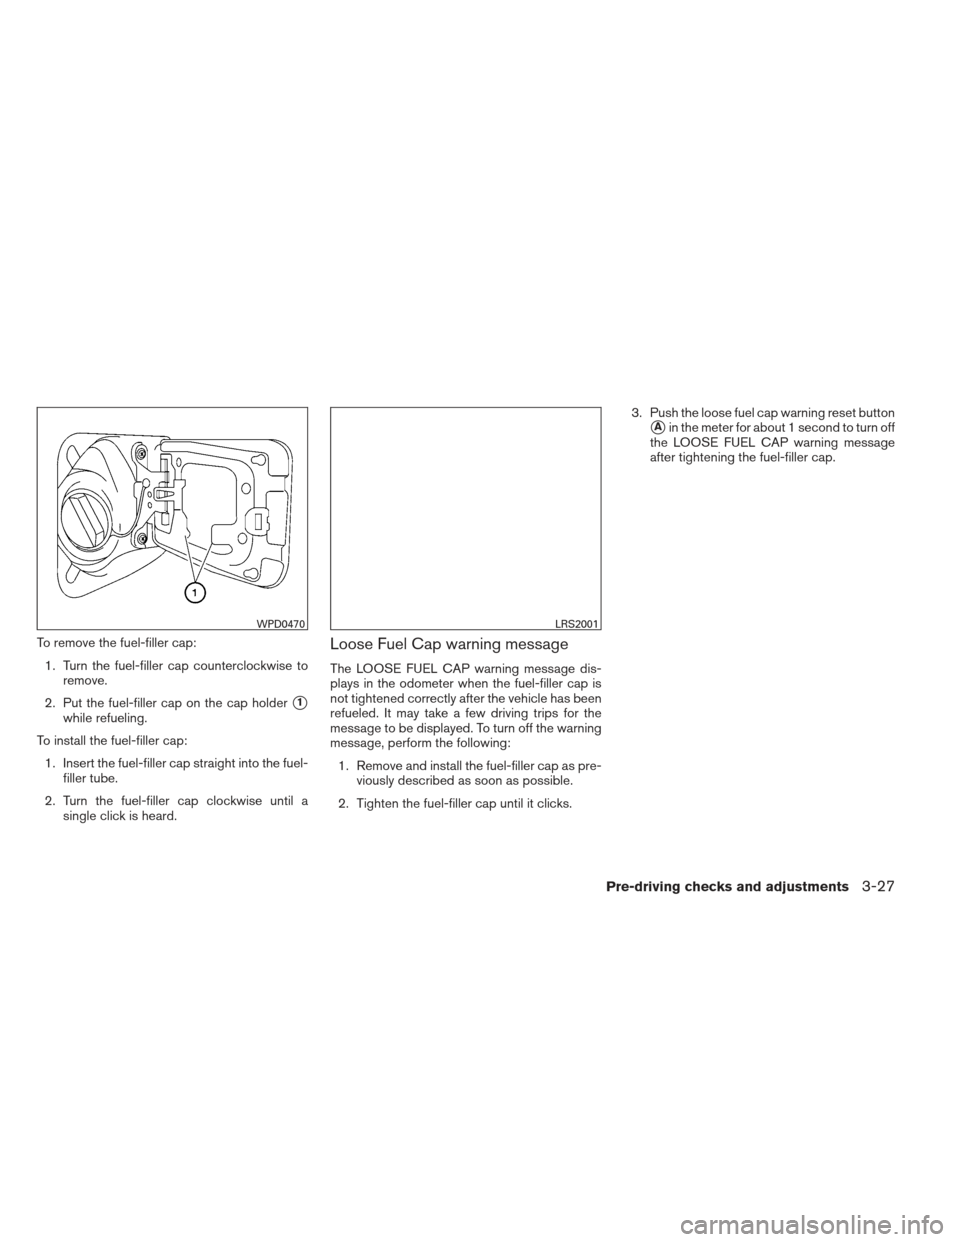
To remove the fuel-filler cap:1. Turn the fuel-filler cap counterclockwise to remove.
2. Put the fuel-filler cap on the cap holder
�1
while refueling.
To install the fuel-filler cap: 1. Insert the fuel-filler cap straight into the fuel- filler tube.
2. Turn the fuel-filler cap clockwise until a single click is heard.
Loose Fuel Cap warning message
The LOOSE FUEL CAP warning message dis-
plays in the odometer when the fuel-filler cap is
not tightened correctly after the vehicle has been
refueled. It may take a few driving trips for the
message to be displayed. To turn off the warning
message, perform the following:
1. Remove and install the fuel-filler cap as pre- viously described as soon as possible.
2. Tighten the fuel-filler cap until it clicks. 3. Push the loose fuel cap warning reset button
�Ain the meter for about 1 second to turn off
the LOOSE FUEL CAP warning message
after tightening the fuel-filler cap.
WPD0470LRS2001
Pre-driving checks and adjustments3-27
Page 131 of 320
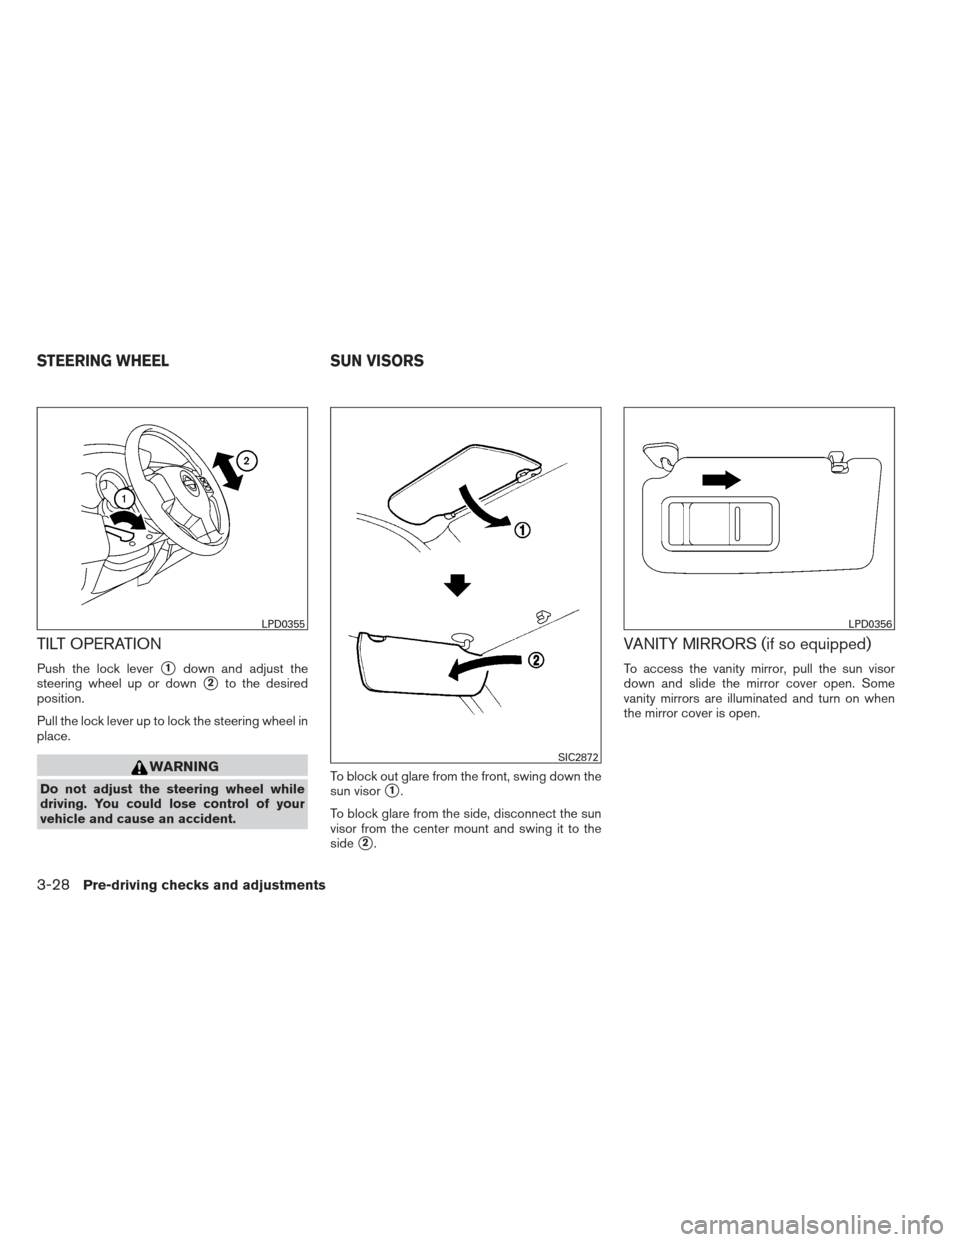
TILT OPERATION
Push the lock lever�1down and adjust the
steering wheel up or down
�2to the desired
position.
Pull the lock lever up to lock the steering wheel in
place.
WARNING
Do not adjust the steering wheel while
driving. You could lose control of your
vehicle and cause an accident. To block out glare from the front, swing down the
sun visor�1.
To block glare from the side, disconnect the sun
visor from the center mount and swing it to the
side
�2.
VANITY MIRRORS (if so equipped)
To access the vanity mirror, pull the sun visor
down and slide the mirror cover open. Some
vanity mirrors are illuminated and turn on when
the mirror cover is open.
LPD0355
SIC2872
LPD0356
STEERING WHEEL SUN VISORS
3-28Pre-driving checks and adjustments
Page 140 of 320

Clock:
Select the “Clock” key to adjust the time and the
appearance of the clock on the display. The fol-
lowing settings can be adjusted:
Time Format
The clock can be set to 12 hours or 24 hours.
Use GPS Clock
When this setting is activated, the clock is set
and continually updated via the GPS used by the
Navigation System.Set Clock Manually
When this setting is activated, the clock can be
set manually. Touch the “+” or “-” key to adjust the
hours and minutes up or down.
Daylight Savings Time
When this setting is activated, daylight savings
time is on. Touch the “Daylight Savings Time” key
to toggle the setting on or off.
Time Zone
Choose the applicable time zone from the list.
Language:
Select the “Language” key to adjust the language
used by the system. The language can be set to
English, Français or Español.
Touch click:
Select the “Touch Click” key to toggle the touch
click feature on or off. When activated, a click
sound will be heard every time a key on the
screen is touched.
LHA1483LHA1484LHA1485
Display screen, heater, air conditioner, audio and phone systems4-7
Page 151 of 320
 , static or flutter")
Static and flutter: During signal interference from
buildings, large hills or due to antenna position
(usually in conjunction with increased distance
from the station transmitter) , static or flutter can
be heard. This can be reduced by adjusting the
treble control to reduce treble response.
Multipath reception: Because of the reflective
characteristics of FM signals, direct and reflected
signals reach the receiver at the same time. The
signals may cancel each other, resulting in mo-
mentary flutter or loss of sound.
AM RADIO RECEPTION
AM signals, because of their low frequency, can
bend around objects and skip along the ground.
In addition, the signals can be bounced off the
ionosphere and bent back to earth. Because of
these characteristics, AM signals are also sub-
ject to interference as they travel from transmitter
to receiver.
Fading: Occurs while the vehicle is passing
through freeway underpasses or in areas with
many tall buildings. It can also occur for several
seconds during ionospheric turbulence even in
areas where no obstacles exist.
Static: Caused by thunderstorms, electrical
power lines, electric signs and even traffic lights.
SATELLITE RADIO RECEPTION (if so
equipped)
When the satellite radio is used for the first time
or the battery has been replaced, the satellite
radio may not work properly. This is not a mal-
function. Wait more than 10 minutes with satellite
radio ON and the vehicle outside of any metal or
large building for satellite radio to receive all of
the necessary data.
No satellite radio reception is available unless
there is an active XM�satellite radio service
subscription. Satellite radio is not available in
Alaska, Hawaii and Guam. If satellite radio is not
operational then pressing the RADIO button will
switch between FM and AM bands.
Satellite radio performance may be affected if
cargo carried on the roof blocks the satellite radio
signal.
If possible, do not put cargo over the satellite
antenna.
A build up of ice on the satellite radio antenna can
affect satellite radio performance. Remove the
ice to restore satellite radio reception.
AUDIO OPERATION PRECAUTIONS
LHA0099
4-18Display screen, heater, air conditioner, audio and phone systems