Page 14 of 450
24. Vehicle Dynamic Control (VDC) OFFswitch (P. 2-38)
Outside mirror controls (P. 3-28)
Heated steering wheel switch
(if so equipped) (P. 2-37)
Trunk lid release switch (P. 3-20)
* Refer to the separate Navigation System Own-
er’s Manual (if so equipped) .
See the page number indicated in paren-
theses for operating details.
Illustrated table of contents0-7
Page 71 of 450
2 Instruments and controls
Instrument panel...................................2-2
Meters and gauges ................................2-3
Speedometer and odometer . . ...................2-4
Tachometer ....................................2-5
Engine coolant temperature gauge ...............2-5
Fuel gauge ....................................2-6
Compass display (if so equipped) ...................2-6
Compass display ...............................2-7
Warning/indicator lights and audible reminders ......2-10
Checking bulbs ............................... 2-10
Warning lights ................................ 2-10
Indicator lights ................................ 2-14
Audible reminders ............................. 2-16
Vehicle information display ......................... 2-17
How to use the vehicle information display .......2-17
Security systems ................................. 2-25
Vehicle security system ......................... 2-25
NISSAN vehicle immobilizer system .............2-26
Windshield wiper and washer switch ...............2-28
Switch operation .............................. 2-28
Rear window and outside mirror (if so equipped)
defroster switch .................................. 2-29
Headlight and turn signal switch. . ..................2-29Xenon headlights (if so equipped)
...............2-29
Headlight control switch ........................ 2-30
Daytime running light system (Canada only) ......2-32
Instrument brightness control ...................2-33
Turn signal switch ............................. 2-33
Fog light switch (if so equipped) ................2-34
Hazard warning flasher switch .....................2-34
Horn ............................................ 2-35
Heated seats (if so equipped) ......................2-35
Climate control seat switch (if so equipped) .........2-36
Heated steering wheel (if so equipped) .............2-37
Vehicle Dynamic Control (VDC) off switch ...........2-38
Power outlet ..................................... 2-38
Storage ......................................... 2-39
Map pockets .................................. 2-39
Seatback
pockets............................. 2-39
Sunglasses holder ............................. 2-40
Cup holders . . . ............................... 2-40
Glove box .................................... 2-42
Console box .................................. 2-42
Grocery hooks ................................ 2-43
Cargo net (if so equipped) ......................2-43
Windows ........................................ 2-44
Page 74 of 450
24. Vehicle Dynamic Control (VDC) OFFswitch (P. 2-38)
Outside mirror controls (P. 3-28)
Heated steering wheel switch
(if so equipped) (P. 2-37)
Trunk lid release switch (P. 3-20)
* Refer to the separate Navigation System Own-
er’s Manual (if so equipped) .
See the page number indicated in paren-
theses for operating details.
1. Tachometer
2. Speedometer
3. Warning/indicator lights
4. Fuel gauge
5. Odometer/twin trip odometer
6. Trip odometer change button 7. Engine coolant temperature gauge
8. Vehicle information display
LIC1381
METERS AND GAUGES
Instruments and controls2-3
Page 77 of 450
FUEL GAUGE
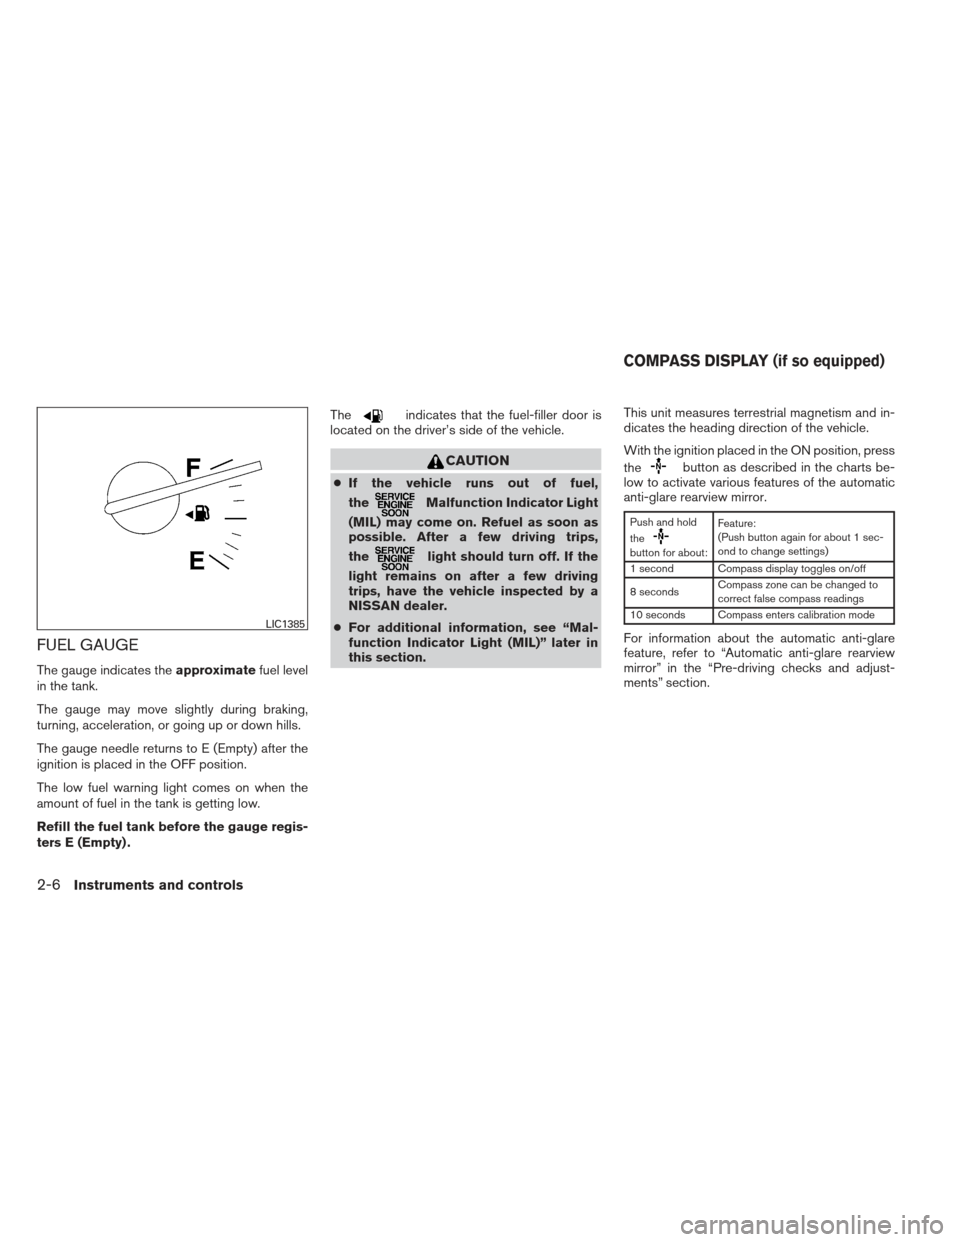
The gauge indicates theapproximatefuel level
in the tank.
The gauge may move slightly during braking,
turning, acceleration, or going up or down hills.
The gauge needle returns to E (Empty) after the
ignition is placed in the OFF position.
The low fuel warning light comes on when the
amount of fuel in the tank is getting low.
Refill the fuel tank before the gauge regis-
ters E (Empty) . The
indicates that the fuel-filler door is
located on the driver’s side of the vehicle.
CAUTION
● If the vehicle runs out of fuel,
the
Malfunction Indicator Light
(MIL) may come on. Refuel as soon as
possible. After a few driving trips,
the
light should turn off. If the
light remains on after a few driving
trips, have the vehicle inspected by a
NISSAN dealer.
● For additional information, see “Mal-
function Indicator Light (MIL)” later in
this section. This unit measures terrestrial magnetism and in-
dicates the heading direction of the vehicle.
With the ignition placed in the ON position, press
the
button as described in the charts be-
low to activate various features of the automatic
anti-glare rearview mirror.
Push and hold
the
button for about: Feature:
(Push button again for about 1 sec-
ond to change settings)
1 second Compass display toggles on/off
8 seconds Compass zone can be changed to
correct false compass readings
10 seconds Compass enters calibration mode
For information about the automatic anti-glare
feature, refer to “Automatic anti-glare rearview
mirror” in the “Pre-driving checks and adjust-
ments” section.LIC1385
COMPASS DISPLAY (if so equipped)
2-6Instruments and controls
Page 80 of 450
1. With the display turned on, press and holdthe
for about 10 seconds. The “C”
icon in the compass display will illuminate.
2. Calibrate the compass by driving the vehicle in three complete circles at a maximum
speed of 5 MPH (8 km/h) .
3. After completing the circles, the display should return to normal.
CAUTION
●Do not install a ski rack, antenna, etc.,
which are attached to the vehicle by
means of a magnet. They affect the op-
eration of the compass.
● When cleaning the mirror, use a paper
towel or similar material dampened
with glass cleaner. Do not spray glass
cleaner directly on the mirror as it may
cause the liquid cleaner to enter the
mirror housing.
Instruments and controls2-9
Page 100 of 450
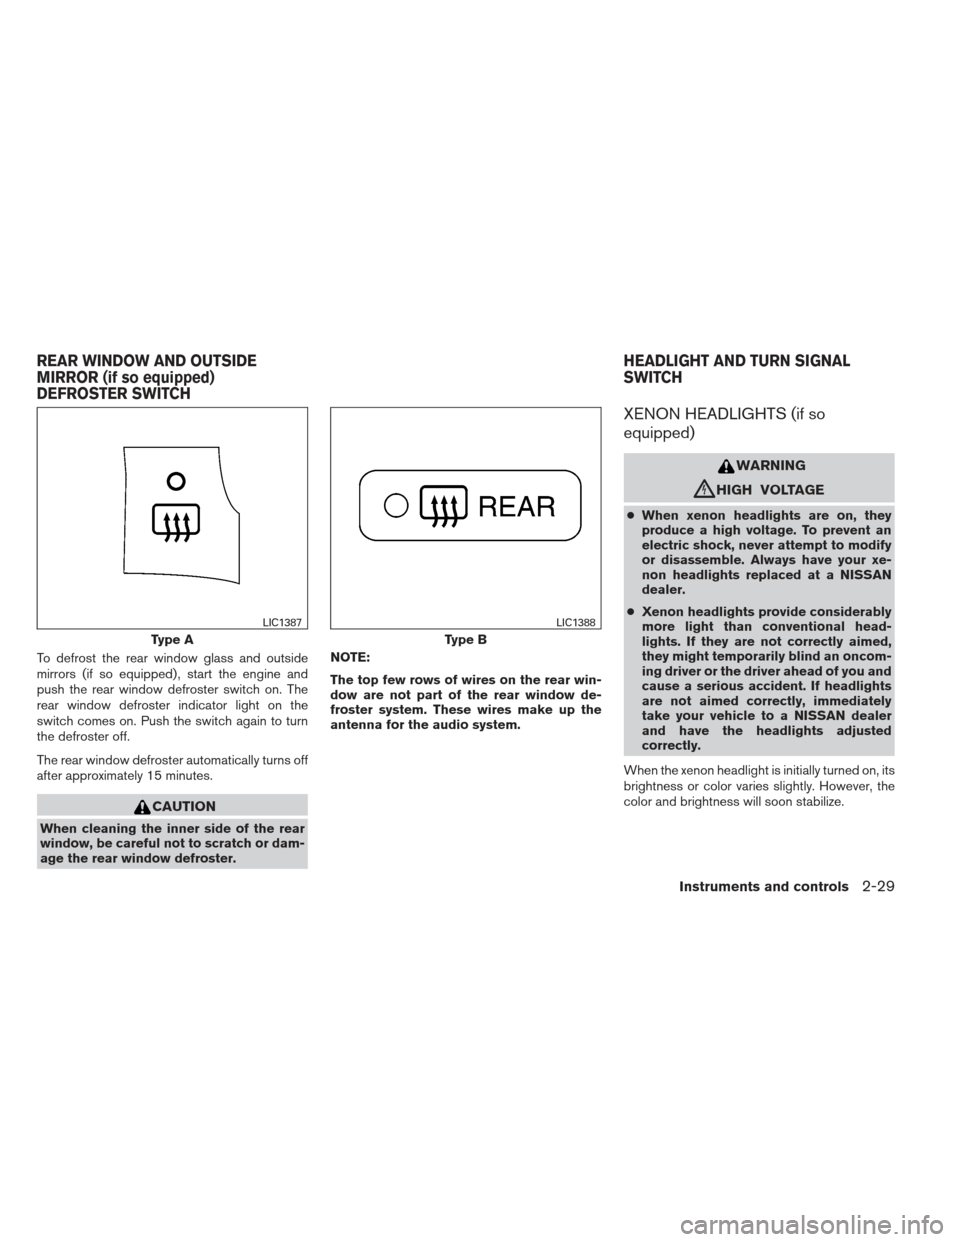
To defrost the rear window glass and outside
mirrors (if so equipped) , start the engine and
push the rear window defroster switch on. The
rear window defroster indicator light on the
switch comes on. Push the switch again to turn
the defroster off.
The rear window defroster automatically turns off
after approximately 15 minutes.
CAUTION
When cleaning the inner side of the rear
window, be careful not to scratch or dam-
age the rear window defroster.NOTE:
The top few rows of wires on the rear win-
dow are not part of the rear window de-
froster system. These wires make up the
antenna for the audio system.
XENON HEADLIGHTS (if so
equipped)
WARNING
cHIGH VOLTAGE
●
When xenon headlights are on, they
produce a high voltage. To prevent an
electric shock, never attempt to modify
or disassemble. Always have your xe-
non headlights replaced at a NISSAN
dealer.
● Xenon headlights provide considerably
more light than conventional head-
lights. If they are not correctly aimed,
they might temporarily blind an oncom-
ing driver or the driver ahead of you and
cause a serious accident. If headlights
are not aimed correctly, immediately
take your vehicle to a NISSAN dealer
and have the headlights adjusted
correctly.
When the xenon headlight is initially turned on, its
brightness or color varies slightly. However, the
color and brightness will soon stabilize.
Type A
LIC1387
Type B
LIC1388
REAR WINDOW AND OUTSIDE
MIRROR (if so equipped)
DEFROSTER SWITCH HEADLIGHT AND TURN SIGNAL
SWITCH
Instruments and controls2-29
Page 155 of 450
AUTOMATIC ANTI-GLARE
REARVIEW MIRROR
The inside mirror is designed so that it automati-
cally dims during night time conditions and ac-
cording to the intensity of the headlights of the
vehicle following you. The automatic anti-glare
feature is activated when the ignition switch is
placed in the ON position.
NOTE:
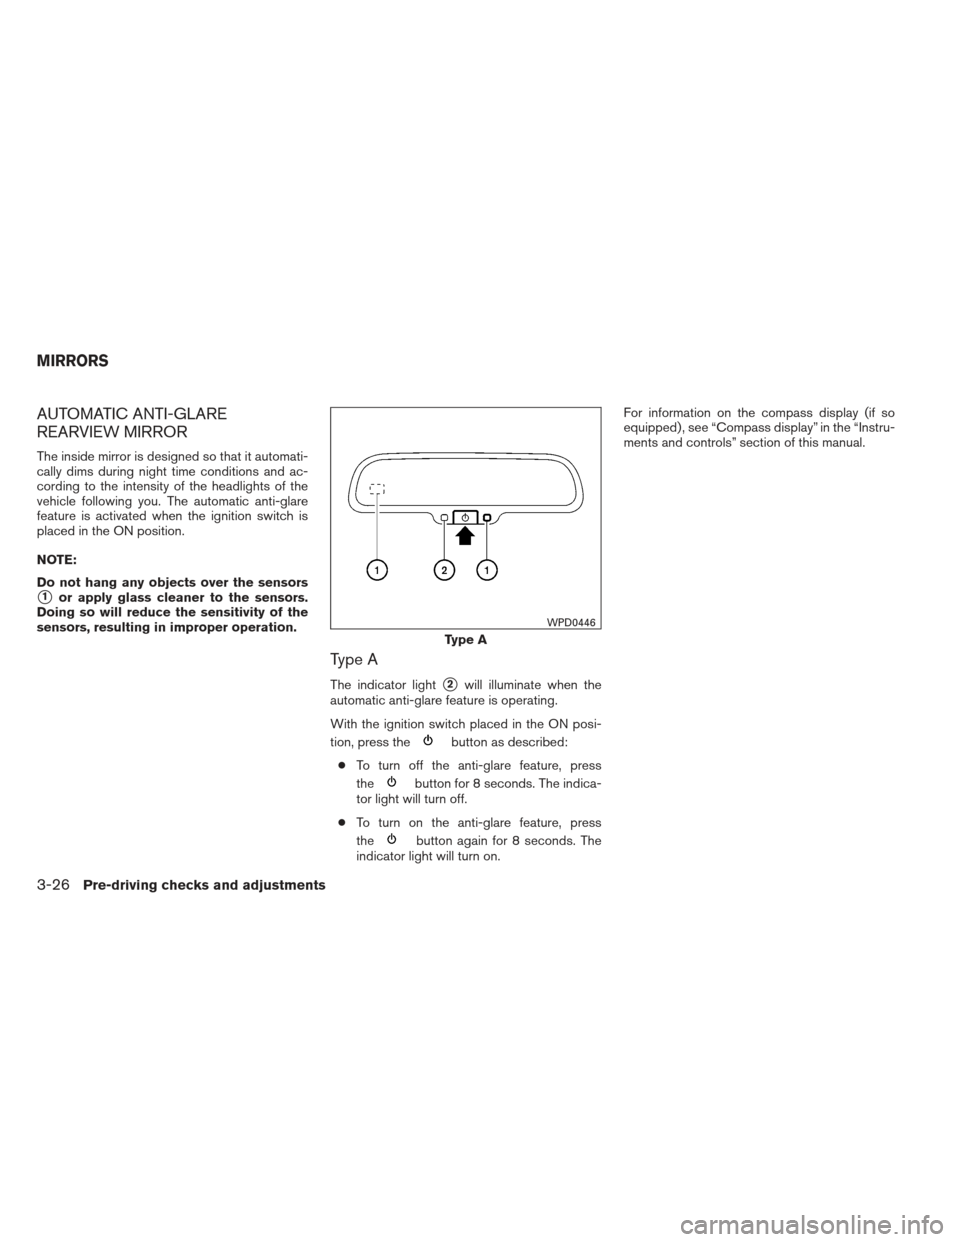
Do not hang any objects over the sensors
�1or apply glass cleaner to the sensors.
Doing so will reduce the sensitivity of the
sensors, resulting in improper operation.
Type A
The indicator light�2will illuminate when the
automatic anti-glare feature is operating.
With the ignition switch placed in the ON posi-
tion, press the
button as described:
● To turn off the anti-glare feature, press
the
button for 8 seconds. The indica-
tor light will turn off.
● To turn on the anti-glare feature, press
the
button again for 8 seconds. The
indicator light will turn on. For information on the compass display (if so
equipped) , see “Compass display” in the “Instru-
ments and controls” section of this manual.
Type A
WPD0446
MIRRORS
3-26Pre-driving checks and adjustments
Page 156 of 450
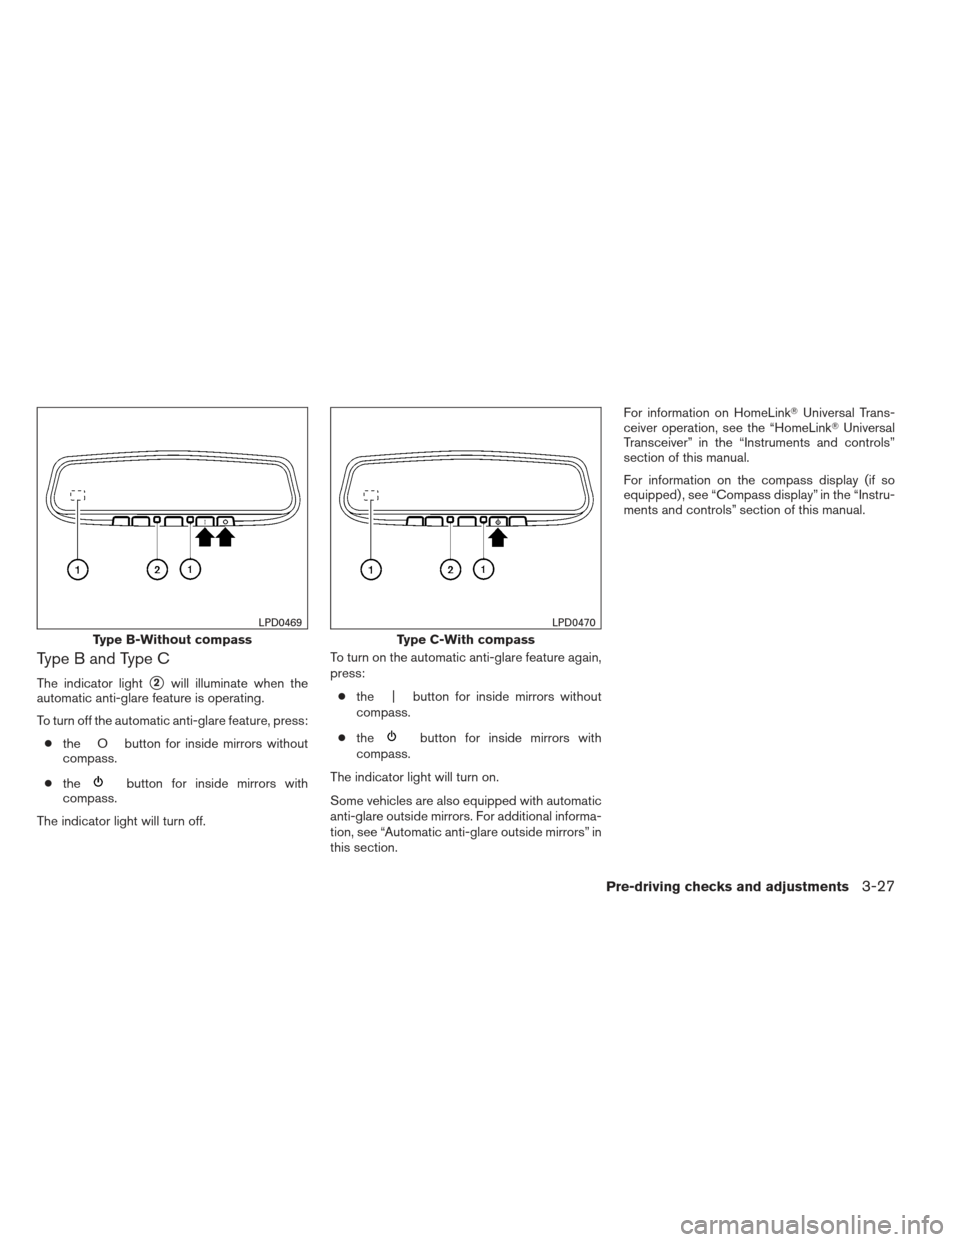
Type B and Type C
The indicator light�2will illuminate when the
automatic anti-glare feature is operating.
To turn off the automatic anti-glare feature, press:
● the O button for inside mirrors without
compass.
● the
button for inside mirrors with
compass.
The indicator light will turn off. To turn on the automatic anti-glare feature again,
press:
● the | button for inside mirrors without
compass.
● the
button for inside mirrors with
compass.
The indicator light will turn on.
Some vehicles are also equipped with automatic
anti-glare outside mirrors. For additional informa-
tion, see “Automatic anti-glare outside mirrors” in
this section. For information on HomeLink�
Universal Trans-
ceiver operation, see the “HomeLink� Universal
Transceiver” in the “Instruments and controls”
section of this manual.
For information on the compass display (if so
equipped) , see “Compass display” in the “Instru-
ments and controls” section of this manual.
Type B-Without compass
LPD0469
Type C-With compass
LPD0470
Pre-driving checks and adjustments3-27