Page 234 of 450

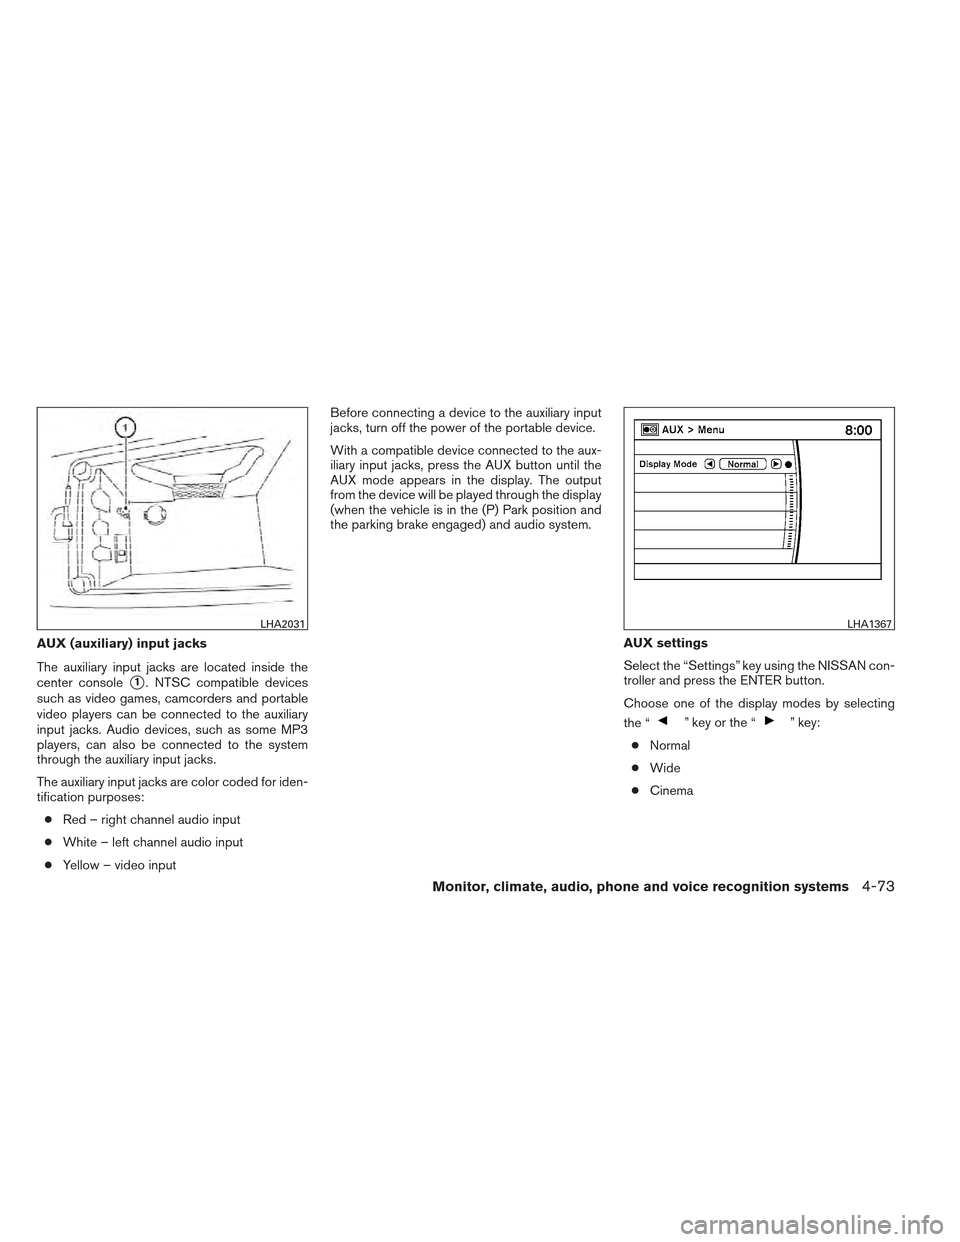
AUX (auxiliary) input jacks
The auxiliary input jacks are located inside the
center console
�1. NTSC compatible devices
such as video games, camcorders and portable
video players can be connected to the auxiliary
input jacks. Audio devices, such as some MP3
players, can also be connected to the system
through the auxiliary input jacks.
The auxiliary input jacks are color coded for iden-
tification purposes:
● Red – right channel audio input
● White – left channel audio input
● Yellow – video input Before connecting a device to the auxiliary input
jacks, turn off the power of the portable device.
With a compatible device connected to the aux-
iliary input jacks, press the AUX button until the
AUX mode appears in the display. The output
from the device will be played through the display
(when the vehicle is in the (P) Park position and
the parking brake engaged) and audio system.
AUX settings
Select the “Settings” key using the NISSAN con-
troller and press the ENTER button.
Choose one of the display modes by selecting
the “
” key or the “” key:
● Normal
● Wide
● Cinema
LHA2031LHA1367
Monitor, climate, audio, phone and voice recognition systems4-73
Page 243 of 450

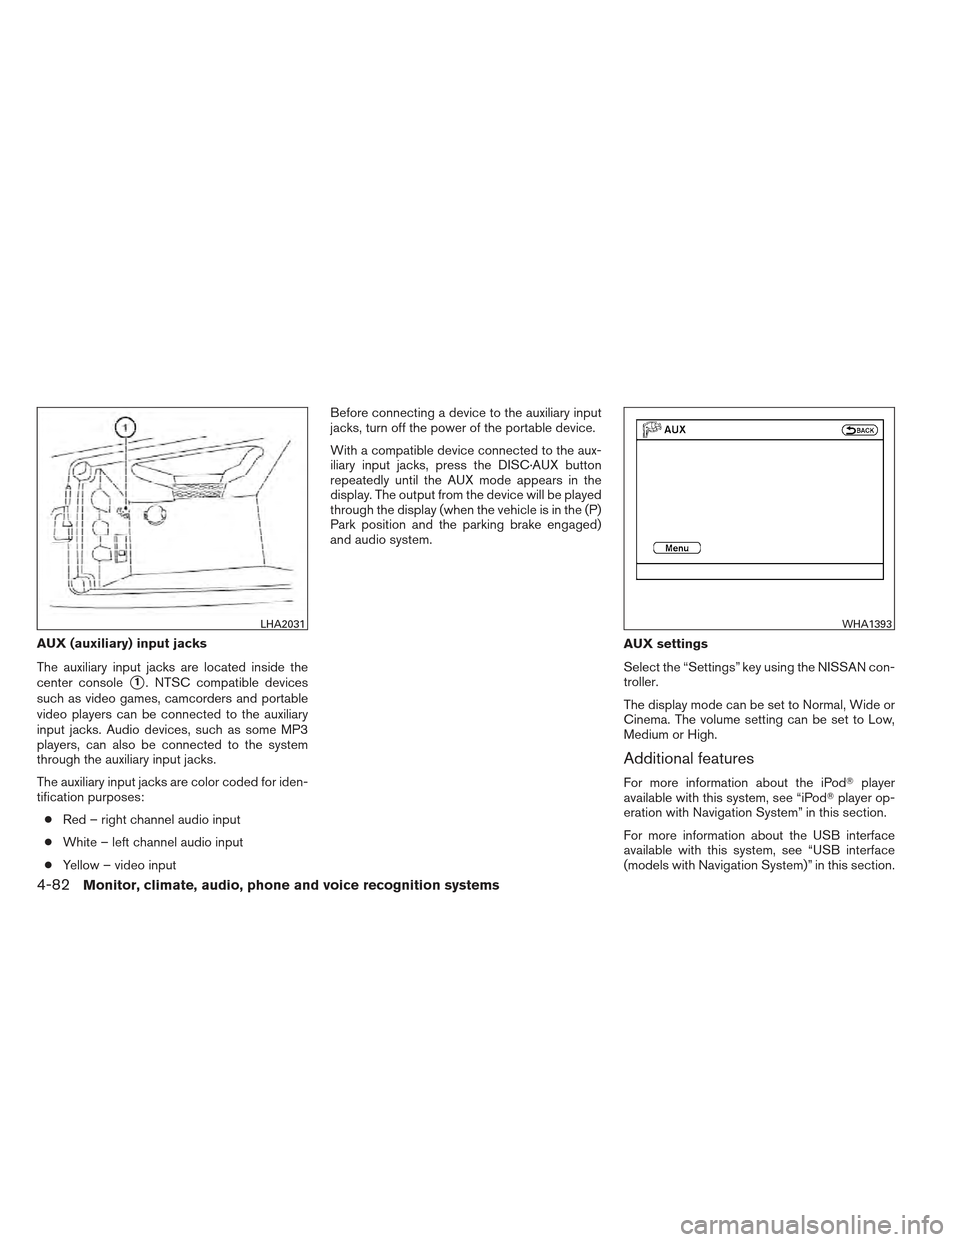
AUX (auxiliary) input jacks
The auxiliary input jacks are located inside the
center console
�1. NTSC compatible devices
such as video games, camcorders and portable
video players can be connected to the auxiliary
input jacks. Audio devices, such as some MP3
players, can also be connected to the system
through the auxiliary input jacks.
The auxiliary input jacks are color coded for iden-
tification purposes:
● Red – right channel audio input
● White – left channel audio input
● Yellow – video input Before connecting a device to the auxiliary input
jacks, turn off the power of the portable device.
With a compatible device connected to the aux-
iliary input jacks, press the DISC·AUX button
repeatedly until the AUX mode appears in the
display. The output from the device will be played
through the display (when the vehicle is in the (P)
Park position and the parking brake engaged)
and audio system.
AUX settings
Select the “Settings” key using the NISSAN con-
troller.
The display mode can be set to Normal, Wide or
Cinema. The volume setting can be set to Low,
Medium or High.
Additional features
For more information about the iPod�player
available with this system, see “iPod� player op-
eration with Navigation System” in this section.
For more information about the USB interface
available with this system, see “USB interface
(models with Navigation System)” in this section.
LHA2031WHA1393
4-82Monitor, climate, audio, phone and voice recognition systems
Page 252 of 450

●10 Key Search
Select the “10 Key Search” key to open the
number entry screen. Input the number you
want to search for and the specified file or
folder will be played.
● Display
Adjust the image quality of the screen.
● DRC
DRC (Dynamic Range Compression) auto-
matically adjusts the soundtrack volume
level to maintain a more even sound to the
speakers.
● Audio
Choose the preferred language of the audio.
● Subtitle
Choose the preferred language of the sub-
titles.
● Display Mode
Choose between the “Normal”, “Wide”,
“Cinema” or “Full” display modes.
iPod�* PLAYER OPERATION
WITHOUT NAVIGATION SYSTEM (if
so equipped)
Connecting iPod�
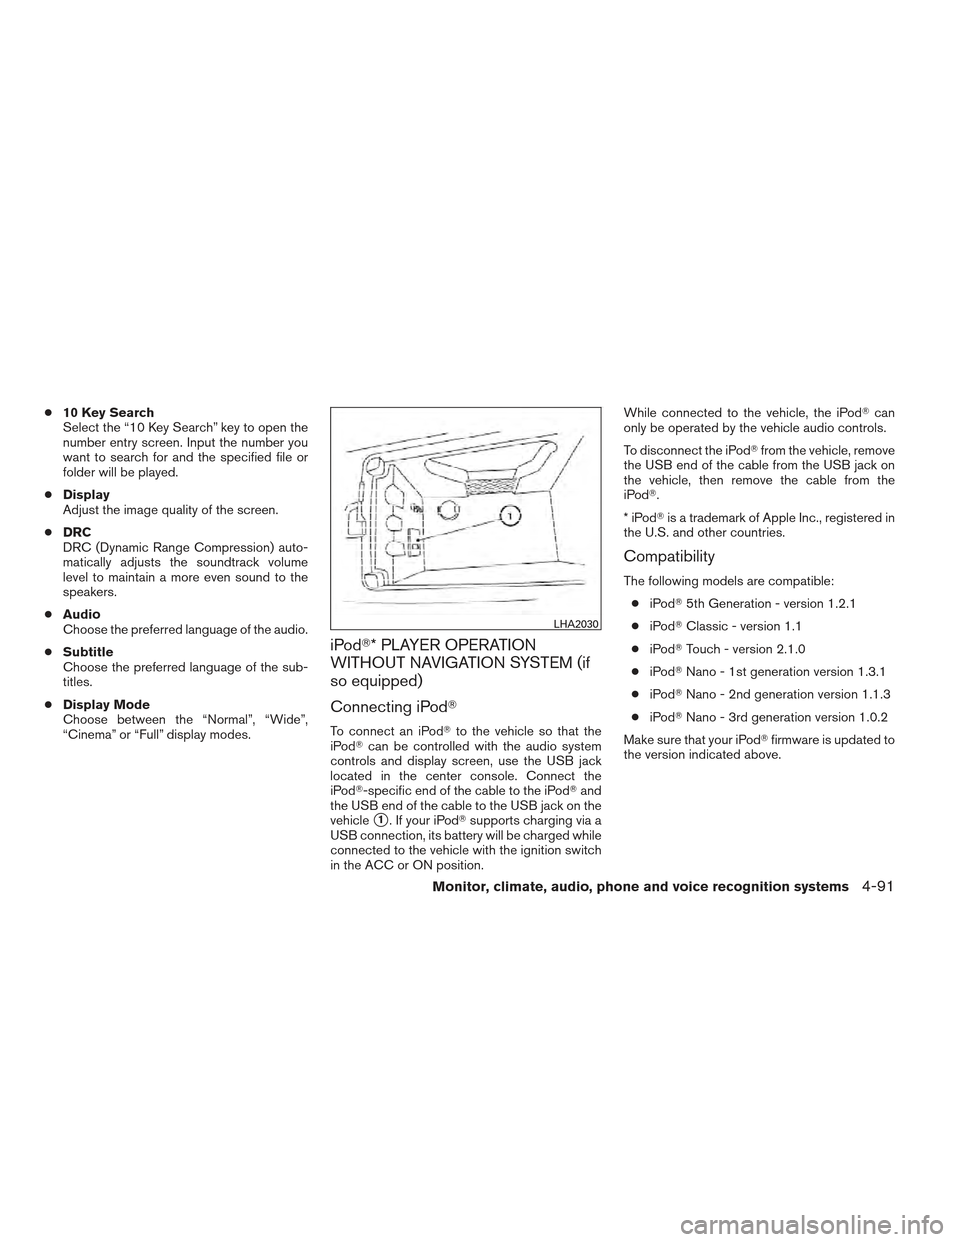
To connect an iPod� to the vehicle so that the
iPod� can be controlled with the audio system
controls and display screen, use the USB jack
located in the center console. Connect the
iPod�-specific end of the cable to the iPod� and
the USB end of the cable to the USB jack on the
vehicle
�1. If your iPod� supports charging via a
USB connection, its battery will be charged while
connected to the vehicle with the ignition switch
in the ACC or ON position. While connected to the vehicle, the iPod�
can
only be operated by the vehicle audio controls.
To disconnect the iPod� from the vehicle, remove
the USB end of the cable from the USB jack on
the vehicle, then remove the cable from the
iPod�.
*iPod �is a trademark of Apple Inc., registered in
the U.S. and other countries.
Compatibility
The following models are compatible:
● iPod� 5th Generation - version 1.2.1
● iPod� Classic - version 1.1
● iPod� Touch - version 2.1.0
● iPod� Nano - 1st generation version 1.3.1
● iPod� Nano - 2nd generation version 1.1.3
● iPod� Nano - 3rd generation version 1.0.2
Make sure that your iPod� firmware is updated to
the version indicated above.
LHA2030
Monitor, climate, audio, phone and voice recognition systems4-91
Page 254 of 450

iPod�* PLAYER OPERATION WITH
NAVIGATION SYSTEM (if so
equipped)
Connecting iPod�
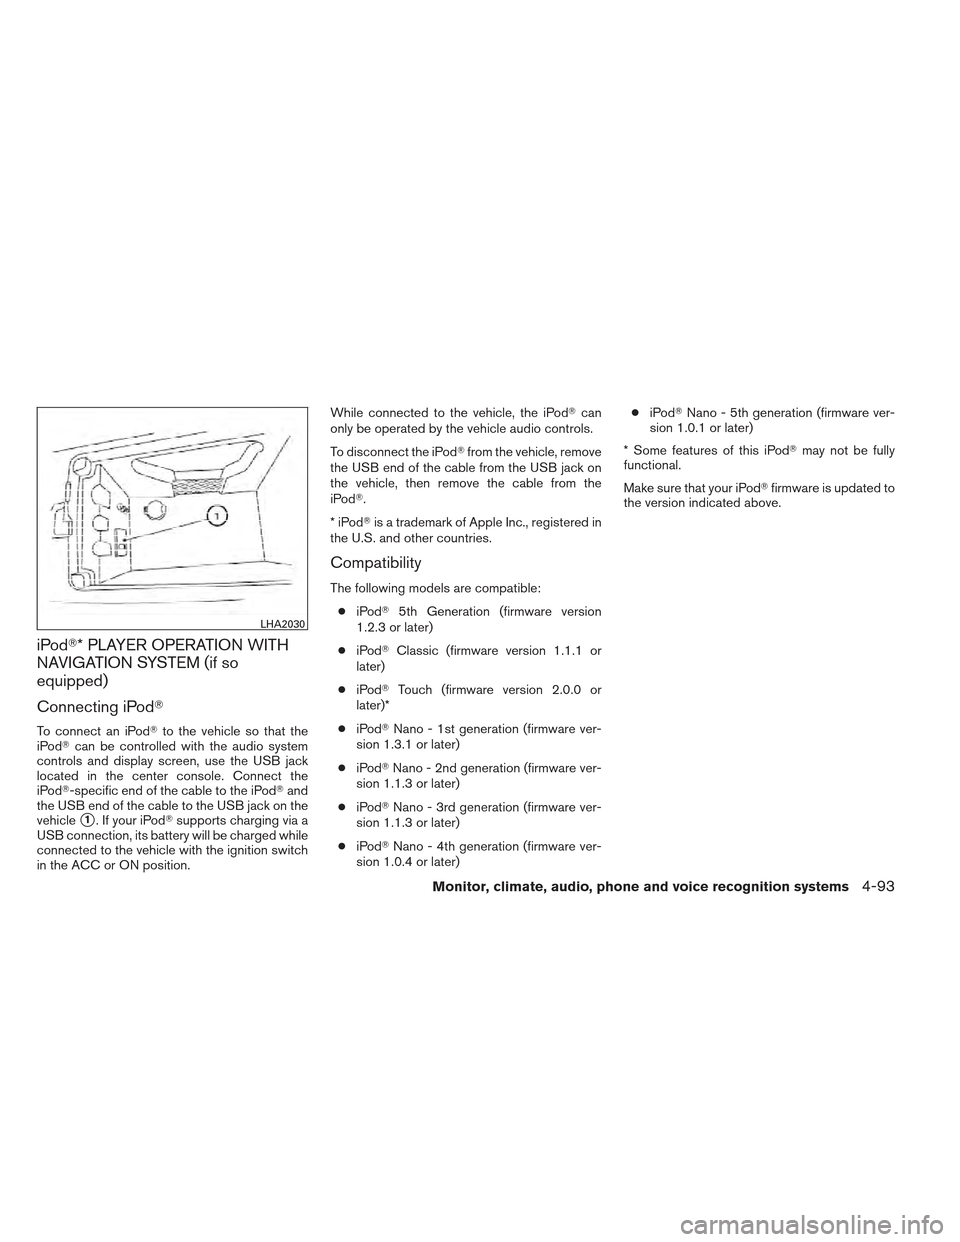
To connect an iPod� to the vehicle so that the
iPod� can be controlled with the audio system
controls and display screen, use the USB jack
located in the center console. Connect the
iPod�-specific end of the cable to the iPod� and
the USB end of the cable to the USB jack on the
vehicle
�1. If your iPod� supports charging via a
USB connection, its battery will be charged while
connected to the vehicle with the ignition switch
in the ACC or ON position. While connected to the vehicle, the iPod�
can
only be operated by the vehicle audio controls.
To disconnect the iPod� from the vehicle, remove
the USB end of the cable from the USB jack on
the vehicle, then remove the cable from the
iPod�.
*iPod �is a trademark of Apple Inc., registered in
the U.S. and other countries.
Compatibility
The following models are compatible:
● iPod� 5th Generation (firmware version
1.2.3 or later)
● iPod� Classic (firmware version 1.1.1 or
later)
● iPod� Touch (firmware version 2.0.0 or
later)*
● iPod� Nano - 1st generation (firmware ver-
sion 1.3.1 or later)
● iPod� Nano - 2nd generation (firmware ver-
sion 1.1.3 or later)
● iPod� Nano - 3rd generation (firmware ver-
sion 1.1.3 or later)
● iPod� Nano - 4th generation (firmware ver-
sion 1.0.4 or later) ●
iPod� Nano - 5th generation (firmware ver-
sion 1.0.1 or later)
* Some features of this iPod� may not be fully
functional.
Make sure that your iPod� firmware is updated to
the version indicated above.
LHA2030
Monitor, climate, audio, phone and voice recognition systems4-93