Page 33 of 313

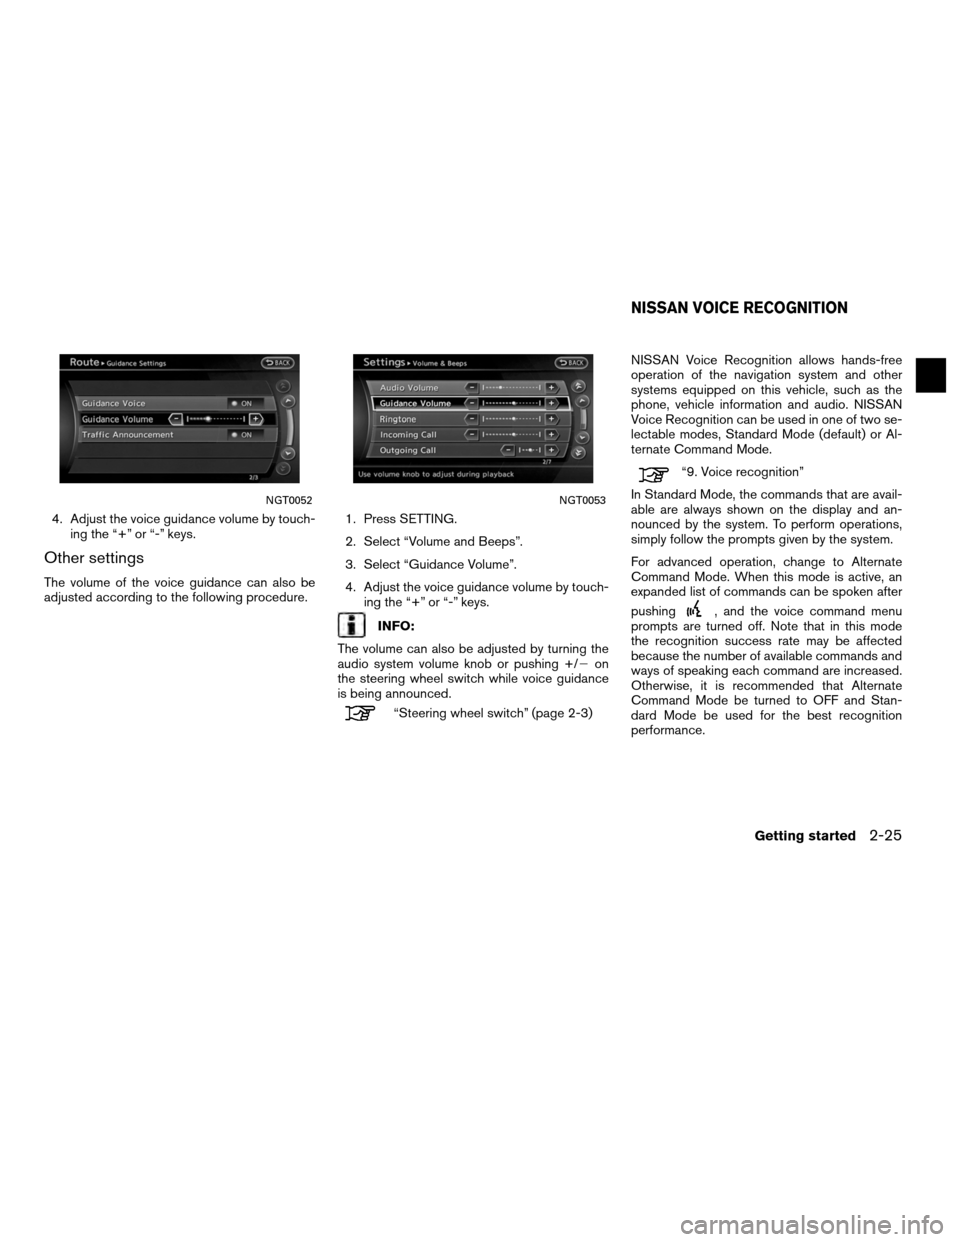
4. Adjust the voice guidance volume by touch-ing the “+” or “-” keys.
Other settings
The volume of the voice guidance can also be
adjusted according to the following procedure. 1. Press SETTING.
2. Select “Volume and Beeps”.
3. Select “Guidance Volume”.
4. Adjust the voice guidance volume by touch-
ing the “+” or “-” keys.
INFO:
The volume can also be adjusted by turning the
audio system volume knob or pushing +/� on
the steering wheel switch while voice guidance
is being announced.
“Steering wheel switch” (page 2-3) NISSAN Voice Recognition allows hands-free
operation of the navigation system and other
systems equipped on this vehicle, such as the
phone, vehicle information and audio. NISSAN
Voice Recognition can be used in one of two se-
lectable modes, Standard Mode (default) or Al-
ternate Command Mode.
“9. Voice recognition”
In Standard Mode, the commands that are avail-
able are always shown on the display and an-
nounced by the system. To perform operations,
simply follow the prompts given by the system.
For advanced operation, change to Alternate
Command Mode. When this mode is active, an
expanded list of commands can be spoken after
pushing
, and the voice command menu
prompts are turned off. Note that in this mode
the recognition success rate may be affected
because the number of available commands and
ways of speaking each command are increased.
Otherwise, it is recommended that Alternate
Command Mode be turned to OFF and Stan-
dard Mode be used for the best recognition
performance.
NGT0052NGT0053
NISSAN VOICE RECOGNITION
Getting started2-25
Page 53 of 313
Fine-adjusting the cursor position:1. Touch “Slow”. Displays the 8-directional key. 2. Touch the 8-directional key to adjust the
cross pointer position. Touch “Back” to end
the adjustment.
INFO:
Fine-adjusting the cursor position is not possible
while driving.
Birdview™ (3D) MAP
LNV2008NMA0011LNV0607
Map settings3-7
Page 54 of 313
1. Touch the screen.Displays the cross pointer and 8-directional
key. 2. Touch the direction to move to. The map
continues to scroll while the screen is
touched. 3. Touchorto change the di-
rection of the map.
Rotates the map clockwise.
Rotates the map counterclockwise.
INFO:
While driving, scrolling on the map is limited to a
specified distance.
LNV0572LNV0573LNV0574
3-8Map settings
Page 68 of 313
3. Select the preferred icon. The icon displaysetting toggles between on and off each
time the key is touched. The indicator of the
selected icon illuminates. 4. Press MAP to return to the current location
map screen. The activated icons are dis-
played on the map.
INFO:
If registered in the map data, the brand icons will
be displayed on the map instead of the general
map icons listed below.
Map icons that can be displayed
●
Restaurant
●
Gas Station
●
Hotel
●
AT M
●
Rest Area Other settings
Landmark icons can also be set using the follow-
ing procedure.
NMA0043NMA0044
3-22Map settings
Page 85 of 313
6. Select the subcategory.
INFO:
Subcategories may not exist depending on the
category that is selected. 7. Enter the name of the destination facility
and select “List”.
The facility list is displayed.
INFO:
● It is not necessary to enter the facility name
completely. It is also possible to display the
list screen only by selecting “List” without en-
tering the facility name .
● The number of narrowed down points are dis-
played in the “Matches” column.
● Up to two keywords (part of the facility name)
can be entered by selecting “AND Search” af-
ter entering the first facility name.
INFO:
The facility name can also be entered directly by
selecting “Choose Name” on the main category
list screen.
NDE0022NDE0023NDE0024
Setting a destination4-11
Page 119 of 313
1. Touch the “Map Menu” key while the currentlocation map screen is displayed.
2. Select “Map View”. 3. Select “View Settings”.
4. Select the preferred screen. The indicator
of the selected screen illuminates. Intersection:
The map screen and the enlarged intersection
view can be displayed at the same time.
Press MAP to switch to the full map screen.
NRG0014LNV0582LNV0583
Route guidance5-11
Page 134 of 313

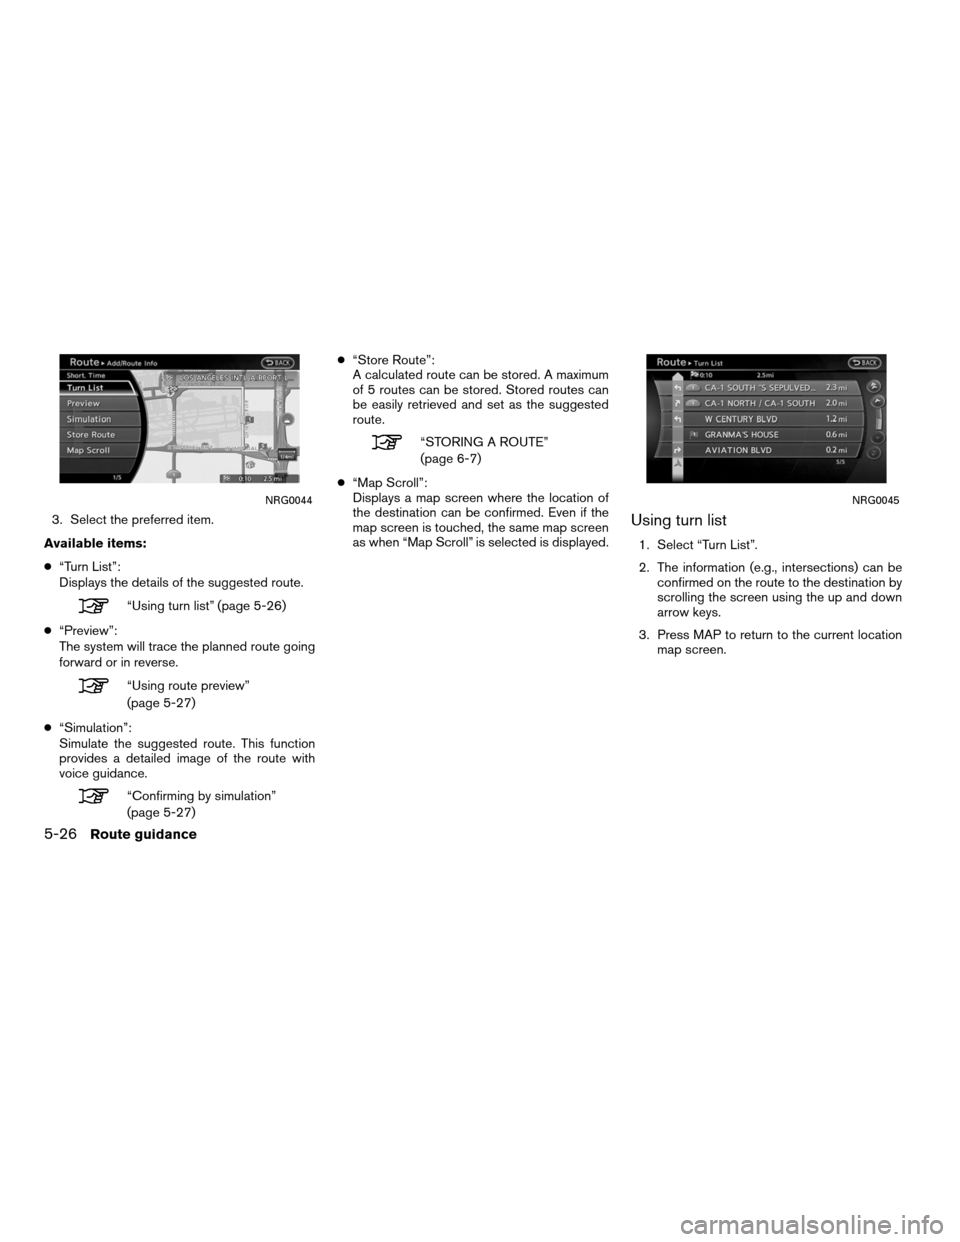
3. Select the preferred item.
Available items:
● “Turn List”:
Displays the details of the suggested route.
“Using turn list” (page 5-26)
● “Preview”:
The system will trace the planned route going
forward or in reverse.
“Using route preview”
(page 5-27)
● “Simulation”:
Simulate the suggested route. This function
provides a detailed image of the route with
voice guidance.
“Confirming by simulation”
(page 5-27) ●
“Store Route”:
A calculated route can be stored. A maximum
of 5 routes can be stored. Stored routes can
be easily retrieved and set as the suggested
route.
“STORING A ROUTE”
(page 6-7)
● “Map Scroll”:
Displays a map screen where the location of
the destination can be confirmed. Even if the
map screen is touched, the same map screen
as when “Map Scroll” is selected is displayed.
Using turn list
1. Select “Turn List”.
2. The information (e.g., intersections) can be confirmed on the route to the destination by
scrolling the screen using the up and down
arrow keys.
3. Press MAP to return to the current location map screen.
NRG0044NRG0045
5-26Route guidance
Page 135 of 313

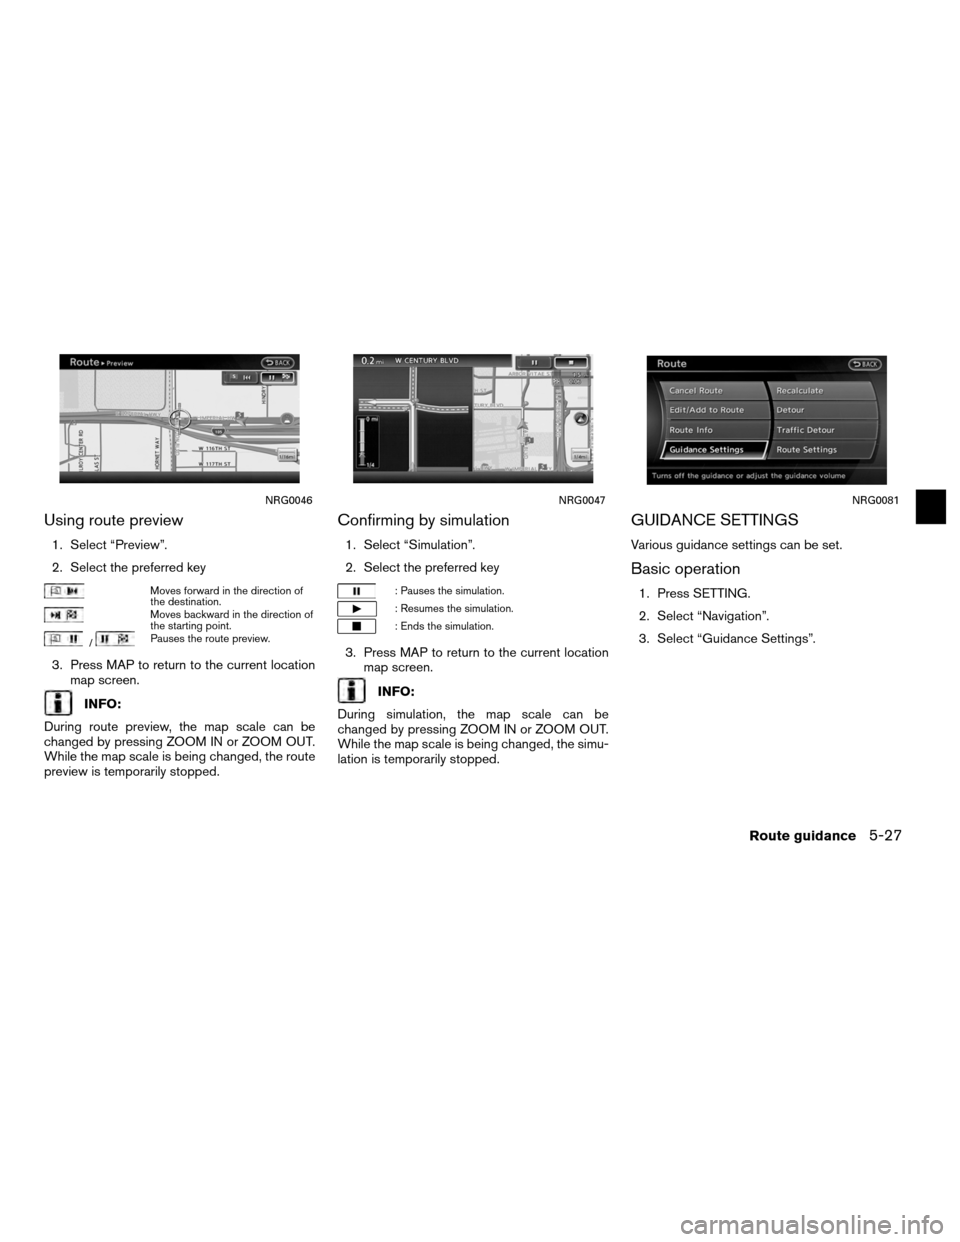
Using route preview
1. Select “Preview”.
2. Select the preferred key
Moves forward in the direction of
the destination.
Moves backward in the direction of
the starting point.
/Pauses the route preview.
3. Press MAP to return to the current locationmap screen.
INFO:
During route preview, the map scale can be
changed by pressing ZOOM IN or ZOOM OUT.
While the map scale is being changed, the route
preview is temporarily stopped.
Confirming by simulation
1. Select “Simulation”.
2. Select the preferred key
: Pauses the simulation.
: Resumes the simulation.
: Ends the simulation.
3. Press MAP to return to the current location map screen.
INFO:
During simulation, the map scale can be
changed by pressing ZOOM IN or ZOOM OUT.
While the map scale is being changed, the simu-
lation is temporarily stopped.
GUIDANCE SETTINGS
Various guidance settings can be set.
Basic operation
1. Press SETTING.
2. Select “Navigation”.
3. Select “Guidance Settings”.
NRG0046NRG0047NRG0081
Route guidance5-27