2012 MERCEDES-BENZ SLK350 air condition
[x] Cancel search: air conditionPage 223 of 334
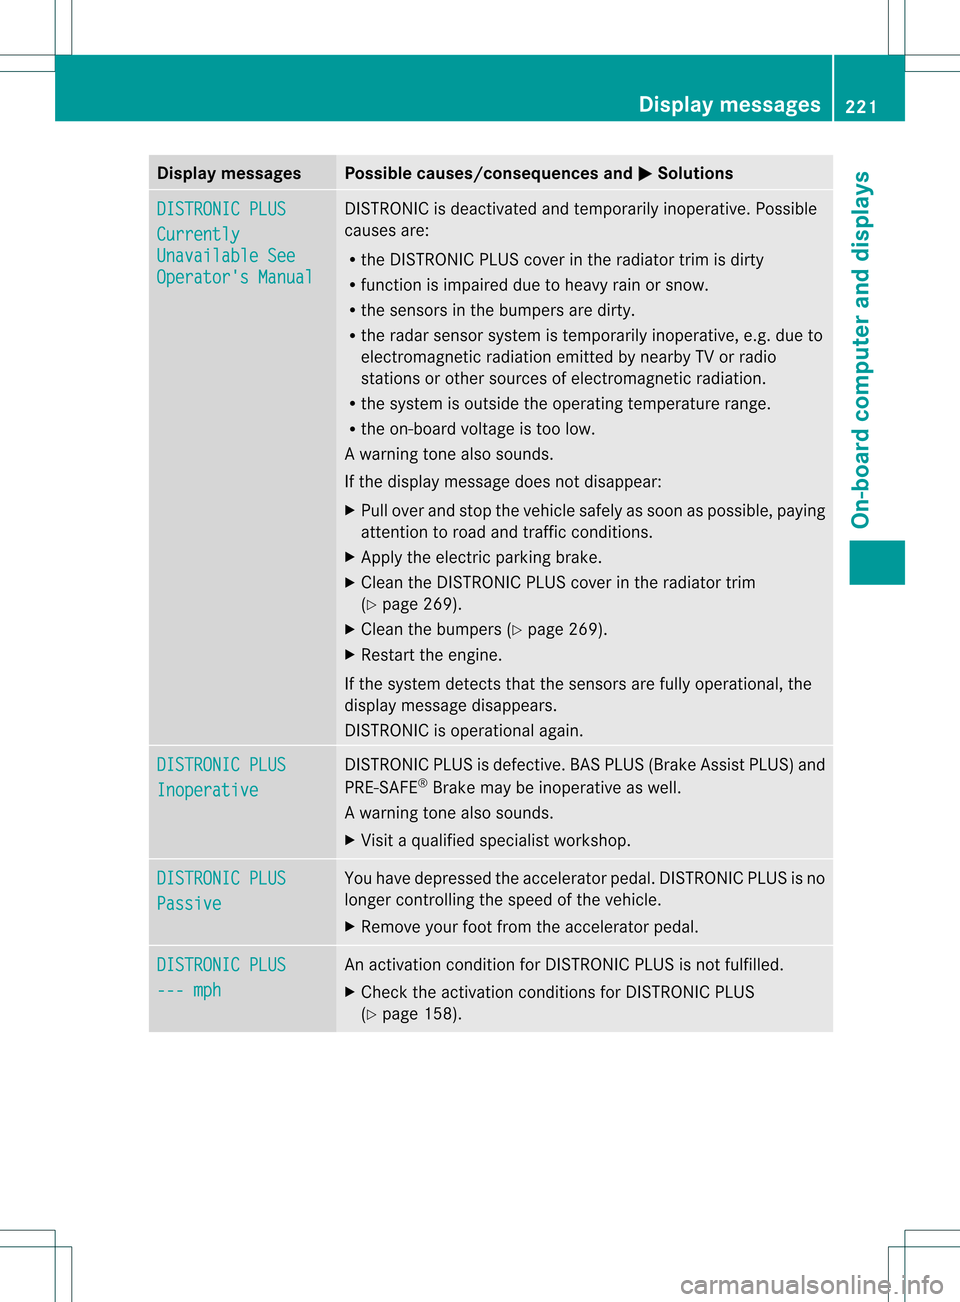
Display messages Possible causes/consequences and
0001 Solutions
DISTRONIC PLUS
Currently
Unavailable See
Operator's Manual DISTRONIC is deactivated and temporarily inoperative. Possible
causes are:
R
the DISTRONIC PLUS cover in the radiator trim is dirty
R function is impaired due to heavy rain or snow.
R the sensors in the bumpers are dirty.
R the rada rsensor system is temporarily inoperative, e.g. due to
electromagnetic radiation emitted by nearby TV or radio
stations or other sources of electromagnetic radiation.
R the system is outside the operating temperature range.
R the on-board voltage is too low.
Aw arning tone also sounds.
If the display message does no tdisappear:
X Pull over and stop the vehicle safely as soon as possible, paying
attention to road and traffic conditions.
X Apply the electric parking brake.
X Clean the DISTRONIC PLUS cover in the radiator trim
(Y page 269).
X Clean the bumpers (Y page 269).
X Restar tthe engine.
If the system detects that the sensors are fully operational, the
display message disappears.
DISTRONIC is operational again. DISTRONIC PLUS
Inoperative DISTRONIC PLUS is defective. BAS PLUS (Brake Assist PLUS) and
PRE-SAFE
®
Brake may be inoperative as well.
Aw arning tone also sounds.
X Visi taqualified specialist workshop. DISTRONIC PLUS
Passive You have depressed the accelerator pedal. DISTRONIC PLUS is no
longer controlling the speed of the vehicle.
X
Remove your foot from the accelerator pedal. DISTRONIC PLUS
--- mph An activation condition for DISTRONIC PLUS is not fulfilled.
X
Check the activation conditions for DISTRONIC PLUS
(Y page 158). Display messages
221On-board computer and displays Z
Page 238 of 334
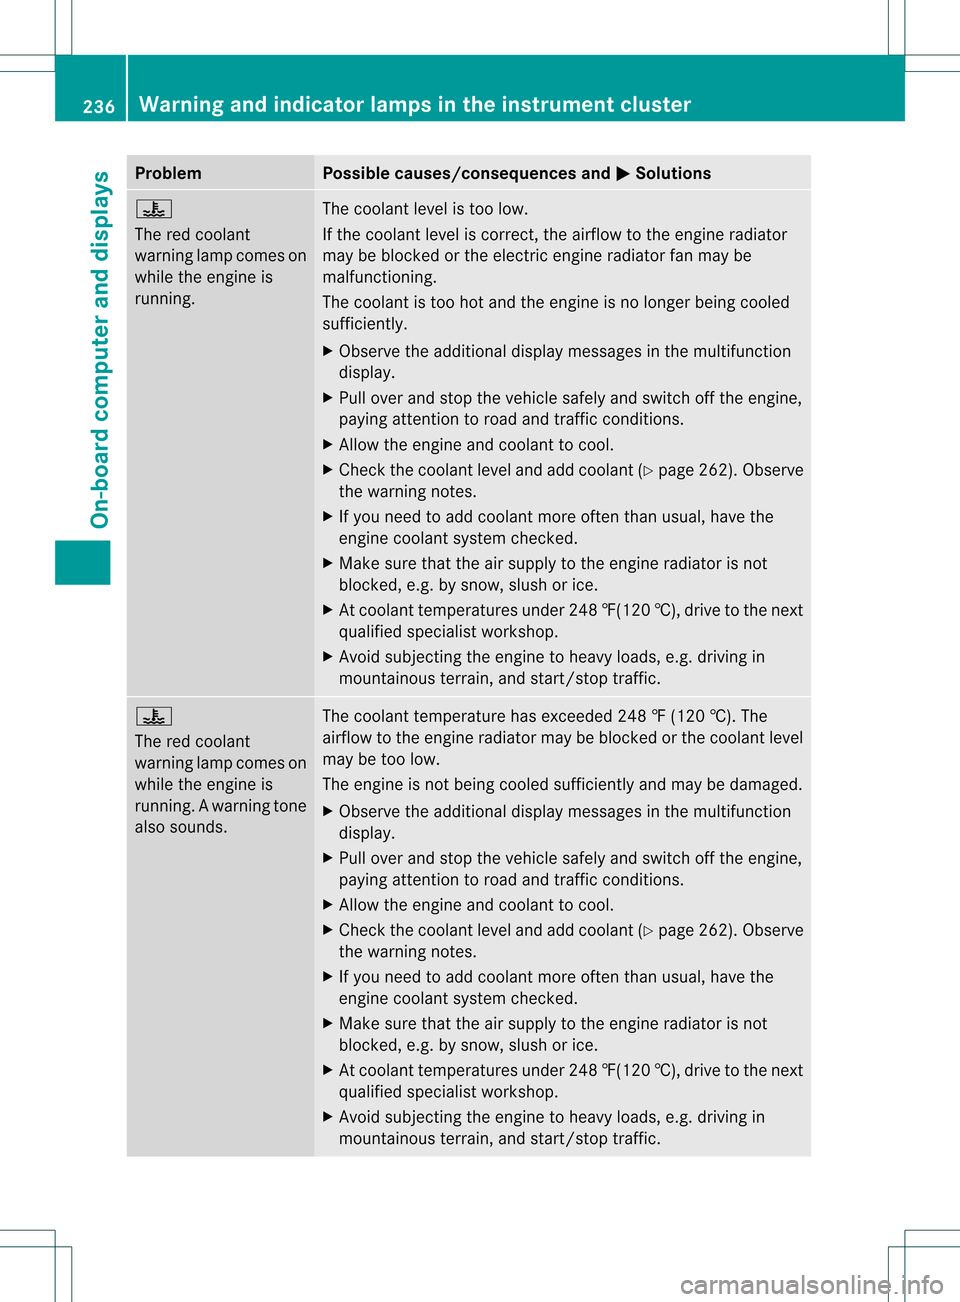
Problem Possible causes/consequences and
0001 Solutions
000C
The red coolant
warning lamp comes on
while the engine is
running.
The coolant level is too low.
If the coolant level is correct, the airflow to the engine radiator
may be blocked or the electric engine radiator fan may be
malfunctioning.
The coolant is too hot and the engine is no longer being cooled
sufficiently.
X
Observe the additional display messages in the multifunction
display.
X Pull over and stop the vehicle safely and switch off the engine,
paying attention to road and traffic conditions.
X Allow the engine and coolant to cool.
X Check the coolant level and add coolant (Y page 262). Observe
the warning notes.
X If you need to add coolant more often than usual, have the
engine coolant system checked.
X Make sure that the air supply to the engine radiator is not
blocked, e.g. by snow, slush or ice.
X At coolant temperatures under 248 ‡(120 †), drive to the next
qualified specialist workshop.
X Avoid subjecting the engine to heavy loads, e.g. driving in
mountainous terrain, and start/stop traffic. 000C
The red coolant
warning lamp comes on
while the engine is
running. A warning tone
also sounds.
The coolant temperature has exceeded 248 ‡ (120 †). The
airflow to the engine radiator may be blocked or the coolant level
may be too low.
The engine is not being cooled sufficiently and may be damaged.
X Observe the additional display messages in the multifunction
display.
X Pull over and stop the vehicle safely and switch off the engine,
paying attention to road and traffic conditions.
X Allow the engine and coolant to cool.
X Check the coolant level and add coolant (Y page 262). Observe
the warning notes.
X If you need to add coolant more often than usual, have the
engine coolant system checked.
X Make sure that the air supply to the engine radiator is not
blocked, e.g. by snow, slush or ice.
X At coolant temperatures under 248 ‡(120 †), drive to the next
qualified specialist workshop.
X Avoid subjecting the engine to heavy loads, e.g. driving in
mountainous terrain, and start/stop traffic. 236
Warning and indicator lamps in the instrument clusterOn-board computer and displays
Page 269 of 334
!
Do not park the vehicle for an extended
period straight after cleaning it, particularly
after having cleaned the wheels with wheel
cleaner. Wheel cleaners could cause
increased corrosion of the brake discs and
brake pads/linings. For this reason, you
should drive for a few minutes after
cleaning. Braking heats the brake discs and
the brake pads/linings, thus drying them.
The vehicle can then be parked.
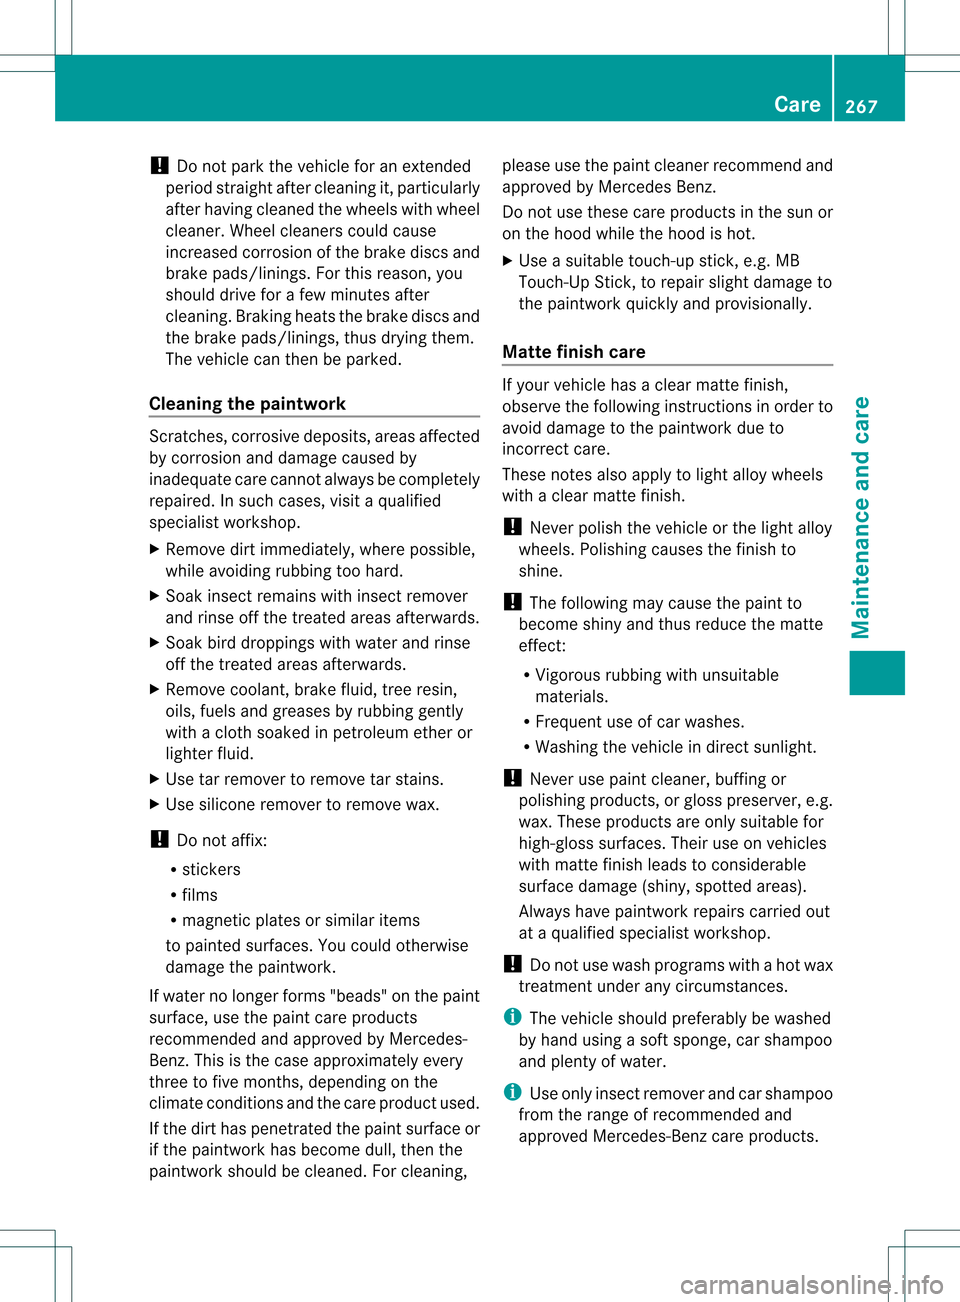
Cleaning the paintwork Scratches, corrosive deposits, areas affected
by corrosion and damage caused by
inadequate care cannot always be completely
repaired.Ins uch cases, visit a qualified
specialist workshop.
X Remove dirt immediately, where possible,
while avoiding rubbing too hard.
X Soak insect remains with insect remover
and rinse off the treated areas afterwards.
X Soak bird droppings with wate rand rinse
off the treated areas afterwards.
X Remove coolant, brake fluid, tree resin,
oils, fuels and greases by rubbing gently
with a cloth soaked in petroleu metheror
lighter fluid.
X Use tar remover to remove tar stains.
X Use silicone remover to remove wax.
! Do not affix:
R stickers
R films
R magnetic plates or similar items
to painted surfaces. You could otherwise
damage the paintwork.
If water no longer forms "beads" on the paint
surface, use the paint care products
recommended and approved by Mercedes-
Benz. This is the case approximately every
three to five months, depending on the
climate conditions and the care produc tused.
If the dirt has penetrated the paint surface or
if the paintwork has become dull, then the
paintwork should be cleaned. For cleaning, please use the paint cleaner recommend and
approved by Mercedes Benz.
Do not use these care products in the sun or
on the hood while the hood is hot.
X
Use a suitable touch-up stick, e.g. MB
Touch-Up Stick, to repair slight damage to
the paintwork quickly and provisionally.
Matte finish care If your vehicle has a clear matte finish,
observe the following instructions in order to
avoid damage to the paintwork due to
incorrect care.
These notes also apply to light alloy wheels
with a clear matte finish.
!
Never polish the vehicle or the light alloy
wheels. Polishing causes the finish to
shine.
! The following may cause the paint to
become shiny and thus reduce the matte
effect:
R Vigorous rubbing with unsuitable
materials.
R Frequent use of car washes.
R Washing the vehicle in direct sunlight.
! Never use paint cleaner, buffing or
polishing products, or gloss preserver, e.g.
wax. These products are only suitable for
high-gloss surfaces. Their use on vehicles
with matte finish leads to considerable
surface damage (shiny, spotted areas).
Always have paintwork repairs carried out
at a qualified specialist workshop.
! Do not use wash programs with a hot wax
treatment under any circumstances.
i The vehicle should preferably be washed
by hand using a soft sponge, car shampoo
and plenty of water.
i Use only insect remover and car shampoo
from the range of recommended and
approved Mercedes-Benz care products. Care
267Maintenance and care Z
Page 278 of 334

X
Apply the electri cparking brake manually
(Y page 150).
X Bring the fron twheels into the straight-
ahead position.
X Move the selector lever to position P.
X Switch off the engine.
X Vehicles without KEYLESS-GO: remove
the SmartKey from the ignition lock.
X Vehicles with KEYLESS-GO: open the
driver's door.
The on-board electronics have status 0,
which is the same as the SmartKey having
been removed.
X Vehicles with KEYLESS-GO: remove the
Start/Stop button from the ignition lock
(Y page 131).
X All occupants must get out of the vehicle.
Make sure that they are not endangered as
they do so.
X Make sure that no one is near the danger
area while a wheel is being changed.
Anyone who is not directly assisting in the
wheel change should, for example, stand
behind the barrier.
X Get out of the vehicle. Pay attention to
traffic conditions when doing so.
X Close the driver's door. Changing
awheel and mounting the
spare wheel
Preparing the vehicle When using a different size spare wheel or
emergency spare wheel, do not exceed the
maximum road speed of 50 mph (80 km/h)
G
WARNING
The wheel or tire size as well as the tire type
of the spare wheel or emergency spare wheel
and the wheel to be replaced may differ.
Mounting an emergency spare wheel may
severely impair the driving characteristics.
There is a risk of an accident. To avoid hazardous situations:
R
adapt you rdriving style accordingly and
drive carefully.
R never install more than one spare wheel or
emergency spare wheel that differs in size.
R only use a spare wheel or emergency spare
wheel of a different size briefly.
R do not switch ESP ®
off.
R have a spare wheel or emergency spare
wheel of a different size replaced at the
nearest qualified specialist workshop.
Observe that the wheel and tire dimensions
as well as the tire type must be correct.
i Vehicles withou taspare wheel or
emergency spare wheel are not equipped
with a tire-change tool kit at the factory. For
more information on which tools are
required to perform a wheel change on your
vehicle, e.g. wheel chock, lug wrench or
alignment bolt, consult an authorized
Mercedes-Benz Center.
X Prepare the vehicle as described
(Y page 275).
X Remove the following items (depending on
the vehicle's equipment) from the stowage
well under the trunk floor:
R
emergency spare wheel
R lug wrench
R folding wheel chock
R jack
R alignment bolt
R tire inflation compressor
X Secure the vehicle to prevent it from rolling
away.
Securing the vehicle to prevent it from
rolling away If your vehicle is equipped with a wheel chock,
it can be found in the vehicle tool kit
(Y
page 274).
The folding wheel chock is an additional
securing measure to prevent the vehicle from 276
Flat tireBreakdown assistance
Page 291 of 334
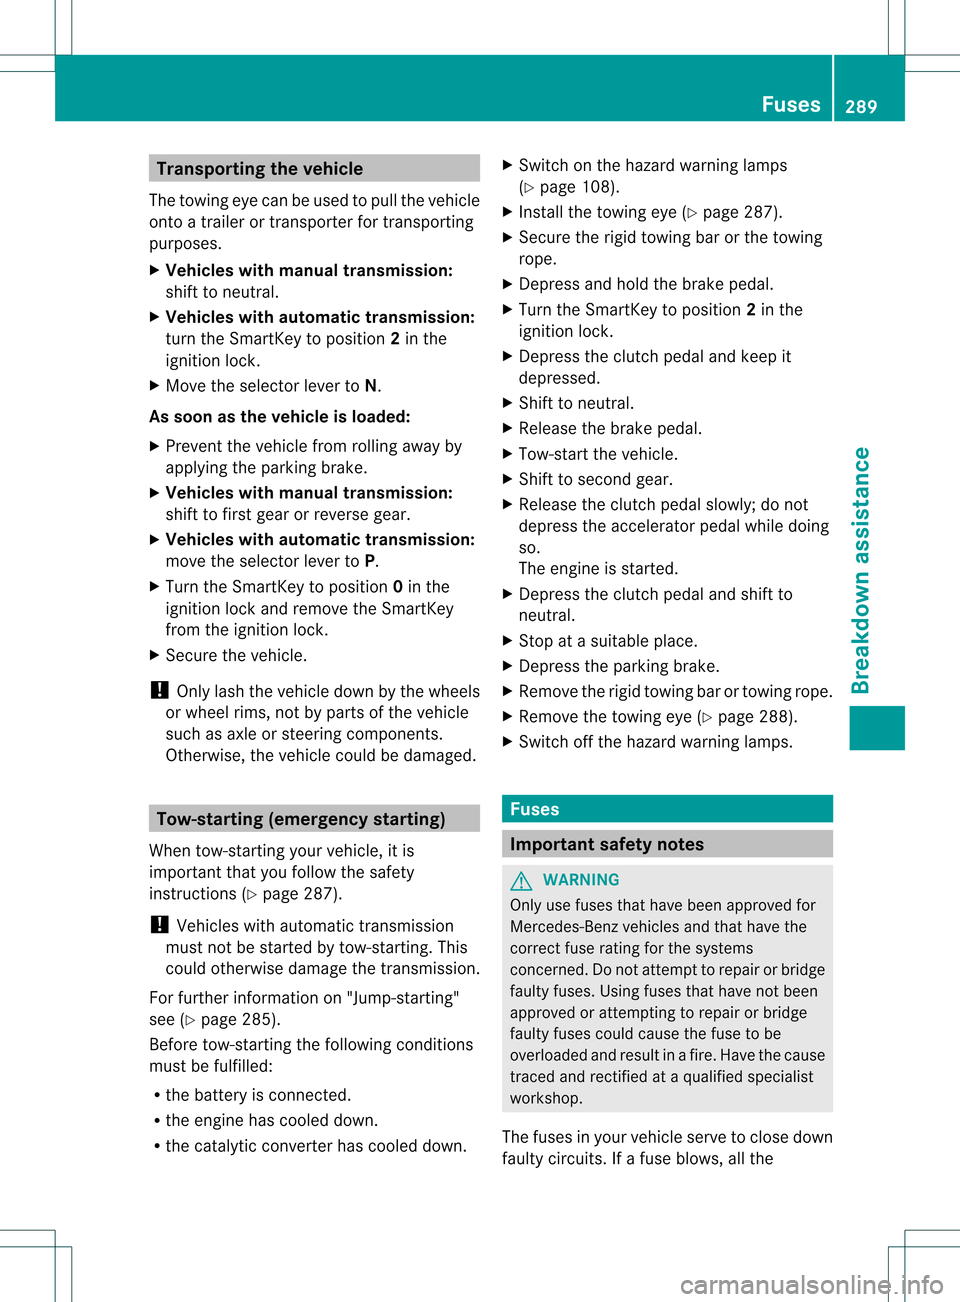
Transporting the vehicle
The towing eye can be used to pull the vehicle
onto a trailer or transporter for transporting
purposes.
X Vehicles with manual transmission:
shift to neutral.
X Vehicles with automatic transmission:
turn the SmartKey to position 2in the
ignition lock.
X Move the selecto rlever to N.
As soon as the vehicle is loaded:
X Preven tthe vehicle from rolling away by
applying the parking brake.
X Vehicles with manual transmission:
shift to first gear or reverse gear.
X Vehicles with automatic transmission:
move the selector lever to P.
X Turn the SmartKey to position 0in the
ignition lock and remove the SmartKey
from the ignition lock.
X Secure the vehicle.
! Only lash the vehicle down by the wheels
or wheel rims, not by parts of the vehicle
such as axle or steering components.
Otherwise, the vehicle could be damaged. Tow-starting (emergency starting)
When tow-starting your vehicle, it is
important that you follow the safety
instructions (Y page 287).
! Vehicles with automatic transmission
must not be started by tow-starting. This
could otherwise damage the transmission.
For further information on "Jump-starting"
see (Y page 285).
Before tow-starting the following conditions
must be fulfilled:
R the battery is connected.
R the engine has cooled down.
R the catalytic converter has cooled down. X
Switch on the hazard warning lamps
(Y page 108).
X Install the towing eye (Y page 287).
X Secure the rigid towing bar or the towing
rope.
X Depress and hold the brake pedal.
X Turn the SmartKey to position 2in the
ignition lock.
X Depress the clutch pedal and keep it
depressed.
X Shift to neutral.
X Release the brake pedal.
X Tow-start the vehicle.
X Shift to second gear.
X Release the clutch pedal slowly;d o not
depress the accelerator pedal while doing
so.
The engine is started.
X Depress the clutch pedal and shift to
neutral.
X Stop at a suitable place.
X Depress the parking brake.
X Remove the rigid towing bar or towing rope.
X Remove the towing eye (Y page 288).
X Switch off the hazard warning lamps. Fuses
Important safety notes
G
WARNING
Only use fuses that have been approved for
Mercedes-Benz vehicles and that have the
correct fuse rating for the systems
concerned. Do not attempt to repair or bridge
faulty fuses. Using fuses that have not been
approved or attempting to repair or bridge
faulty fuses could cause the fuse to be
overloaded and result in afire. Have the cause
traced and rectified at a qualified specialist
workshop.
The fuses in your vehicle serve to close down
faulty circuits. If afuse blows, all the Fuses
289Breakdown assistance Z
Page 302 of 334
changes by 18 ‡ (10 †), the tire pressure
changes by approximately 10 kPa (0.1 bar/
1.5 psi). Take this into account when
checking the pressure of warm tires and only
correct the tire pressure if it is too low for the
current operating conditions
.Ifyou check the
tire pressure when the tires are warm, the
resulting value will be higher than if the tires
were cold. This is normal. Do not reduce the
tire pressure to the value specified for cold
tires. The tire pressure would otherwise be
too low.
Observe the recommended tire pressures for
cold tires:
R on the Tire and Loading Information placard
on the B-pillar on the driver's side
R in the tire pressure table on the inside of
the fuel filler flap
R printed in yellow on the rim of the
emergency/collapsible spare wheel
(depending on vehicle equipment) Underinflated or overinflated tires
Underinflation G
WARNING
Tires with pressure that is too low can
overheat and burst as a consequence. In
addition, they also suffer from excessive and/
or irregular wear, which can severely impair
the braking properties and the driving
characteristics. There is a risk of an accident.
Avoid tire pressures that are too low in all the
tires, including the spare wheel.
Underinflated tires may:
R wear quickly and unevenly
R have an adverse effect on fuel consumption
R overheat, leading to tire defects
R have an adverse effect on handling
characteristics Overinflation G
WARNING
Tires with excessively high pressure can burst
because they are damaged more easily by
road debris, potholes etc. In addition, they
also suffer from irregular wear, which can
severely impair the braking properties and the
driving characteristics. There is a risk of an
accident.
Avoid tire pressures that are too high in all the
tires, including the spare wheel.
Overinflated tires may:
R have an adverse effect on handling
characteristics
R wear quickly and unevenly
R be more susceptible to damage
R have an adverse effect on ride comfort
R increase the braking distance
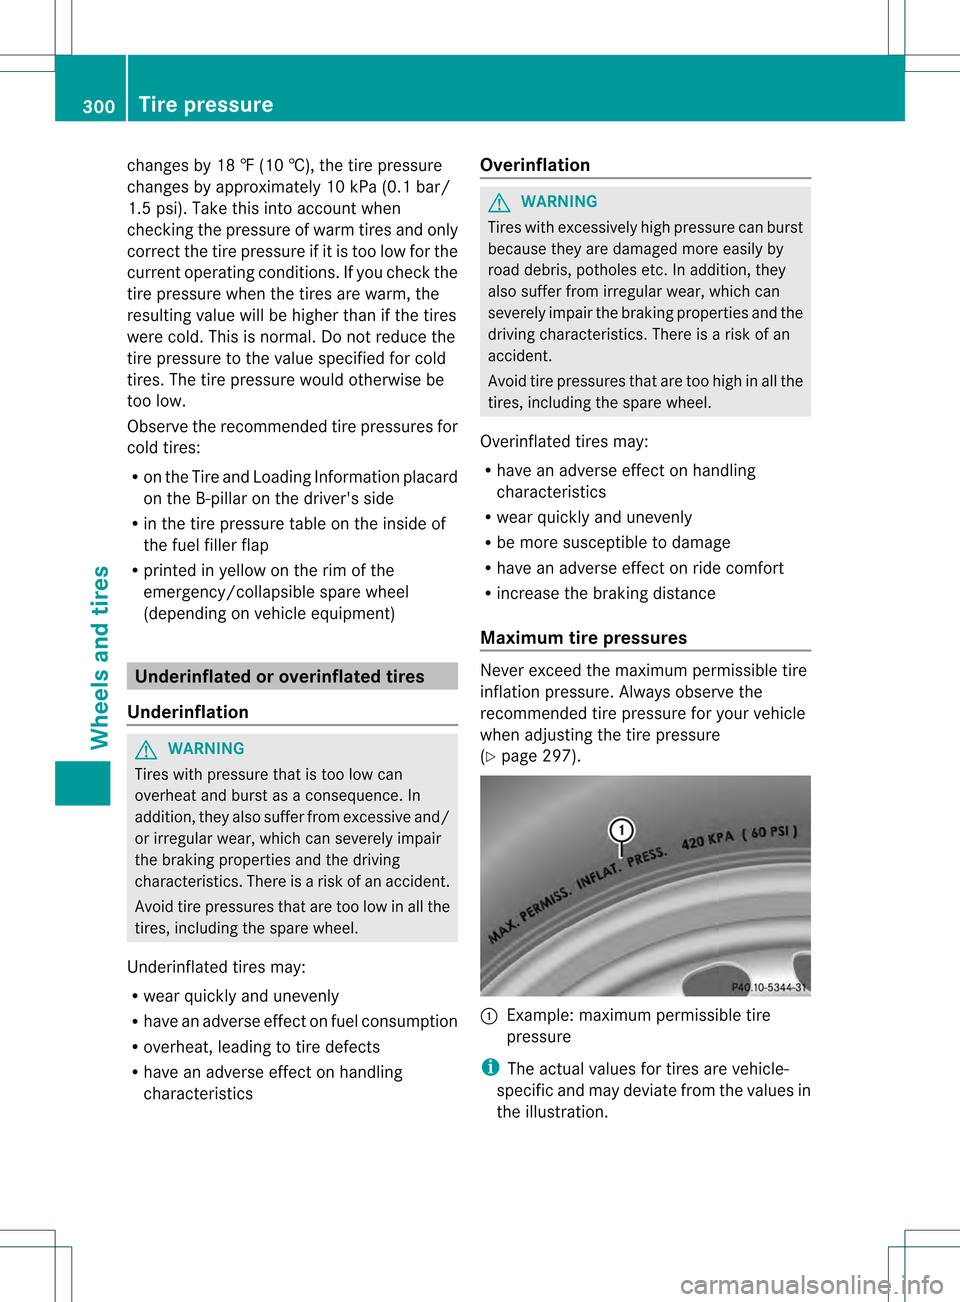
Maximum tire pressures Never exceed the maximum permissible tire
inflation pressure. Always observe the
recommended tire pressure for your vehicle
when adjusting the tire pressure
(Y
page 297). 0002
Example: maximum permissible tire
pressure
i The actual values for tires are vehicle-
specific and may deviate from the values in
the illustration. 300
Tire pressureWheels and tires
Page 316 of 334
Kilopascal (kPa)
Metric unit for tire pressure. 6.9 kPa
corresponds to 1 psi. Another unit for tire
pressure is bar. There are 10 0kilopascals
(kPa) to 1bar. Load index
In addition to the load-bearing index, the load
index may also be imprinted on the sidewall
of the tire. This specifie sthe load-bearing
capacity more precisely. Curb weight
The weight of a vehicle with standard
equipment including the maximum capacity
of fuel, oil and coolant. It also includes the air-
conditioning system and optional equipment
if these are installed in the vehicle, but does
not include passengers or luggage. Maximum load rating
The maximum load rating in kilograms or
pounds is the maximum weight for which a
tire is approved. Maximum permissible tire pressure
Maximum permissible tire pressure for one
tire. Maximum load on one tire
Maximum load on one tire. This is calculated
by dividing the maximum axle load of one axle
by two. PSI (pounds per square inch)
As tandard uni tofmeasure for tire pressure. Aspect ratio
Relationship between tire height and tire
width in percent. Tire pressure
This is pressure inside the tire applying an
outward force to each square inch of the tire's
surface. The tire pressure is specified in
pounds per square inch (psi), in kilopascal
(kPa) or in bar. The tire pressure should only
be corrected when the tires are cold. Tire pressure of cold tires
The tires are cold:
R if the vehicle has been parked without
direct sunlight on the tires for at least three
hours and
R if the vehicle has not been driven more than
1 mile (1.6 km). Tread
The part of the tire that comes into contact
with the road. Bead
The tire bead ensures that the tire sits
securely on the wheel. There are several steel
wires in the bead to prevent the tire from
coming loose from the wheel rim. Sidewall
The part of the tire between the tread and the
bead. Weight of optional extras
The combined weight of those optional extras
that weigh more than the replaced standard
part and more than 2.3 kg (5 lb). These 314
Definition of terms for tires and loadingWheels and tires
Page 317 of 334

optional extras, such as high-performance
brakes, level control, a roof rack or a high-
performance battery, are not included in the
curb weight and the weight of the
accessories. TIN (Tire Identification Number)
This is a unique identifier which can be used
by a tire manufacturer to identify tires, for
example for a product recall, and thus identify
the purchasers. The TIN is made up of the
manufacturer's identification code, tire size,
tire type code and the manufacturing date. Load bearing index
The load bearing index (also load index) is a
code that contains the maximum load bearing
capacity of a tire. Traction
Traction is the result of friction between the
tires and the road surface. Treadwear indicators
Narrow bars (tread wear bars) that are
distributed over the tire tread. If the tire tread
is level with the bars, the wear limit of 0008in
(1.6 mm) has been reached. Occupant distribution
The distribution of occupant sinavehicle at
their designated seating positions. Total load limit
Rated cargo and luggage load plus
68 kilograms (150 lb), multiplied by the
vehicle's designated seating capacity. Changing
awheel Flat tire
The "Breakdown assistance" section
(Y page 275) contains information and notes
on how to deal with a fla ttire. It also provides
instructions on changing a wheel or mounting
the spare wheel/emergency spare wheel. Interchanging the wheels
G
WARNING
Interchanging the front and rear wheels may
severely impair the drivin gcharacteristics if
the wheels or tires have different dimensions.
The wheel brakes or suspension components
may also be damaged. There is a risk of
accident.
Rotate front and rear wheels only if the wheels
and tires are of the same dimensions.
Always pay attention to the instructions and
safety notes in the "Changing tires and
mounting the spare wheel" section
(Y page 276).
The wear patterns on the front and rear tires
differ, depending on the operating conditions.
Rotate the wheels before a clear wear pattern
has formed on the tires. Front tires typically
wear more on the shoulders and the rear tires
in the center.
If your vehicle's tire configuration allows, you
can rotate the wheels according to the
intervals in the tire manufacturer's warranty
book in your vehicle documents. If this is not
available, the tires should then be replaced
every 3000 to 6000 miles (5000 to
10,000 km), or earlier if the tire wear requires
this. Do not change the direction of wheel
rotation.
Cleant he contact surfaces of the wheel and
the brake disc thoroughly every time a wheel
is interchanged. Check the tire pressures.
For information on changing tires and
mounting the spare wheel, see (Y page 276). Changing
awheel
315Wheels and tires Z