2012 MERCEDES-BENZ S-CLASS SEDAN transmission
[x] Cancel search: transmissionPage 421 of 536
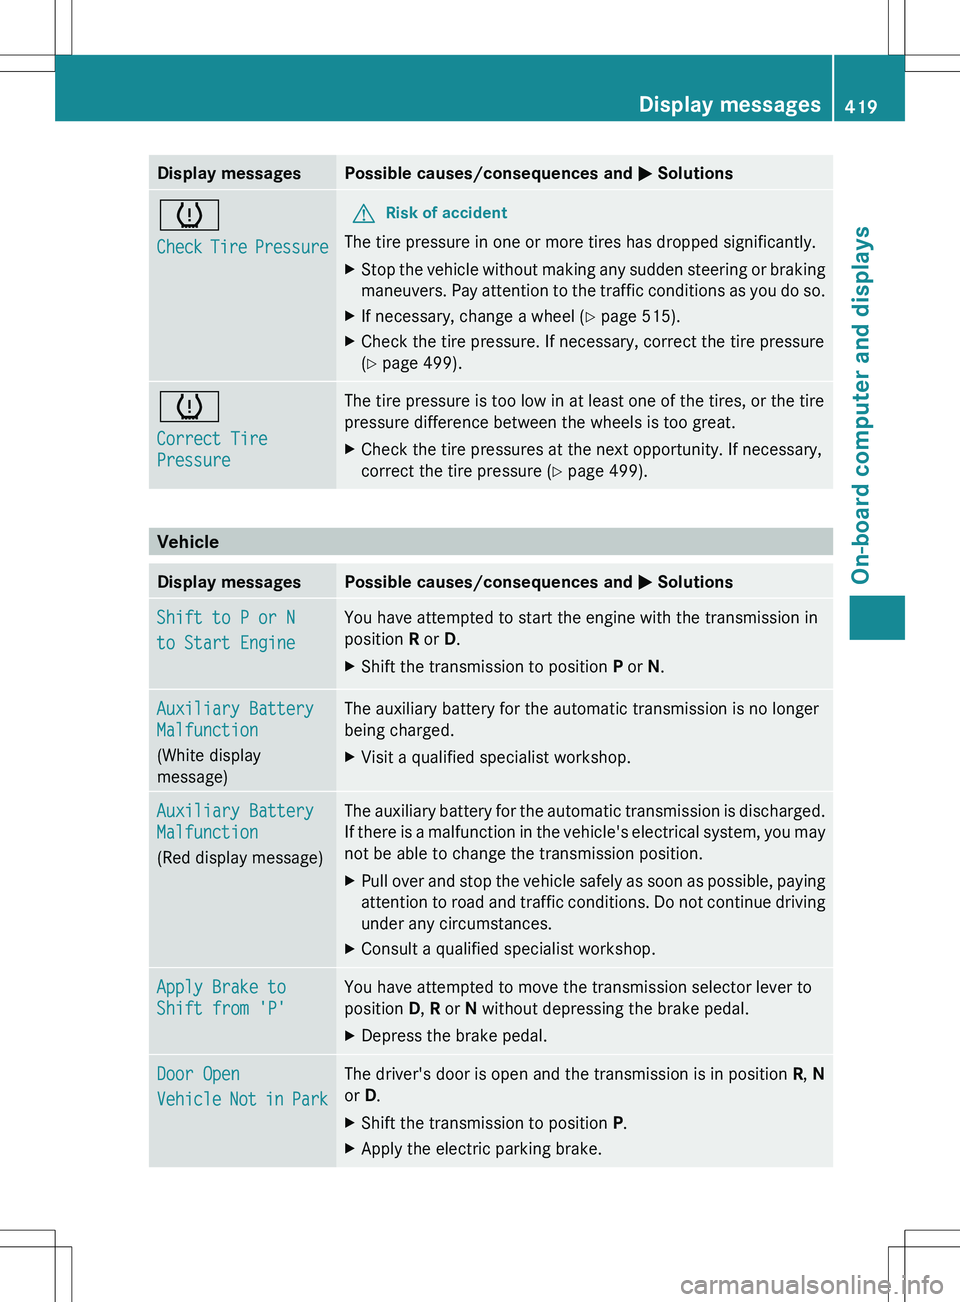
Display messagesPossible causes/consequences and M Solutionsh
Check Tire PressureGRisk of accident
The tire pressure in one or more tires has dropped significantly.
XStop the vehicle without making any sudden steering or braking
maneuvers. Pay attention to the traffic conditions as you do so.XIf necessary, change a wheel ( Y page 515).XCheck the tire pressure. If necessary, correct the tire pressure
( Y page 499).h
Correct Tire
PressureThe tire pressure is too low in at least one of the tires, or the tire
pressure difference between the wheels is too great.XCheck the tire pressures at the next opportunity. If necessary,
correct the tire pressure ( Y page 499).
Vehicle
Display messagesPossible causes/consequences and M SolutionsShift to P or N
to Start EngineYou have attempted to start the engine with the transmission in
position R or D.XShift the transmission to position P or N.Auxiliary Battery
Malfunction
(White display
message)The auxiliary battery for the automatic transmission is no longer
being charged.XVisit a qualified specialist workshop.Auxiliary Battery
Malfunction
(Red display message)The auxiliary battery for the automatic transmission is discharged.
If there is a malfunction in the vehicle's electrical system, you may
not be able to change the transmission position.XPull over and stop the vehicle safely as soon as possible, paying
attention to road and traffic conditions. Do not continue driving
under any circumstances.XConsult a qualified specialist workshop.Apply Brake to
Shift from 'P'You have attempted to move the transmission selector lever to
position D, R or N without depressing the brake pedal.XDepress the brake pedal.Door Open
Vehicle Not in ParkThe driver's door is open and the transmission is in position R, N
or D.XShift the transmission to position P.XApply the electric parking brake.Display messages419On-board computer and displaysZ
Page 422 of 536

Display messagesPossible causes/consequences and M SolutionsService Required
Do Not Shift GearsYou cannot change the transmission position due to a malfunction.
A warning tone also sounds.
If transmission position D is selected:XDrive to a qualified specialist workshop without shifting the
transmission from position D.
If transmission position R, N or P is selected:
XNotify a qualified specialist workshop or breakdown service.Only Shift to
Position 'P' When
Vehicle Is
StationaryThe vehicle is moving.XPull over and stop the vehicle safely as soon as possible, paying
attention to road and traffic conditions.XShift the transmission to position P.NThe trunk lid is open.XClose the trunk lid.MGRisk of accident
The hood is open.
XPull over and stop the vehicle safely as soon as possible, paying
attention to road and traffic conditions.XApply the electric parking brake.XClose the hood.CAt least one door is open.XClose all the doors.D
Power Steering
Malfunction See
Oper. ManualGRisk of accident
The power steering is malfunctioning.
You will need to use more force to steer.
XCheck whether you are able to apply the extra force required.XIf you are able to steer safely: carefully drive on to a qualified
specialist workshop.XIf you are unable to steer safely: do not drive on. Contact the
nearest qualified specialist workshop.¥
Check Washer FluidThe washer fluid level in the washer fluid reservoir has dropped
below the minimum.Xadd washer fluid ( Y page 464).420Display messagesOn-board computer and displays
Page 456 of 536
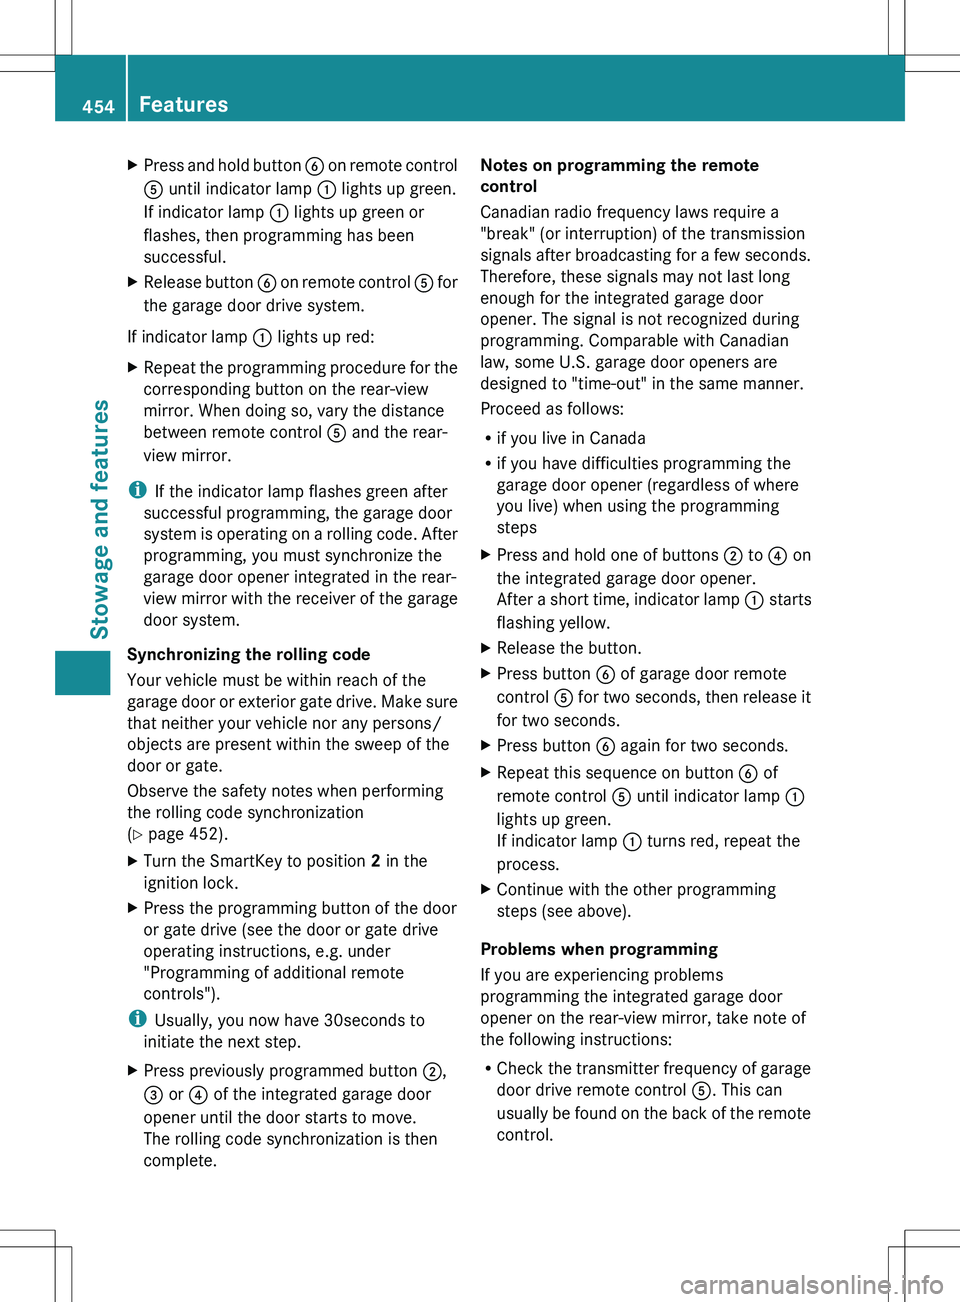
XPress and hold button B on remote control
A until indicator lamp : lights up green.
If indicator lamp : lights up green or
flashes, then programming has been
successful.XRelease button B on remote control A for
the garage door drive system.
If indicator lamp : lights up red:
XRepeat the programming procedure for the
corresponding button on the rear-view
mirror. When doing so, vary the distance
between remote control A and the rear-
view mirror.
i If the indicator lamp flashes green after
successful programming, the garage door
system is operating on a rolling code. After
programming, you must synchronize the
garage door opener integrated in the rear-
view mirror with the receiver of the garage
door system.
Synchronizing the rolling code
Your vehicle must be within reach of the
garage door or exterior gate drive. Make sure
that neither your vehicle nor any persons/
objects are present within the sweep of the
door or gate.
Observe the safety notes when performing
the rolling code synchronization
( Y page 452).
XTurn the SmartKey to position 2 in the
ignition lock.XPress the programming button of the door
or gate drive (see the door or gate drive
operating instructions, e.g. under
"Programming of additional remote
controls").
i Usually, you now have 30seconds to
initiate the next step.
XPress previously programmed button ;,
= or ? of the integrated garage door
opener until the door starts to move.
The rolling code synchronization is then
complete.Notes on programming the remote
control
Canadian radio frequency laws require a
"break" (or interruption) of the transmission
signals after broadcasting for a few seconds.
Therefore, these signals may not last long
enough for the integrated garage door
opener. The signal is not recognized during
programming. Comparable with Canadian
law, some U.S. garage door openers are
designed to "time-out" in the same manner.
Proceed as follows:
R if you live in Canada
R if you have difficulties programming the
garage door opener (regardless of where
you live) when using the programming
stepsXPress and hold one of buttons ; to ? on
the integrated garage door opener.
After a short time, indicator lamp : starts
flashing yellow.XRelease the button.XPress button B of garage door remote
control A for two seconds, then release it
for two seconds.XPress button B again for two seconds.XRepeat this sequence on button B of
remote control A until indicator lamp :
lights up green.
If indicator lamp : turns red, repeat the
process.XContinue with the other programming
steps (see above).
Problems when programming
If you are experiencing problems
programming the integrated garage door
opener on the rear-view mirror, take note of
the following instructions:
R Check the transmitter frequency of garage
door drive remote control A. This can
usually be found on the back of the remote
control.
454FeaturesStowage and features
Page 457 of 536
The integrated garage door opener is
compatible with devices that have units
which operate in the frequency range of
280 to 390MHz.
R Replace the batteries in garage door
remote control A. This increases the
likelihood that garage door remote control
A will transmit a strong and precise signal
to the integrated garage door opener in the
rear-view mirror.
R When programming, hold remote control
A at varying distances and angles from the
button that you are programming. Try
various angles at a distance between
2 and 12 inches (5 to 30 cm) or at the same
angle but at varying distances.
R If another remote control for the same
garage door drive is available, repeat the
same programming steps with this remote
control. Before performing these steps,
make sure that new batteries have been
installed in garage door drive remote
control A.
R Note that some remote controls only
transmit for a limited amount of time (the
indicator lamp on the remote control goes
out). Press button B on remote control
A again before transmission ends.
R Align the antenna cable of the garage door
opener unit. This can improve signal
reception/transmission.
Opening/closing the garage door
After it has been programmed, the integrated
garage door opener performs the function of
the garage door system remote control.
Please also read the operating instructions
for the garage door system.
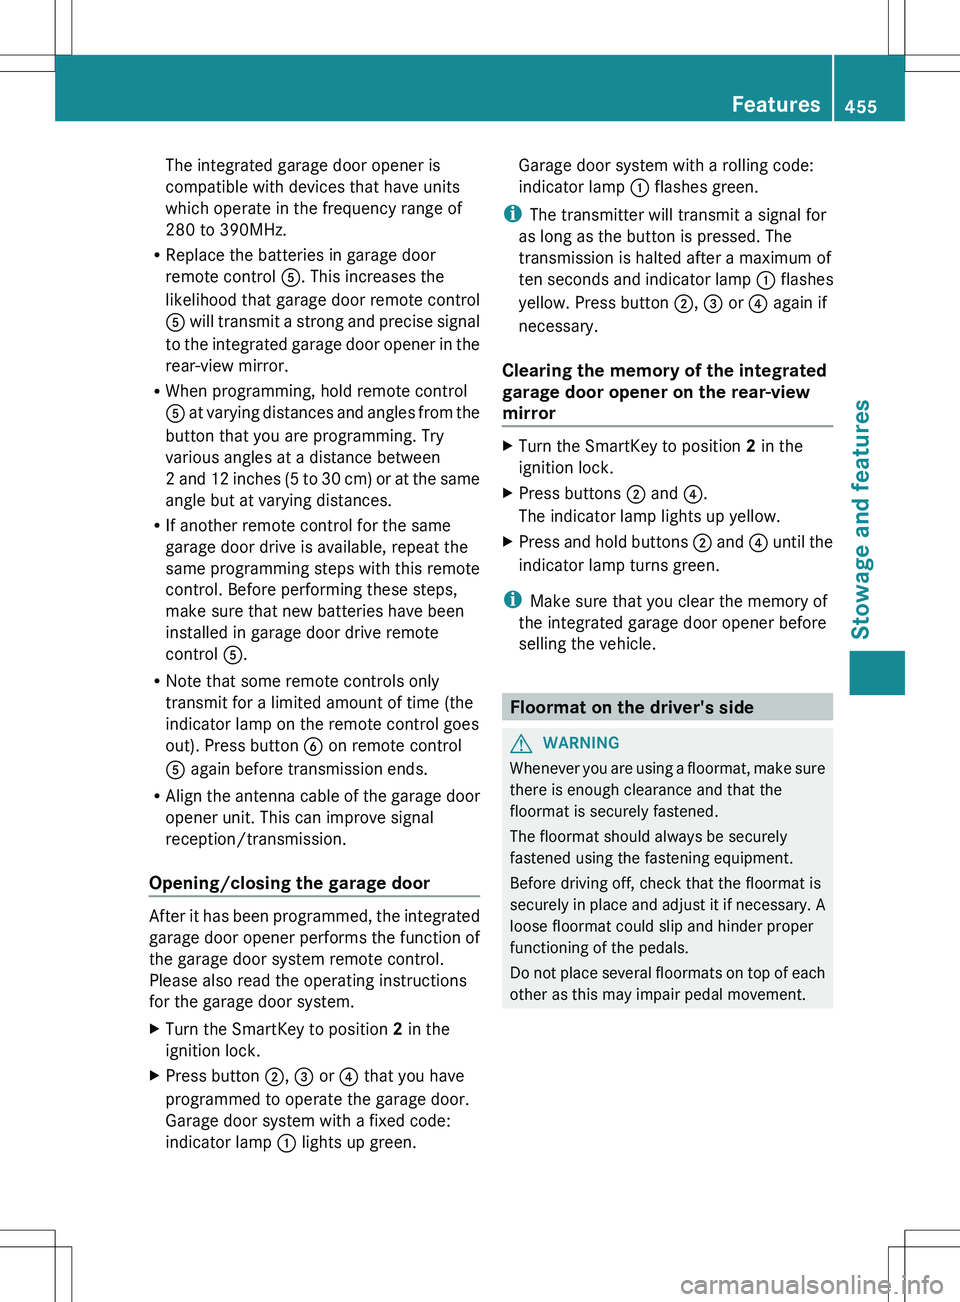
XTurn the SmartKey to position 2 in the
ignition lock.XPress button ;, = or ? that you have
programmed to operate the garage door.
Garage door system with a fixed code:
indicator lamp : lights up green.Garage door system with a rolling code:
indicator lamp : flashes green.
i
The transmitter will transmit a signal for
as long as the button is pressed. The
transmission is halted after a maximum of
ten seconds and indicator lamp : flashes
yellow. Press button ;, = or ? again if
necessary.
Clearing the memory of the integrated
garage door opener on the rear-view
mirror
XTurn the SmartKey to position 2 in the
ignition lock.XPress buttons ; and ?.
The indicator lamp lights up yellow.XPress and hold buttons ; and ? until the
indicator lamp turns green.
i Make sure that you clear the memory of
the integrated garage door opener before
selling the vehicle.
Floormat on the driver's side
GWARNING
Whenever you are using a floormat, make sure
there is enough clearance and that the
floormat is securely fastened.
The floormat should always be securely
fastened using the fastening equipment.
Before driving off, check that the floormat is
securely in place and adjust it if necessary. A
loose floormat could slip and hinder proper
functioning of the pedals.
Do not place several floormats on top of each
other as this may impair pedal movement.
Features455Stowage and featuresZ
Page 468 of 536

otherwise lead to increased wear and
damage to the major assemblies or the
vehicle.
Driving abroad
An extensive Mercedes-Benz Service network
is also available in other countries. You can
obtain further information from any
authorized Mercedes-Benz Center.
Care
Notes on care
Regular care of your vehicle is a condition for
retaining the quality in the long term.
Use care products and cleaning agents
recommended and approved by Mercedes-
Benz.
GWARNING
Many cleaning products can be hazardous.
Some are poisonous, others are flammable.
Always follow the instructions on the
particular container. Always open your
vehicle's doors or windows when cleaning the
inside.
Never use fluids or solvents that are not
designed for cleaning your vehicle.
Always lock away cleaning products and keep
them out of reach of children.
! For cleaning your vehicle, do not use any
of the following:
R dry, rough or hard cloths
R abrasive cleaning agents
R solvents
R cleaning agents containing solvents
Do not scrub.
Do not touch the surfaces or protective
films with hard objects, e.g. a ring or ice
scraper. You could otherwise scratch or
damage the surfaces and protective film.
HEnvironmental note
Dispose of empty packaging and cleaning
cloths in an environmentally responsible
manner.
! Do not park the vehicle for an extended
period straight after cleaning it, particularly
after having cleaned the wheels with wheel
cleaner. Wheel cleaners could cause
increased corrosion of the brake discs and
brake pads/linings. For this reason, you
should drive for a few minutes after
cleaning. Braking heats the brake discs and
the brake pads/linings, thus drying them.
The vehicle can then be parked.
Exterior care
Automatic car wash
GWARNING
Braking efficiency is reduced after washing
the vehicle. This could cause an accident. For
this reason, you must drive particularly
carefully after washing the vehicle until the
brakes have dried.
You can wash the vehicle in an automatic car
wash from the very start.
! Never clean your vehicle in a Touchless
Automatic Car Wash as these use special
cleaning agents. These cleaning agents can
damage the paintwork or plastic parts.
If the vehicle is very dirty, pre-wash it before
cleaning it in an automatic car wash.
! In car washes with a towing mechanism,
make sure that the automatic transmission
is in transmission position N, otherwise the
vehicle could be damaged.
R Vehicles with a SmartKey:
Do not remove the SmartKey from the
ignition lock. Do not open the driver's
door or front-passenger door when the
engine is switched off. Otherwise, the
automatic transmission selects park
466CareMaintenance and care
Page 469 of 536
position P automatically and locks the
wheels. You can prevent this by shifting
the automatic transmission to N
beforehand.
R Vehicles with KEYLESS-GO:
Do not open the driver's door or front-
passenger door when the engine is
switched off. Otherwise, the automatic
transmission selects park position P
automatically and locks the wheels.
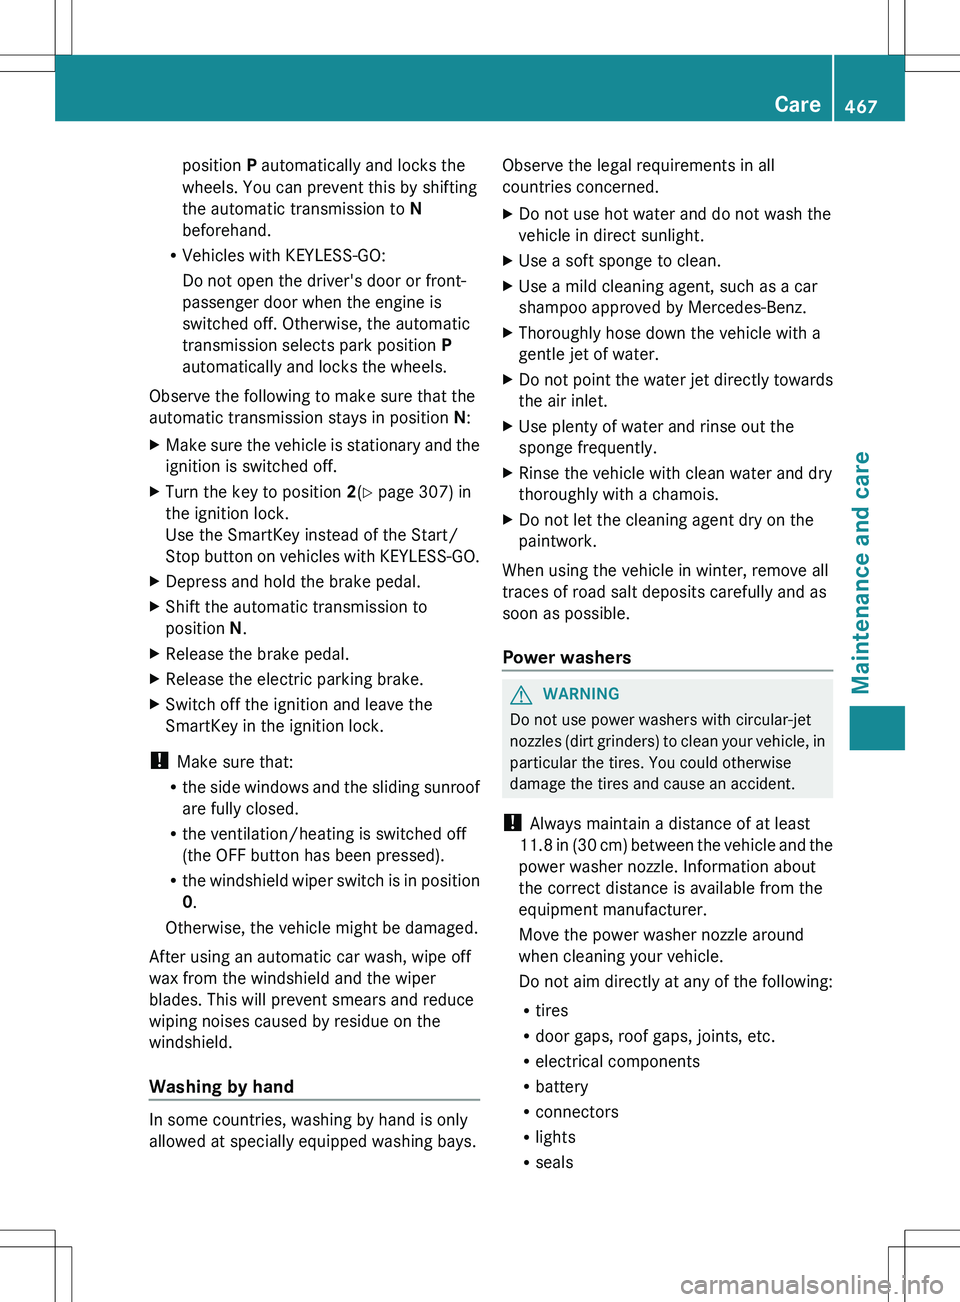
Observe the following to make sure that the
automatic transmission stays in position N:XMake sure the vehicle is stationary and the
ignition is switched off.XTurn the key to position 2(Y page 307) in
the ignition lock.
Use the SmartKey instead of the Start/
Stop button on vehicles with KEYLESS-GO.XDepress and hold the brake pedal.XShift the automatic transmission to
position N.XRelease the brake pedal.XRelease the electric parking brake.XSwitch off the ignition and leave the
SmartKey in the ignition lock.
! Make sure that:
R the side windows and the sliding sunroof
are fully closed.
R the ventilation/heating is switched off
(the OFF button has been pressed).
R the windshield wiper switch is in position
0 .
Otherwise, the vehicle might be damaged.
After using an automatic car wash, wipe off
wax from the windshield and the wiper
blades. This will prevent smears and reduce
wiping noises caused by residue on the
windshield.
Washing by hand
In some countries, washing by hand is only
allowed at specially equipped washing bays.
Observe the legal requirements in all
countries concerned.XDo not use hot water and do not wash the
vehicle in direct sunlight.XUse a soft sponge to clean.XUse a mild cleaning agent, such as a car
shampoo approved by Mercedes-Benz.XThoroughly hose down the vehicle with a
gentle jet of water.XDo not point the water jet directly towards
the air inlet.XUse plenty of water and rinse out the
sponge frequently.XRinse the vehicle with clean water and dry
thoroughly with a chamois.XDo not let the cleaning agent dry on the
paintwork.
When using the vehicle in winter, remove all
traces of road salt deposits carefully and as
soon as possible.
Power washers
GWARNING
Do not use power washers with circular-jet
nozzles (dirt grinders) to clean your vehicle, in
particular the tires. You could otherwise
damage the tires and cause an accident.
! Always maintain a distance of at least
11.8 in (30 cm) between the vehicle and the
power washer nozzle. Information about
the correct distance is available from the
equipment manufacturer.
Move the power washer nozzle around
when cleaning your vehicle.
Do not aim directly at any of the following:
R tires
R door gaps, roof gaps, joints, etc.
R electrical components
R battery
R connectors
R lights
R seals
Care467Maintenance and careZ
Page 486 of 536
XSecure the vehicle by applying the electric parking brake.XShift the transmission to position P.XSwitch off all electrical consumers (e.g. radio, blower, etc.).XOpen the hood ( Y page 458).
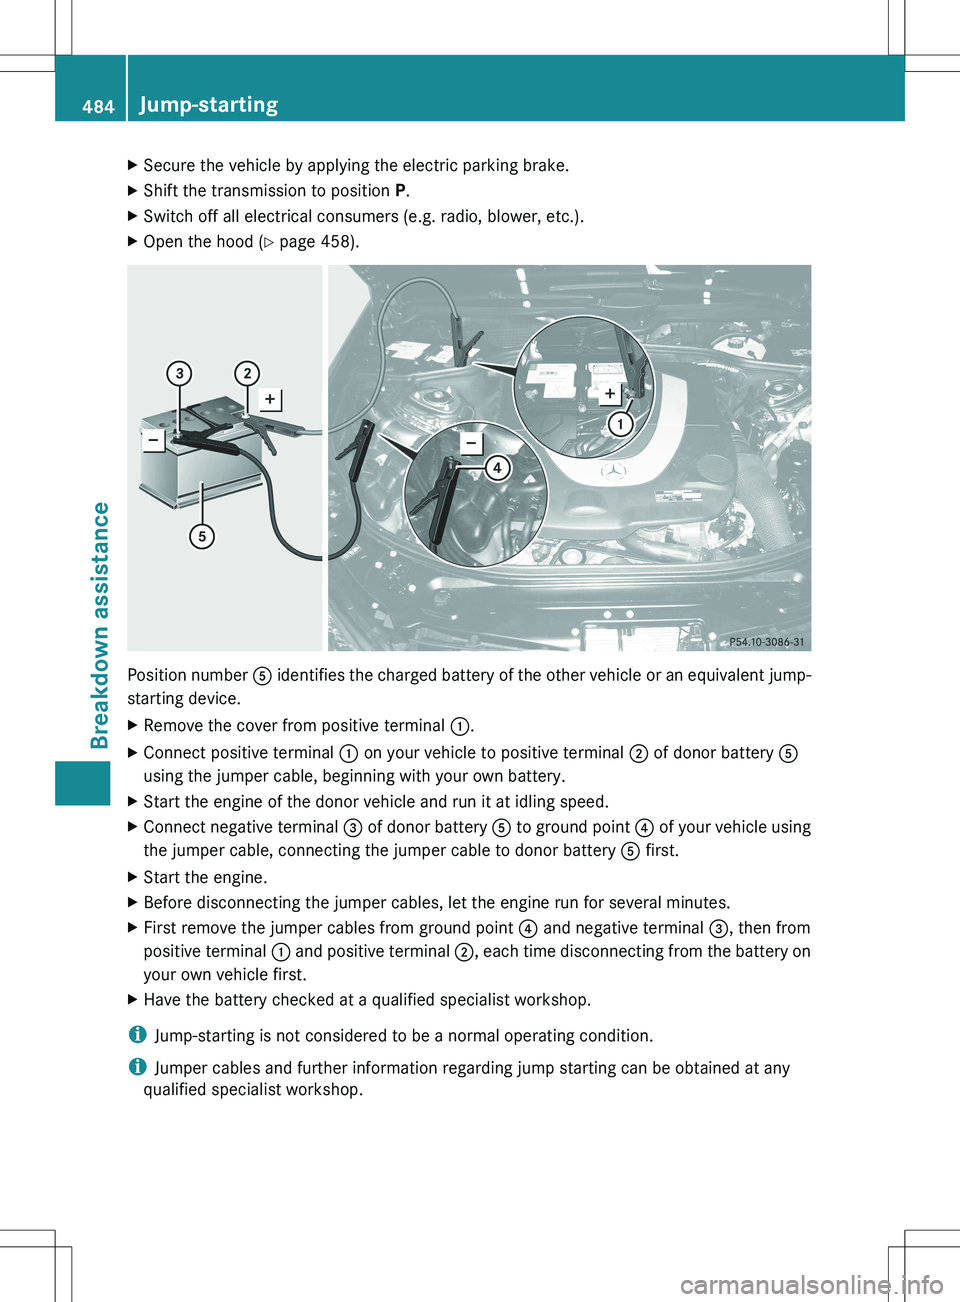
Position number A identifies the charged battery of the other vehicle or an equivalent jump-
starting device.
XRemove the cover from positive terminal :.XConnect positive terminal : on your vehicle to positive terminal ; of donor battery A
using the jumper cable, beginning with your own battery.XStart the engine of the donor vehicle and run it at idling speed.XConnect negative terminal = of donor battery A to ground point ? of your vehicle using
the jumper cable, connecting the jumper cable to donor battery A first.XStart the engine.XBefore disconnecting the jumper cables, let the engine run for several minutes.XFirst remove the jumper cables from ground point ? and negative terminal =, then from
positive terminal : and positive terminal ;, each time disconnecting from the battery on
your own vehicle first.XHave the battery checked at a qualified specialist workshop.
i Jump-starting is not considered to be a normal operating condition.
i Jumper cables and further information regarding jump starting can be obtained at any
qualified specialist workshop.
484Jump-startingBreakdown assistance
Page 487 of 536
Towing and tow-starting
Important safety notes
GWARNING
Hybrid vehicles: be sure to read the "HYBRID"
supplement. Otherwise, you could fail to
recognize dangers.
GWARNING
If you tow the vehicle, you must use a rigid
towing bar if:
R the engine is not running.
R there is a brake system malfunction.
R there is a malfunction in the power supply
or the vehicle's electrical system.
The power assistance for the steering and the
brake force booster do not work when the
engine is not running. You will need more
force to steer and brake, you may have to
depress the brake pedal with maximum force.
Before towing away, make sure that the
steering can be moved and is not locked.
If you tow or tow-start another vehicle, its
weight must not exceed the maximum
permissible gross vehicle weight of your
vehicle.
GWARNING
The vehicle is braked when the HOLD function
or DISTRONIC PLUS is activated. Therefore,
deactivate HOLD and DISTRONIC PLUS if the
vehicle is to be towed.
It is better to have the vehicle transported
than to have it towed.
! The vehicle can be towed a maximum of
30 miles (50km). The towing speed of
30 mph (50 km/h) must not be exceeded.
If the vehicle has to be towed more than
30 miles ( 50km), the entire vehicle must be
raised and transported.
! Make sure that the electric parking brake
is released. If the electric parking brake is
faulty, visit a qualified specialist workshop.
! Only secure the tow rope or tow bar at the
towing eyes. Otherwise, the vehicle could
be damaged.
! Do not use the towing eye for recovery,
as this could damage the vehicle. If in
doubt, recover the vehicle with a crane.
! When towing, pull away slowly and
smoothly. If the tractive power is too high,
the vehicles could be damaged.
! Do not tow with sling-type equipment.
This could damage the vehicle.
! When towing vehicles with KEYLESS-GO,
use the key instead of the Start/Stop
button. Otherwise, the automatic
transmission may shift to position P when
the driver's or front-passenger door are
opened, which could lead to damage to the
transmission.
The automatic transmission must be in
position N when the vehicle is being towed.
The battery must be connected and charged.
Otherwise, you:
R cannot turn the SmartKey to position 2 in
the ignition lock
R cannot shift the automatic transmission to
position N
i Before the vehicle is towed, switch off the
automatic locking feature ( Y page 269).
You could otherwise be locked out when
pushing or towing the vehicle.
Installing/removing the towing eye
Installing the towing eye
XRemove the towing eye from the vehicle
tool kit ( Y page 474).GWARNING
The exhaust tail pipe may be hot. You could
burn yourself if you touch the tail pipe. Be
particularly careful when removing the rear
cover.
Towing and tow-starting485Breakdown assistanceZ