2012 MERCEDES-BENZ GL ECU
[x] Cancel search: ECUPage 167 of 384
use a sponge and cold water to clean it. DEF
residues crystallize after time and
contaminate the affected surfaces.
! DEF is not a fuel additive and must not be
added to the fuel tank. If DEF is added to
the fuel tank, this can lead to engine
damage.
i If you are adding between maintenance
intervals, add approximately 1 gallon (3.8 l)
of DEF to the DEF tank. One gallon (3.8 l)
of DEF is approximately 2 DEF refill bottles.
For further information on DEF, see:
( Y page 374).
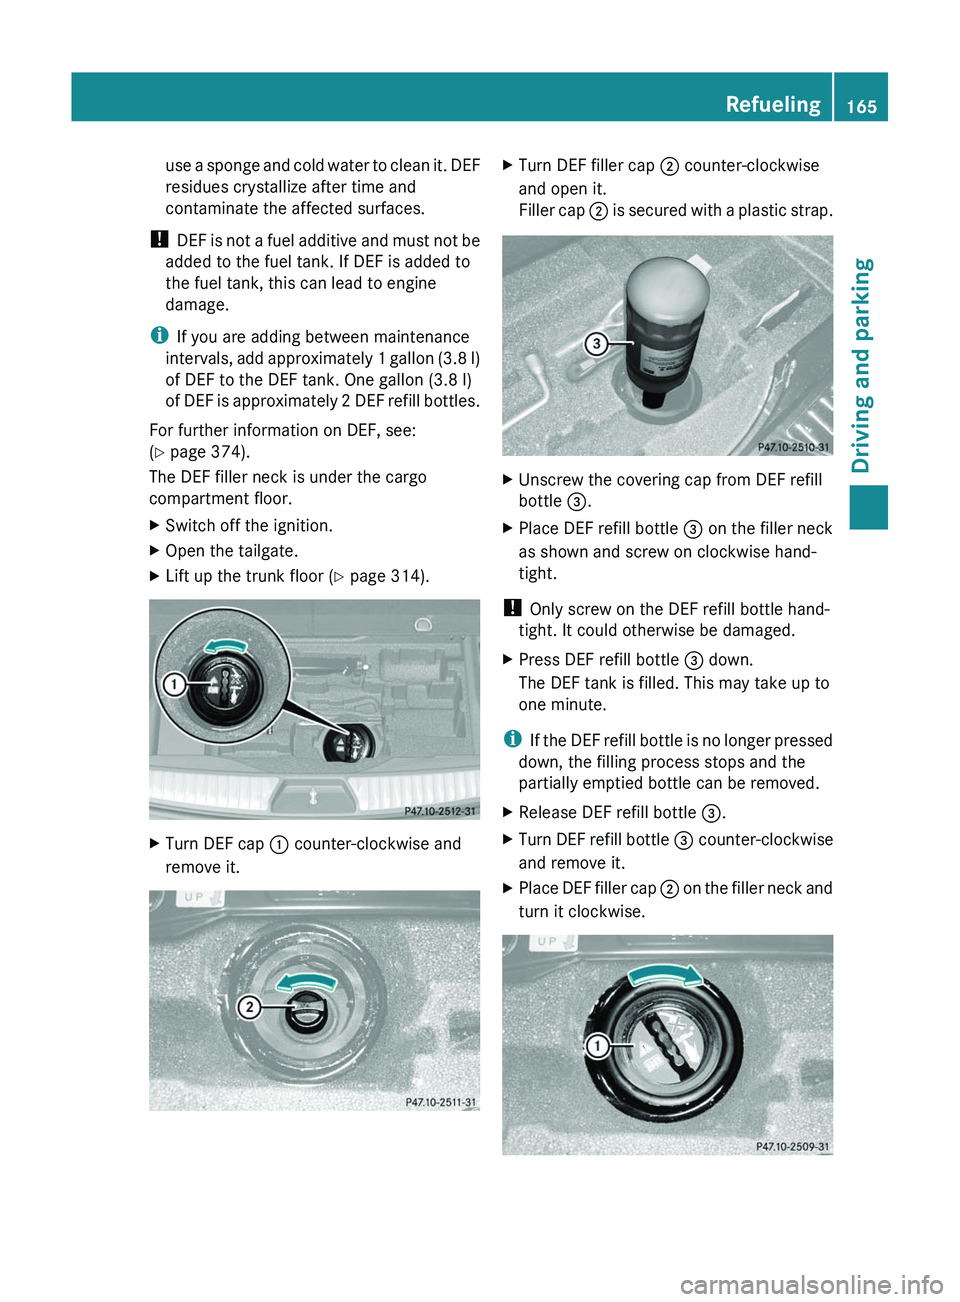
The DEF filler neck is under the cargo
compartment floor.XSwitch off the ignition.XOpen the tailgate.XLift up the trunk floor ( Y page 314).XTurn DEF cap : counter-clockwise and
remove it.XTurn DEF filler cap ; counter-clockwise
and open it.
Filler cap ; is secured with a plastic strap.XUnscrew the covering cap from DEF refill
bottle =.XPlace DEF refill bottle = on the filler neck
as shown and screw on clockwise hand-
tight.
! Only screw on the DEF refill bottle hand-
tight. It could otherwise be damaged.
XPress DEF refill bottle = down.
The DEF tank is filled. This may take up to
one minute.
i If the DEF refill bottle is no longer pressed
down, the filling process stops and the
partially emptied bottle can be removed.
XRelease DEF refill bottle =.XTurn DEF refill bottle = counter-clockwise
and remove it.XPlace DEF filler cap ; on the filler neck and
turn it clockwise.Refueling165Driving and parkingZ
Page 177 of 384
the risk of losing control of the vehicle and
rolling over.
General information
Read this section carefully before driving your
vehicle off-road. Practice by driving over more
gentle off-road terrain first.
Familiarize yourself with the characteristics
of your vehicle and the gear shift operation
before driving through difficult terrain.
The following driving systems are specially
adapted to off-road driving:
R off-road drive program (for vehicles without
Off-Road Pro engineering package)
( Y page 206)
R LOW RANGE off-road gear ( Y page 206)
R off-road ABS ( Y page 69)
R off-road 4ETS ( Y page 70)
R off-road ESP ®
(Y page 71)
R hill start assist
R differential locks ( Y page 208)
R DSR (Downhill Speed Regulation)
( Y page 204)
Observe the following notes:
R Stop your vehicle and, if necessary, select
the off-road drive program (Y page 206) or
the LOW RANGE off-road gear
( Y page 206) before driving off-road.
R Select a vehicle level suitable for the off-
road terrain. Make sure there is always
sufficient ground clearance to prevent
damage to the vehicle.
R Activate the differential locks.
R Check that items of luggage and loads are
stowed safely and are well secured
( Y page 272).
R Always keep the engine running and in gear
when driving on a downhill gradient.
Activate DSR ( Y page 204).
R Always keep the doors, tailgate, windows
and sliding sunroof closed while driving.
R Adapt your speed to the terrain. The
rougher, steeper or more ruts on the
terrain, the slower your speed should be.
R Drive slowly and at an even speed through
the water. Ensure that a bow wave does not
form as you drive.
R Drive with extreme care on unknown off-
road routes where visibility is poor. For
safety reasons, get out of the vehicle first
and survey the off-road route.
R Look out for obstacles such as rocks, holes,
tree stumps and furrows.
R Check the depth of water before fording
rivers and streams.
R When fording, do not stop and do not
switch off the engine.
R On sand, drive quickly to overcome the
rolling resistance. Otherwise, the vehicle
could dig itself into the sand.
R Do not jump with the vehicle as this will
interrupt the vehicle's propulsion.
R Always keep the engine running and in gear
when driving on a slope.
R Do not shift the automatic transmission to
transmission position N.
Checklist before driving off-roadXEngine oil level: check the engine oil and
top it up if necessary.
The vehicle can only guarantee a smooth
supply of oil on steep stretches if there is a
sufficient level of engine oil.
! If the engine oil warning lamp lights up
while the vehicle is in motion, stop the
vehicle in a safe place as soon as possible.
Check the engine oil level. The engine oil
warning lamp warning must not be ignored.
Continuing the journey while the symbol is
displayed could lead to engine damage.
XWheel-changing tool kit: check that the
jack is working and make sure you have theDriving tips175Driving and parkingZ
Page 182 of 384
Use cruise control only if road and traffic
conditions make it appropriate to maintain a
steady speed for a prolonged period. You can
set any road speed above 20 mph
(30 km/h).GWARNING
The cruise control is a convenience system
designed to assist the driver during vehicle
operation. The driver is and must always
remain responsible for the vehicle's speed
and for safe brake operation.
Only use the cruise control if the road, traffic,
and weather conditions make it advisable to
travel at a constant speed.
R The use of the cruise control can be
dangerous on winding roads or in heavy
traffic because conditions do not allow safe
driving at a constant speed.
R The use of the cruise control can be
dangerous on slippery roads. Rapid
changes in tire traction can result in wheel
spin and loss of control.
R Deactivate the cruise control when driving
in fog.
The "Resume" function should only be
operated if the driver is fully aware of the
previously set speed and wishes to resume
this particular preset speed.
GWARNING
When cruise control brakes, the brake pedal
is pulled back (i.e. operated automatically).
The area around the pedal must not be
blocked by obstacles:
R Do not place any objects in the footwell.
R Ensure that floormats and carpets are fixed
securely. In particular, do not place several
floormats on top of one another.
R Do not place your foot under the brake
pedal, as it could become trapped.
Non-compliance could lead you to cause an
accident in which you and/or others could be
seriously injured.
i Cruise control should not be activated
during off-road driving.
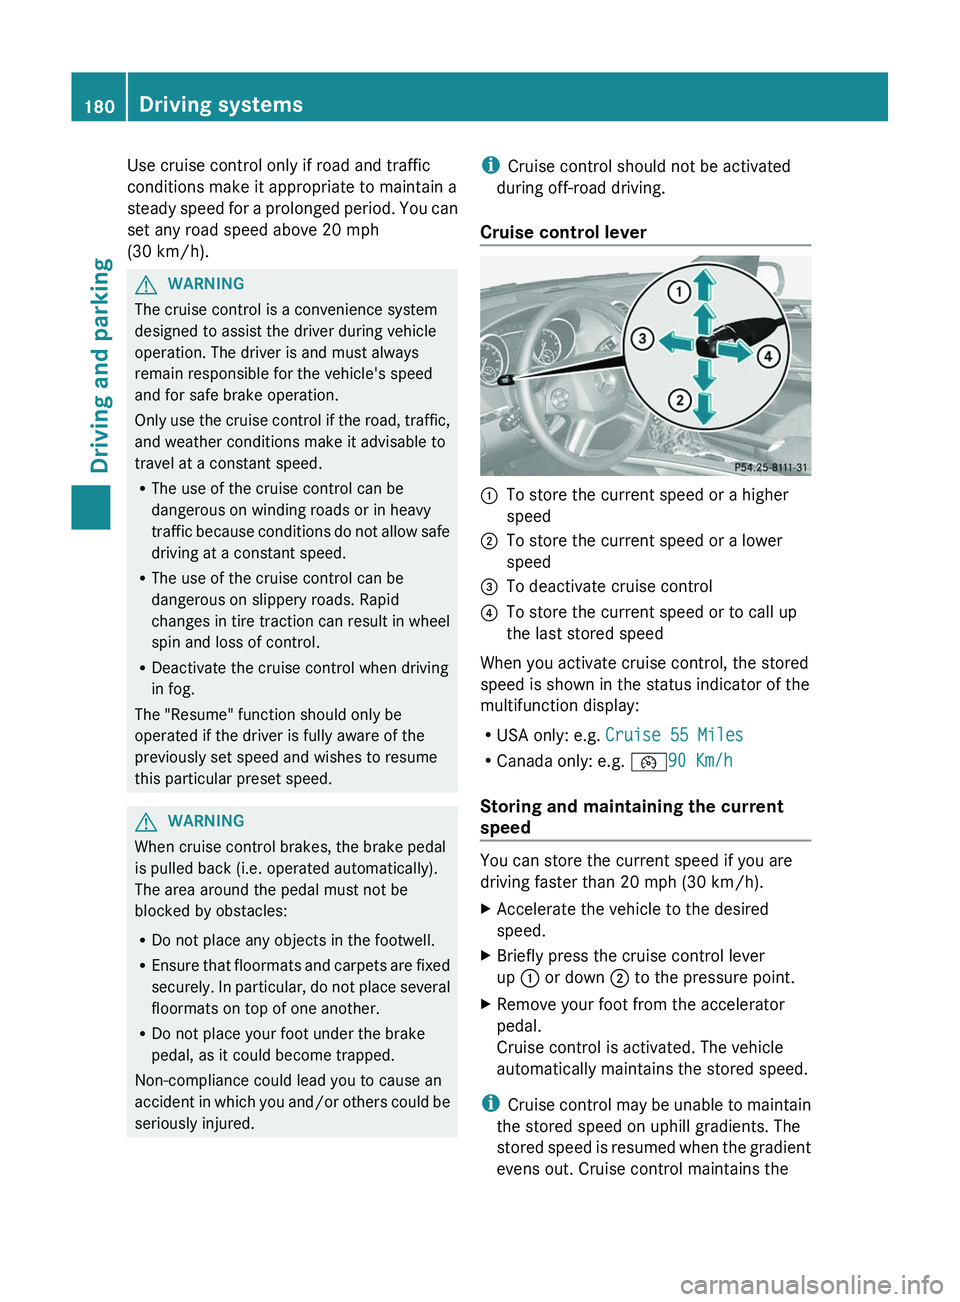
Cruise control lever:To store the current speed or a higher
speed;To store the current speed or a lower
speed=To deactivate cruise control?To store the current speed or to call up
the last stored speed
When you activate cruise control, the stored
speed is shown in the status indicator of the
multifunction display:
R USA only: e.g. Cruise 55 Miles
R Canada only: e.g. ¯90 Km/h
Storing and maintaining the current
speed
You can store the current speed if you are
driving faster than 20 mph (30 km/h).
XAccelerate the vehicle to the desired
speed.XBriefly press the cruise control lever
up : or down ; to the pressure point.XRemove your foot from the accelerator
pedal.
Cruise control is activated. The vehicle
automatically maintains the stored speed.
i Cruise control may be unable to maintain
the stored speed on uphill gradients. The
stored speed is resumed when the gradient
evens out. Cruise control maintains the
180Driving systemsDriving and parking
Page 184 of 384
DISTRONIC
Important safety notes
DISTRONIC regulates the speed and
automatically helps you maintain the
distance to the vehicle detected in front. It
brakes automatically in order to avoid
exceeding the set speed.
On long and steep downhill gradients,
especially if the vehicle is laden or towing a
trailer, you must select shift range 1, 2 or 3
in good time. By doing so, you will make use
of the braking effect of the engine, which
relieves the load on the brake system and
prevents the brakes from overheating and
wearing too quickly.
If a slower-moving vehicle is detected in front,
DISTRONIC causes your vehicle to brake and
maintain the preset distance to the vehicle in
front.
GWARNING
The Distronic requires familiarity with its
operational characteristics. We strongly
recommend that you review the following
information carefully before operating the
system.
GWARNING
When DISTRONIC brakes, the brake pedal is
pulled back (i.e. operated automatically). The
area around the pedal must not be blocked by
obstacles:
R do not place any objects in the footwell.
R ensure that floormats and carpets are fixed
securely. In particular, do not place several
floormats on top of one another.
R do not place your foot under the brake
pedal, as it could become trapped.
Non-compliance could lead you to cause an
accident in which you and/or others could be
seriously injured.
GWARNING
The Distronic is a convenience system. Its
speed adjustment reduction capability is
intended to make cruise control more
effective and usable when traffic speeds vary.
It is not however, intended to, nor does it,
replace the need for extreme care.
The responsibility for the vehicle's speed,
distance to the preceding vehicle and, most
importantly, brake operation to ensure a safe
stopping distance, always remains with the
driver.
The Distronic cannot take street and traffic
conditions into account. Complex driving
situations are not always fully recognized by
the Distronic. This could result in wrong or
missing distance warnings.
If there is no vehicle driving in front of you,
DISTRONIC functions like cruise control at a
speed range between 20 mph (30 km/h) and
120 mph (200 km/h). If a vehicle is driving in
front of you, it functions at a speed range
between 0 mph (0 km/h) and 120 mph
(200 km/h).
Do not use DISTRONIC while driving on roads
with steep gradients.GWARNING
DISTRONIC distance control is not a
substitute for the driver's active involvement.
It does not react to pedestrians or stationary
objects and cannot detect or predict the
road's course and the movements of the
vehicles in front.
DISTRONIC can only brake using 40% of the
vehicle's maximum possible braking force.
The driver must always pay attention to road,
weather and traffic conditions. He must steer,
brake and drive the vehicle so that he
maintains control over it.
High-frequency sources such as toll stations,
velocity measurement systems, etc. may
cause DISTRONIC to malfunction.
GWARNING
The Distronic cannot take road and traffic
conditions into account. Only use the
Distronic if the road, weather and traffic
182Driving systemsDriving and parking
Page 213 of 384
Allow for enough play in the chains to
facilitate turning tight corners.
R a separate brake system for certain types
of trailer.
R a safety switch for braked trailers. Check
the specific legal requirements applicable
to your federal state.
If the trailer detaches from the towing
vehicle, the safety switch applies the
trailer's brakes.
! Do not connect the trailer's brake system
(if featured) to the hydraulic brake system
of the towing vehicle, as the latter is
equipped with an anti-lock brake system.
Doing so will result in a loss of function of
the brake systems of both the vehicle and
the trailer.
i The vehicle's wiring harness features a
line to the brake indicator lamp.XMake sure that the automatic transmission
is set to position P.XApply the vehicle's parking brake.XStart the engine.XSelect highway level.XVehicles with the adaptive damping
system: set ADS to AUTO or COMF .XSwitch off the engine.XClose all doors and the tailgate.XCouple up the trailer.XEstablish all electrical connections.
i
Vehicles with the AIRMATIC package:
with a trailer attached, the vehicle will
always remain at highway level. When
coupling up a trailer, please observe the
following:
R if highway level has not been set
manually, the vehicle will automatically
sink to highway level as soon as it
reaches a speed of 5 mph (8 km/h).
R high-speed level is not available.
These restrictions apply to all accessories
powered through a connection to the trailer
power socket of your vehicle, e.g. a bicycle
carrier.
Towing a trailer
There are numerous legal requirements
concerning the towing of a trailer, e.g. speed
restrictions. Make sure that your vehicle/
trailer combination complies with the local
requirements not only in your area of
residence but also at any location to which
you are traveling. The police and local
authorities can provide reliable information.
Please observe the following when towing a
trailer:
R To acquaint yourself with driving with a
trailer and with the resulting changes to
handling, you should practice cornering,
stopping and reversing in a traffic-free
location.
R Before driving, check:
- the trailer tow hitch
- the safety switch for braked trailers
- the safety chains
- the electrical connections
- the lights
- the wheels
R Adjust the exterior mirrors to provide an
unobstructed view of the rear section of the
trailer.
R If the trailer features electronically
controlled brakes, pull away the vehicle/
trailer combination carefully, manually
brake using the brake controller, and check
the brakes for correct function.
R Secure any objects on the trailer to prevent
the cargo from slipping when the vehicle is
in motion.
R If you couple up a trailer, regularly check
the cargo for secure fastening and make
sure that the trailer lamps and (if
applicable) the trailer brakes are
functioning correctly.
R Bear in mind that the handling will be less
stable when towing a trailer than when
Trailer towing211Driving and parkingZ
Page 240 of 384
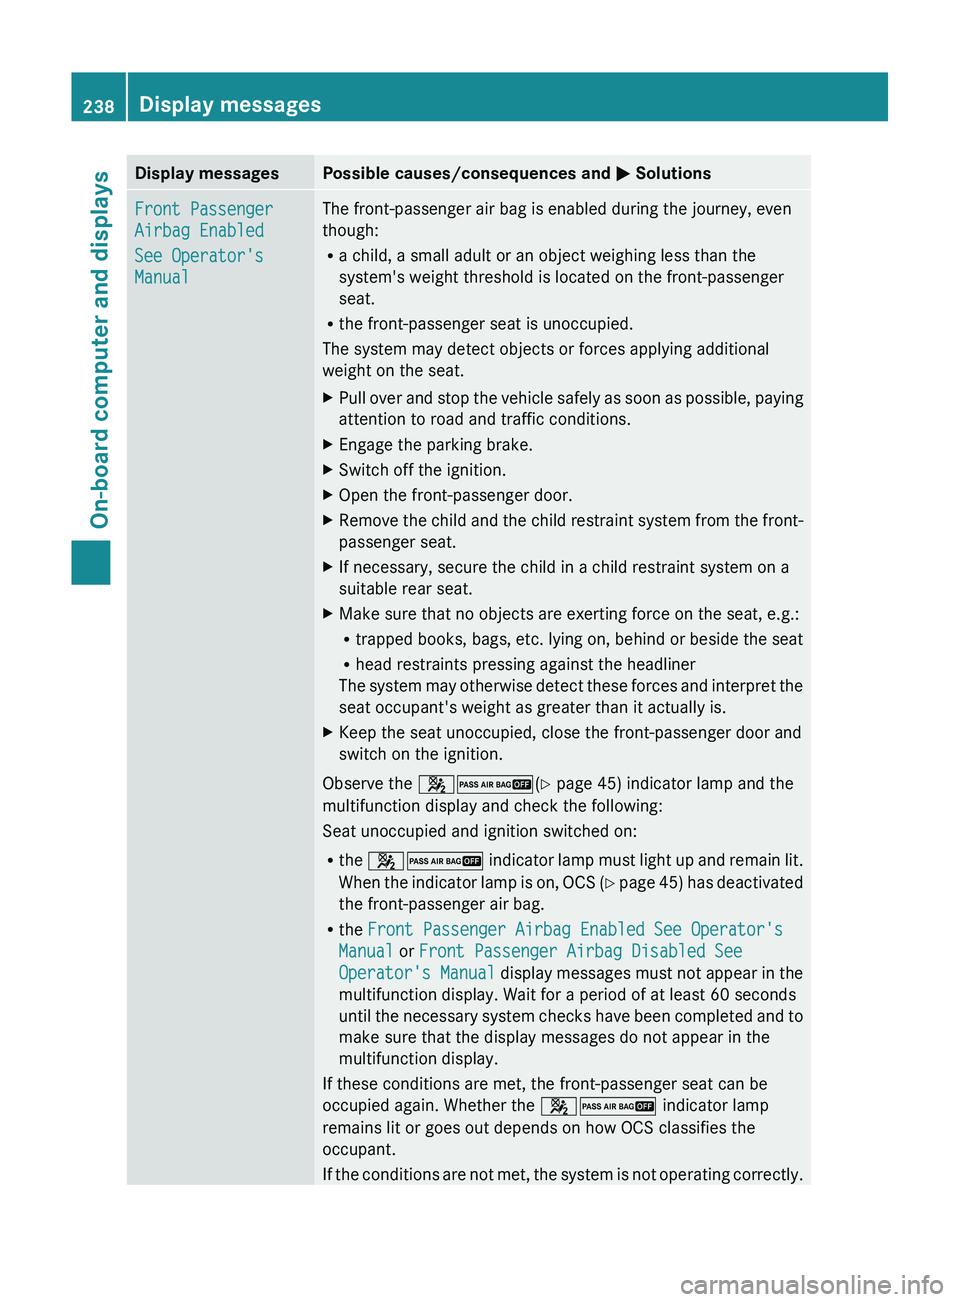
Display messagesPossible causes/consequences and M SolutionsFront Passenger
Airbag Enabled
See Operator's
ManualThe front-passenger air bag is enabled during the journey, even
though:
R a child, a small adult or an object weighing less than the
system's weight threshold is located on the front-passenger
seat.
R the front-passenger seat is unoccupied.
The system may detect objects or forces applying additional
weight on the seat.XPull over and stop the vehicle safely as soon as possible, paying
attention to road and traffic conditions.XEngage the parking brake.XSwitch off the ignition.XOpen the front-passenger door.XRemove the child and the child restraint system from the front-
passenger seat.XIf necessary, secure the child in a child restraint system on a
suitable rear seat.XMake sure that no objects are exerting force on the seat, e.g.:
R trapped books, bags, etc. lying on, behind or beside the seat
R head restraints pressing against the headliner
The system may otherwise detect these forces and interpret the
seat occupant's weight as greater than it actually is.XKeep the seat unoccupied, close the front-passenger door and
switch on the ignition.
Observe the 42 (Y page 45) indicator lamp and the
multifunction display and check the following:
Seat unoccupied and ignition switched on:
R the 42 indicator lamp must light up and remain lit.
When the indicator lamp is on, OCS (Y page 45) has deactivated
the front-passenger air bag.
R the Front Passenger Airbag Enabled See Operator's
Manual or Front Passenger Airbag Disabled See
Operator's Manual display messages must not appear in the
multifunction display. Wait for a period of at least 60 seconds
until the necessary system checks have been completed and to
make sure that the display messages do not appear in the
multifunction display.
If these conditions are met, the front-passenger seat can be
occupied again. Whether the 42 indicator lamp
remains lit or goes out depends on how OCS classifies the
occupant.
If the conditions are not met, the system is not operating correctly.
238Display messagesOn-board computer and displays
Page 260 of 384
Warning and indicator lamps in the instrument cluster
Seat belts
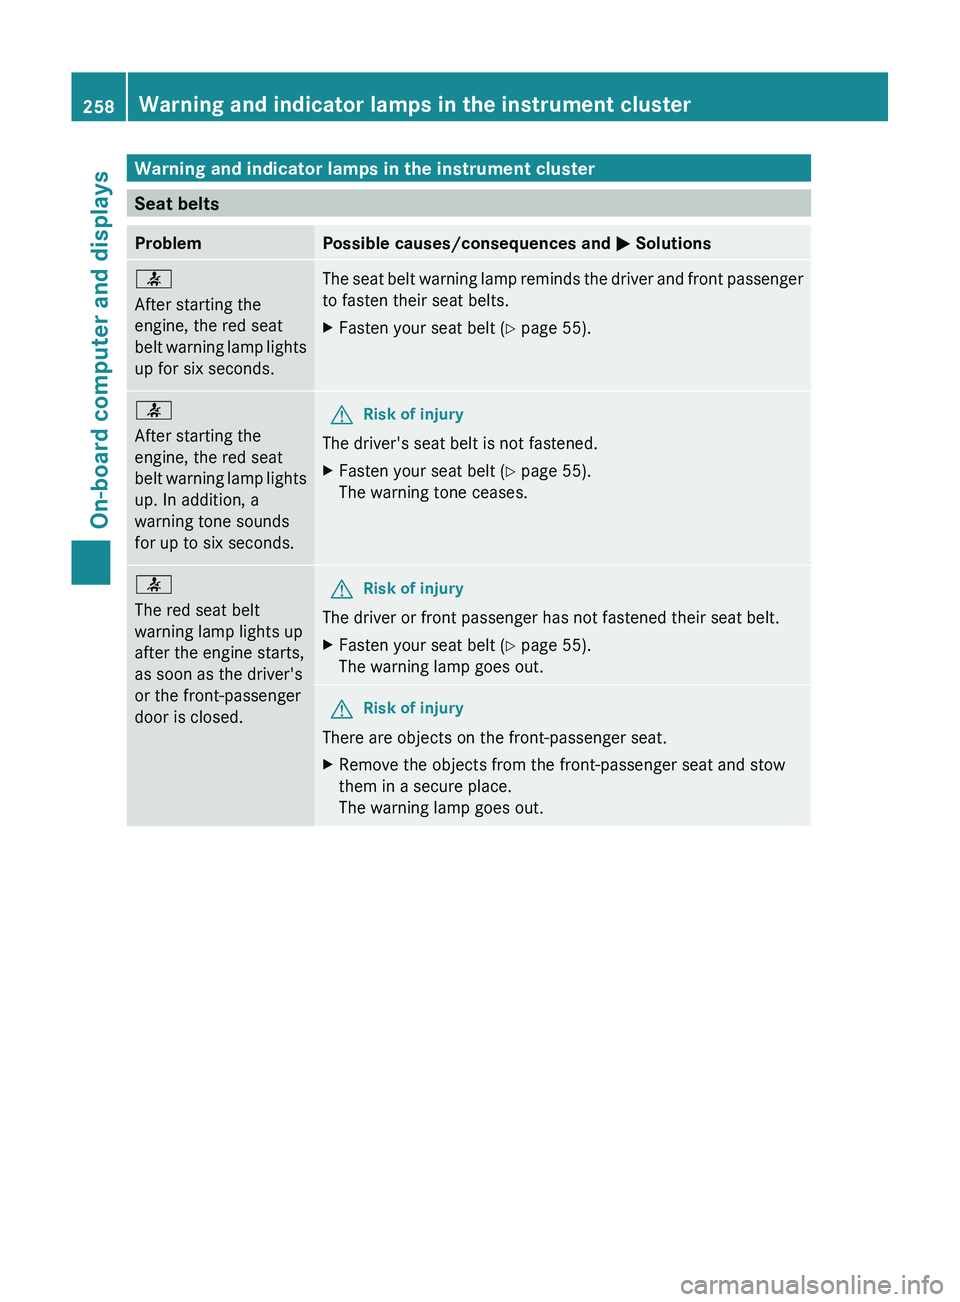
ProblemPossible causes/consequences and M Solutions7
After starting the
engine, the red seat
belt warning lamp lights
up for six seconds.The seat belt warning lamp reminds the driver and front passenger
to fasten their seat belts.XFasten your seat belt ( Y page 55).7
After starting the
engine, the red seat
belt warning lamp lights
up. In addition, a
warning tone sounds
for up to six seconds.GRisk of injury
The driver's seat belt is not fastened.
XFasten your seat belt ( Y page 55).
The warning tone ceases.7
The red seat belt
warning lamp lights up
after the engine starts,
as soon as the driver's
or the front-passenger
door is closed.GRisk of injury
The driver or front passenger has not fastened their seat belt.
XFasten your seat belt ( Y page 55).
The warning lamp goes out.GRisk of injury
There are objects on the front-passenger seat.
XRemove the objects from the front-passenger seat and stow
them in a secure place.
The warning lamp goes out.258Warning and indicator lamps in the instrument clusterOn-board computer and displays
Page 261 of 384
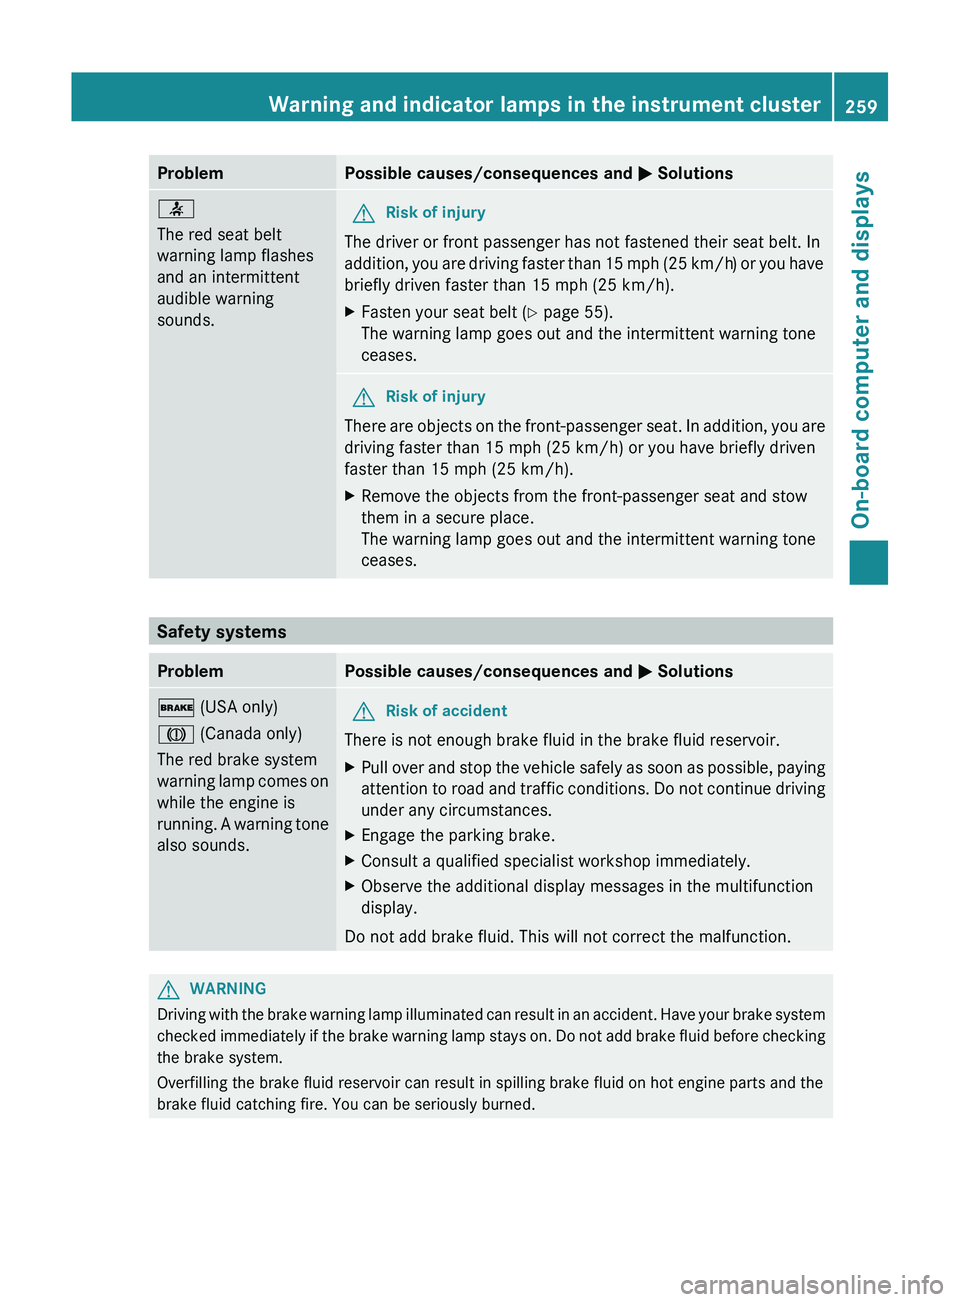
ProblemPossible causes/consequences and M Solutions7
The red seat belt
warning lamp flashes
and an intermittent
audible warning
sounds.GRisk of injury
The driver or front passenger has not fastened their seat belt. In
addition, you are driving faster than 15 mph (25 km/h) or you have
briefly driven faster than 15 mph (25 km/h).
XFasten your seat belt ( Y page 55).
The warning lamp goes out and the intermittent warning tone
ceases.GRisk of injury
There are objects on the front-passenger seat. In addition, you are
driving faster than 15 mph (25 km/h) or you have briefly driven
faster than 15 mph (25 km/h).
XRemove the objects from the front-passenger seat and stow
them in a secure place.
The warning lamp goes out and the intermittent warning tone
ceases.
Safety systems
ProblemPossible causes/consequences and M Solutions$ (USA only)
J (Canada only)
The red brake system
warning lamp comes on
while the engine is
running. A warning tone
also sounds.GRisk of accident
There is not enough brake fluid in the brake fluid reservoir.
XPull over and stop the vehicle safely as soon as possible, paying
attention to road and traffic conditions. Do not continue driving
under any circumstances.XEngage the parking brake.XConsult a qualified specialist workshop immediately.XObserve the additional display messages in the multifunction
display.
Do not add brake fluid. This will not correct the malfunction.
GWARNING
Driving with the brake warning lamp illuminated can result in an accident. Have your brake system
checked immediately if the brake warning lamp stays on. Do not add brake fluid before checking
the brake system.
Overfilling the brake fluid reservoir can result in spilling brake fluid on hot engine parts and the
brake fluid catching fire. You can be seriously burned.
Warning and indicator lamps in the instrument cluster259On-board computer and displaysZ