2012 MERCEDES-BENZ G-CLASS SUV service
[x] Cancel search: servicePage 165 of 357

AdBlue
®
may leak ou tas a result of overfilling.
Mercedes-Benz offers a special disposable
hose with overfill protection. You can obtain
this from any Mercedes-Benz Service Centre.
AdBlue ®
is available in a variety of containers
and receptacles. Only use the disposable
hose with Mercedes-Benz AdBlue ®
refill can-
isters. X
Unscrew the cap from the opening on top
of AdBlue ®
refill canister :.
X Place disposable hose ;on the opening
of AdBlue ®
refill canister :and screw it
on clockwise until hand-tight.
i Disposable hose ;remains closed until
you fasten disposable hose ;to the
AdBlue ®
filler neck of the vehicle.
X Place disposable hose ;on the filler neck
of the vehicle and screw it on clockwise
until hand-tight. When you feel resistance,
disposable hose ;is sufficiently secured.
X Lift up and tip AdBlue ®
refill canister :.
i Filling stops when the AdBlue ®
tank is
completely filled. Do not fill the AdBlue ®
tank any further. AdBlue ®
refill canis-
ter :can be removed when it has been
only partially emptied.
X Turn disposable hose ;on the filler neck
of the vehicle anti-clockwise and remove it. X
Turn disposable hose ;on the opening of
AdBlue ®
refill canister :anti-clockwise
and remove it.
X Reseal AdBlue ®
refill canister :with the
cap.
AdBlue ®
refill bottle !
Screw on the AdBlue ®
refill bottle only
hand-tight. It may otherwise be destroyed. AdBlue
®
refill bottles can be obtained at many
filling stations or at aMercedes-BenzS ervice
Centre. Refill bottles without a threaded seal
offer no protection against overfilling.
AdBlue ®
may leak out as a result of overfilling.
Mercedes Benzo ffers special refill bottles
with a threaded cap. These are available at
any Mercedes-Benz Service Centre.
X Unscrew the protective cap from AdBlue ®
refill bottle :.
X Set AdBlue ®
refill bottle :as show nonthe
filler neck and screw it on hand-tight.
X Press AdBlue ®
refill bottle :towards the
filler neck.
The AdBlue ®
tank is filled. This could last
up to one minute.
i When the AdBlue ®
refill bottle is no longer
pressed down, filling stops. The bottle may
be taken off again after being only partially
emptied.
X Release AdBlue ®
refill bottle :.162
RefuellingDriving and parking
Page 169 of 357
New brake pads/linings
New brake pads/brake pads and discs that
have been replaced only achieve optimum
braking effect after several hundred kilome-
tres of driving. Compensate for the reduced
braking effect by applying greate rforce to the
brake pedal.
For safety reasons, Mercedes-Benz recom-
mends that you only have brake pads/linings
fitted to your vehicle which have been
approved for Mercedes-Benz vehicles or
which correspond to an equivalent quality
standard. Brake pads/linings which have not
been approved for Mercedes-Benz vehicles or
which are not of an equivalent quality could
affect your vehicle's operating safety.
High-performance brake system for
AMG vehicles The high-performance brake system is
designed for high loads. This may lead to
noise when braking. This is dependent on:
R speed
R braking force
R environmental conditions, such as temper-
ature and humidity.
The wear of individual components of the
brake system, such as the brake pads/linings
or brake discs, depends on the individual driv-
ing style and operating conditions.
For this reason, it is impossible to state a
mileage (service life) that will be valid under
all circumstances. An aggressive driving style
will lead to high wear. You can obtain further
information about this from your Mercedes-
Benz Service Centre.
Parking brake G
WARNING
If you must brake the vehicle with the parking
brake, the braking distance is considerably
longer and the wheels could lock. This increa-
ses the risk of skidding and an accident. Only use the parking brake to brake the vehi-
cle when the service brake is faulty. Do not
apply the parking brake too firmly. If the
wheels lock, release the parking brake until
the wheels begin turning again.
When you apply the parking brake to brake
the vehicle, the brake lamps do not light up.
If you drive on wet roads or dirt-covered sur-
faces, road salt and/or dirt could get into the
parking brake.
In order to prevent corrosion and a reduction
in the braking power of the parking brake,
observe the following:
R pull the parking brake upwards with the
release button depressed from time to time
before beginning the journey
(Y page 164).
R drive for approximately 100 m at a maxi-
mum speed of 20 km/h. Tyre traction
G
WARNING
Whereas the vehicle can be fully controlled at
a certain speed on dry roads, you must reduce
your speed on wet or icy roads to achieve the
same road safety. You could otherwise cause
an accident.
Pay particular attention to the road conditions
at temperatures around freezing point.
If ice has formed on the road surface (e.g.
from fog), a thin film of water rapidly forms on
the ice when you brake, considerably reduc-
ing tyre traction. Drive with particular care in
such weather conditions. Driving on slippery surfaces
! If possible, do not let the drive wheels
spin. Otherwise, you could damage the
drive train.
X Engage the differential locks if necessary
(Y page 204). 166
Driving tipsDriving and parking
Page 213 of 357
Useful information
i This Owner's Manual describes all mod-
els, series and optional equipment for your
vehicle that were available at the time of
going to press. Country-specific differen-
ces are possible. Note that your vehicle
may not be fitted with all features descri-
bed. This is also the case for systems and
functions relevant to safety.
i Read the information on qualified special-
ist workshops: (Y page 22). Important safety notes
G
WARNING
Only use the on-board computer when road
and traffic conditions permit .You would oth-
erwise be distracted and unable to concen-
trate properly on driving, and could cause an
accident. G
WARNING
No messages will be displayed if either the
instrument cluster or the multifunction dis-
play is inoperative.
As a result, you will not be able to see infor-
mation about your driving conditions, such as
speed, outside temperature, warning and indi-
cator lamps, display messages or system fail-
ures. Driving characteristics may be impaired.
Adjust your driving style and vehicle speed
accordingly.
Contact a qualified specialist workshop
immediately. G
WARNING
The on-board computer only records and dis-
plays malfunctions and warnings from certain
systems. For this reason, you should always
make sure that your vehicle is safe to use. You
could otherwise cause an accident by driving
an unsafe vehicle. G
WARNING
The operating safety of your vehicle could be
impaired if maintenance work is carried out
incorrectly. This could cause you to lose con-
trol of your vehicle and cause an accident.
Moreover, the safety systems may no longer
be able to protect you or others as they are
designed to do.
Always have service work carried out at a
qualified specialist workshop.
For an illustration of the instrument cluster,
see (Y page 211). 210
Important safety notesOn-board computer and displays
Page 218 of 357
R
Service menu (Y
page 220)
R Settings menu (Y
page 221)
R AMG menu in AMG vehicles (Y
page 225)
The Audio ,
Navi and
Tel menus differ slightly
in vehicles with an audio system and in vehi-
cles with COMAND Online. The examples
given in this Owner's Manual apply to vehicles
equipped with COMAND Online. Trip menu
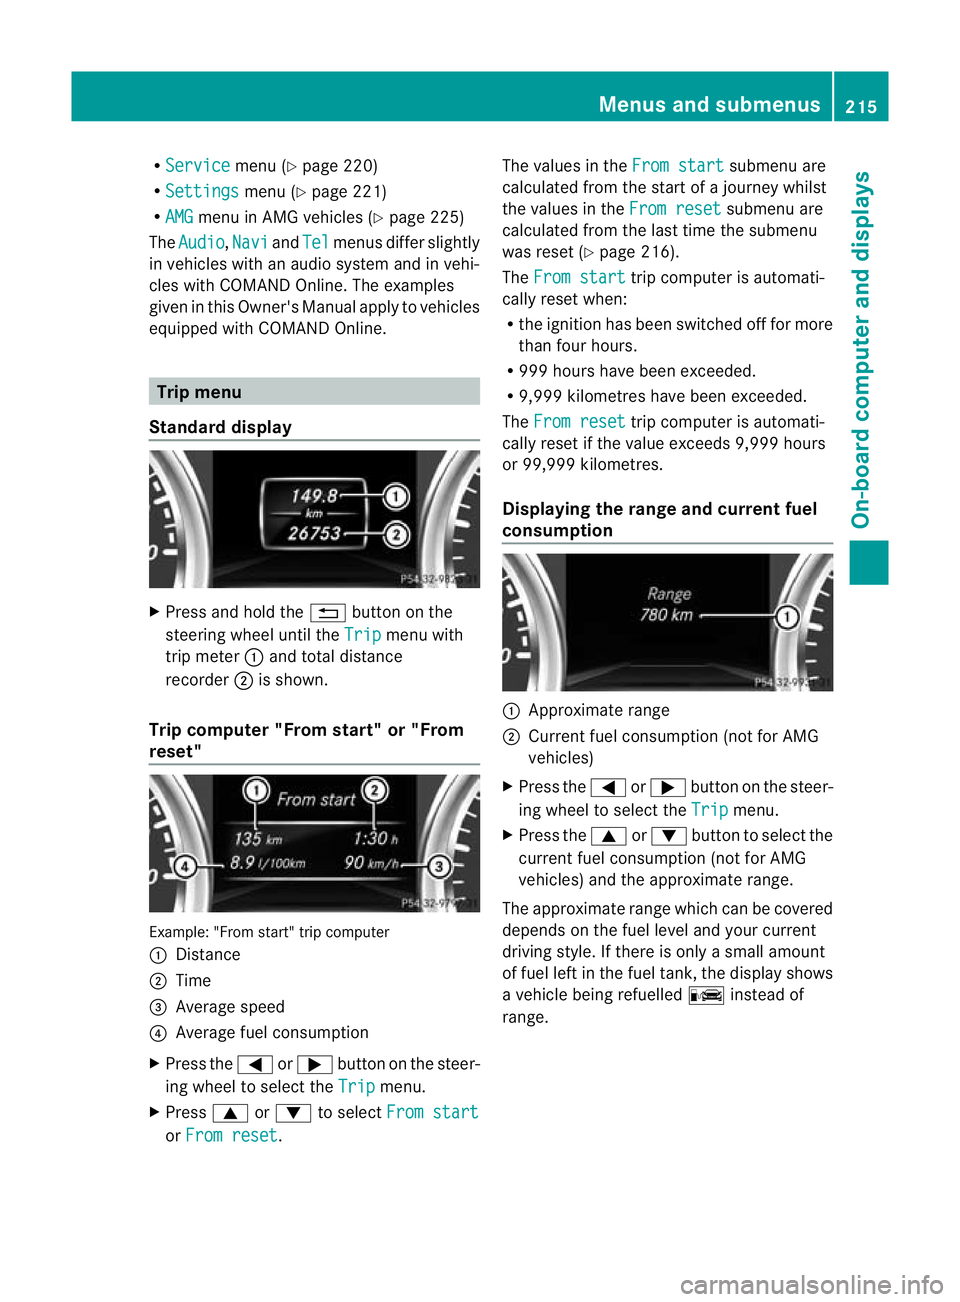
Standard display X
Press and hold the %button on the
steering wheel until the Trip menu with
trip meter :and total distance
recorder ;is shown.
Trip computer "From start" or "From
reset" Example: "From start" trip computer
:
Distance
; Time
= Average speed
? Average fuel consumption
X Press the =or; button on the steer-
ing wheel to select the Trip menu.
X Press 9or: to select From start or
From reset .The values in the
From start submenu are
calculated from the start of a journey whilst
the values in the From reset submenu are
calculated from the last time the submenu
was reset (Y page 216).
The From start trip computer is automati-
cally reset when:
R the ignition has been switched off for more
than four hours.
R 999 hours have been exceeded.
R 9,999 kilometres have been exceeded.
The From reset trip computer is automati-
cally reset if the value exceeds 9,999 hours
or 99,999 kilometres.
Displaying the range and current fuel
consumption :
Approximate range
; Current fuel consumption (not for AMG
vehicles)
X Press the =or; button on the steer-
ing wheel to select the Trip menu.
X Press the 9or: button to select the
current fuel consumption (not for AMG
vehicles) and the approximate range.
The approximate range which can be covered
depends on the fuel level and your current
driving style. If there is only a small amount
of fuel left in the fuel tank, the display shows
a vehicle being refuelled Cinstead of
range. Menus and submenus
215On-board computer and displays Z
Page 222 of 357

the traffic conditions, cause an accident and
injure yourself and others.
X Switch on the mobile phone (see the sep-
arate operating instructions).
X Switch on the audio system or COMAND
Online, see the separate operating instruc-
tions.
X Insert the mobile phone into the bracket
(Y page 279).
or
X Establish a Bluetooth ®
connection to the
audio system or COMAND Online, see the
separate operating instructions.
X Press the =or; button on the steer-
ing wheel to select the Tel menu.
You will see one of the following display mes-
sages in the multifunctio ndisplay:
R Please enter PIN :t
he mobile phone has
been placed in the mobile phone bracket
and the PIN has not been entered.
When you enter your PIN via the mobile
phone, LINGUATRONIC, the audio system
or COMAND Online, the mobile phone
searches for a network.
R Telephone ready or the name of the net-
work provider: the mobile phone has found
a network and is ready to receive.
R Telephone No service : there is no net-
work available or the mobile phone is
searching for a network.
i You can obtain further information about
suitable mobile phones and connecting
mobile phones via Bluetooth ®
:
R in any Mercedes Benz Service Centre
R on the Internet at http://
www.mercedes-benz.com/connect Accepting
acall Example: incoming call
If someone calls you whe
nyou are in the
Tel menu, a display message appears in the
multifunction display.
X Press the 6button on the steering
wheel to accept an incoming call.
You can accept a call even if you are not in
the Tel menu.
Rejecting or ending acall X
Press the ~button on the steering
wheel.
You can end or reject a call even if you are not
in the Tel menu.
Dialling anumber from the phone book X
Press the =or; button on the steer-
ing wheel to select the Tel menu.
X Press the 9,:ora button to
switch to the phone book.
X Press the 9or: button to select the
desired name.
or
X To begin rapid scrolling: press and hold
the 9 or: button for longer than
one second.
Rapid scrolling stops whe nyou release the
button or reach the end of the list.
X If only one telephone number is stored
for a name: press the6ora button
to start dialling.
or
X If there is more than one number for a
particular name: press the6ora
button to display the numbers. Menus and submenus
219On-board computer and displays Z
Page 223 of 357
X
Press the 9or: button to select the
number you want to dial.
X Press the 6ora button to start dial-
ling.
or
X To exit the telephone book: press the
~ or% button.
Redialling The on-board computer saves the last names
or numbers dialled in the redial memory.
X
Press the =or; button on the steer-
ing wheel to select the Tel menu.
X Press the 6button to switch to the
redial memory.
X Press the 9or: button to select the
desired name or number.
X Press the 6ora button to start dial-
ling.
or
X To exit the redial memory: press the
~ or% button. Assistance menu
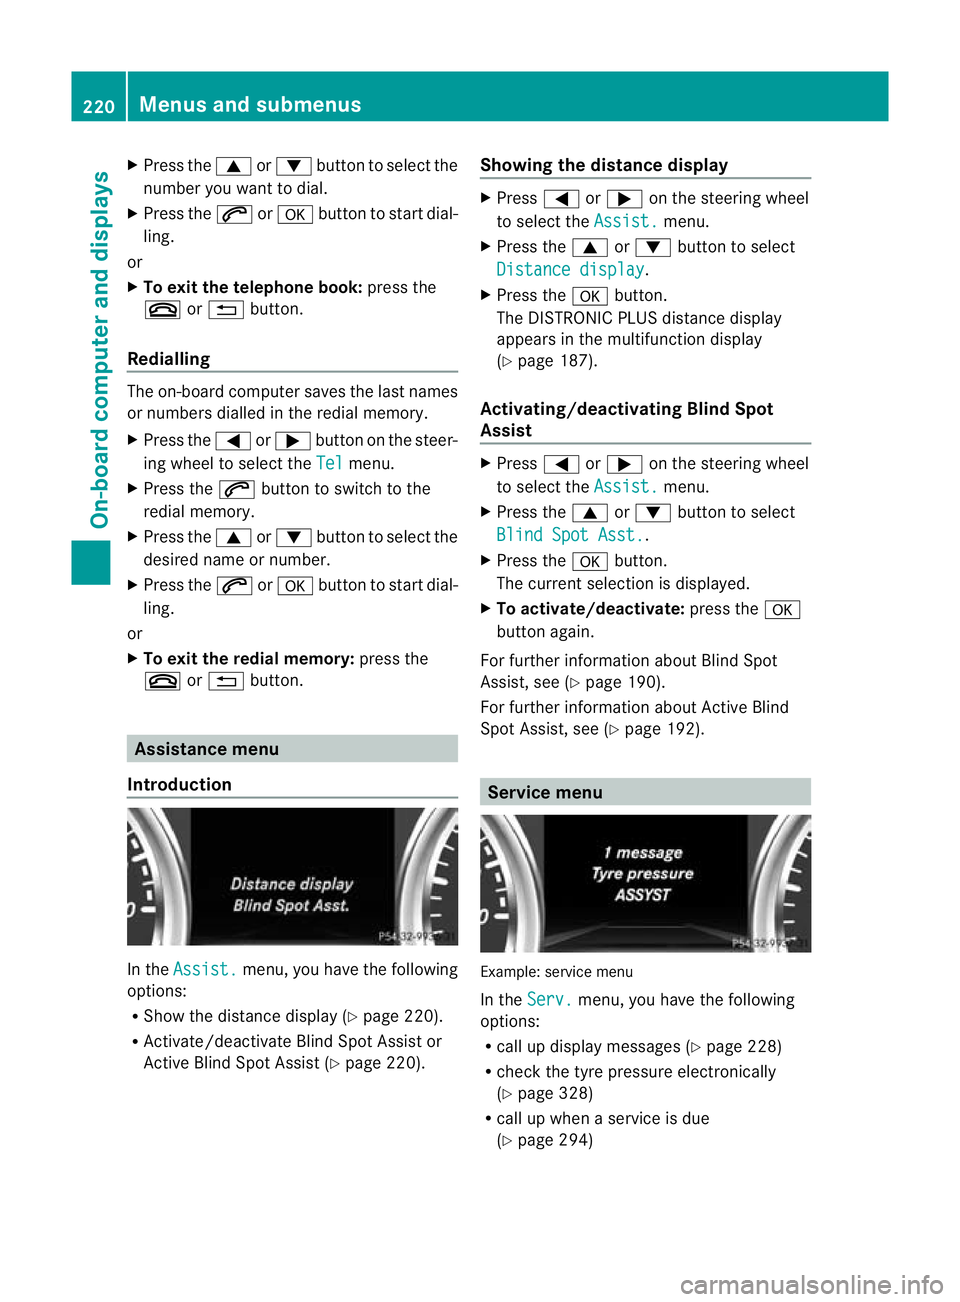
Introduction In the
Assist. menu, you have the following
options:
R Show the distance display (Y page 220).
R Activate/deactivate Blind Spot Assist or
Active Blind Spot Assist (Y page 220).Showing the distance display X
Press =or; on the steering wheel
to select the Assist. menu.
X Press the 9or: button to select
Distance display .
X Press the abutton.
The DISTRONIC PLUS distance display
appears in the multifunction display
(Y page 187).
Activating/deactivating Blind Spot
Assist X
Press =or; on the steering wheel
to select the Assist. menu.
X Press the 9or: button to select
Blind Spot Asst. .
X Press the abutton.
The curren tselection is displayed.
X To activate/deactivate: press thea
button again.
For further information about Blind Spot
Assist, see (Y page 190).
For further information about Active Blind
Spot Assist, see (Y page 192). Service menu
Example: service menu
In the
Serv. menu, you have the following
options:
R call up display messages ( Ypage 228)
R chec kthe tyre pressure electronically
(Y page 328)
R call up when a service is due
(Y page 294) 220
Menus and submenusOn-board computer and displays
Page 224 of 357
Settings menu
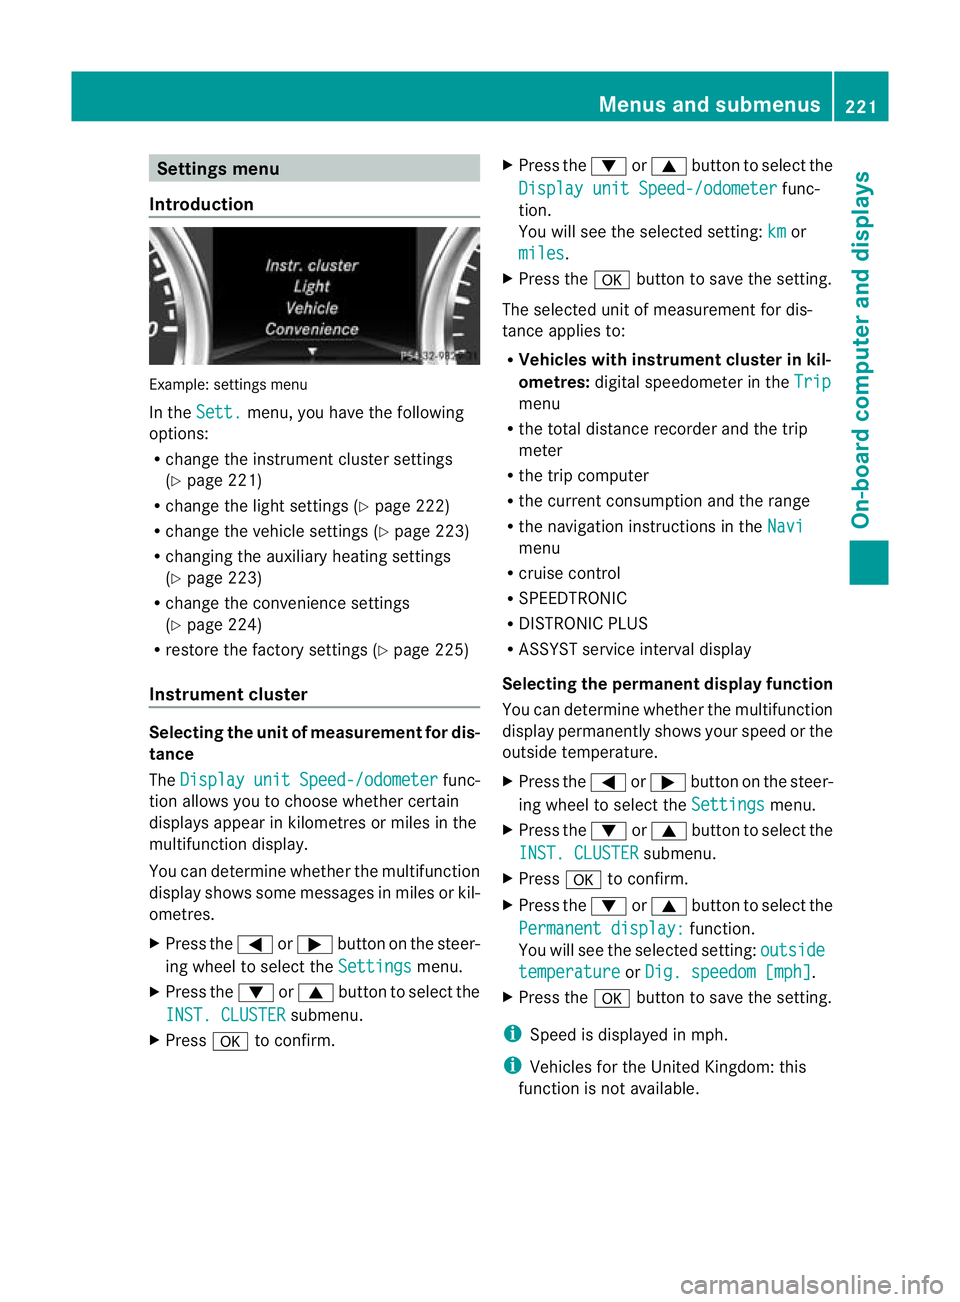
Introduction Example: settings menu
In the
Sett. menu, you have the following
options:
R change the instrument cluster settings
(Y page 221)
R change the light settings (Y page 222)
R change the vehicle settings (Y page 223)
R changing the auxiliary heating settings
(Y page 223)
R change the convenience settings
(Y page 224)
R restore the factory settings (Y page 225)
Instrument cluster Selecting the unit of measurement for dis-
tance
The
Display unit Speed-/odometer func-
tion allows you to choose whether certain
displays appear in kilometres or miles in the
multifunction display.
You can determine whether the multifunction
display shows some messages in miles or kil-
ometres.
X Press the =or; button on the steer-
ing wheel to select the Settings menu.
X Press the :or9 button to select the
INST. CLUSTER submenu.
X Press ato confirm. X
Press the :or9 button to select the
Display unit Speed-/odometer func-
tion.
You will see the selected setting: km or
miles .
X Press the abutton to save the setting.
The selected unit of measurement for dis-
tance applies to:
R Vehicles with instrument cluster in kil-
ometres: digital speedometer in the Trip menu
R the total distance recorder and the trip
meter
R the trip computer
R the current consumption and the range
R the navigation instructions in the Navi menu
R cruise control
R SPEEDTRONIC
R DISTRONIC PLUS
R ASSYST service interval display
Selecting the permanent display function
You can determine whether the multifunction
display permanently shows your speed or the
outside temperature.
X Press the =or; button on the steer-
ing wheel to select the Settings menu.
X Press the :or9 button to select the
INST. CLUSTER submenu.
X Press ato confirm.
X Press the :or9 button to select the
Permanent display: function.
You will see the selected setting: outside temperature or
Dig. speedom [mph] .
X Press the abutton to save the setting.
i Speed is displayed in mph.
i Vehicles for the United Kingdom: this
function is not available. Menus and submenus
221On-board computer and displays Z
Page 254 of 357
Display messages Possible causes/consequences and
M Solutions
Telephone No
service Your vehicle is outside the network provider's transmitter/
receiver range.
X
Wait until the mobile phone operational readiness symbol
appears in the multifunction display. ¥
Top
up washer fluid The washer fluid level in th
ewasher fluid reservoir has dropped
below the minimum.
X Top up the washe rfluid (Y page 294). Key
Displa
ymessages Possible causes/consequences and
M Solutions
Â
Key does not
belong to vehicle You have put the wrong key in the ignitio
nlock.
X Use the correct key. Â
Replace key The key needs to be replaced.
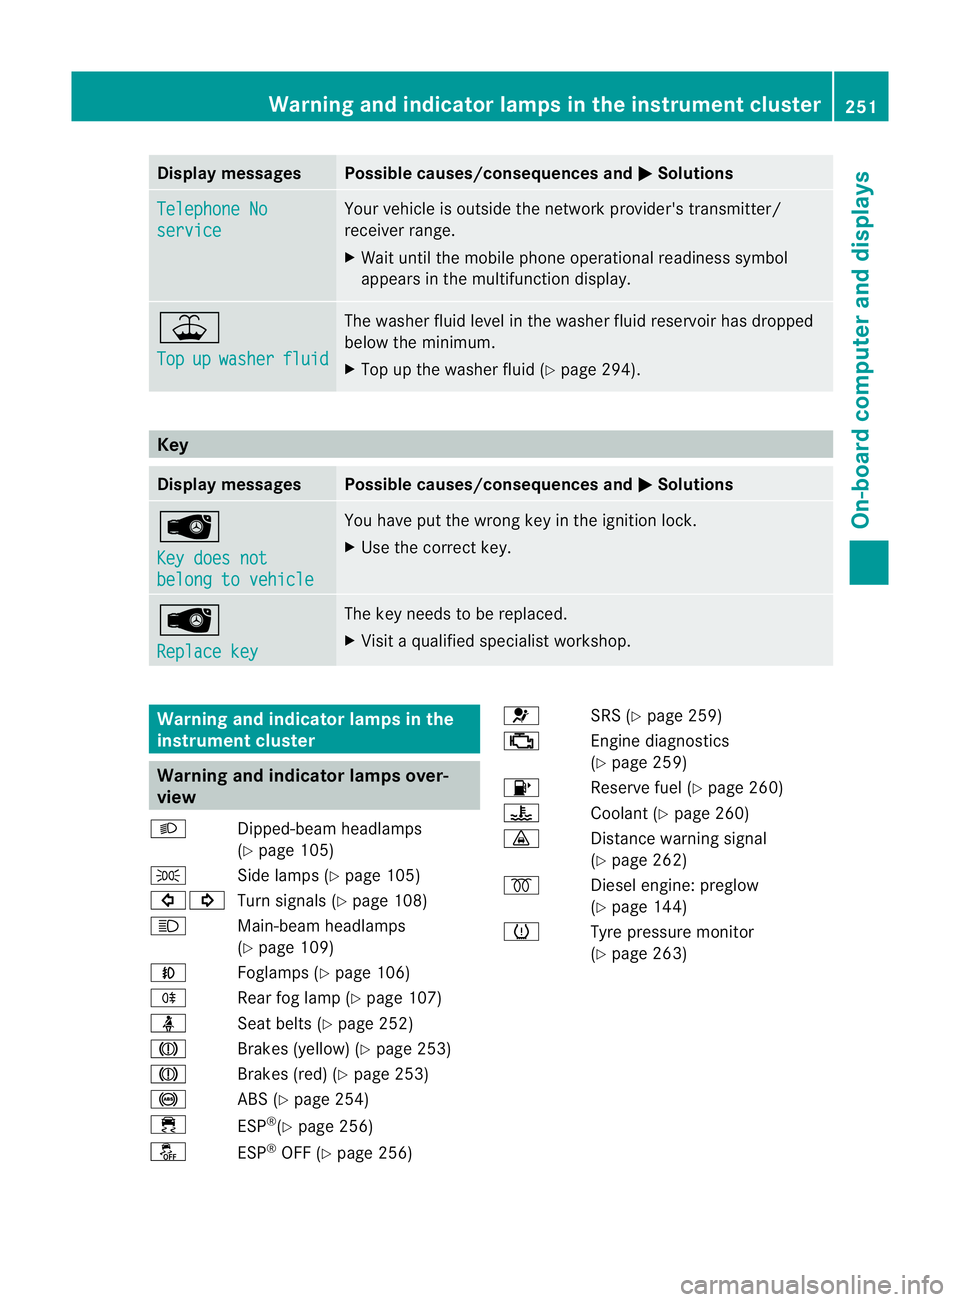
X Visit a qualified specialist workshop. Warning and indicator lamps in the
instrument cluster Warning and indicator lamps over-
view
L Dipped-beam headlamps
(Ypage 105)
T Side lamps (Y page 105)
#! Turn signals (Y page 108)
K Main-beam headlamps
(Ypage 109)
N Foglamps (Y page 106)
R Rear fog lamp (Y page 107)
ü Seat belts (Y page 252)
J Brakes (yellow) (Y page 253)
J Brakes (red) (Y page 253)
! ABS (Ypage 254)
÷ ESP®
(Y page 256)
å ESP®
OFF (Y page 256) 6
SRS (Ypage 259)
; Engine diagnostics
(Ypage 259)
8 Reserve fuel (Y page 260)
? Coolant (Ypage 260)
· Distance warning signal
(Ypage 262)
% Diesel engine: preglow
(Ypage 144)
h Tyre pressure monitor
(Ypage 263) Warning and indicator lamps in the instrument cluster
251On-board computer and displays Z