2012 MERCEDES-BENZ CLS SHOOTING BRAKE odometer
[x] Cancel search: odometerPage 17 of 405

Luggage compartment enlarge-
ment
................................................... 294
Luggage compartment floor opening/closing ............................ 302
stowage well, unde r....................... 302
Luggage cover
Removing and fitting ......................298
Luggage holde r(EASY-PACK load-
securing kit) ...................................... .300
Lumbar support Adjusting ....................................... 104
Adjusting the 4-way lumba rsup-
por t................................................ 104
Luxu ry head restraint .......................101 M
M+S tyres ........................................... 356
Main-beam headlamps Display message ............................ 257
Switching Adaptive Highbeam
Assist on/off ................................. 121
Switching on/off ........................... 117
Massage function (PULSE) ...............103
Matt finish (cleaning instructions) ..327
Memory card (audio) .........................234
Memory function ............................... 111
Mercedes-Benz Service Centre see Qualified specialist workshop
Message memory (on-board com-
puter) ................................................. .249
Messages see Display messages
Mirror
see Vanity mirror (in sun visor)
Mirrors
see Exterior mirrors
see Rear-view mirror
Mobile phone
Frequencies ................................... 383
Installatio n..................................... 383
Menu (on-board computer) ............235
Notes/placing in the bracket ......... 309
Sliding adapter ............................... 311
Transmission output (maximum) .... 383
Modifying the programming (key) .....78
MOExtended tyres .............................337
Motorway mode ................................ 119MP3
Operating ...................................... .234
see Separate operating instructions
Multifunction display
Function/notes ............................. 229
Permanent displa y......................... 239
Multifunction steering wheel
Operating the on-board computer .228
Overview .......................................... 33 N
Navigation Menu (on-board computer) ............232
NECK-PRO head restraints
Operation ........................................ .46
Resetting after being triggered ........47
NECK-PRO luxury head restraints
Operation ........................................ .46
Resetting after being triggered ........48
Night View Assist Plus
Activating/deactivating .................206
Cleaning ......................................... 330
Function/notes ............................. 205
Problem (fault) ............................... 208
Notes on running in anew vehicle ..146 O
Occupant safety Childre ninthe vehicle ..................... 53
Important safety notes ....................40
Odometer
see Total distance recorder
see Trip meter
Oil
see Engine oil
On-board computer
AMG menu ..................................... 246
Assistance menu ........................... 236
Audi omenu ................................... 233
Convenience submenu ..................244
Displaying a service message ........324
Display messages ..........................249
DISTRONI CPLUS ........................... 183
Factory setting submenu ...............245
Heating submenu ........................... 243
Important safety notes ..................22614
Index
Page 219 of 405

If you have chosen the function
Displayunit Speed-/odometer: (Y
page 239) in
the on-board computer and selected km as
the unit of measurement, Active Lane Keep-
ing Assist is active from speeds of 60 km/h.
If the Miles display unit is selected, the assis-
tance range begins at 40 mph.
Warning vibration in the steering wheel
A warning may be given if a front wheel
passes over a lane marking. It will warn you
by means of intermittent vibration in the
steering wheel for up to 1.5 seconds.
In order that you are warned only when nec-
essary and in good time if you cross the lane
marking, the system recognises certain con-
ditions and warns you accordingly.
The warning vibration occurs earlier if:
R you approach the outer lane marking on a
bend.
R the road has very wide lanes, e.g. a motor-
way.
R the system recognises solid lane markings.
The warning vibration occurs later if:
R the road has narrow lanes.
R you cut the corner on a bend.
Lane-correcting brake application G
WARNING
Active Lane Keeping Assist does not keep
yourv ehicle in its lane. It is only an aid
designed to assist driving. It is not a substitute
for attentive driving. Corrective braking may
not always be sufficien tto return your vehicle
to its original lane. In such cases, you must
steer the vehicle yourself to ensure that it
does not leave the lane.
Active Lane Keeping Assist cannot detect the
current traffic situation or other road users.
Ensure at all times that there is sufficient lat-
eral distance between you and other road
users or obstacles. In rare cases, broken lines
or certain structures on the road surface may
be detected by the system as solid lane mark-
ings. You can, for example, countersteer gen- tly at any time to cancel inappropriate braking
action, e.g. if you intentionally drive across a
solid lane marking.
Active Lane Keeping Assist cannot take
weather conditions into account.
You are responsible for the vehicle's speed,
correc
tsteering and for braking in good time.
Always adap tyour driving style to suit the
prevailing road and weather conditions.
Always pay attention to traffic conditions and
your surroundings. Otherwise, you may fail to
recognise dangers in time, cause an accident
and injure yourself and others. If a lane-correcting brake application occurs,
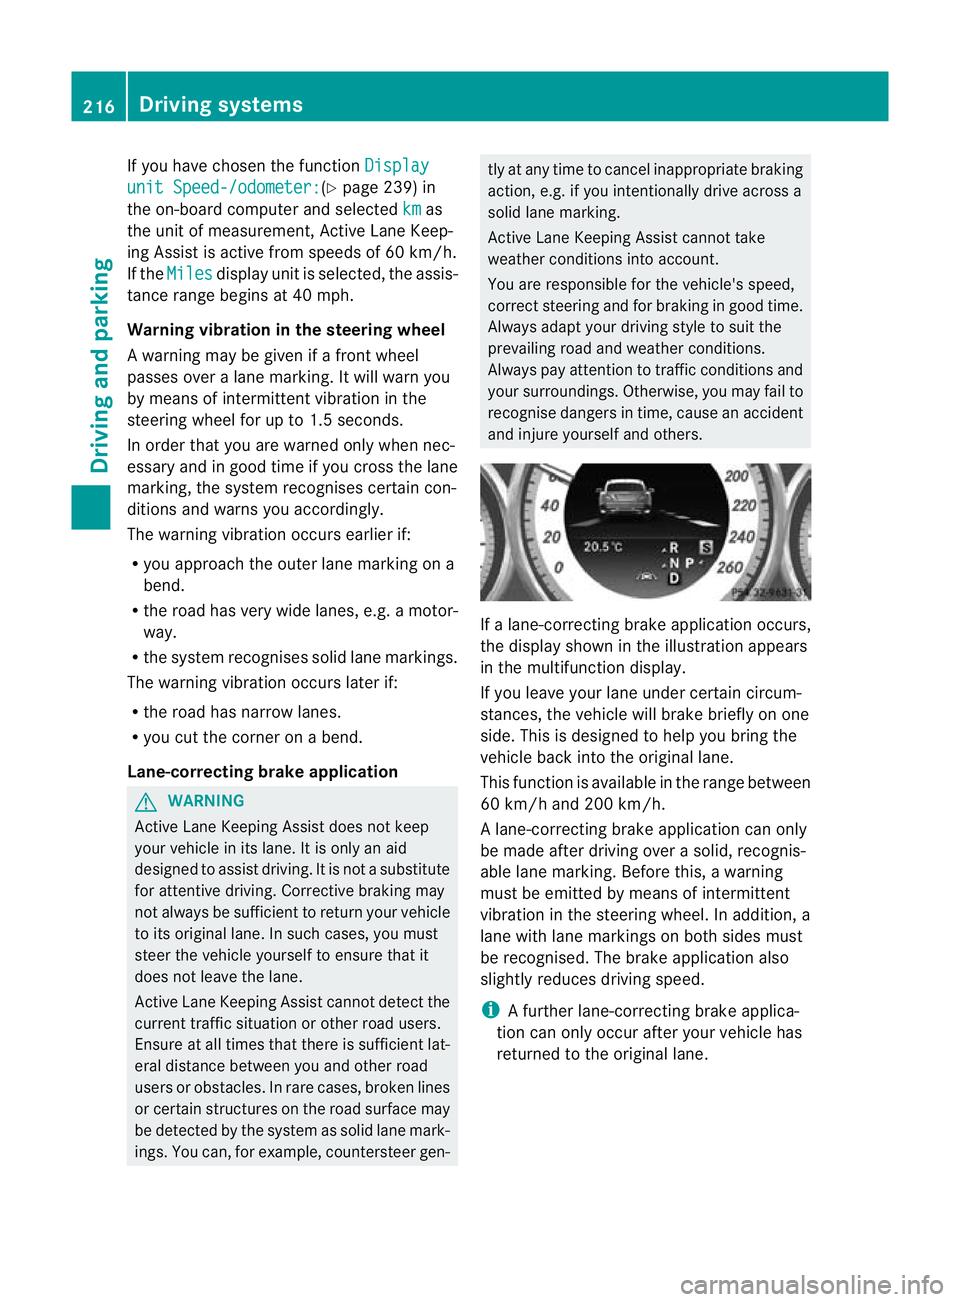
the display shown in the illustration appears
in the multifunction display.
If you leave your lane under certain circum-
stances, the vehicle will brake briefly on one
side. This is designed to help you bring the
vehicle back into the original lane.
This function is available in the range between
60 km/h and 200 km/h.
A lane-correcting brake application can only
be made after driving over a solid, recognis-
able lane marking. Before this, a warning
must be emitted by means of intermittent
vibration in the steering wheel. In addition, a
lane with lane markings on both sides must
be recognised. The brake application also
slightly reduces driving speed.
i A further lane-correcting brake applica-
tion can only occur after your vehicle has
returned to the original lane. 216
Driving systemsDriving and parking
Page 242 of 405

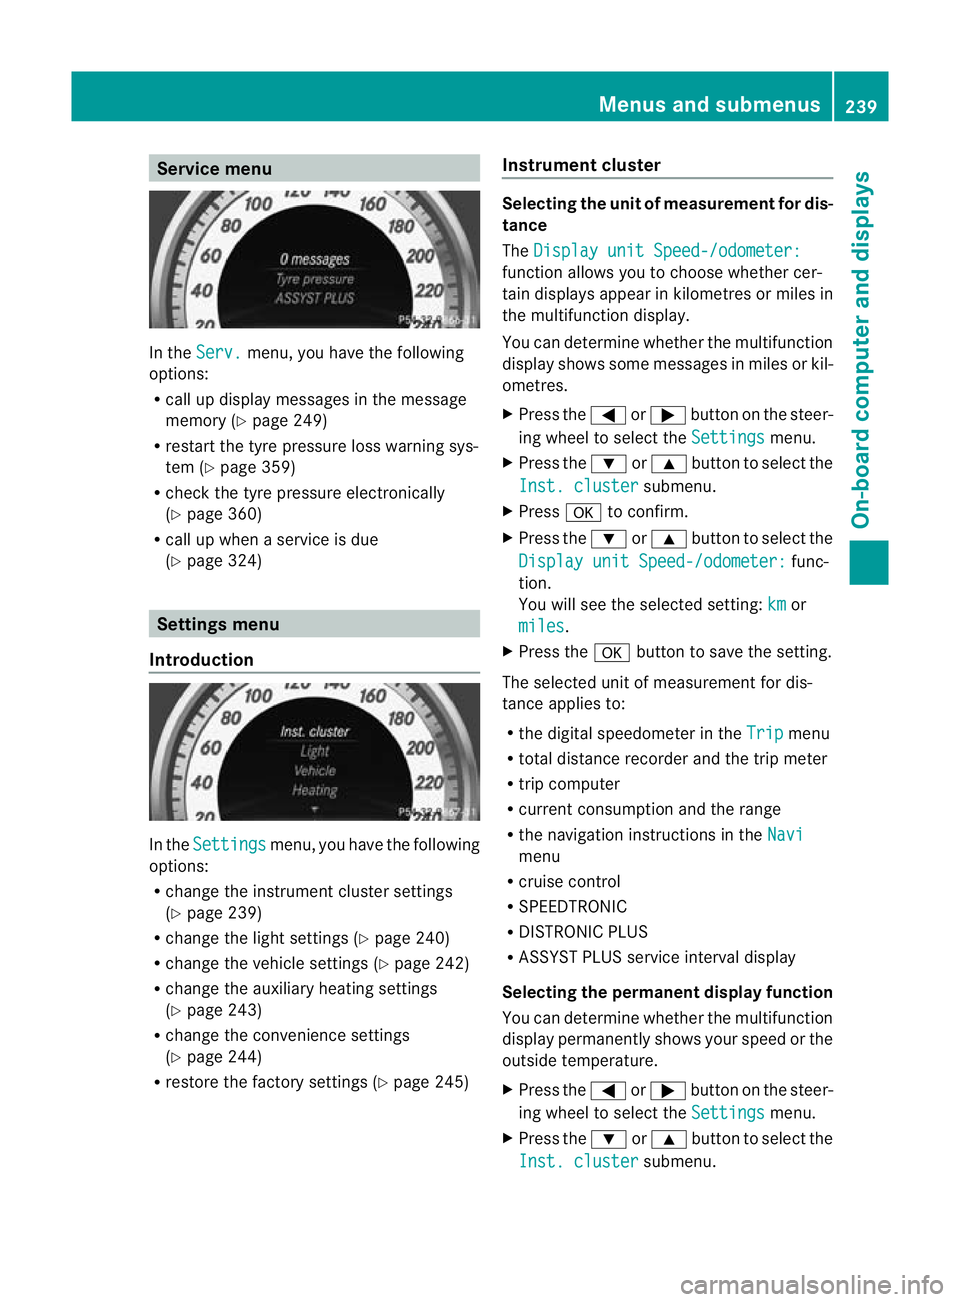
Service menu
In the
Serv. menu, you have the following
options:
R call up display messages in the message
memory (Y page 249)
R restart the tyre pressure loss warning sys-
tem (Y page 359)
R check the tyre pressure electronically
(Y page 360)
R call up when a service is due
(Y page 324) Settings menu
Introduction In the
Settings menu, you have the following
options:
R change the instrument cluster settings
(Y page 239)
R change the light settings (Y page 240)
R change the vehicle settings (Y page 242)
R change the auxiliary heating settings
(Y page 243)
R change the convenience settings
(Y page 244)
R restore the factory settings (Y page 245)Instrument cluster Selecting the unit of measurement for dis-
tance
The
Display unit Speed-/odometer: function allows you to choose whether cer-
tain displays appear in kilometres or miles in
the multifunction display.
You can determine whether the multifunction
display shows some messages in miles or kil-
ometres.
X
Press the =or; button on the steer-
ing wheel to select the Settings menu.
X Press the :or9 button to select the
Inst. cluster submenu.
X Press ato confirm.
X Press the :or9 button to select the
Display unit Speed-/odometer: func-
tion.
You will see the selected setting: km or
miles .
X Press the abutton to save the setting.
The selected unit of measurement for dis-
tance applies to:
R the digital speedometer in the Trip menu
R total distance recorder and the trip meter
R trip computer
R current consumption and the range
R the navigation instructions in the Navi menu
R cruise control
R SPEEDTRONIC
R DISTRONIC PLUS
R ASSYST PLUS service interval display
Selecting the permanent display function
You can determine whether the multifunction
display permanently shows your speed or the
outside temperature.
X Press the =or; button on the steer-
ing wheel to select the Settings menu.
X Press the :or9 button to select the
Inst. cluster submenu.Menus and submenus
239On-board computer and displays Z