2012 MERCEDES-BENZ CLS instrument cluster
[x] Cancel search: instrument clusterPage 179 of 356
and measures parking spaces on both sides
of the vehicle. When driving at speeds below
19 mph (30 km/h), you will see the parking
symbol as a status indicator in the instrument
cluster. By default, Active Parking Assist only
displays parking spaces on the front-
passenger side. Parking spaces on the
driver's side are displayed as soon as the turn
signal on the driver's side is activated. If you
wish to park in a space on the driver's side,
the indicator on the driver's side must remain
on. This must remain switched on until you
acknowledge the use of Active Parking Assist
by pressing the a button on the
multifunction steering wheel.
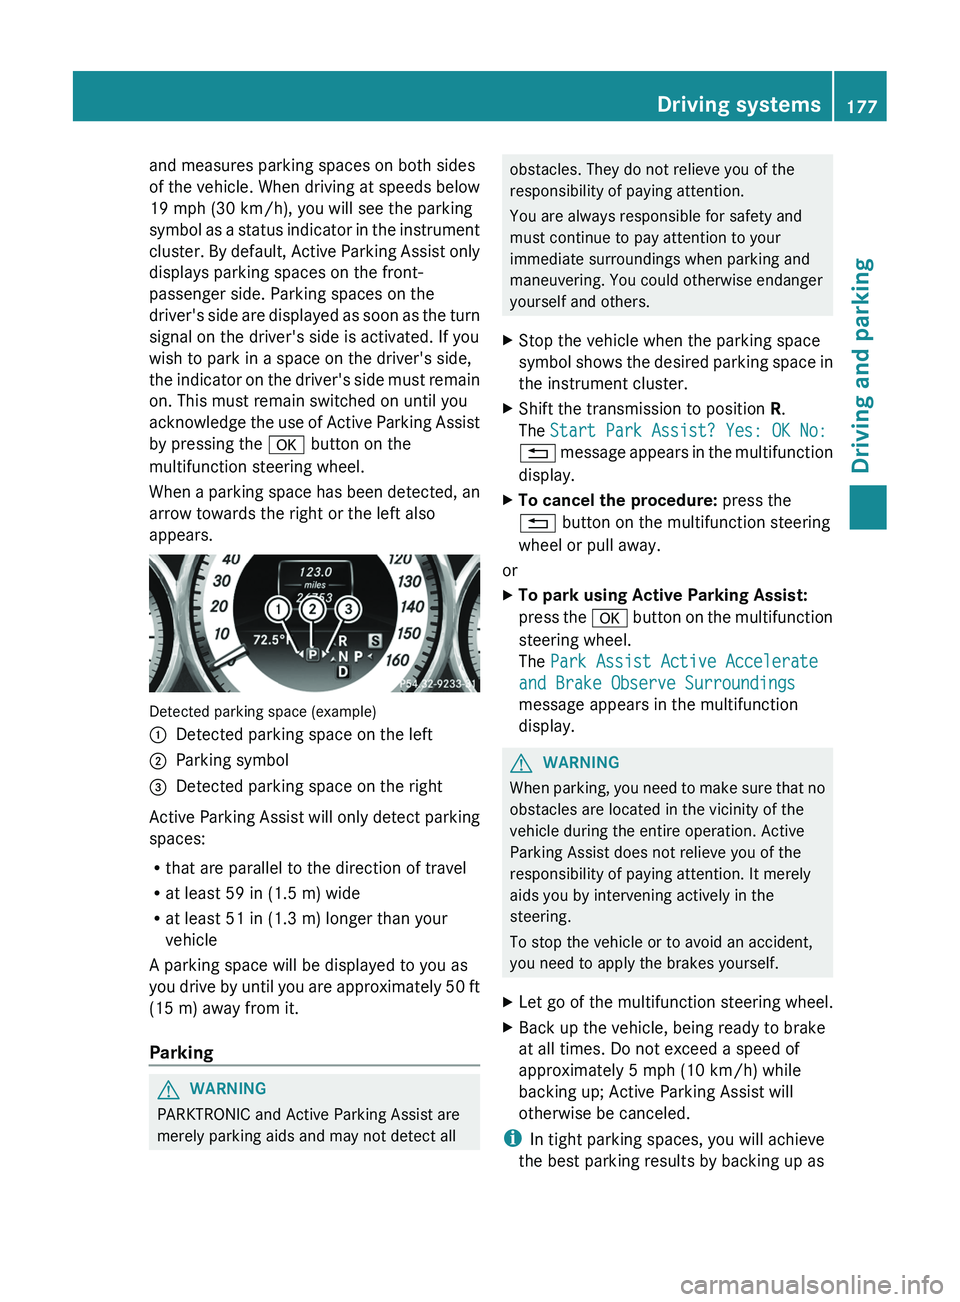
When a parking space has been detected, an
arrow towards the right or the left also
appears.
Detected parking space (example)
:Detected parking space on the left;Parking symbol=Detected parking space on the right
Active Parking Assist will only detect parking
spaces:
R that are parallel to the direction of travel
R at least 59 in (1.5 m) wide
R at least 51 in (1.3 m) longer than your
vehicle
A parking space will be displayed to you as
you drive by until you are approximately 50 ft
(15 m) away from it.
Parking
GWARNING
PARKTRONIC and Active Parking Assist are
merely parking aids and may not detect all
obstacles. They do not relieve you of the
responsibility of paying attention.
You are always responsible for safety and
must continue to pay attention to your
immediate surroundings when parking and
maneuvering. You could otherwise endanger
yourself and others.XStop the vehicle when the parking space
symbol shows the desired parking space in
the instrument cluster.XShift the transmission to position R.
The Start Park Assist? Yes: OK No:
% message appears in the multifunction
display.XTo cancel the procedure: press the
% button on the multifunction steering
wheel or pull away.
or
XTo park using Active Parking Assist:
press the a button on the multifunction
steering wheel.
The Park Assist Active Accelerate
and Brake Observe Surroundings
message appears in the multifunction
display.GWARNING
When parking, you need to make sure that no
obstacles are located in the vicinity of the
vehicle during the entire operation. Active
Parking Assist does not relieve you of the
responsibility of paying attention. It merely
aids you by intervening actively in the
steering.
To stop the vehicle or to avoid an accident,
you need to apply the brakes yourself.
XLet go of the multifunction steering wheel.XBack up the vehicle, being ready to brake
at all times. Do not exceed a speed of
approximately 5 mph (10 km/h) while
backing up; Active Parking Assist will
otherwise be canceled.
i In tight parking spaces, you will achieve
the best parking results by backing up as
Driving systems177Driving and parkingZ
Page 180 of 356
far as possible. When doing so, also
observe the PARKTRONIC messages.XStop as soon as PARKTRONIC sounds the
continuous warning tone, if not before.
Maneuvering may be required in tight
parking spaces.
The Park Assist Active Select D
Observe Surroundings message appears
in the multifunction display.
XShift the transmission to position D while
the vehicle is stationary.
Active Parking Assist immediately steers in
the other direction.
The Park Assist Active Accelerate
and Brake Observe Surroundings
message appears in the multifunction
display.
i You will achieve the best parking results
by waiting for the steering procedure to
complete before moving forwards.
XDrive forwards and be ready to brake at all
times.XStop as soon as PARKTRONIC sounds the
continuous warning tone, if not before.
The Park Assist Active Select R
Observe Surroundings message appears
in the multifunction display.
XFurther transmission shifts may be
necessary.
As soon as the parking procedure is
complete, the Park Assist Disabled
message appears in the multifunction
display. PARKTRONIC continues to be
available.
XManeuver if necessary.XAlways observe the warning messages
displayed by PARKTRONIC ( Y page 173).
Canceling Active Parking Assist
You can cancel Active Parking Assist at any
time.
XStop the movement of the multifunction
steering wheel or steer yourself.
Active Parking Assist will be canceled at
once. The Park Assist Canceled
message appears in the multifunction
display.
or
XPress the PARKTRONIC button on the
center console ( Y page 173).
PARKTRONIC is switched off and Active
Parking Assist is immediately canceled.
The Park Assist Canceled message
appears in the multifunction display.
Active Parking Assist is canceled
automatically if:
R the transmission is shifted too early.
R parking using Active Parking Assist is no
longer possible.
R you are driving faster than 6 mph
(10 km/h).
R a wheel spins, ESP ®
intervenes or fails. The
ä warning lamp lights up in the
instrument cluster.
A warning tone sounds. The parking space
symbol disappears and the Park Assist
Canceled message appears in the
multifunction display.
When Active Parking Assist is canceled, you
must steer again yourself.
Rear view camera
Important safety notes
The rear view camera is an optical parking aid.
It shows the area behind your vehicle in the
COMAND display.
GWARNING
Make sure that no persons or animals are in
the maneuvering range. Otherwise, they
could be injured.
The rear view camera is located in the handle
strip of the trunk lid.
178Driving systemsDriving and parking
Page 197 of 356

Useful information ............................196
Important safety notes ....................196
Displays and operation ....................196
Menus and submenus ......................200
Display messages ............................. 216
Warning and indicator lamps in the
instrument cluster ............................241195On-board computer and displays
Page 198 of 356

Useful information
i This Operator's Manual describes all
models and all standard and optional
equipment of your vehicle available at the
time of publication of the Operator's
Manual. Country-specific differences are
possible. Please note that your vehicle may
not be equipped with all features
described. This also applies to safety-
related systems and functions.
i Please read the information on qualified
specialist workshops ( Y page 22).
Important safety notes
You will find an illustration of the instrument
cluster in the "At a glance" section
( Y page 27).
GWARNING
A driver's attention to the road and traffic
conditions must always be his/her primary
focus when driving.
For your safety and the safety of others,
selecting features through the multifunction
steering wheel should only be done by the
driver when traffic and road conditions permit
it to be done safely.
Bear in mind that at a speed of just 30 mph
(approximately 50 km/h ), your vehicle is
covering a distance of 44 feet (approximately
14 m) every second.
GWARNING
No messages will be displayed if either the
instrument cluster or the multifunction
display is inoperative.
As a result, you will not be able to see
information about your driving conditions,
such as
R speed
R outside temperature
R warning/indicator lamps
Rmalfunction/warning messages
R failure of any systems
Driving characteristics may be impaired.
If you must continue to drive, do so with added
caution. Contact an authorized Mercedes-
Benz Center as soon as possible.GWARNING
Malfunction and warning messages are only
indicated for certain systems and are
intentionally not very detailed. The
malfunction and warning messages are
simply a reminder with respect to the
operation of certain systems. They do not
replace the owner's and/or driver's
responsibility to maintain the vehicle's
operating safety. Have all required
maintenance and safety checks performed on
the vehicle. Bring the vehicle to an authorized
Mercedes-Benz Center to address the
malfunction and warning messages.
Displays and operation
Coolant temperature display
GWARNING
Driving when your engine is overheated can
cause some fluids which may have leaked into
the engine compartment to catch fire. You
could be seriously burned.
Steam from an overheated engine can cause
serious burns which can occur just by opening
the engine hood. Stay away from the engine
if you see or hear steam coming from it.
Stop the vehicle in a safe location away from
other traffic. Turn off the engine, get out of the
vehicle and do not stand near the vehicle until
the engine has cooled down.
The coolant temperature gauge is in the
instrument cluster on the left-hand side.
Under normal operating conditions and with
the specified coolant level, the coolant
temperature may rise to 248 ‡ (120 †).
196Displays and operationOn-board computer and displays
Page 208 of 356
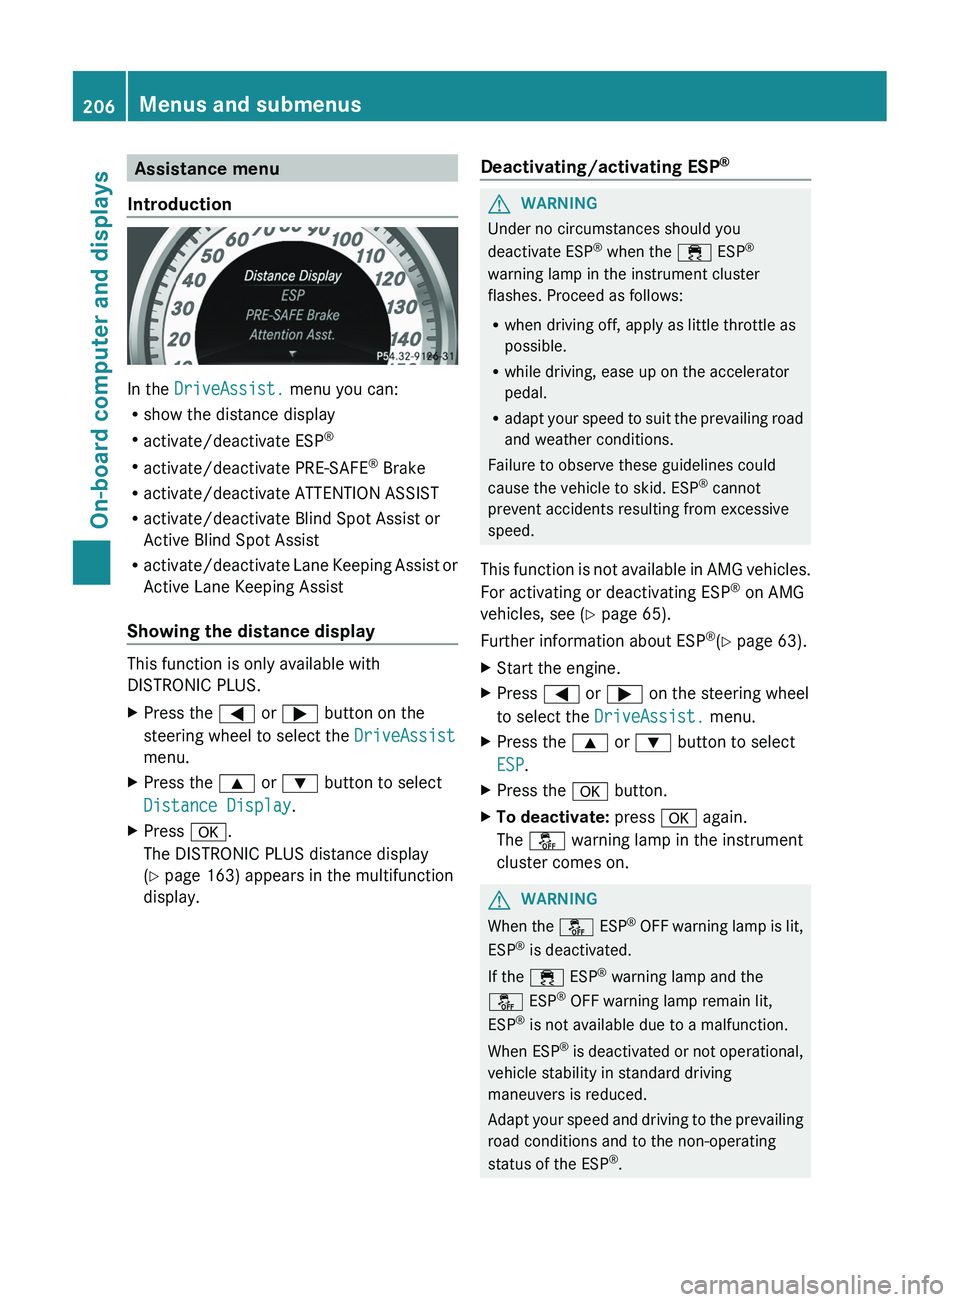
Assistance menu
Introduction
In the DriveAssist. menu you can:
R show the distance display
R activate/deactivate ESP ®
R activate/deactivate PRE-SAFE ®
Brake
R activate/deactivate ATTENTION ASSIST
R activate/deactivate Blind Spot Assist or
Active Blind Spot Assist
R activate/deactivate Lane Keeping Assist or
Active Lane Keeping Assist
Showing the distance display
This function is only available with
DISTRONIC PLUS.
XPress the = or ; button on the
steering wheel to select the DriveAssist
menu.XPress the 9 or : button to select
Distance Display .XPress a.
The DISTRONIC PLUS distance display
( Y page 163) appears in the multifunction
display.Deactivating/activating ESP ®GWARNING
Under no circumstances should you
deactivate ESP ®
when the ÷ ESP®
warning lamp in the instrument cluster
flashes. Proceed as follows:
R when driving off, apply as little throttle as
possible.
R while driving, ease up on the accelerator
pedal.
R adapt your speed to suit the prevailing road
and weather conditions.
Failure to observe these guidelines could
cause the vehicle to skid. ESP ®
cannot
prevent accidents resulting from excessive
speed.
This function is not available in AMG vehicles.
For activating or deactivating ESP ®
on AMG
vehicles, see ( Y page 65).
Further information about ESP ®
(Y page 63).
XStart the engine.XPress = or ; on the steering wheel
to select the DriveAssist. menu.XPress the 9 or : button to select
ESP .XPress the a button.XTo deactivate: press a again.
The å warning lamp in the instrument
cluster comes on.GWARNING
When the å ESP®
OFF warning lamp is lit,
ESP ®
is deactivated.
If the ÷ ESP®
warning lamp and the
å ESP®
OFF warning lamp remain lit,
ESP ®
is not available due to a malfunction.
When ESP ®
is deactivated or not operational,
vehicle stability in standard driving
maneuvers is reduced.
Adapt your speed and driving to the prevailing
road conditions and to the non-operating
status of the ESP ®
.
206Menus and submenusOn-board computer and displays
Page 209 of 356
XTo activate: press a again.
The å warning lamp in the instrument
cluster goes out.
Activating/deactivating PRE-SAFE ®
Brake
PRE-SAFE ®
Brake is only available in vehicles
with DISTRONIC PLUS.
XPress the = or ; button on the
steering wheel to select the DriveAssist
menu.XPress 9 or : to select PRE-SAFE
Brake .XPress a.
The current selection is displayed.XTo activate/deactivate: press a
again.
When PRE-SAFE ®
Brake ( Y page 67) is
activated, the multifunction display shows
the Ä symbol as long as the HOLD
function is not activated ( Y page 166).
Vehicles with Active Parking Assist: if
PARKTRONIC is activated and you are driving
at a speed under 22 mph (35 km/h), the j
Active Parking Assist symbol will be displayed
instead of the Ä symbol.
Activating/deactivating ATTENTION
ASSIST
XPress the = or ; button on the
steering wheel to select the DriveAssist
menu.XPress the 9 or : button to select
Attention Asst. .XPress a.
The current selection is displayed.XTo activate/deactivate: press a
again.
When ATTENTION ASSIST ( Y page 180) is
activated, the À symbol appears in the
multifunction display when the ignition is on.
Activating/deactivating Blind Spot
Assist
You can use the Blind Spot Asst. function
to activate or deactivate Blind Spot Assist
( Y page 184) or Active Blind Spot Assist
( Y page 188).
XPress = or ; on the steering wheel
to select the DriveAssist menu.XPress 9 or : to select Blind Spot
Asst. .XPress a.
The current selection is displayed.XTo activate/deactivate: press a
again.
Activating/deactivating Lane Keeping
Assist
You can use the Lane Keep. Asst. function
to activate/deactivate Lane Keeping Assist
( Y page 186) or Active Lane Keeping Assist
( Y page 191).
XPress the = or ; button on the
steering wheel to select the DriveAssist
menu.XPress the 9 or : button to select
Lane Keep. Asst. .XPress a.
If the function is activated, the road
markings are shown in red in the
multifunction display.XTo activate/deactivate: press a
again.
If Lane Keeping Assist or Active Lane keeping
Assist is activated, the multifunction display
shows the à symbol when the ignition is
switched on.
Menus and submenus207On-board computer and displaysZ
Page 210 of 356
Service menu
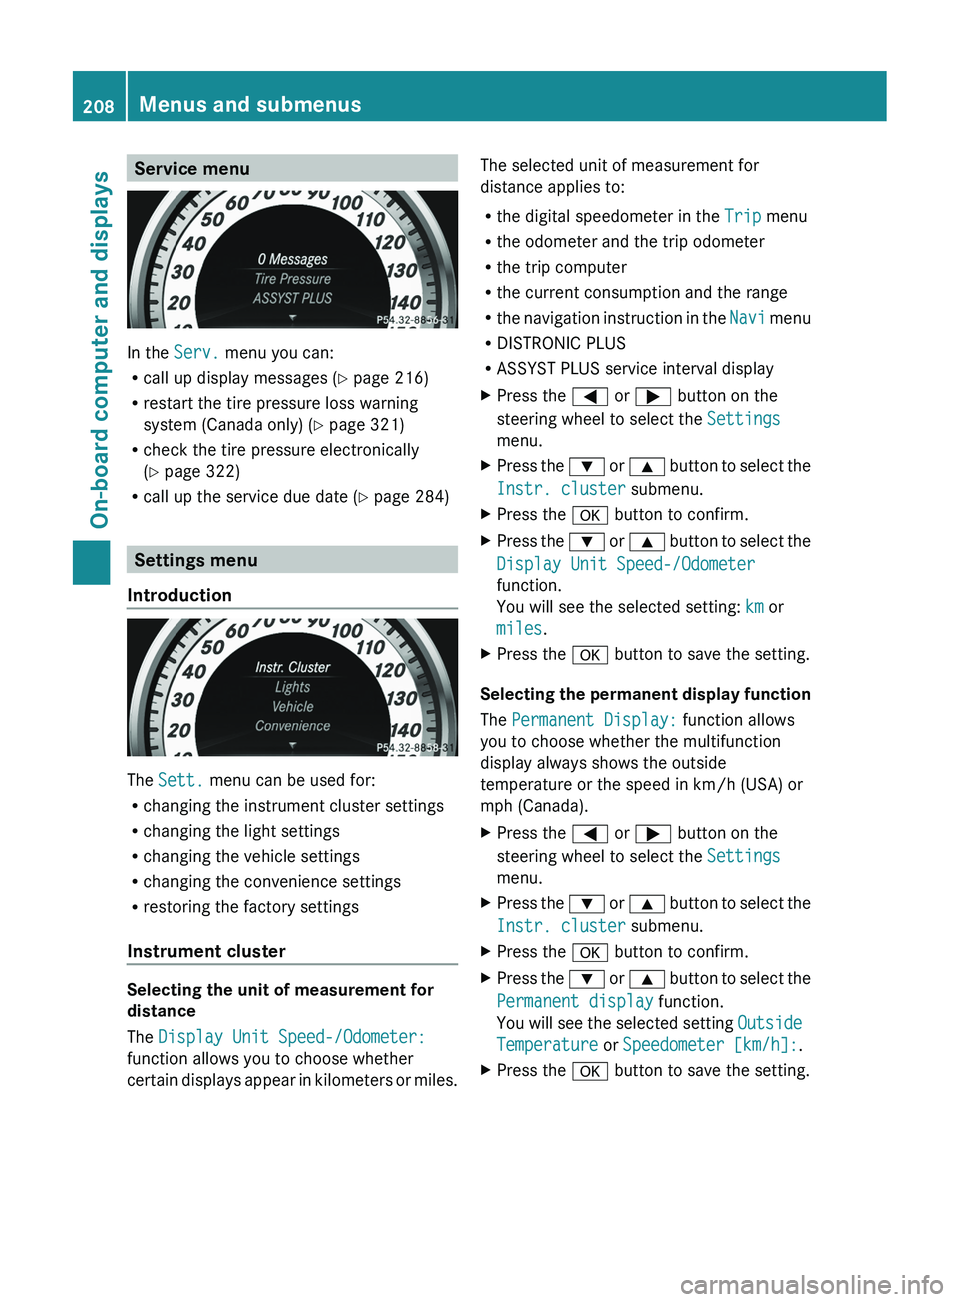
In the Serv. menu you can:
R call up display messages ( Y page 216)
R restart the tire pressure loss warning
system (Canada only) ( Y page 321)
R check the tire pressure electronically
( Y page 322)
R call up the service due date ( Y page 284)
Settings menu
Introduction
The Sett. menu can be used for:
R changing the instrument cluster settings
R changing the light settings
R changing the vehicle settings
R changing the convenience settings
R restoring the factory settings
Instrument cluster
Selecting the unit of measurement for
distance
The Display Unit Speed-/Odometer:
function allows you to choose whether
certain displays appear in kilometers or miles.
The selected unit of measurement for
distance applies to:
R the digital speedometer in the Trip menu
R the odometer and the trip odometer
R the trip computer
R the current consumption and the range
R the navigation instruction in the Navi menu
R DISTRONIC PLUS
R ASSYST PLUS service interval displayXPress the = or ; button on the
steering wheel to select the Settings
menu.XPress the : or 9 button to select the
Instr. cluster submenu.XPress the a button to confirm.XPress the : or 9 button to select the
Display Unit Speed-/Odometer
function.
You will see the selected setting: km or
miles .XPress the a button to save the setting.
Selecting the permanent display function
The Permanent Display: function allows
you to choose whether the multifunction
display always shows the outside
temperature or the speed in km/h (USA) or
mph (Canada).
XPress the = or ; button on the
steering wheel to select the Settings
menu.XPress the : or 9 button to select the
Instr. cluster submenu.XPress the a button to confirm.XPress the : or 9 button to select the
Permanent display function.
You will see the selected setting Outside
Temperature or Speedometer [km/h]: .XPress the a button to save the setting.208Menus and submenusOn-board computer and displays
Page 211 of 356
Lights
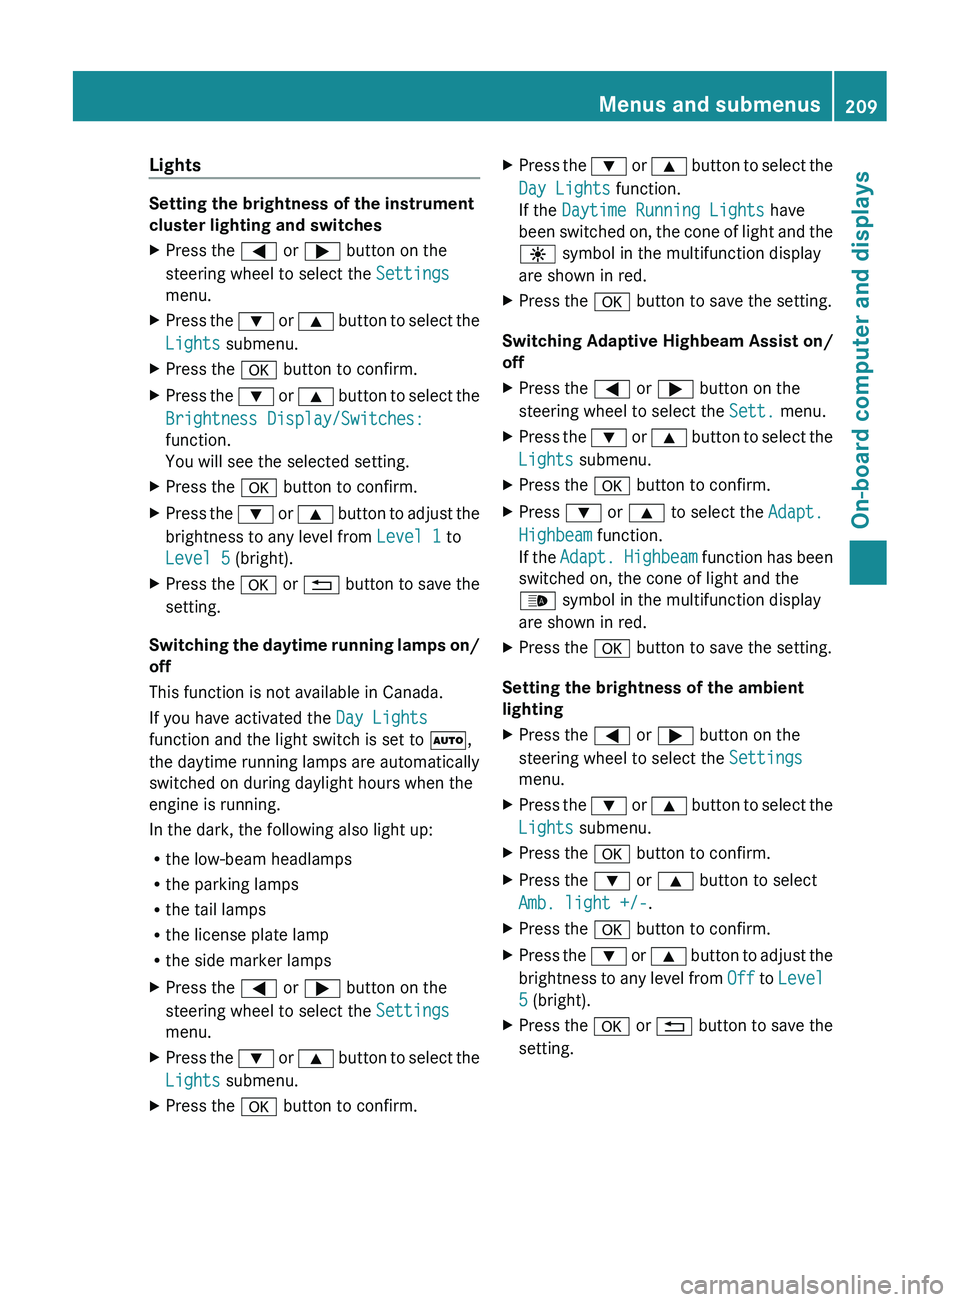
Setting the brightness of the instrument
cluster lighting and switches
XPress the = or ; button on the
steering wheel to select the Settings
menu.XPress the : or 9 button to select the
Lights submenu.XPress the a button to confirm.XPress the : or 9 button to select the
Brightness Display/Switches:
function.
You will see the selected setting.XPress the a button to confirm.XPress the : or 9 button to adjust the
brightness to any level from Level 1 to
Level 5 (bright).XPress the a or % button to save the
setting.
Switching the daytime running lamps on/
off
This function is not available in Canada.
If you have activated the Day Lights
function and the light switch is set to Ã,
the daytime running lamps are automatically
switched on during daylight hours when the
engine is running.
In the dark, the following also light up:
R the low-beam headlamps
R the parking lamps
R the tail lamps
R the license plate lamp
R the side marker lamps
XPress the = or ; button on the
steering wheel to select the Settings
menu.XPress the : or 9 button to select the
Lights submenu.XPress the a button to confirm.XPress the : or 9 button to select the
Day Lights function.
If the Daytime Running Lights have
been switched on, the cone of light and the
W symbol in the multifunction display
are shown in red.XPress the a button to save the setting.
Switching Adaptive Highbeam Assist on/
off
XPress the = or ; button on the
steering wheel to select the Sett. menu.XPress the : or 9 button to select the
Lights submenu.XPress the a button to confirm.XPress : or 9 to select the Adapt.
Highbeam function.
If the Adapt. Highbeam function has been
switched on, the cone of light and the
_ symbol in the multifunction display
are shown in red.XPress the a button to save the setting.
Setting the brightness of the ambient
lighting
XPress the = or ; button on the
steering wheel to select the Settings
menu.XPress the : or 9 button to select the
Lights submenu.XPress the a button to confirm.XPress the : or 9 button to select
Amb. light +/- .XPress the a button to confirm.XPress the : or 9 button to adjust the
brightness to any level from Off to Level
5 (bright).XPress the a or % button to save the
setting.Menus and submenus209On-board computer and displaysZ