2012 MERCEDES-BENZ C-Class USB
[x] Cancel search: USBPage 127 of 234

X
To return tothe calldis play :sel ect
Bac k and
pressW toconfi rm.
i Youcan also send DTMF tonesusing the
Voi ceControl System (see the separate
op era ting instructio ns). Us
ingthe phonebook In
troduc tion
The phone book displ aysthe nam esand
ph one num bers of allof the addre ssbook
entri essaved inthe COMAND addre ssbook.
If an addre ssbook entry does not have a
tel ephone number,itdo es not appe ar inthe
ph one book.
Yo ucan storetel ephone numbers inthe
ph one book orimp ortconta cts.Thephone
bo ok ofthe mob ile ph one isau toma tically
do wnl oade dto CO MAND after conne ction.
Yo ucan importconta ctsfrom themem ory
car dand theUSB devic einto thephone book,
or rece ivevCards via Bluetoo th®
.
The functio ns:
R imp ortingconta cts
R rece iving vCards
R de leting conta cts
ar ede scri bedin de tai lin the "Address
bo ok" section(Ypage 141).
i The storedphone bookandthevCards
remain inCOMAND ,even ifyou use
COMAND withanothermobile phone. The
ent ries canbeviewed without amobile
phone. Forthis reason, deletethephone book
before sellingortran sferr ing
owners hipofyour vehicle. Calling
upthe phone book
Overview X
Select Name in
the telephon ebasic menu
by turn ingcVd theCOMAND controller
and press Wtocon firm.
If the phone bookcontains entries, they will
be displayed inalphabetical order.
Character bar=isactiv e.
The charac terbar isused forfast select ion
of an ent ry. X
To close thephone book:select &in
the charac terbar bysliding VÆandturning
cVd theCOMAND controller and press
W tocon firm.
or
X Press the% button. Using
thephone book
125Telephone Z
Page 128 of 234

Symbol
overview Icon Explanation
Æ
Address
bookentrythat hasbeen entered orchanged viaCOMAND
Imported contactthat hasbeen saved inthe phone oraddress book \
Address
bookentrywith voice tag
i These entrieshave alsobeen assigned avoice tag.Voice tagsareavaila ble
in vehicles withtheVoice Control System (seetheseparate operating
instruc tions). Ã
Contact
thathasbeen imported fromamobile phonethatsupports PBAP ¯
Ent
rythat hasbeen imported fromthememory cardorUSB device ®
Ent
ryimported viathe Bluetooth ®
interf ace Searching
foraphone bookentry
Using thecharact erbar You
determine thefirst letter ofthe entr yyou
are looking forwith thefirst character you
enter.
X Select acharacter byturnin gcVd the
COMAND controller andpress Wto
conf irm.
The first entryin the listthat starts withthe
letter selected ishighlighted. Ifthere are
similar entries,thenext different character
is shown. Forexample, withentriessuch as
Christel and
Christine ,
the beginnings
of the names aresimilar. Inthis case, you
will beoffered achoice between E and
I .
X Select thecharacters ofthe entr yyou are
searching forone byone andpress Wto
conf irm.
When theselection isclear, COMAND
switches automatically tothe selection list.
X To complete thesearch: switchfromthe
phone bookwiththecharacter bartothe
selection list(Ypage 127).
The lastlistentr yis automatically
highlighted. Using
thenumber keypad Altern
atively, youcan also enter digits using
the number keypad(directentry)
(Y page 29).
Dele ting charact ers X
To delete anindividual character:select
the 2 symbol byturnin gcVd the
COMAND controller andpress Wbriefly.
or
X Briefly pressthe2 button
Each timeacharacter isdeleted, theentr y
most closely resembling theremaining
characters isshown atthe top ofthe list.
X To delete anentry: selectthe2
symbol byturnin gcVd theCOMAND
cont roller andpress Wuntil theentr yis
deleted.
or
X Press andhold the2 button untilthe
entire entryis deleted.
Changing thelanguage ofthe charact er
bar X
Select Bandpress W.
X Select thedesired language. 126
Using
thephone bookTelephone
Page 137 of 234

i
You canusethe"New entry" or"Add no."
func tionsto save thistelep honenumb eror
to add itto an exis tingent ry.
Stor ingthesender asanew address
book entry This
function isnot possible ifthe sender’s
telep honenumbe risalrea dystored inthe
address book.
X Press Wthe COMAND controller while the
text message isbeing displayed.
X Select SaveNumber and
press Wto
confirm.
X Select New entry and
press Wtoconfirm.
X Proceed asdescribed inthe "Storing asa
new entry inthe address book"section
(Y page 130).
Storing atext mes sage senderinan
exist ingaddress book entry X
Pres sW theCOMA NDcontroller while the
te xt mes sage isbein gdisplayed .
X Sele ctSav eNum ber and
pres sW to
con firm.
X Sele ctAdd PhoneNo. and
pres sW to
con firm.
X Proc eedfrom thest ep "Sele ctanum ber
cat egor y"inthe"Add ingtelepho ne
num bers toan existing phon ebook entry"
sec tion(Ypage 128).
Deleting atext mes sage (SMS) X
Sele ctate xt mes sage inthete xt mes sage
inbo xbytur ning cVd theCOMA ND
co ntro ller .
X Se lec tthe list symbol tothe right ofthe text
message bysliding VYtheCOMAND
cont roller andpress Wtoconfirm .
X Select Delete and
press Wtoconfirm .
Ad eletion prompt appears.
X Select Yes or
No and
press Wtocon firm.
If you select Yes ,
the textm essage is
deleted. If
you select No ,
the process willbeaborted.
i This delete function isnot supported by
all mobile phones. TheDeletio n Procedu
reFailed message
appears. Using
theaddress book Introd
uction G
WARN
ING
Please devote youratten tionfirst and
foremo stto the traff icsituation youarein.
Befor eyour journ ey,please familiarize
yourself withtheaddress bookfunctions.
Only usetheCOMAND whenroadandtraffic
con ditions permityoutodo so. Other wiseyou
could beinvolved inan acciden tinw hich you
or others couldbeinjured.
The address bookorganizes andstores
entr ieswhich areentered fromdifferent
sources (mobilephone,memory card,USB
device, COMAND telephone book,navigation
system).
You canusethese entriestomake telephone
calls andfornavigation.
i Num berofcontacts inthe addr ess
book: theaddress bookcanstore atotal of
4000 contacts. 1500 entriesare reserved
in the address bookformobile phone
cont acts and1500 forcont acts youcreate
in COMAND orimport fromother sources.
The remaining 1000entriesare assigned
by COMAND asnecessary.
i Display ofmobile phonecontacts:
cont acts downloaded fromthemobile
phone remain inthe address bookevenif
the mobile phoneisdisconnec tedfrom
COMAND. Thismeans thatcontacts which
have previously beenavaila blecan be
displa yedassoon asthe mobile phoneis
reconn ected.Thecont acts aredownloaded
again sothat anynew contacts thathave
been added tothe mobile phonecanbe
displa yed. Using
theaddress book
135Telephone Z
Page 142 of 234

match
thedigitalmap, COMAND promptsyou
to re-enter theaddress.
i Itis best then tostore thenew address
under theaddress book entry. Thiswill
provid eyou with anadd ress book entry that
is sui table fornaviga tion.
X Enter thedestina tionaddress (Ypag e54).
X Select Save from
theaddress entry menu
and press Wtoconfirm.
X Assigning adestina tiontoan add ress book
entry (Ypag e96). Voic
etags
Adding orchang ingavoice tag You
canentervoic etag svia theVoic eCont rol
Syst em(see thesepar ateoper ating
ins truct ions).Onceyou have assign edavoic e
tag toan addre ssbook entry,you can callup
th is ent rywith avoic ecom man dand diala
phon enum ber,forexam ple.You canadd one
voic etag per addre ssbook entry.
X Sear chfor anaddre ssbook entrywith or
with outavoic etag (¦ symbo l)
(Y page 136).
X Sele ctthelist symbo lto therigh tofthe
entr yby sliding VYtheCOMAND
cont roller andpress Wtoconfirm .
X Select Voice Name and
press Wto
confirm .
X Select Add or
Change and
press Wto
confirm .
Subsequent operationisvoice-con trolled.
The Voice Control System guidesyou
through thedialo gs.
Dele ting avoice tag X
Sear chfor anaddre ssbook entrywith a
voic etag (Ypage 136).
X Sele ctthelist symbo lto therigh tofthe
entr yby sliding VYtheCOMAND
cont roller andpress Wtoconfirm . X
Select Voice Name and
press Wto
confirm .
X Select Delete and
press Wtoconfirm .
Ad eletion prompt appears.
X Select Yes or
No and
press the9button
to con firm.
If you select Yes ,
COMAND deletesthe
voice tag.
If you select No ,
the process willbeaborted.
Listening toav oice tag X
Sear chfor anaddre ssbook entrywith a
voic etag (Ypage 136).
X Sele ctthelist symbo lto therigh tofthe
entr yby sliding VYtheCOMAND
cont roller andpress Wtoconfirm .
X Select Voice Name and
press Wto
confirm .
X Select Listen and
press Wtoconfirm .
You hear thevoice tag. Storing
aphone bookentry fromthe
mobile phoneinthe address book
Using thisfunct ionyou can save imported
phone bookentriesinthe address book.
The following canbeused asasource:
R the mobile phone
R the memory card
R the USB device
R the Bluetooth ®
Int erface
Imported phonebookentriesare indicated in
the phone bookbydifferent icons
(Y page 126). 140
Using
theaddress bookTelephone
Page 143 of 234

X
Sea rch foranentry inthe phoneboo kon
the mob ile pho ned (Ypage 126) .
X Sel ect the list symbo lto the right ofthe
entry bysliding VY theCOMAND
control lera nd pre ssW toconfi rm.
X Sel ect SaveEnt ry and
pressW to
confi rm.
The Saving Procedure Successful mes
sage appe ars. The phone book entry is
now saved asan addre ssbook entry .
The diconisreplaced bythe ¥icon. Importing
contacts
Information andrequirem ents You
canimport contacts (vCards) fromthe
memory cardandaUSB device intothe
address book,orreceive vCardsvia
Bluetooth ®
.
i Upto2500 entries canbeimported into
the address book.Amessage notifies you
when themaximum numberisreached.
You now have todelete existingentries
(Y page 137)ino rder toimport newentries.
Dependi ngon the source ofthe contact data,
differe ntrequ ireme ntsapply: Source Con
dition s Memory
card The
SDmemory cardmust
be inserted (Ypag e157)
and must contain
importa blecontact data. USB
device The
USB devicemust be
inserted inthe USB port
and must contain
importa blecontact data. Requiremen
tsfor rece ivingvCards via
Bluetoo th®
You canreceive vCards from devices(e.g.
from aPC) whichsup port thesending of
vCa rds viaBlue tooth ®
. It
is not necessary toauthorize thedevi cein
COMAND todo so.
Plea sebea rthe following inmind:
R Bluetooth ®
must beactivated inCOMAND
and onthe Bluetooth ®
device (see
operating instructionsforthe device).
R the Bluetooth ®
device mustbeable tosend
vCards viaBluetooth ®
(see operating
instruct ionsforthe device).
R the Bluetooth ®
device inthe vehicle must
be switched on.
Import ingfrom thememory cardorUSB
device Ent
ries imported fromthememory cardor
from aUSB device havethe¯ symbol.
The following conditionsmust befulfilled in
order toimport vCards:
R vCards (vcffiles) maybelocated inthe main
directory orinfolders. COMAND allowsfor
a targeted selection ofthe corresponding
directories.
R vCards musthavethefileexten sion".vcf".
i Avcffilecan also contai nseveral vCards.
COMAND supportsvCardsinversion s2.1
and 3.0.
X Select Address Book in
the address book
or, ifthe telephon ebasic menu isshown,
select Phone by
sliding VÆandturning
cVd theCOMAND controller andpress
W tocon firm.
X Select Downloa dContact s and
press W
to con firm.
Am enu appears.
X Select FromTheMemory Card or
From USB
Device in
the menu byturn ingcVd
the COMAND controller andpress Wto
con firm.
X Select Add or
Overwri te and
press Wto
con firm.
Add import
sthe entries from thememory
card orUSB device intothe address book. Using
theadd ress book
141Telephone Z
Page 144 of 234

Overwrite imports
theentries fromthe
memory cardorUSB device andoverwrites
all entries inthe address bookwiththe
¯ symbol. Theprevious entriesarethen
no longer available.
Aft erthe cont actdata hasbeen imported
successfully ,you willsee amessage tothis
effec t.The address bookorthe respect ive
telephon ebasic menu isdisplayed.
i You canselect theOverwri te menu
item
if the address bookalready contains
corr espondin gent ries. Amessage notifies
you when theaddress bookisfull.
Receiving vCardsvia Bluet ooth® Received
vCardsareidentif iedbythe ®
symbol inthe address book.
i Ifyou switch toanoth ermain function,
e.g. navigation ,while receivin gvCards, the
recept ionofvCards willbeterm inated.
X Select Address Book in
the address book
or, ifthe telephon ebasic menu isshown,
select Phone by
sliding VÆandturning
cVd theCOMAND controller andpress
W tocon firm.
Am enu appears.
X Select Downloa dContact s and
press W
to con firm.
X Select Receive dBusines sCards in
the
menu byturn ingcVd theCOMAND
con troller andpress Wtocon firm.
This interrupts theBluetoot h®
con nection
between COMAND andyour active mobile
phone. COMAND is,however, readyto
receive vCardsfromanoth erBluetoot h®
device (PC,mobile phone).
X Start the data transfer onthe external
Bluetoot h®
device (seetheoperatin g
inst ruct ions forthe device).
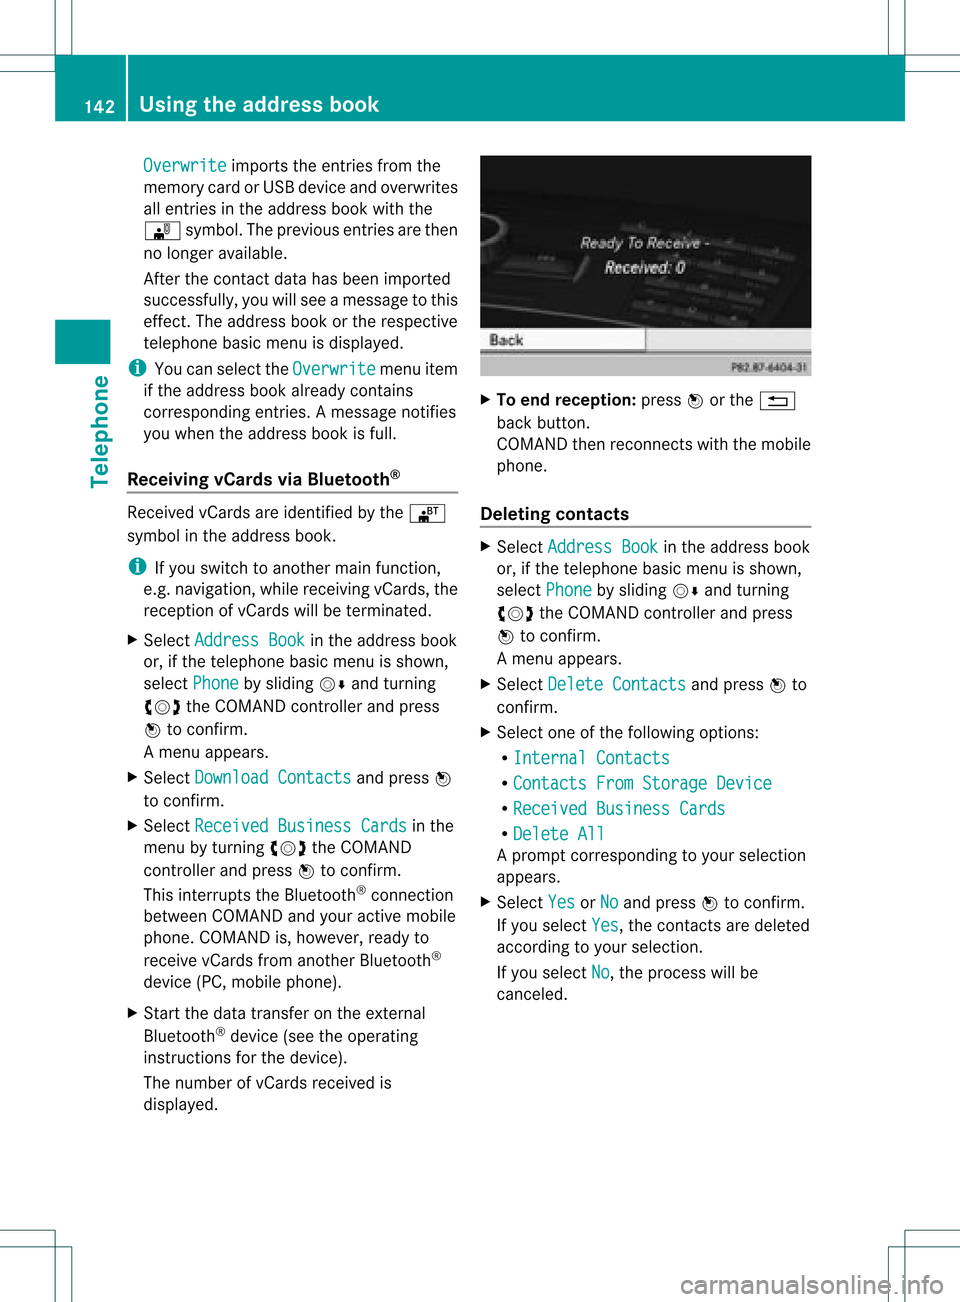
The number ofvCards received is
displayed. X
To end recept ion:press Worthe %
back button .
COMAND thenrecon nectswith themobile
phone.
Deleting contacts X
Select Address Book in
the address book
or, ifthe telephon ebasic menu isshown,
select Phone by
sliding VÆandturning
cVd theCOMAND controller andpress
W tocon firm.
Am enu appears.
X Select Delete Contacts and
press Wto
con firm.
X Select oneofthe following options:
R Interna lContact s R
Contact sFrom Storage Device R
Receive dBusines sCards R
Delete All Ap
rompt correspo ndingtoyou rselection
appears.
X Select Yes or
No and
press Wtocon firm.
If you select Yes ,
the contact sare deleted
accor dingtoyour select ion.
If you select No ,
the process willbe
canc eled. 142
Using
theadd ress bookTelephone
Page 159 of 234

Inser
ting anSD mem orycard X
Inser tthe memory cardintotheslot until it
engages inplace. Theside with the
cont acts must facedownwards andpoint
towards theslot.
COMAND loadsthememory cardand
shows amessage tothis effect .Ifn oMP3
track scan befound, youwillsee amessage
to this effect .
Ejecting anSD memor ycard X
Press thememory card.
The memory cardiseject ed.
X Take thememory cardoutofthe slot
(Y page 17),position H. Connec
tingaUSBdevice
The USB portislocated inthe stowage
compartmen tin the cent erconsole.
Elect ricalconsumpt ionatthis conn ection
must notexceed acont inuous current of
500 mA.Ifthe electrical consumpt ionis
higher, useaseparate sourcetoprovide
power forthe USB device (e.g.
12 Vp ower supply).
X Connect theUSB device (e.g.USBstick)to
the USB port. Ac
tiv atin gaudi oCD /DVD orMP3
mode
Opti on1 X
Inse rtaC D/DVD (Ypage 154) ,SDmem ory
car d(Y page 157) orconne ctaU SBdevice
(Y page 157) .
CO MAND load sthe med iumi nser tedand
sta rts toplay it.
Opti on2 X
Pre ssthe h functio nbu tton oneormor e
time s. i
Bypre ssing the functio nbutton
rep eatedly, youcan chang eth eoper ating
mod ein thefol lowin gord er:
R audio CD/DVD/vide oDV D/ MP3 CD/
MP3 DVDin theDV Dch ang er(disc
mod e)
R mem orycardmod e
R MUS ICREGI STER
R US Bstorag edev ice
R Medi aIn te rface oraudio AUXmod e
R Blue toot h®
audio mode
X Se lec tana udio mediumfrom themed ialist
(Y page 159).
Op tion 3 X
Se lec tAud io in
themain function bar by
slidi ngZV andturnin gcVd theCOMA ND
co ntrol ler and pressW toconfirm .
The lastactive audio sourceisno w
act ivat ed.
You canactivat eadiff ere ntaudio source
usin gth eaudio menu.
X Se lec tAud io by
slidi ngZV andturnin g
cVd theCOMA NDcontrol ler and press
W toconfirm .
The audio menuappear s.
X Se lec tDis c ,
Mem ory Card ,
Mus ic Reg
ister ,
USB Storage or
Med ia Int
erface and
pressW toconfirm .
This switches tothedesi redaudio source.
X Se lec tana udio mediumfrom themed ialist
(Y page 159). Aud
ioCD/DVD andMP3 mode
157Aud io Z
Page 161 of 234

In
audio DVD modeonly X
To pause playba ck:swit chon audio DVD
mod e(Y page 157).
X Se lec tË byslidi ngVÆ andturnin g
cVd theCOMA NDcontrol ler and press
W toconfirm .
The Ë displaychang estoÌ.
X To cont inuepla yba ck:sele ctÌ and
pre ssW toconfirm .
Playbac kcont inues fromthepoint where it
was inter rupted. TheÌ display changes
to Ë. Stop
function
This funct ionisonly availa bleinaudio DVD
mode.
X Switch onaudio DVDmode (Ypage 157).
X To interr uptplayback: selectÉby
sliding VÆandturnin gcVd theCOMAND
cont roller andpress Wtoconf irm.
The Ë display changes toÌ. É
remains highlighted.
X To continue playback: selectÌand
press Wtoconf irm.
Playba ckcont inues fromthepoint where it
was inter rupted.
X To stop playback: whileplaybackis
inter rupted, selectÉagain andpress
W toconf irm.
or
X Select Éandconf irmbypressing W
twice inrapid succession.
Ì ishighlighted.
X To resta rtplayback: selectÌand
press Wtoconf irm.
Playba ckstart sat the beginning ofthe
DVD . Selecting
audioCD/DVD/MP3 discs
Selecting viathe media list X
In audio CD/DVDand MP3 mode: select
Media by
sliding VÆorturnin gcVd the
COMAND controller andpress Wto
conf irm.
The media listappears. The#dot
indicates thecurrent medium beingplayed. Media
listwhen equipped withaDVD changer
: Todisplay allmagazine trays
The media listshows thediscs current ly
availa ble. Media
list Magazine
trays,positions 1to6: readable
data media areaudio CDs,MP3CDsorMP3
DVD s,audio DVDsand video DVDs. Memory
card,position 7 MUSIC
REGISTER, position8 USB
storage device,position 9 Media
Interface, position 0 Bluetooth
®
audio i
Ifadisc cann otbe read, anentr yappears
next tothe correspon dingmagazine tray.
X To show allmagaz inetrays: press Wthe
COMAND controller when :is
highlighted. Audio
CD/DVD andMP3 mode
159Audio Z