2012 MERCEDES-BENZ C-Class display
[x] Cancel search: displayPage 137 of 234
i
You canusethe"New entry" or"Add no."
func tionsto save thistelep honenumb eror
to add itto an exis tingent ry.
Stor ingthesender asanew address
book entry This
function isnot possible ifthe sender’s
telep honenumbe risalrea dystored inthe
address book.
X Press Wthe COMAND controller while the
text message isbeing displayed.
X Select SaveNumber and
press Wto
confirm.
X Select New entry and
press Wtoconfirm.
X Proceed asdescribed inthe "Storing asa
new entry inthe address book"section
(Y page 130).
Storing atext mes sage senderinan
exist ingaddress book entry X
Pres sW theCOMA NDcontroller while the
te xt mes sage isbein gdisplayed .
X Sele ctSav eNum ber and
pres sW to
con firm.
X Sele ctAdd PhoneNo. and
pres sW to
con firm.
X Proc eedfrom thest ep "Sele ctanum ber
cat egor y"inthe"Add ingtelepho ne
num bers toan existing phon ebook entry"
sec tion(Ypage 128).
Deleting atext mes sage (SMS) X
Sele ctate xt mes sage inthete xt mes sage
inbo xbytur ning cVd theCOMA ND
co ntro ller .
X Se lec tthe list symbol tothe right ofthe text
message bysliding VYtheCOMAND
cont roller andpress Wtoconfirm .
X Select Delete and
press Wtoconfirm .
Ad eletion prompt appears.
X Select Yes or
No and
press Wtocon firm.
If you select Yes ,
the textm essage is
deleted. If
you select No ,
the process willbeaborted.
i This delete function isnot supported by
all mobile phones. TheDeletio n Procedu
reFailed message
appears. Using
theaddress book Introd
uction G
WARN
ING
Please devote youratten tionfirst and
foremo stto the traff icsituation youarein.
Befor eyour journ ey,please familiarize
yourself withtheaddress bookfunctions.
Only usetheCOMAND whenroadandtraffic
con ditions permityoutodo so. Other wiseyou
could beinvolved inan acciden tinw hich you
or others couldbeinjured.
The address bookorganizes andstores
entr ieswhich areentered fromdifferent
sources (mobilephone,memory card,USB
device, COMAND telephone book,navigation
system).
You canusethese entriestomake telephone
calls andfornavigation.
i Num berofcontacts inthe addr ess
book: theaddress bookcanstore atotal of
4000 contacts. 1500 entriesare reserved
in the address bookformobile phone
cont acts and1500 forcont acts youcreate
in COMAND orimport fromother sources.
The remaining 1000entriesare assigned
by COMAND asnecessary.
i Display ofmobile phonecontacts:
cont acts downloaded fromthemobile
phone remain inthe address bookevenif
the mobile phoneisdisconnec tedfrom
COMAND. Thismeans thatcontacts which
have previously beenavaila blecan be
displa yedassoon asthe mobile phoneis
reconn ected.Thecont acts aredownloaded
again sothat anynew contacts thathave
been added tothe mobile phonecanbe
displa yed. Using
theaddress book
135Telephone Z
Page 138 of 234
When
anew mobile phoneiscon nect edto
COMAND ,all the contact sfrom the
previous mobilephonearedeleted fromthe
address book.
If amobile phoneisnot (yet) connect edto
COMAND ,the contact sfrom thatmobile
phone willnot(yet) beshown inthe address
book.
Address bookentries remain storedwhen
the mobile phoneisdisconn ected.
Therefor e,you should deleteyourpersonal
data using thereset function before selling
your vehicle, forexample (Ypage 47). Calling
upthe address book
Option 1:
X Press the% function button .
You seethetelephon ebasic menu orthe
address bookifit was open previously.
X When thetelephon ebasic menu is
displayed, pressthe% function button
again.
Option 2:
X With thetelephon ebasic menu shown,
select Phone by
sliding VZtheCOMAND
con troller andpress Wtocon firm.
X Select Address Book from
themenu and
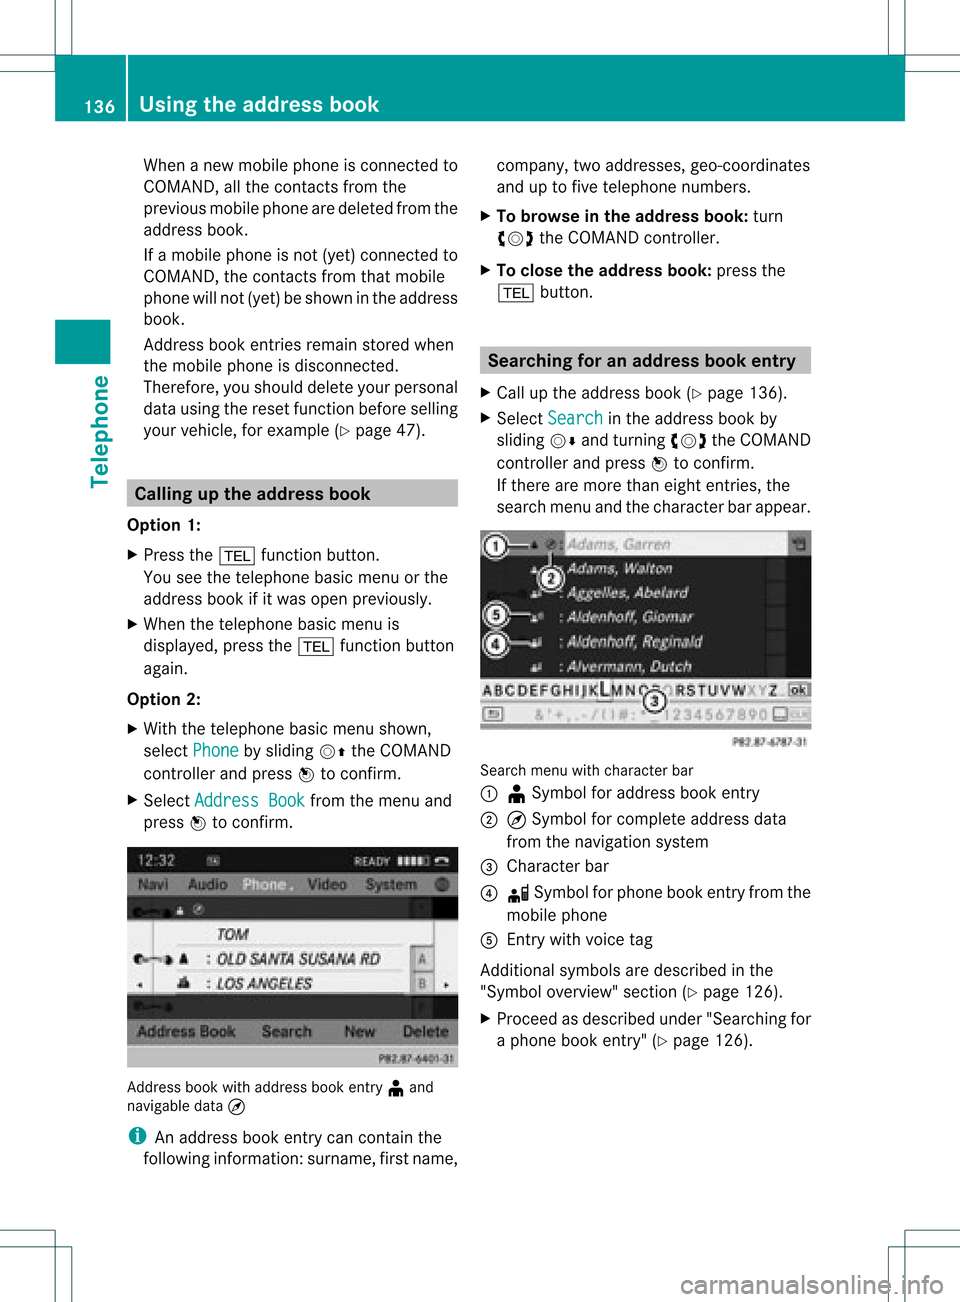
press Wtocon firm. Address
bookwithaddress bookentry¥ and
navigable data¤
i Anaddress bookentrycan contain the
following information :surn ame, first nam e, co
mpan y,two addr esses, geo- coord inat es
and uptofivete leph onenum bers.
X To browse inthead dress book: turn
cVd theCOMA NDcontrol ler.
X To close thead dress book: pressthe
% button. Sea
rching foranaddress book entry
X Call uptheaddr essbook (Ypage 136).
X Se lec tSea rch in
theaddr essbook by
slidi ngVÆ andturnin gcVd theCOMA ND
co ntrol ler and pressW toconfirm .
If th ere aremor eth an eigh ten tries, the
sear chmen uand thech arac terb arappear . Sea
rchmen uwit hch arac terbar
: ¥Sym bolforaddre ssbook entry
; ¤Sym bolforcomple teaddre ssdat a
fr om thenav igat ionsyst em
= Charac terb ar
? d Sym bolforphon ebook entryfrom the
mob ilephon e
A Entry wit hvoic etag
Ad dition alsymb olsare desc ribedint he
"Symbol overview" section(Ypage 126).
X Proceed asdescribed under"Searching for
a phone bookentry"(Y page 126). 136
Using
theaddress bookTelephone
Page 139 of 234
Crea
tinganew entryinthead dress
book
You canentera ddress datadirect lyint othe
address book.Ifyou storetelephon e
numbers inthe COMAND phonebook,these
are also saved inthe address book.Ifyou
stor eanavigat iondestin ation, COMAND
creat esan address bookentrywhich includes
the complet enavigable addressdata.
X Call upthe address book(Ypage 136).
X Select New in
the address bookbysliding
VÆ andturningcVd theCOMAND
con troller and press Wtocon firm.
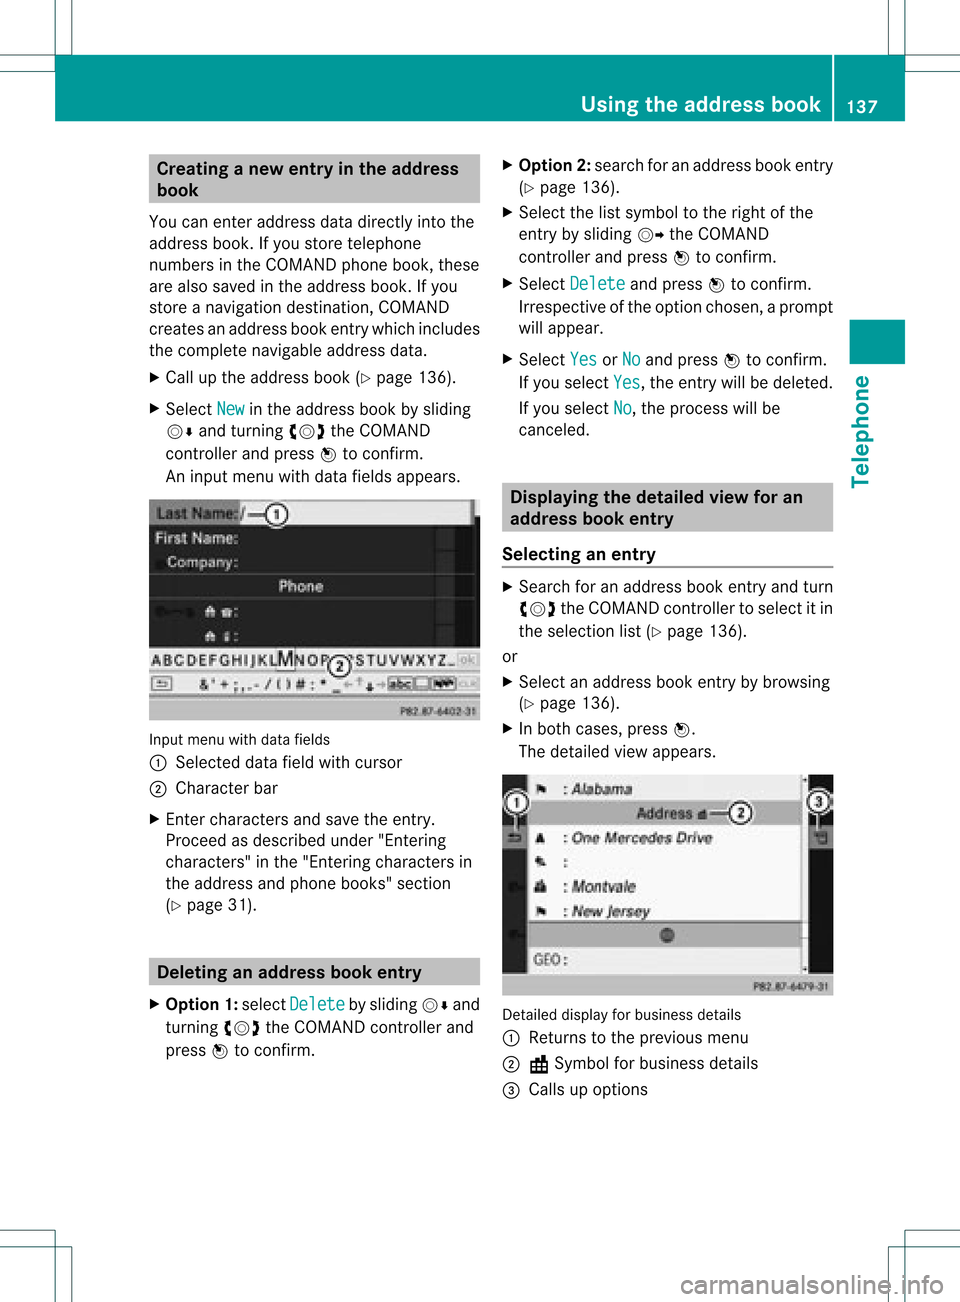
An input menu withdata fields appears. Input
menu withdata fields
: Select eddata fieldwithcursor
; Character bar
X En ter charac tersandsave theentry.
Procee das descr ibedunder "Entering
charac ters"in the "Ent ering charac tersin
the address andphone books" section
(Y page 31). Deleting
anadd ress book entry
X Opt ion1:select Delete by
sliding VÆand
turn ingcVd theCOMAND controller and
press Wtocon firm. X
Opt ion2:search foranaddress bookentry
(Y page 136).
X Select thelistsymbol tothe right ofthe
ent ryby sliding VYtheCOMAND
con troller and press Wtocon firm.
X Select Delete and
press Wtocon firm.
Irres pectiveofthe option chosen ,a prompt
will appear.
X Select Yes or
No and
press Wtocon firm.
If you select Yes ,
the entrywill bedeleted.
If you select No ,
the proces swill be
canc eled. Displaying
thedeta iledview foran
add ress book entry
Selecting anentr y X
Searc hfor anaddress bookentryand turn
cVd theCOMAND controller toselect itin
the select ionlist(Ypage 136).
or
X Select anaddress bookentryby browsing
(Y page 136).
X In both cases, pressW.
The detailed viewappears. Det
ailed display forbusiness details
: Return sto the previous menu
; \Symbol forbusiness details
= Calls upoption s Using
thead dress book
137Telephone Z
Page 140 of 234
Star
ting route guidance toan add ress X
Select theaddress datafieldbyturnin g
cVd theCOMAND controller andpress
W toconf irm.
The route tothe destination addressis
calculated androute guidancestarts
(Y page 57).
Calling ateleph onenum ber X
Sele ctthephon enum berdata fieldby
tur nin gcVd theCOMA NDcontroller and
pres sW tocon firm.
This initiate sdialin gand youcan then mak e
your call(Ypage 122).
Showing thedet ails ofan address book
entr y X
Sele ctthelist symbo lto therigh tofthe
entr yby sliding VYtheCOMAND
cont roller andpress Wtoconfirm .
X Select Details and
press Wtoconfirm .
The displa yis shown infull.
X To close thedetailed display:pressthe
% button. Changing
anadd ress book entry
Changing anentry X
Option 1:search foranaddress bookentry
and turn cVd theCOMAND controller to
select itin the selection list(Ypage 136).
X Select thelistsymbol tothe right ofthe
entr yby sliding VYtheCOMAND
cont roller andpress Wtoconfirm .
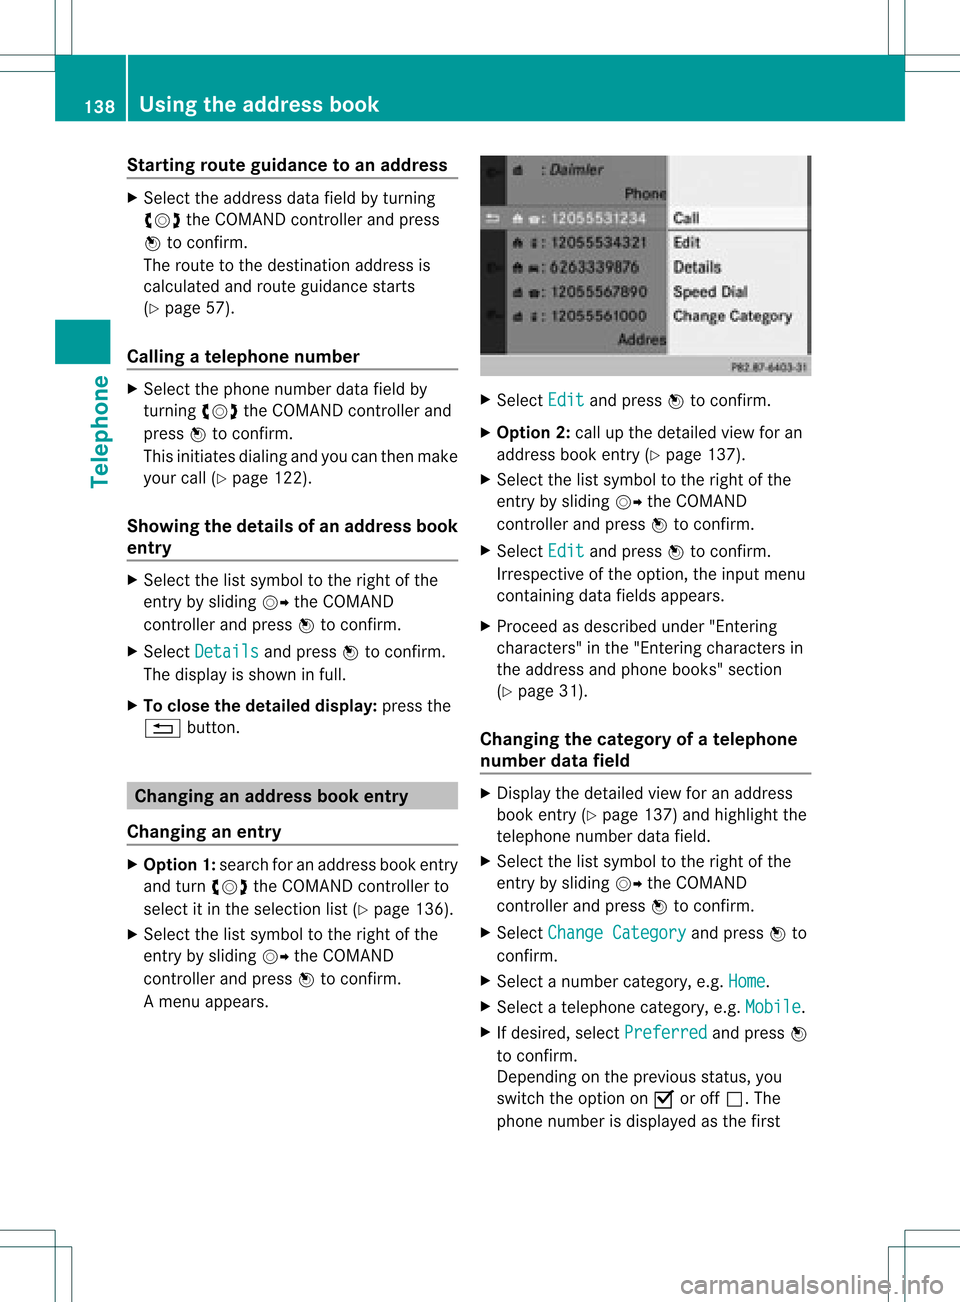
Am enu appears. X
Select Edit and
press Wtocon firm.
X Opt ion 2:call upthe detailed viewforan
address bookentry(Y page 137).
X Select thelistsymbol tothe right ofthe
ent ryby sliding VYtheCOMAND
con troller andpress Wtocon firm.
X Select Edit and
press Wtocon firm.
Irrespec tiveofthe option ,the input menu
con tainin gdata fields appears.
X Proceed asdescribed under"Entering
charact ers"inthe "Ent ering charact ersin
the address andphone books" section
(Y page 31).
Changing thecategory ofatelephone
number datafield X
Display thedetailed viewforanaddress
book entry(Y page 137)and highlight the
telephon enumber datafield.
X Select thelistsymbol tothe right ofthe
ent ryby sliding VYtheCOMAND
con troller andpress Wtocon firm.
X Select Change Category and
press Wto
con firm.
X Select anumber category,e.g. Home .
X Select atelephon ecategor y,e.g. Mobile .
X Ifdesired, selectPreferr ed and
press W
to con firm.
Depen dingonthe previous status,you
switch theoption onO oroff ª.T he
phone number isdispla yedasthe first 138
Using
theaddress bookTelephone
Page 141 of 234
num
berint he phone bookandcanbe
diale dimmediately.
X Select Save and
press Wtoconfirm .
The new category isstored. Calling
anumber storedinan entry
Co nditio ns The
mobi lephone mustbeconnected viathe
Blue tooth ®
interface .
Option 1 X
Displ aydetai lsfor anadd ress book entry
(Y pag e137).
X Select thephone numbe rdata fieldby
tur nin gcVd theCOMA NDcontroll erand
pres sW toconfirm .
The telepho nemak esthecall. Thedispl ay
swit ches totelepho nemod e.
Opt ion 2 X
Dis play details foranaddre ssbook entry.
X Sel ect thephon enum berdatafiel dby
tur nin gcVd theCOMA NDcontroll er.
X Sel ect thelist symb olto therigh tofthe
data fieldbysliding VYtheCOMAND
cont roller andpress Wtoconfirm .
X Select Call and
press Wtoconfirm .
The telephone makesthecall. Storing
thephone number asas pee d
dial numb er
X Disp layde tai lsfor anaddre ssboo kentry .
X Sel ect the phone num berd ata fieldby
tur nin gcVd theCOMA NDcontroll er. X
Sel ect thelist symb olto therigh tofthe
data fieldbysliding VYtheCOMAND
cont roller andpress Wtoconfirm .
X Select Speed Dial and
press Wto
confirm .
You cannow store thenumber inone ofthe
ten speed dialpresets. Star
ting route guidance toan entry
Note This
funct ionisavaila bleassoon asyou have
stored adestination inthe destination
memory (Ypage 95).COMAND alsosaves
destinations inthe address booktogether
with allthe data required forroute guidance.
Option 1 X
Search foranaddress bookentry
(Y page 136)withtheLicon andselect it
from thelist.
X Display detailsforanaddress bookentry
(Y page 138).
X Select theaddress datafieldbyturning
cVd theCOMAND controller andpress
W toconfirm .
Option 2 X
Search foranaddress bookentry
(Y page 136)withtheLicon andselect it
from thelist.
X Select thelistsymbol tothe right ofthe
entr yby sliding VYtheCOMAND
cont roller andpress Wtoconfirm .
X Select Navigate and
press Wtoconfirm .
Irrespect iveofthe option chosen, route
guida ncestarts.
Option 3 Route
guidancecanalso bestarted foran
address bookentrywithout the¤symbol. If
the address dataordesignations donot Using
theaddress book
139Telephone Z
Page 144 of 234
Overwrite imports
theentries fromthe
memory cardorUSB device andoverwrites
all entries inthe address bookwiththe
¯ symbol. Theprevious entriesarethen
no longer available.
Aft erthe cont actdata hasbeen imported
successfully ,you willsee amessage tothis
effec t.The address bookorthe respect ive
telephon ebasic menu isdisplayed.
i You canselect theOverwri te menu
item
if the address bookalready contains
corr espondin gent ries. Amessage notifies
you when theaddress bookisfull.
Receiving vCardsvia Bluet ooth® Received
vCardsareidentif iedbythe ®
symbol inthe address book.
i Ifyou switch toanoth ermain function,
e.g. navigation ,while receivin gvCards, the
recept ionofvCards willbeterm inated.
X Select Address Book in
the address book
or, ifthe telephon ebasic menu isshown,
select Phone by
sliding VÆandturning
cVd theCOMAND controller andpress
W tocon firm.
Am enu appears.
X Select Downloa dContact s and
press W
to con firm.
X Select Receive dBusines sCards in
the
menu byturn ingcVd theCOMAND
con troller andpress Wtocon firm.
This interrupts theBluetoot h®
con nection
between COMAND andyour active mobile
phone. COMAND is,however, readyto
receive vCardsfromanoth erBluetoot h®
device (PC,mobile phone).
X Start the data transfer onthe external
Bluetoot h®
device (seetheoperatin g
inst ruct ions forthe device).
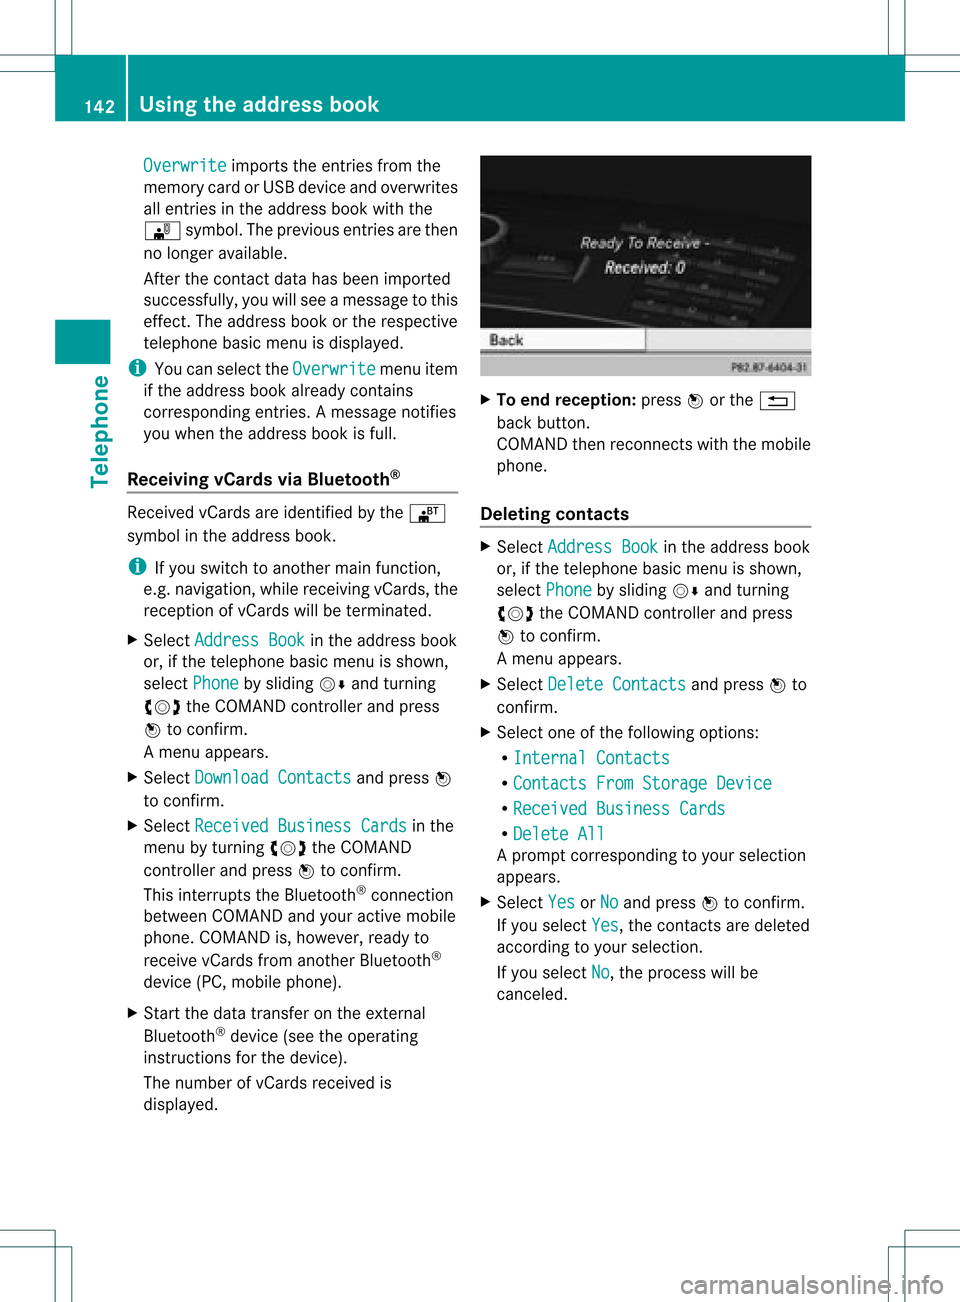
The number ofvCards received is
displayed. X
To end recept ion:press Worthe %
back button .
COMAND thenrecon nectswith themobile
phone.
Deleting contacts X
Select Address Book in
the address book
or, ifthe telephon ebasic menu isshown,
select Phone by
sliding VÆandturning
cVd theCOMAND controller andpress
W tocon firm.
Am enu appears.
X Select Delete Contacts and
press Wto
con firm.
X Select oneofthe following options:
R Interna lContact s R
Contact sFrom Storage Device R
Receive dBusines sCards R
Delete All Ap
rompt correspo ndingtoyou rselection
appears.
X Select Yes or
No and
press Wtocon firm.
If you select Yes ,
the contact sare deleted
accor dingtoyour select ion.
If you select No ,
the process willbe
canc eled. 142
Using
theadd ress bookTelephone
Page 146 of 234

COMAN
Dfea tures
Thes eOper atingIn st ruc tions desc ribeall
st andar dand optionalequipm enta vail able
for you rCOMAND systematthe time of
purcha se.Cou ntry-specifi cdeviation sare
possible. Pleasenotethat your COMAND
system maynotbeequipped withallthe
features described. Rad
iomode General
information
i Portable electronicdevices inthe vehicle
may seriously impairradiorecept ion. Switching
torad iomode
Opt ion 1 X
Press $thefunc tion button .
The radio display appears. Youwillhear the
last stationplayed onthe last waveband.
i Repeatedly pressingthisfunc tion button
switch esbetween theFM, AMand WB
wavebands inthat order andthen calls up
SatRadio mode.Pressin gthe button again
takes youback toFM radio mode.
Opt ion 2 X
Select Audio in
the main function barby
sliding ZVandturningcVd theCOMAND
con troller andpress Wtocon firm.
If radio mode wasthelast mode selected,
it will now beactive.
If anoth eraudio mode isswitch edon, you
can now switch toradio mode inthe audio
menu.
X Select Audio by
sliding ZVtheCOMAND
con troller andpress Wtocon firm.
The audio menu appears. Ex
ample: audiomenu
: Current audiooperatin gmode
; Main function bar
= Audio menu
X Select FM/AM Radio by
turn ingcVd the
COMAND controller andpress Wto
con firm. Ex
ample: HDRadio display
: Display window withstationsett ings
; Preset position ofthe select edstat ion
= Name ofthe select edstat ion(icon forHD
Radio™ andnumber ofsubprogram)
? Frequenc yof the select edstat ion
A Sound settings
B FM radio, AMradio orWB radio
C Program information
D Preset functions
E Radio functions 144
Rad
iomod eAudio
Page 147 of 234

Note
son HD Radi o™
i Thefu nctio nsofHD Radio™ include:
R digital transmi ssion inthe same
wa veb and sas ana log AM/FM .The
analog AM/FMstations remaininthe
same position whenselecting astati on.
R the ability tobro adcas tseveral program
str eams overasingle FMfrequenc y(e.g.
HD 1,HD 2etc .).
R int erferen ce-free, clear recept ion.
R FM: sound inCD quality; AM:sound as
on analog FMstat ions.
R tex t-based information (e.g.artist ,trac k
name) inthe display.
For furth erinfor mation onHD Radio™, visit
htt p://ww w.hdradio.com.
You candeactivat eHD Radio™ forthe
select edfrequenc yin the radio submenu. X
Select Radio in
the radio display bysliding
VÆ theCOMAND controller andpress W
to con firm.
X Select HDRadio and
press Wtocon firm.
HD Radio™ isdeactivat edifthe ªchec k
box isempty.
You hear theanalog program ofthis
frequenc y.
As soon asyou change toanoth erHD Radio
frequenc y,the HDRadio™ isreact ivated. Switching
wavebands
Opt ion 1 You
canswitch theradio between theFM, AM
and WBwaveband.
X Press the$ function button repeatedly
until thedesired waveband isselect ed.
i Repeatedly pressingthisfunc tion button
switch esbetween theFM, AMand WB
wavebands inthat order andthen calls up
SatRadio mode.Pressin gthe button again
takes youback toFM radio mode.
Opt ion 2 X
Select FM ,
AM or
WB in
the radio display by
sliding VÆandturningcVd theCOMAND
con troller andpress Wtocon firm.
Waveband submenuisopened. 1
Waveband submenu
The #dot shows thecurren tlyselect ed
waveband.
X Select awaveband andpress Wtocon firm.
You willhear thelast stationplayed onthe
select edwaveband. Rad
iomod e
145Audio