2012 MERCEDES-BENZ B-CLASS oil pressure
[x] Cancel search: oil pressurePage 216 of 340

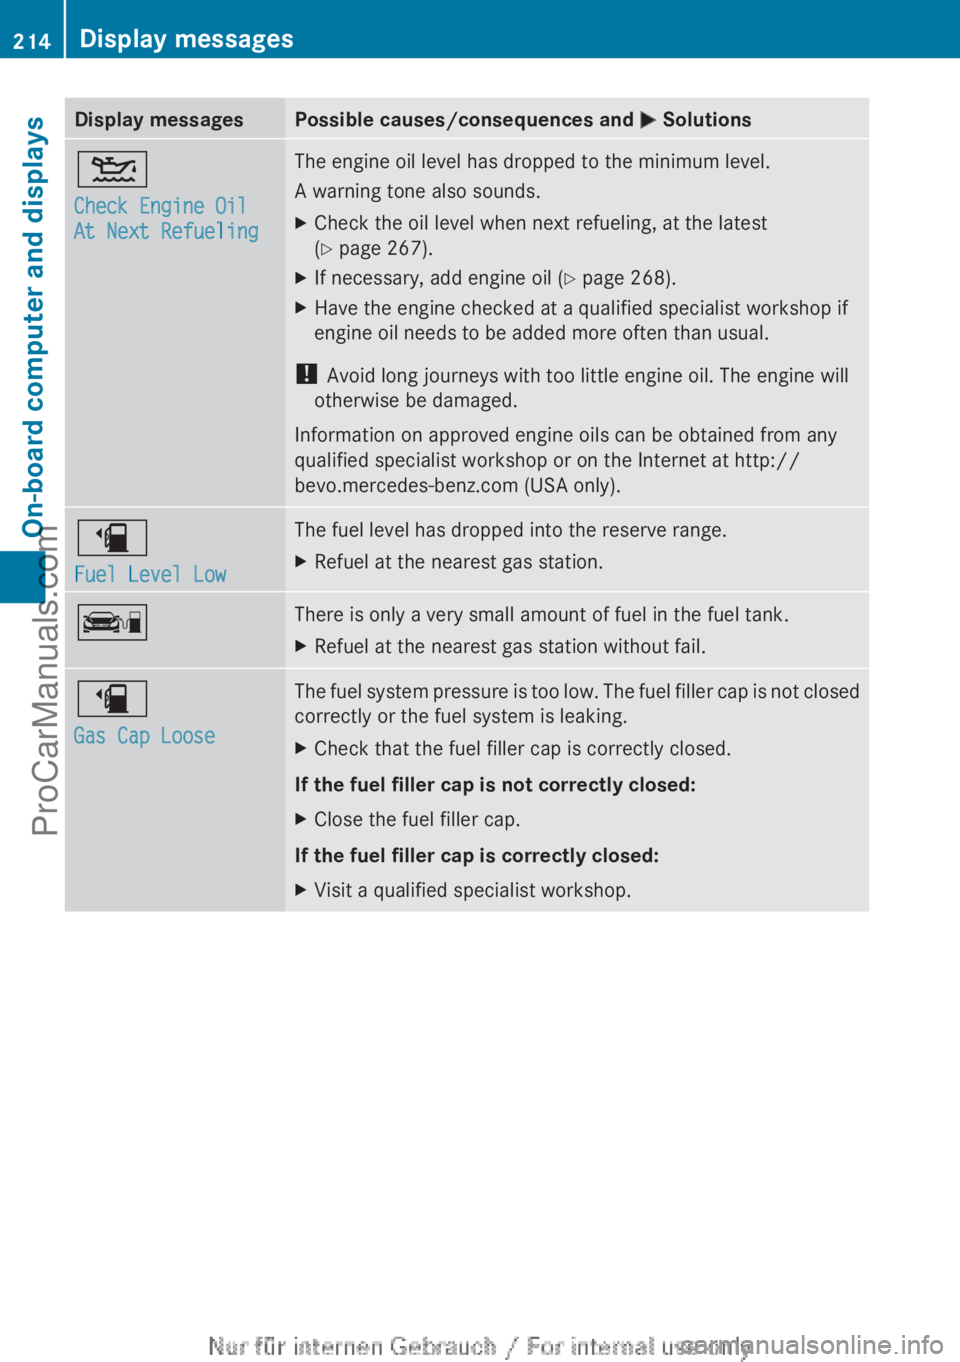
Display messages Possible causes/consequences and
M Solutions4
Check Engine Oil
At Next Refueling The engine oil level has dropped to the minimum level.
A warning tone also sounds.
X
Check the oil level when next refueling, at the latest
(Y page 267).
X If necessary, add engine oil ( Y page 268).
X Have the engine checked at a qualified specialist workshop if
engine oil needs to be added more often than usual.
! Avoid long journeys with too little engine oil. The engine will
otherwise be damaged.
Information on approved engine oils can be obtained from any
qualified specialist workshop or on the Internet at http://
bevo.mercedes-benz.com (USA only). æ
Fuel Level Low The fuel level has dropped into the reserve range.
X
Refuel at the nearest gas station. ç There is only a very small amount of fuel in the fuel tank.
X
Refuel at the nearest gas station without fail. æ
Gas Cap Loose The fuel system pressure is too low. The fuel filler cap is not closed
correctly or the fuel system is leaking.
X
Check that the fuel filler cap is correctly closed.
If the fuel filler cap is not correctly closed:
X Close the fuel filler cap.
If the fuel filler cap is correctly closed:
X Visit a qualified specialist workshop.214
Display messagesOn-board computer and displays
ProCarManuals.com
Page 261 of 340

The vehicle data is sent to the Customer
Assistance center.
Depending on what the customer service
representative agreed with you, the voice
connection is re-established
after the transfer
is complete. If necessary, you will be
contacted at a later time by another means,
e.g. by E-Mail or telephone.
Further functions of the vehicle remote
malfunction diagnosis include, for example:
R transfer of service data to the Customer
Assistance center. If a service is overdue,
the COMAND display shows a message
about various special offers at your
workshop.
R monthly status information E-Mail on oil
level, air pressure, maintenance, brakes,
etc. If applicable, you will receive
information on special offers in the E-Mail.
USA only: this information can also be
called up under "Owners Online" at http://
www.mbusa.com.
Information on the data stored in the vehicle
(Y page 25).
Information on roadside assistance
(Y page 22).
Downloading routes Downloading routes allows you to transfer
and save predefined routes in the navigation
system. To
do
this, an SD memory card must
be inserted into the COMAND system. If no
SD memory card is inserted, you must insert
the card into the card slot on the COMAND
system before saving.
A route can be prepared and sent either by a
customer service representative or via the
mbrace portal on the Internet. Each route can
include up to 20 way points. When a route has
been received by the navigation system, the
'Route name' has been saved to
memory card. Do you want to start
route guidance? message appears on the
COMAND display. The route is saved to the
SD memory card. X
To start route guidance: select Yes.
An overview of the route is shown in the
display.
i If you select No, the saved route can be
called up later in the navigation menu.
X Select Start.
Route guidance is started.
i Downloaded and
saved
data can be called
up again in COMAND.
You can find further information in the
separate COMAND operating instructions.
Speed alert You can define the upper speed limit, which
must not be exceeded by the vehicle. If this
selected speed is exceeded by the vehicle, a
message will be sent to the Customer
Assistance center. The Customer Assistance
center then
forwards
this information to you.
You can select the way in which you receive
this information beforehand. Possible options
include SMS, E-Mail or an automated call.
The data which is sent to the Customer
Assistance center contains the following
information:
R the location where the speed limit was
exceeded
R the time at which the speed limit was
exceeded
R the selected speed limit which was
exceeded
Geo fencing Geo fencing allows you to select areas which
the vehicle should
not enter or leave. You will
be informed if the vehicle crosses the
boundaries of the selected areas. You can
select the way in which you receive this
information beforehand. Possible options
include SMS, E-Mail or an automated call.
The area can be determined as either a circle
or a polygon with a maximum of ten corners.
You can specify up to ten areas Features
259
Stowage and features Z
ProCarManuals.com
Page 286 of 340

X
Press on/off switch ? on the tire inflation
compressor to ON.
The tire inflation compressor is switched
on. The tire is inflated.
i First, tire sealant is pumped into the tire.
The pressure can briefly rise to
approximately 500 kPa (5 bar/73 psi).
Do not switch off the tire inflation
compressor during this phase.
X Let the tire inflation compressor run for a
maximum of ten minutes. The tire should
then have attained a pressure of at least
200 kPa (2.0 bar/29 psi).
! Do not operate the tire inflation
compressor for longer than ten minutes at
a time without a break. It may otherwise
overheat.
The tire inflation compressor can be
operated again once it has cooled down.
If a pressure
of 200 kPa (2.0 bar/29 psi) has
been attained after a maximum of after ten
minutes, see ( Y page 284).
If a pressure of 200 kPa (2.0 bar/29 psi) has
not been attained after a maximum of ten
minutes, see ( Y page 284).
i If tire sealant leaks out, allow it to dry. It
can then be removed like a layer of film.
If your clothes are soiled with tire sealant,
have them cleaned with perchloroethylene
at a dry cleaner as soon as possible.
Tire pressure not reached If a pressure of 200 kPa (
2.0 bar
/29 psi) has
not been achieved after ten minutes:
X Switch off the tire inflation compressor.
X Unscrew the filler hose from the valve of
the faulty tire.
X Very slowly drive forwards or reverse
approximately 30 ft (10 m).
X Pump up the tire again.
After a maximum of ten minutes, the tire
pressure
must be
at least 200 kPa (2.0 bar/
29 psi). G
WARNING
If the required tire pressure is not reached
after the specified time, the tire is too badly
damaged. The tire sealant cannot repair the
tire in this
instance. Damaged tires and a tire
pressure that is too low can significantly
impair the vehicle's braking and driving
characteristics. There is a risk of accident.
Do not continue driving. Contact a qualified
specialist workshop.
Tire pressure reached G
WARNING
A tire temporarily sealed with tire sealant
impairs the driving characteristics and is not
suitable for higher speeds. There is a risk of
accident.
You should therefore adapt your driving style
accordingly and drive
carefully. Do not exceed
the specified maximum speed with a tire that
has been repaired using tire sealant.
! After use, excess tire sealant may run out
of the filler hose. This could cause stains.
Therefore, place the filler hose in the plastic
bag that contained the TIREFIT kit. H
Environmental note
Have the used tire sealant bottle disposed of
professionally, e.g. at a qualified specialist
workshop.
If a tire
pressure of 200 kPa (2.0 bar/29 psi)
has been achieved after ten minutes:
X Switch off the tire inflation compressor.
X Unscrew the filler hose from the valve of
the faulty tire.
X Stow the tire sealant bottle and the tire
inflation compressor.
X Pull away immediately.
The maximum speed for a tire sealed with tire
sealant is 50 mph (
80 km/h). The upper part
of the TIREFIT sticker must be affixed to the
instrument cluster in the driver's field of
vision. 284
Flat tire
Breakdown assistance
ProCarManuals.com
Page 319 of 340

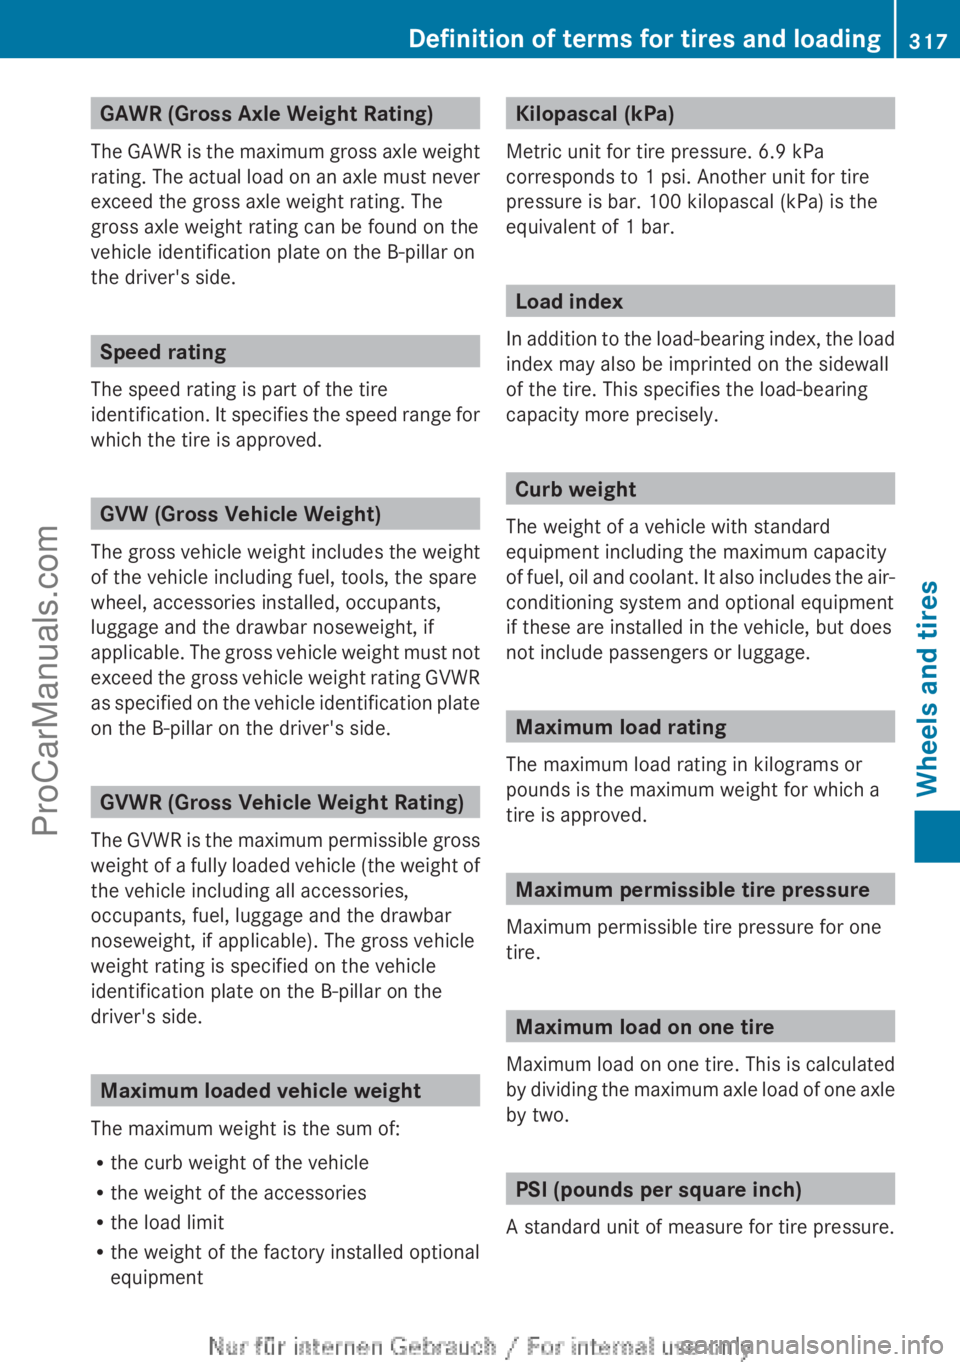
GAWR (Gross Axle Weight Rating)
The GAWR is
the maximum gross axle weight
rating. The actual load on an axle must never
exceed the gross axle weight rating. The
gross axle weight rating can be found on the
vehicle identification plate on the B-pillar on
the driver's side. Speed rating
The speed rating is part of the tire
identification. It specifies
the speed range for
which the tire is approved. GVW (Gross Vehicle Weight)
The gross vehicle weight includes the weight
of the vehicle including fuel, tools, the spare
wheel, accessories installed, occupants,
luggage and the drawbar noseweight, if
applicable. The gross
vehicle weight must not
exceed the gross vehicle weight rating GVWR
as specified on the vehicle identification plate
on the B-pillar on the driver's side. GVWR (Gross Vehicle Weight Rating)
The GVWR is
the maximum permissible gross
weight of a fully loaded vehicle (the weight of
the vehicle including all accessories,
occupants, fuel, luggage and the drawbar
noseweight, if applicable). The gross vehicle
weight rating is specified on the vehicle
identification plate on the B-pillar on the
driver's side. Maximum loaded vehicle weight
The maximum weight is the sum of:
R the curb weight of the vehicle
R the weight of the accessories
R the load limit
R the weight of the factory installed optional
equipment Kilopascal (kPa)
Metric unit for tire pressure. 6.9 kPa
corresponds to 1 psi. Another unit for tire
pressure is bar. 100 kilopascal (kPa) is the
equivalent of 1 bar . Load index
In addition to
the load-bearing index, the load
index may also be imprinted on the sidewall
of the tire. This specifies the load-bearing
capacity more precisely. Curb weight
The weight of a vehicle with standard
equipment including the maximum capacity
of fuel, oil
and coolant. It also includes the air-
conditioning system and optional equipment
if these are installed in the vehicle, but does
not include passengers or luggage. Maximum load rating
The maximum load rating in kilograms or
pounds is the maximum weight for which a
tire is approved. Maximum permissible tire pressure
Maximum permissible tire pressure for one
tire. Maximum load on one tire
Maximum load on one tire. This is calculated
by dividing the
maximum axle load of one axle
by two. PSI (pounds per square inch)
A standard unit of measure for tire pressure. Definition of terms for tires and loading
317
Wheels and tires Z
ProCarManuals.com
Page 321 of 340

Changing a wheel
Flat tire
You can find
information on what to do in the
event of a flat tire in the "Flat tire" section
(Y page 281). You will also find information
on driving with MOExtended tires in the event
of a flat tire.
Vehicle with emergency spare wheel: in
the event of a flat tire, the emergency spare
wheel is mounted as described under
"Mounting a wheel" ( Y page 319).Rotating the wheels
G
WARNING
Interchanging the front and rear wheels may
severely impair the driving characteristics if
the wheels or
tires have different dimensions.
The wheel brakes or suspension components
may also be damaged. There is a risk of
accident.
Rotate front and rear wheels only if the wheels
and tires are of the same dimensions.
Always pay attention to the instructions and
safety notes when changing a wheel
(Y page 319).
The wear patterns on the front and rear tires
differ, depending on the operating conditions.
Rotate the wheels before a clear wear pattern
has formed on the tires. Front tires typically
wear more on the shoulders and the rear tires
in the center.
If your vehicle's tire configuration allows, you
can rotate the wheels according to the
intervals in the tire manufacturer's warranty
book in your vehicle documents. If no
warranty book is available, the tires should be
interchanged every 3,000 to 6,000 miles
(5,000 to 10,000 km), or earlier if tire wear
requires. Do not change the direction of
wheel rotation.
Clean the contact surfaces of the wheel and
the brake disc thoroughly every time a wheel
is interchanged. Check the tire pressure and, if necessary, restart the tire pressure loss
warning system.
Direction of rotation
Tires with a specified direction of rotation
have additional benefits,
e.g. if there is a risk
of hydroplaning. You will only gain these
benefits if the correct direction of rotation is
maintained.
An arrow on the sidewall of the tire indicates
its correct direction of rotation. Storing wheels
Store wheels that
are not being used in a cool,
dry and preferably dark place. Protect the
tires from oil, grease, gasoline and diesel. Cleaning the wheels
G
WARNING
The water jet from a circular jet nozzle (dirt
blasters) can cause
invisible exterior damage
to the tires or chassis components.
Components damaged in this way may fail
unexpectedly. There is a risk of an accident.
Do not use power washers with circular jet
nozzles to clean the vehicle. Have damaged
tires or chassis components replaced
immediately. Mounting a wheel
Preparing the vehicle X
Stop the vehicle on solid, non-slippery and
level ground.
X Apply the electric parking brake manually
(Y page 150).
X Bring the front wheels into the straight-
ahead position.
X Move the DIRECT SELECT lever to position
P. Changing a wheel
319
Wheels and tires Z
ProCarManuals.com
Page 333 of 340

R
if the vehicle
is carrying a light load, e.g.
two passengers without luggage, do not
allow the engine to rev above 3000 rpm.
R if the vehicle is fully loaded or is being
operated in mountainous terrain, do not
depress the accelerator pedal further
than Ô of the pedal travel.
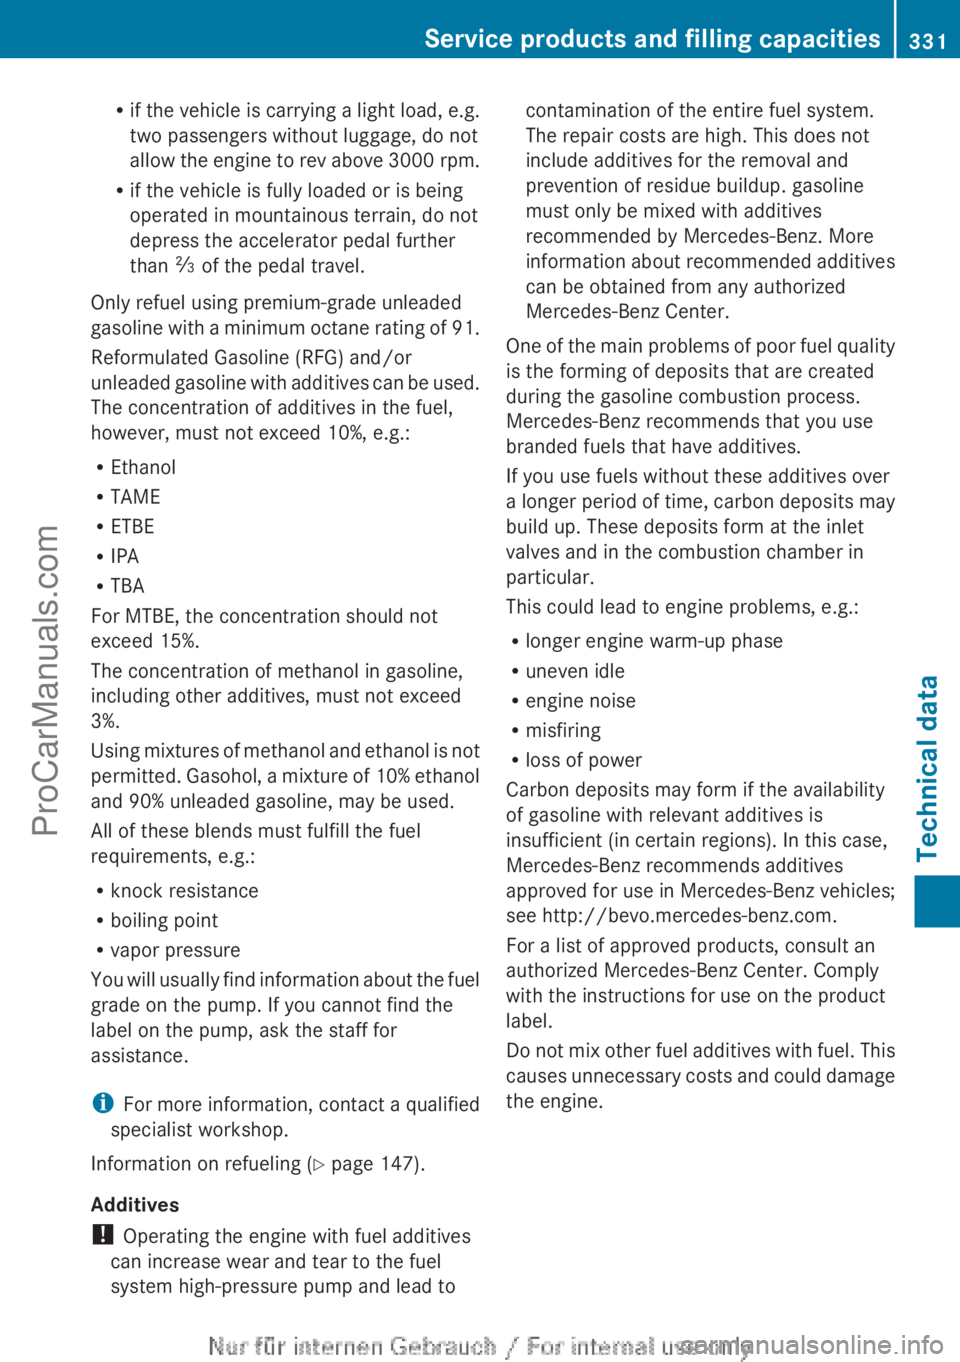
Only refuel using premium-grade unleaded
gasoline with a minimum octane rating of 91.
Reformulated Gasoline (RFG) and/or
unleaded gasoline with additives can be used.
The concentration of additives in the fuel,
however, must not exceed 10%, e.g.:
R Ethanol
R TAME
R ETBE
R IPA
R TBA
For MTBE, the concentration should not
exceed 15%.
The concentration of methanol in gasoline,
including other additives, must not exceed
3%.
Using mixtures of methanol and ethanol is not
permitted. Gasohol, a mixture of 10% ethanol
and 90% unleaded gasoline, may be used.
All of these blends must fulfill the fuel
requirements, e.g.:
R knock resistance
R boiling point
R vapor pressure
You will usually find information about the fuel
grade on the pump. If you cannot find the
label on the pump, ask the staff for
assistance.
i For more information, contact a qualified
specialist workshop.
Information on refueling (Y page 147).
Additives
! Operating the engine with fuel additives
can increase wear and tear to the fuel
system high-pressure pump and lead to contamination of the entire fuel system.
The repair costs are high. This does not
include additives for the removal and
prevention of residue buildup. gasoline
must only be mixed with additives
recommended by Mercedes-Benz. More
information about
recommended
additives
can be obtained from any authorized
Mercedes-Benz Center.
One of the main problems of poor fuel quality
is the forming of deposits that are created
during the gasoline combustion process.
Mercedes-Benz recommends that you use
branded fuels that have additives.
If you use fuels without these additives over
a longer period of time, carbon deposits may
build up. These deposits form at the inlet
valves and in the combustion chamber in
particular.
This could lead to engine problems, e.g.:
R longer engine warm-up phase
R uneven idle
R engine noise
R misfiring
R loss of power
Carbon deposits may form if the availability
of gasoline with relevant additives is
insufficient (in certain regions). In this case,
Mercedes-Benz recommends additives
approved for use in Mercedes-Benz vehicles;
see http://bevo.mercedes-benz.com.
For a list of approved products, consult an
authorized Mercedes-Benz Center. Comply
with the instructions for use on the product
label.
Do not mix other fuel additives with fuel. This
causes unnecessary costs and could damage
the engine. Service products and filling capacities
331
Technical data Z
ProCarManuals.com