Page 333 of 385

Maintenance
24
7
Rear brake drums and linings
(if equipped)
Check the rear brake drums and linings
for scoring, burning, leaking fluid, broken
parts, and excessive wear.
Brake discs, pads, calipers and
rotors
Check the pads for excessive wear, discs
for run out and wear, and calipers for fluid
leakage.
Suspension mounting bolts
Check the suspension connections for
looseness or damage. Retighten to the
specified torque.
Steering gear box, linkage &
boots/lower arm ball joint
With the vehicle stopped and engine off,
check for excessive free-play in the
steering wheel.
Check the linkage for bends or damage.
Check the dust boots and ball joints for
deterioration, cracks, or damage.
Replace any damaged parts.
Drive shafts and boots
Check the drive shafts, boots and clamps
for cracks, deterioration, or damage.
Replace any damaged parts and, if nec-
essary, repack the grease.
Air conditioning refrigerant
(if equipped)
Check the air conditioning lines and con-
nections for leakage and damage.
Page 334 of 385
725
Maintenance
ENGINE OIL
Checking the engine oil level
1. Be sure the vehicle is on level ground.
2. Start the engine and allow it to reachnormal operating temperature.
3. Turn the engine off and wait for a few minutes (about 5 minutes) for the oil to
return to the oil pan.
4. Pull the dipstick out, wipe it clean, and reinsert it fully. 5. Pull the dipstick out again and check
the level. The level should be between
F and L.
If it is near or at L, add enough oil to bring
the level to F.Do not overfill.
Use a funnel to help prevent oil from
being spilled on engine components.
Use only the specified engine oil. (Refer to “Recommended lubricants and capaci-ties” in section 8.)
WARNING - Radiator hose
Be very careful not to touch the
radiator hose when checking or
adding the engine oil as it may be
hot enough to burn you.
CAUTION - Replace engine oil
Do not overfill with engine oil.
Engine damage may result.
OAM072001OAM072003
Page 335 of 385

Maintenance
26
7
ENGINE COOLANT
Changing the engine oil and filter
Have engine oil and filter changed by an
authorized Kia dealer according to the
Maintenance Schedule at the beginning
of this section. The high-pressure cooling system has a
reservoir filled with year-round antifreeze
coolant. The reservoir is filled at the fac-
tory.
Check the antifreeze protection and
coolant level at least once a year, at the
beginning of the winter season, and
before traveling to a colder climate.
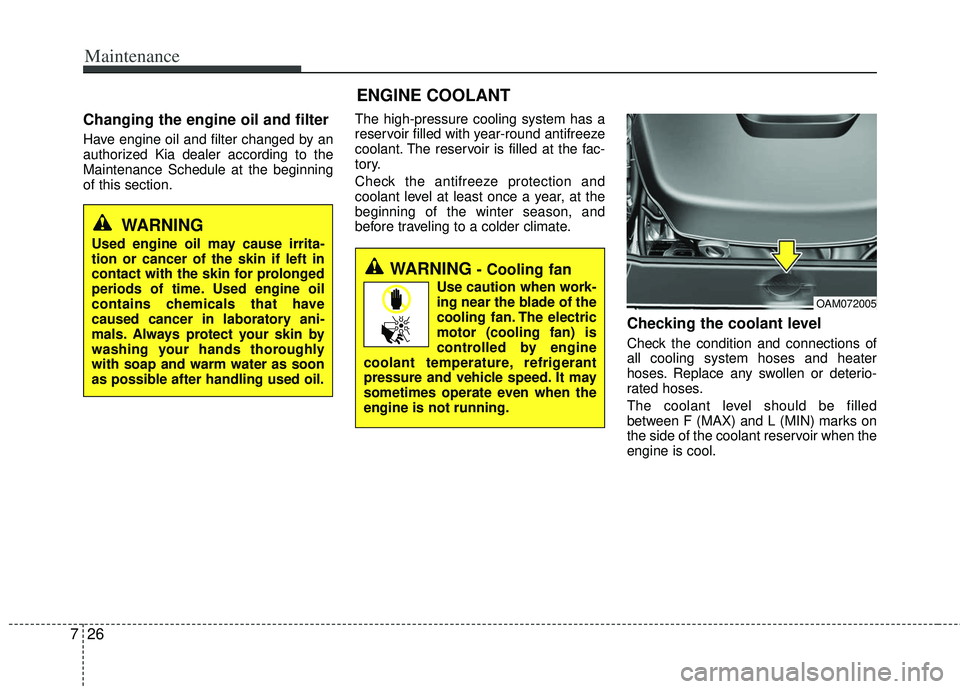
Checking the coolant level
Check the condition and connections of
all cooling system hoses and heater
hoses. Replace any swollen or deterio-
rated hoses.
The coolant level should be filled
between F (MAX) and L (MIN) marks on
the side of the coolant reservoir when the
engine is cool.
WARNING - Cooling fan
Use caution when work-
ing near the blade of the
cooling fan. The electric
motor (cooling fan) is
controlled by engine
coolant temperature, refrigerant
pressure and vehicle speed. It may
sometimes operate even when the
engine is not running.
OAM072005
WARNING
Used engine oil may cause irrita-
tion or cancer of the skin if left in
contact with the skin for prolonged
periods of time. Used engine oil
contains chemicals that have
caused cancer in laboratory ani-
mals. Always protect your skin by
washing your hands thoroughly
with soap and warm water as soon
as possible after handling used oil.
Page 338 of 385

729
Maintenance
BRAKE/CLUTCH (IF EQUIPPED) FLUID
Checking the brake/clutch* fluid
level
Check the fluid level in the reservoir peri-
odically. The fluid level should be
between MAX and MIN marks on the
side of the reservoir.
Before removing the reservoir cap and
adding brake/clutch* fluid, clean the area
around the reservoir cap thoroughly to
prevent brake/clutch* fluid contamina-
tion.
* if equippedIf the level is low, add fluid to the MAX
level. The level will fall with accumulated
mileage. This is a normal condition asso-
ciated with the wear of the brake linings
and/or clutch disc (if equipped). If the
fluid level is excessively low, have the
brake/clutch* system checked by an
authorized Kia dealer.
Use only the specified brake/clutch* fluid.
(Refer to “Recommended lubricants and capacities” in section 8.)
Never mix different types of fluid.
In the event the brake/clutch* system
requires frequent additions of fluid, the
vehicle should be inspected by an
authorized Kia dealer. When changing and adding brake/clutch*
fluid, handle it carefully. Do not let it come
in contact with your eyes. If brake/clutch*
fluid should come in contact with your
eyes, immediately flush them with a large
quantity of fresh tap water. Have your
eyes examined by a doctor as soon as
possible.
Brake/clutch* fluid, which has been
exposed to open air for an extended time
should never be used as its quality can-
not be guaranteed. It should be disposed
of properly.
CAUTION - Brake/clutch
fluid
Do not allow brake/clutch* fluid to
contact the vehicle's body paint, aspaint damage will result.
CAUTION - Proper fluid
Only use brake/clutch fluid in brake/clutch system. Smallamounts of improper fluids (suchas engine oil) can cause damage tothe brake/clutch system.
OUB071007
Page 340 of 385

731
Maintenance
PARKING BRAKE
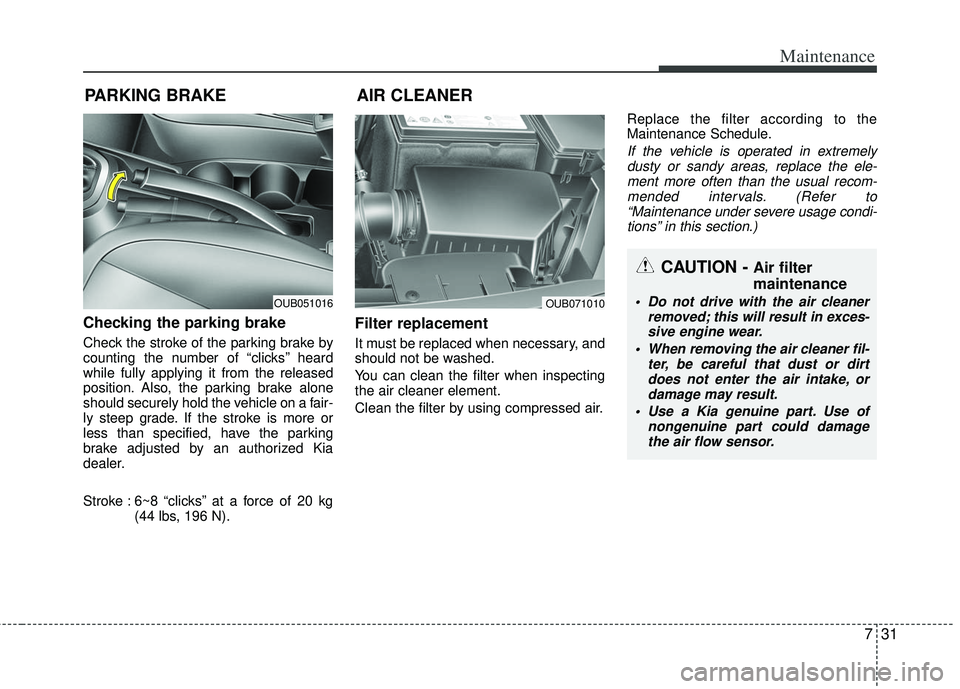
Checking the parking brake
Check the stroke of the parking brake by
counting the number of “clicks’’ heard
while fully applying it from the released
position. Also, the parking brake alone
should securely hold the vehicle on a fair-
ly steep grade. If the stroke is more or
less than specified, have the parking
brake adjusted by an authorized Kia
dealer.
Stroke : 6~8 “clicks’’ at a force of 20 kg (44 lbs, 196 N).
Filter replacement
It must be replaced when necessary, and
should not be washed.
You can clean the filter when inspecting
the air cleaner element.
Clean the filter by using compressed air. Replace the filter according to the
Maintenance Schedule.
If the vehicle is operated in extremely
dusty or sandy areas, replace the ele- ment more often than the usual recom-mended intervals. (Refer to“Maintenance under severe usage condi- tions” in this section.)
AIR CLEANER
OUB051016OUB071010
CAUTION - Air filter
maintenance
Do not drive with the air cleaner removed; this will result in exces-sive engine wear.
When removing the air cleaner fil- ter, be careful that dust or dirtdoes not enter the air intake, or damage may result.
Use a Kia genuine part. Use of nongenuine part could damagethe air flow sensor.
Page 345 of 385

Maintenance
36
7
Battery recharging
Your vehicle has a maintenance-free,
calcium-based battery.
If the battery becomes discharged in a
short time (because, for example, the
headlights or interior lights were left on
while the vehicle was not in use),
recharge it by slow charging (trickle)
for 10 hours.
If the battery gradually discharges because of high electric load while the
vehicle is being used, recharge it at 20-
30A for two hours. When recharging the battery, observe
the following precautions:
The battery must be removed from the
vehicle and placed in an area with
good ventilation.
Watch the battery during charging, and stop or reduce the charging rate if the
battery cells begin gassing (boiling)
violently or if the temperature of the
electrolyte of any cell exceeds 49°C
(120°F).
Wear eye protection when checking the battery during charging.
Disconnect the battery charger in the following order.
1. Turn off the battery charger main switch.
2. Unhook the negative clamp from the negative battery terminal.
3. Unhook the positive clamp from the positive battery terminal.
Before performing maintenance or recharging the battery, turn off all
accessories and stop the engine.
The negative battery cable must be removed first and installed last when
the battery is disconnected.
Reset items
Items should be reset after the battery
has been discharged or the battery has
been disconnected.
Auto down window (See section 4)
Sunroof (See section 4)
Trip computer (See section 4)
Climate control system (See section 4)
Clock (See section 4)
Audio (See section 4)
Page 359 of 385

Maintenance
50
7
FUSES
A vehicle’s electrical system is protected
from electrical overload damage by
fuses. This vehicle has 2 fuse panels, one locat-
ed in the driver’s side panel bolster, the
other in the engine compartment near
the battery.
If any of your vehicle’s lights, acces-
sories, or controls do not work, check the
appropriate circuit fuse. If a fuse has
blown, the element inside the fuse will
melt.
If the electrical system does not work,
first check the driver’s side fuse panel.
Always replace a blown fuse with one of
the same rating.
If the replacement fuse blows, this indi-
cates an electrical problem. Avoid using
the system involved and immediately
consult an authorized Kia dealer.
Three kinds of fuses are used: blade type
for lower amperage rating, cartridge type, and multi fuse for higher amperage rat-ings.
WARNING - Fuse replace- ment
Never replace a fuse with any-
thing but another fuse of the
same rating.
A higher capacity fuse could cause damage and possibly a
fire.
Never install a wire or aluminum foil instead of the proper fuse -
even as a temporary repair. It may
cause extensive wiring damage
and a possible fire.
CAUTION - Fuse replace-ment
Do not use a screwdriver or any
other metal object to remove fusesbecause it may cause a short circuit and damage the system.
OTA070039
Blade type
Cartridge type
Fusible link B B
B
B
l
l
l
l
o
o
o
o
w
w
w
w
n
n
n
n
B
B
B
B
l
l
l
l
o
o
o
o
w
w
w
w
n
n
n
n
B
B
B
B
l
l
l
l
o
o
o
o
w
w
w
w
n
n
n
n
Page 360 of 385

751
Maintenance
Instrument panel fuse replacement
1. Turn the ignition switch and all otherswitches off.
2. Open the fuse panel cover.
3. Pull the suspected fuse straight out. Use the removal tool provided in the
engine compartment fuse panel.
4. Check the removed fuse; replace it if it is blown.
5. Push in a new fuse of the same rating, and make sure it fits tightly in the clips.
If it fits loosely, consult an authorized Kia
dealer.
If you do not have a spare, use a fuse of the same rating from a circuit you maynot need for operating the vehicle, suchas the cigar lighter fuse.
If the headlights or other electrical com-
ponents do not work and the fuses are
OK, check the fuse block in the engine
compartment. If a fuse is blown, it must
be replaced.
Memory fuse
Your vehicle is equipped with the memo-
ry fuse to prevent battery discharge if
your vehicle is parked without being
operated for prolonged periods. Use the
following procedures before parking the
vehicle for prolonged periods.
1. Turn off the engine.
2. Turn off the headlights and tail lights.
3. Open the driver’s side panel cover and pull up the memory fuse.
OUB071019OUB071021