Page 152 of 385
477
Features of your vehicle
Rear window wiper and washer
switch
The rear window wiper and washer
switch is located at the end of the wiper
and washer switch lever. Turn the switch
to the desired position to operate the rear
wiper and washer.
ON - Normal wiper operation
INT - Intermittent wiper operation (if equipped)
OFF - Wiper is not in operation Push the lever away from you to spray
rear washer fluid and to run the rear
wipers 1~3 cycles. The spray and wiper
operation will continue until you release
the lever.
CAUTION - Wipers &
windshields
To prevent possible damage to
the wipers or windshield, do notoperate the wipers when thewindshield is dry.
To prevent damage to the wiper blades, do not use gasoline,kerosene, paint thinner, or othersolvents on or near them.
To prevent damage to the wiper arms and other components, donot attempt to move the wipersmanually.
OAM049103NOXM049125
Page 155 of 385

Features of your vehicle
80
4
If you want to defrost and defog the front
windshield, refer to “Windshield
Defrosting and Defogging” in this section.
Rear window defroster
The defroster heats the window to
remove frost, fog and thin ice from the
interior and exterior of the rear window,
while the engine is running. To activate the rear window defroster,
press the rear window defroster button
located in the center facia switch panel.
The indicator on the rear window
defroster button illuminates when the
defroster is ON.
If there is heavy accumulation of snow on
the rear window, brush it off before oper-
ating the rear defroster.
The rear window defroster automatically
turns off after approximately 20 minutes
or when the ignition switch is turned off.
To turn off the defroster manually, press
the rear window defroster button again.Outside mirror defroster
(if equipped)
If your vehicle is equipped with the out-
side rearview mirror defrosters, they will
operate at the same time you turn on the
rear window defroster.
DEFROSTER
CAUTION - Conductors
To prevent damage to the conduc- tors bonded to the inside surface ofthe rear window, never use sharpinstruments or window cleanerscontaining abrasives to clean the window.
OUB041101
Page 156 of 385
481
Features of your vehicle
MANUAL CLIMATE CONTROL SYSTEM
1. Fan speed control knob
2. Mode selection knob
3. Temperature control knob
4. Air conditioning button (if equipped)
5. Rear window defroster button
6. Air intake control button
OUB041103
Page 158 of 385

483
Features of your vehicle
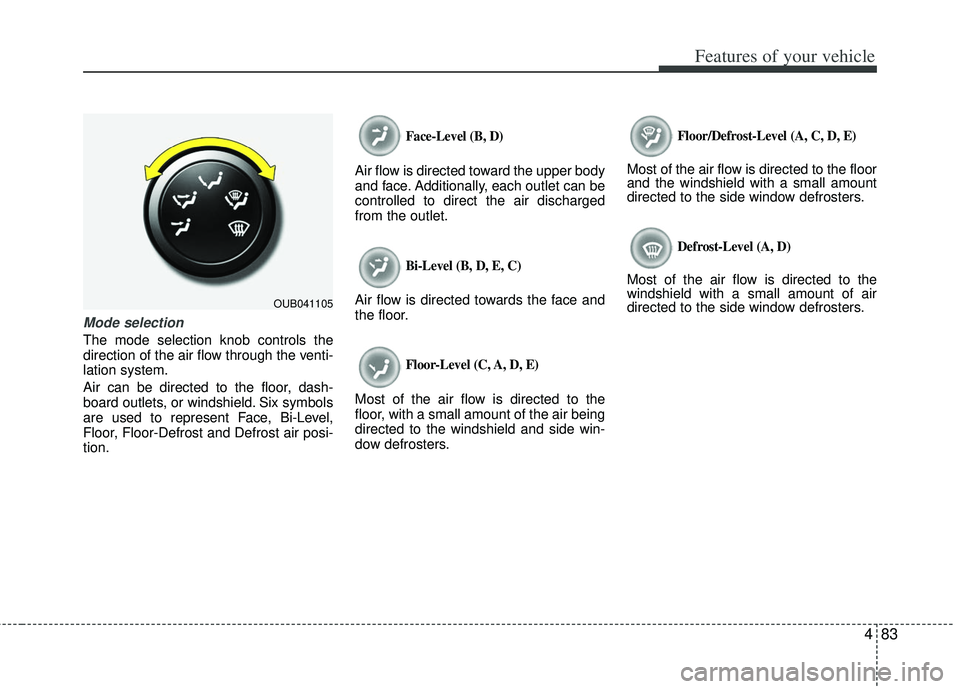
Mode selection
The mode selection knob controls the
direction of the air flow through the venti-
lation system.
Air can be directed to the floor, dash-
board outlets, or windshield. Six symbols
are used to represent Face, Bi-Level,
Floor, Floor-Defrost and Defrost air posi-
tion.
Face-Level (B, D)
Air flow is directed toward the upper body
and face. Additionally, each outlet can be
controlled to direct the air discharged
from the outlet.
Bi-Level (B, D, E, C)
Air flow is directed towards the face and
the floor.
Floor-Level (C, A, D, E)
Most of the air flow is directed to the
floor, with a small amount of the air being
directed to the windshield and side win-
dow defrosters.
Floor/Defrost-Level (A, C, D, E)
Most of the air flow is directed to the floor
and the windshield with a small amount
directed to the side window defrosters.
Defrost-Level (A, D)
Most of the air flow is directed to the
windshield with a small amount of air
directed to the side window defrosters.
OUB041105
Page 160 of 385

485
Features of your vehicle
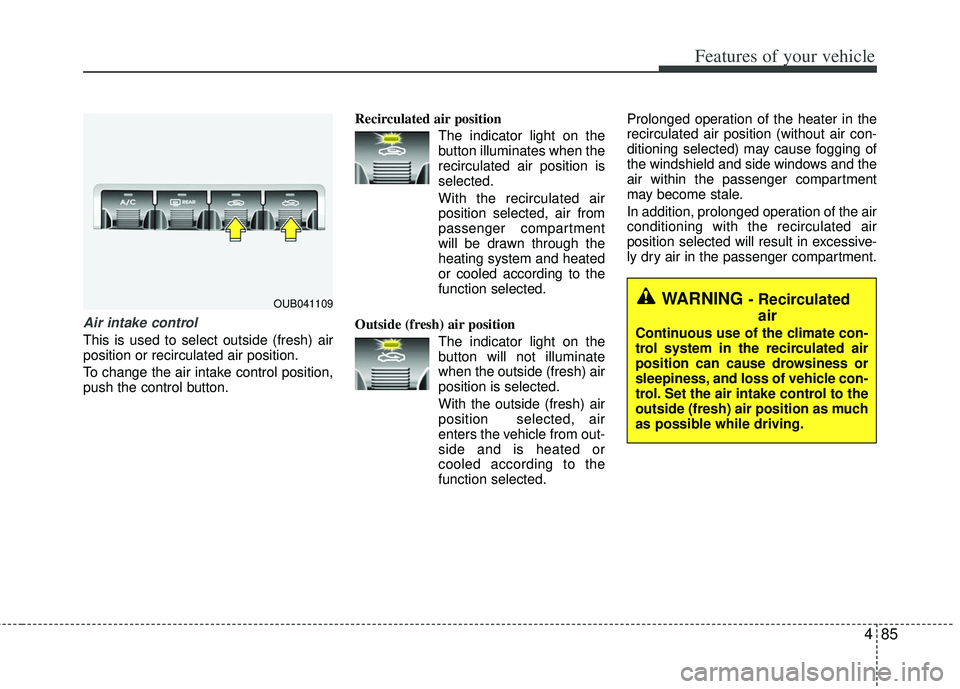
Air intake control
This is used to select outside (fresh) air
position or recirculated air position.
To change the air intake control position,
push the control button.Recirculated air position
The indicator light on the
button illuminates when the
recirculated air position is
selected.
With the recirculated air position selected, air from
passenger compartment
will be drawn through the
heating system and heated
or cooled according to the
function selected.
Outside (fresh) air position The indicator light on the
button will not illuminate
when the outside (fresh) air
position is selected.
With the outside (fresh) air
position selected, air
enters the vehicle from out-
side and is heated or
cooled according to the
function selected. Prolonged operation of the heater in the
recirculated air position (without air con-
ditioning selected) may cause fogging of
the windshield and side windows and the
air within the passenger compartment
may become stale.
In addition, prolonged operation of the air
conditioning with the recirculated air
position selected will result in excessive-
ly dry air in the passenger compartment.
OUB041109WARNING - Recirculated
air
Continuous use of the climate con-
trol system in the recirculated air
position can cause drowsiness or
sleepiness, and loss of vehicle con-
trol. Set the air intake control to the
outside (fresh) air position as much
as possible while driving.
Page 163 of 385

Features of your vehicle
88
4
Air conditioning system operation tips
If the vehicle has been parked in direct
sunlight during hot weather, open the
windows for a short time to let the hot
air inside the vehicle escape.
To help reduce moisture inside of the windows on rainy or humid days,
decrease the humidity inside the vehi-
cle by operating the air conditioning
system.
During air conditioning system opera- tion, you may occasionally notice a
slight change in engine speed as the
air conditioning compressor cycles.
This is a normal system operation
characteristic.
Use the air conditioning system every month only for a few minutes to ensure
maximum system performance.
When using the air conditioning sys- tem, you may notice clear water drip-
ping (or even puddling) on the ground
under the passenger side of the vehi-
cle. This is a normal system operation
characteristic. Operating the air conditioning system
in the recirculated air position provides
maximum cooling, however, continual
operation in this mode may cause the
air inside the vehicle to become stale.
During cooling operation, you may occasionally notice a misty air flow
because of rapid cooling and humid air
intake. This is a normal system opera-
tion characteristic.CAUTION - Excessive AC
While using the air conditioningsystem, monitor the temperaturegauge closely while driving up hillsor in heavy traffic when outsidetemperatures are high. Air condi- tioning system operation maycause engine overheating andpotential engine damage. Continueto use the blower fan but turn theair conditioning system off if thetemperature gauge indicatesengine overheating.
Page 165 of 385

Features of your vehicle
90
4
WINDSHIELD DEFROSTING AND DEFOGGING
For maximum defrosting, set the tem-
perature control to the extreme
right/hot position and the fan speed
control to the highest speed.
If warm air to the floor is desired while defrosting or defogging, set the mode
to the floor-defrost position.
Before driving, clear all snow and ice from the windshield, rear window, out-
side rear view mirrors, and all side win-
dows.
Clear all snow and ice from the hood and air inlet in the cowl grill to improve
heater and defroster efficiency and to
reduce the probability of fogging up
the inside of the windshield.
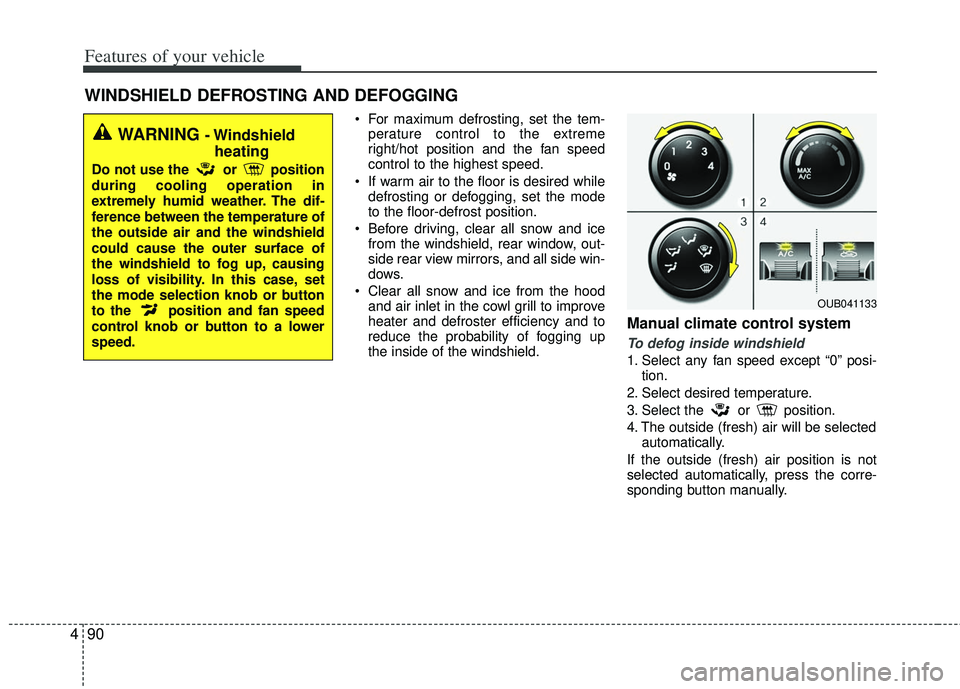
Manual climate control system
To defog inside windshield
1. Select any fan speed except “0” posi- tion.
2. Select desired temperature.
3. Select the or position.
4. The outside (fresh) air will be selected automatically.
If the outside (fresh) air position is not
selected automatically, press the corre-
sponding button manually.
WARNING - Windshield heating
Do not use the or position
during cooling operation in
extremely humid weather. The dif-
ference between the temperature of
the outside air and the windshield
could cause the outer surface of
the windshield to fog up, causing
loss of visibility. In this case, set
the mode selection knob or button
to the position and fan speed
control knob or button to a lower
speed.
OUB041133
Page 173 of 385

Features of your vehicle
98
4
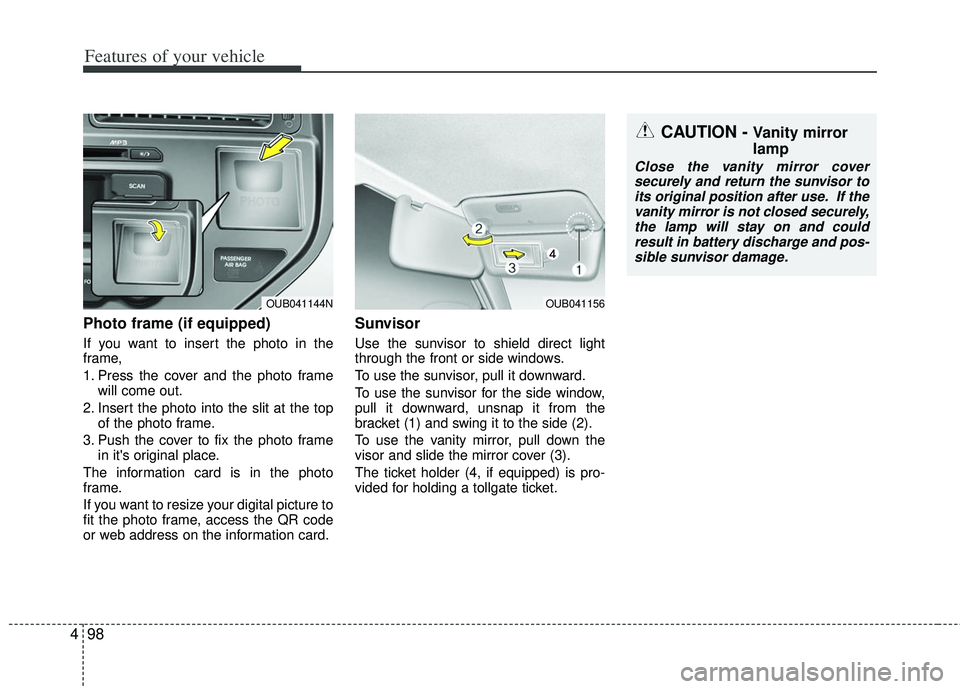
Photo frame (if equipped)
If you want to insert the photo in the
frame,
1. Press the cover and the photo frame
will come out.
2. Insert the photo into the slit at the top of the photo frame.
3. Push the cover to fix the photo frame in it's original place.
The information card is in the photo
frame.
If you want to resize your digital picture to
fit the photo frame, access the QR code
or web address on the information card.
Sunvisor
Use the sunvisor to shield direct light
through the front or side windows.
To use the sunvisor, pull it downward.
To use the sunvisor for the side window,
pull it downward, unsnap it from the
bracket (1) and swing it to the side (2).
To use the vanity mirror, pull down the
visor and slide the mirror cover (3).
The ticket holder (4, if equipped) is pro-
vided for holding a tollgate ticket.
OUB041156
CAUTION - Vanity mirror
lamp
Close the vanity mirror cover securely and return the sunvisor to its original position after use. If thevanity mirror is not closed securely,the lamp will stay on and couldresult in battery discharge and pos- sible sunvisor damage.
OUB041144N