Page 59 of 124

Audio Jack Operation
• The Audio Jack allows a portable device, such as an MP3 player or a
cassette player, to be plugged into the radio and utilize the vehicle’s
audio system, using a 3.5 mm audio cable, to amplify the source and play
through the vehicle speakers.
• Pressing the “RADIO/MEDIA” hard-key and then the “AUX” soft-key to
change the mode to auxiliary device if the Audio Jack is connected,
allowing the music from your portable device to play through the
vehicle's speakers.
• The functions of the portable device are controlled using the device
buttons. The volume may be controlled using the radio or portable
device.
Hard Disk Drive (HDD) Operation
• The Hard Disk Drive (HDD) mode gives you access to the audio files on
the internal hard disk drive. It functions similar to a CD player, with the
exception that the internal HDD can hold more tracks.
• It is also possible to import display pictures to the internal hard disk
drive. The pictures can be displayed on the right half of the radio screen.
• Before using the HDD mode, you will need to copy songs and pictures to
the internal hard drive. Songs and pictures can be added to the hard
drive by using a CD or USB device (e.g. thumb drive or memory stick).
NOTE:WMA/MP3 Files and Selective Songs from a CD can also be added
to the HDD. See the Media Center 730N User's Manual for more information.
Copying Music From CD
• Press the “OPEN/CLOSE” hard-key.
• Insert a disc, then press the “MENU” hard-key.
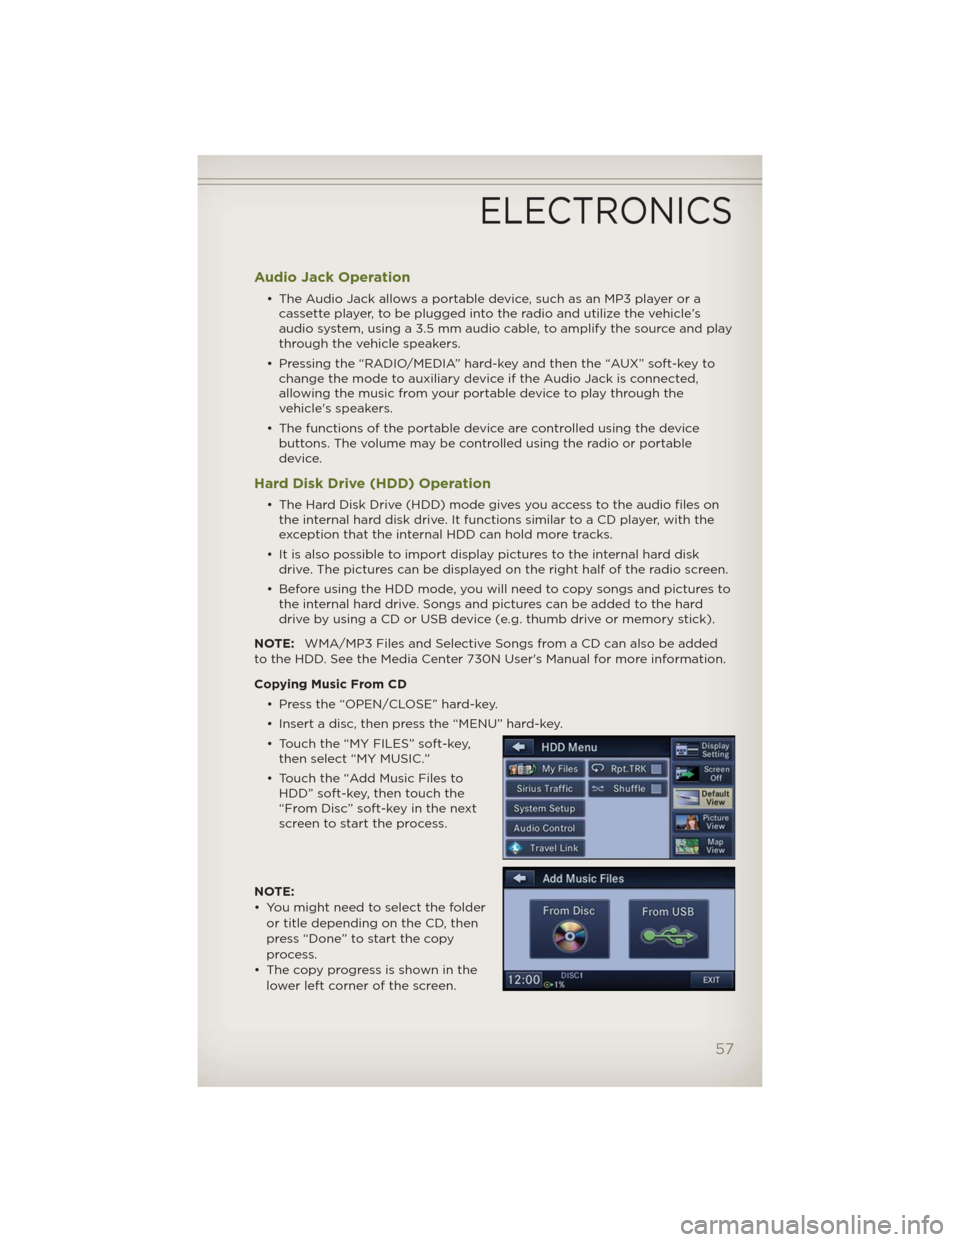
• Touch the “MY FILES” soft-key,
then select “MY MUSIC.”
• Touch the “Add Music Files to
HDD” soft-key, then touch the
“From Disc” soft-key in the next
screen to start the process.
NOTE:
• You might need to select the folder
or title depending on the CD, then
press “Done” to start the copy
process.
• The copy progress is shown in the
lower left corner of the screen.
ELECTRONICS
57
Page 69 of 124

STEERING WHEEL AUDIO CONTROLS
• The steering wheel audio controls
are located on the rear surface of
the steering wheel.
Right Switch
• Presstheswitchupordownto
increase or decrease the volume.
• Press the button in the center to
change modes AM/FM/CD/SAT.
Left Switch
• Presstheswitchupordownto
search for the next listenable
stationorselectthenextor
previous CD track.
• Press the button in the center to select the next preset station (radio) or
to change CDs if equipped with a CD Changer.
iPod®/USB/MP3 CONTROL
• There are many ways to play music from iPod®/MP3 players or USB
devices through your vehicle's sound system.
• The remote USB port, located within the center console, allows you to
plug an iPod® into the vehicle's sound system.
NOTE:If equipped with the Media Center 730N (RHR), the USB port on the
faceplate allows the same functions as the remote USB port.
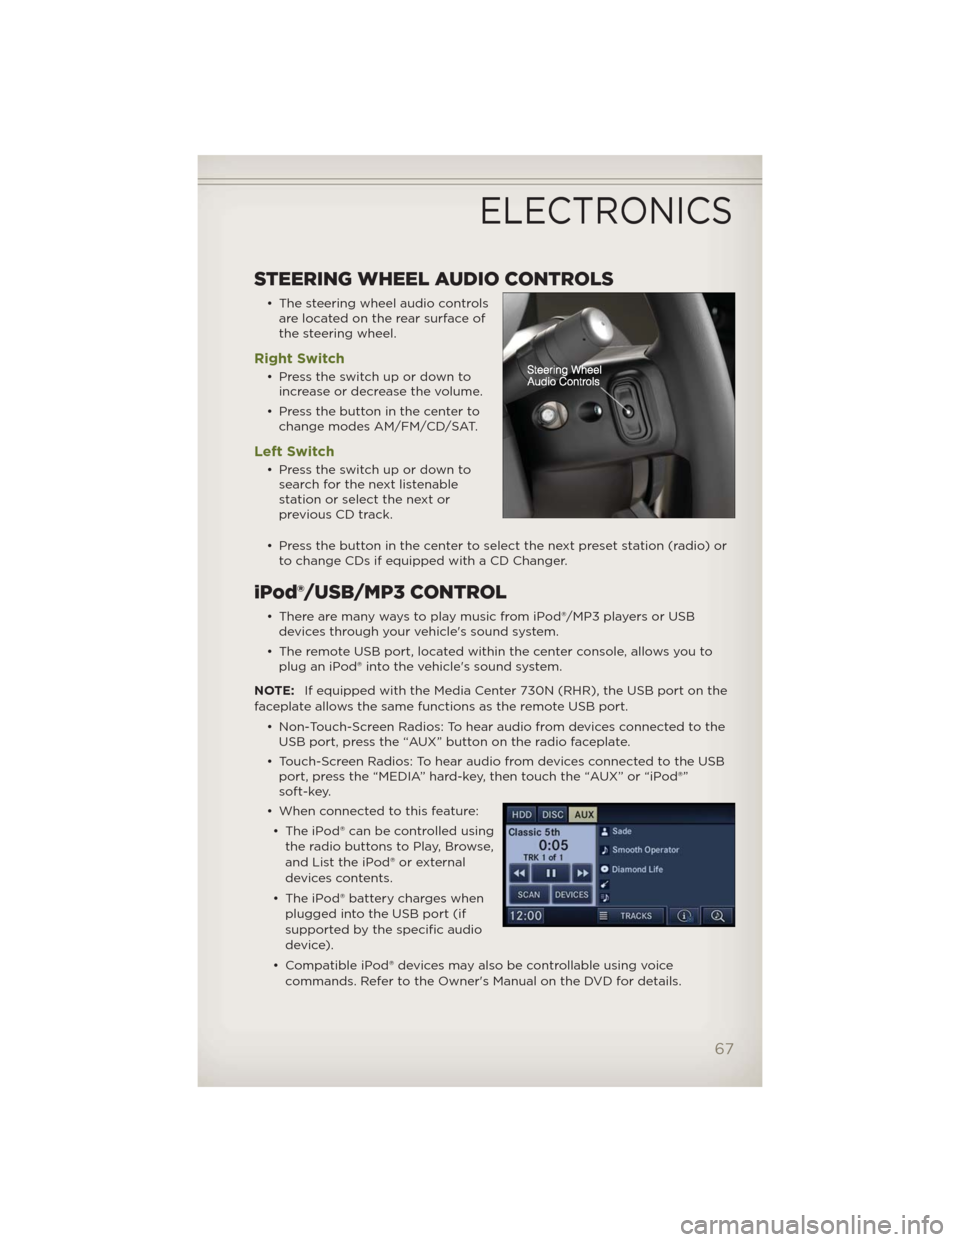
• Non-Touch-Screen Radios: To hear audio from devices connected to the
USB port, press the “AUX” button on the radio faceplate.
• Touch-Screen Radios: To hear audio from devices connected to the USB
port, press the “MEDIA” hard-key, then touch the “AUX” or “iPod®”
soft-key.
• When connected to this feature:
• The iPod® can be controlled using
the radio buttons to Play, Browse,
and List the iPod® or external
devices contents.
• The iPod® battery charges when
plugged into the USB port (if
supported by the specific audio
device).
• Compatible iPod® devices may also be controllable using voice
commands. Refer to the Owner's Manual on the DVD for details.
ELECTRONICS
67
Page 75 of 124

WARNING!
Any voice commanded system should be used only in safe driving
conditions following local laws and phone use. All attention should be
kept on the roadway ahead. Failure to do so may result in a collision
causing you and others to be severely injured or killed.
Bluetooth® STREAMING AUDIO
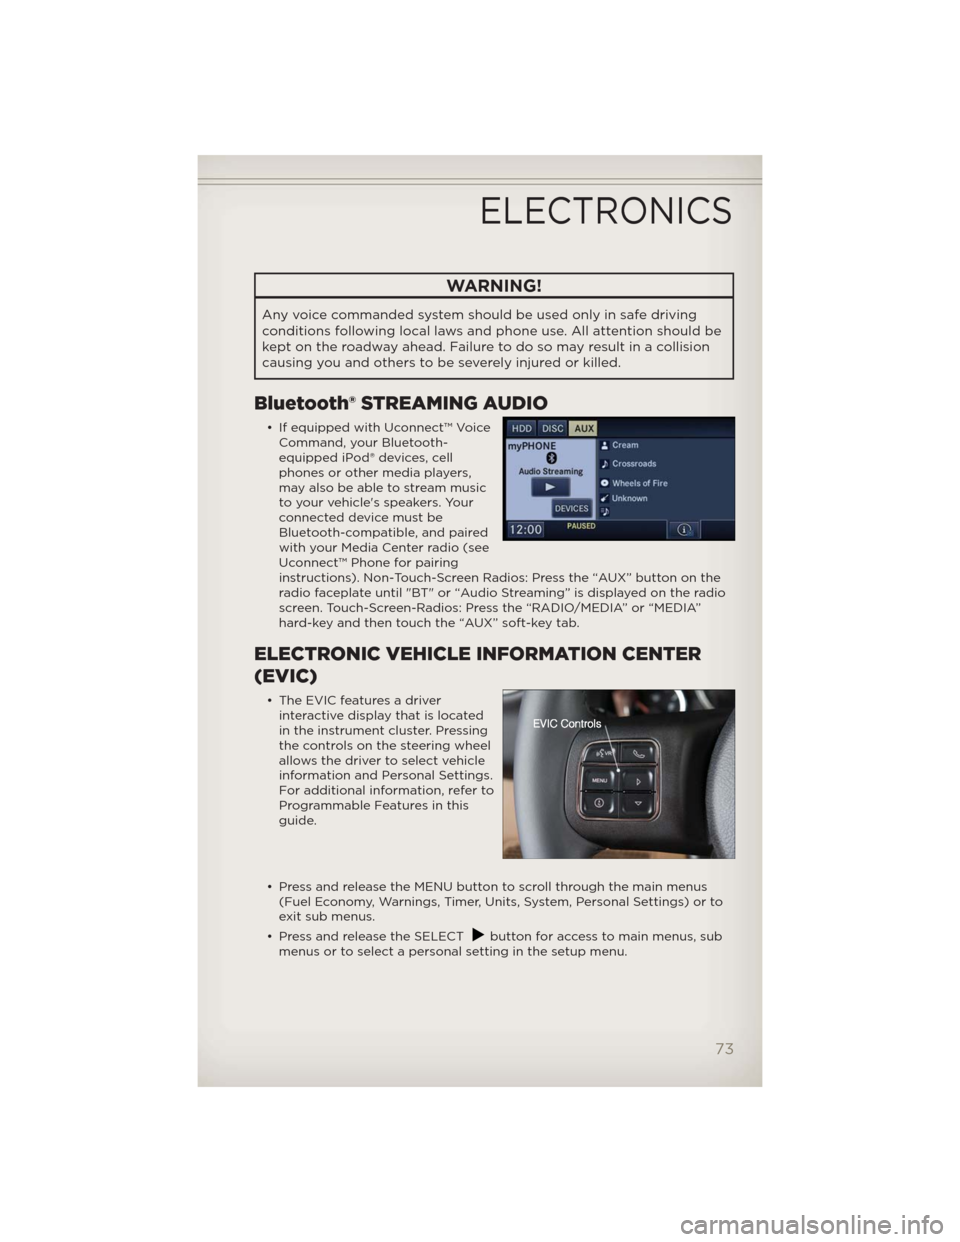
• If equipped with Uconnect™ Voice
Command, your Bluetooth-
equipped iPod® devices, cell
phones or other media players,
may also be able to stream music
to your vehicle's speakers. Your
connected device must be
Bluetooth-compatible, and paired
with your Media Center radio (see
Uconnect™ Phone for pairing
instructions). Non-Touch-Screen Radios: Press the “AUX” button on the
radio faceplate until "BT" or “Audio Streaming” is displayed on the radio
screen. Touch-Screen-Radios: Press the “RADIO/MEDIA” or “MEDIA”
hard-key and then touch the “AUX” soft-key tab.
ELECTRONIC VEHICLE INFORMATION CENTER
(EVIC)
• The EVIC features a driver
interactive display that is located
in the instrument cluster. Pressing
the controls on the steering wheel
allows the driver to select vehicle
information and Personal Settings.
For additional information, refer to
Programmable Features in this
guide.
• Press and release the MENU button to scroll through the main menus
(Fuel Economy, Warnings, Timer, Units, System, Personal Settings) or to
exit sub menus.
• Press and release the SELECT
button for access to main menus, sub
menus or to select a personal setting in the setup menu.
ELECTRONICS
73
Page 118 of 124

iPod®/USB/MP3 Control......67
Bluetooth Streaming Audio . . 73
Jack Location............89
Jack Operation.........89,90
Jacking Instructions........90
Jump Starting............93
KeyFob.................10
Key Fob Programmable
Features ................74
Lane Change Assist.........23
LATCH (Lower Anchors and
TetherforCHildren) .........13
Lights
Turn Signal.............23
Warning (Instrument Cluster
Description) .............8
Maintenance Record........105
Maintenance Schedule......103
Media Center Radio.....36,38,41
Mirrors
Heated ..............25,26
Navigation ............50,60
New Vehicle Break-In Period . . . 21
Oil Change Indicator........87
Oil, Engine
Capacity..............101
Recommendation........101
Viscosity..............101
Outlet
Power ................76
Overheating, Engine........88
PanicAlarm ..............10
Phone (Pairing)...........68
Phone (Uconnect)..........68
Placard, Tire and Loading
Information ..............110
Power
Inverter ...............75
Outlet (Auxiliary Electrical
Outlet) ................76Preparation for Jacking . . . . . . 90
Programmable Electronic
Features ................74
Radio Operation . . . . . . . . . 44,53
Rain Sensitive Wiper System . . . 23
RearSeat,Folding ..........17
Recreational Towing . . . . . . . . . 81
Shifting into Transfer Case
Neutral (N) . . . . . . . . . . . . . 81
Shifting out of Transfer Case
Neutral (N) . . . . . . . . . . . . . 82
Remote Starting System . . . . . . 10
Replacement Bulbs . . . . . . . . . 111
Reporting Safety Defects . . . . . 113
Restraints, Child . . . . . . . . . . . 13
Roll Over Warning . . . . . . . . . . 4
SeatBelts ................11
Seats ..................16
Adjustment.............16
EasyEntry ..............16
Heated................20
RearFolding ............17
Seek Button.....37,39,40,42,43
Setting the Clock . . . 36,38,41,44,53
Shift Lever Override . . . . . . . . 96
Shifting
Transfer Case, Shifting into
Transfer Case Neutral (N) . . . . 81
Transfer Case, Shifting out of
Transfer Case Neutral (N) . . . . 82
Short Message Service (SMS) . . 72
Signals,Turn .............23
SIRIUS Travel Link . . . . . . . . . . 66
SoftTop ................27
Spare Tire . . . . . . . . . . . . . . . 89
Speed Control (Cruise
Control) ................24
Starting
Remote...............10
Steering
TiltColumn .............19
Steering Wheel Audio
Controls ................67
Store Radio Presets . . . . . 37,39,42
Stuck, Freeing . . . . . . . . . . . . 97
INDEX
116