Page 159 of 558
Use the hood prop rod to secure the hood in the open
position. Place the upper end of the prop rod in the hole
on the underside of the hood.
CAUTION!
To prevent possible damage:
•Before closing hood, make sure the hood prop rod
is fully seated into its storage retaining clips.
•Lower the hood to approximately 6 in (15.2 cm)
above the closed position and drop the hood to
latch it.
•Never drive your vehicle unless the hood is fully
closed, with both latches engaged.
WARNING!
Be sure the hood is fully latched before driving your
vehicle. If the hood is not fully latched, it could open
when the vehicle is in motion and block your vision.
Failure to follow this warning could result in serious
injury or death.
3
UNDERSTANDING THE FEATURES OF YOUR VEHICLE 157
Page 169 of 558
,
delay times will be doubled.
Windshield Washers
To use the washer, pull the windshield wiper/wa")
NOTE:The wiper delay times depend on vehicle speed.
If the vehicle is moving less than 10 mph (16 km/h),
delay times will be doubled.
Windshield Washers
To use the washer, pull the windshield wiper/washer
control lever toward you and hold it for as long as
washer spray is desired (for a maximum of 10 seconds).
If you activate the washer while the wiper control is in
the delay range, the wipers will operate in low-speed for
two or three wipe cycles after releasing the lever and then
resume the intermittent interval previously selected.
If you activate the washer while the wiper control is in
the off position, the wipers will operate for two or three
wipe cycles and then turn off.
WARNING!
Sudden loss of visibility through the windshield
could lead to a collision. You might not see other
vehicles or other obstacles. To avoid sudden icing of
the windshield during freezing weather, warm the
windshield with defroster before and during wind-
shield washer use.
Mist Feature
Push downward on the windshield wiper/washer con-
trol lever to activate a single wipe cycle to clear the
windshield of road mist or spray from a passing vehicle.
The wipers will continue to operate until you release the
lever.
3
UNDERSTANDING THE FEATURES OF YOUR VEHICLE 167
Page 173 of 558
TILT STEERING COLUMN
This feature allows you to tilt the steering column
upward or downward. The tilt control handle is located
below the steering wheel at the end of the steering
column.To unlock the steering column, push the control handle
downward. To tilt the steering column, move the steering
wheel upward or downward as desired. To lock the
steering column in position, pull the control handle
upward until it is fully engaged.
WARNING!
Do not adjust the steering column while driving.
Adjusting the steering column while driving or driv-
ing with the steering column unlocked, could cause
the driver to lose control of the vehicle. Be sure the
steering column is locked before driving your ve-
hicle. Failure to follow this warning may result in
serious injury or death.
Tilt Steering Control Handle
3
UNDERSTANDING THE FEATURES OF YOUR VEHICLE 171
Page 174 of 558

TILT/TELESCOPING STEERING COLUMN
This feature allows you to tilt the steering column
upward or downward. It also allows you to lengthen or
shorten the steering column. The tilt/telescoping lever is
located below the steering wheel at the end of the
steering column.To unlock the steering column, pull the lever downward.
To tilt the steering column, move the steering wheel
upward or downward as desired. To lengthen or shorten
the steering column, pull the steering wheel outward or
push it inward as desired. To lock the steering column in
position, push the lever upward until fully engaged.
WARNING!
Do not adjust the steering column while driving.
Adjusting the steering column while driving or driv-
ing with the steering column unlocked, could cause
the driver to lose control of the vehicle. Be sure the
steering column is locked before driving your ve-
hicle. Failure to follow this warning may result in
serious injury or death.
Tilt/Telescoping Lever
172 UNDERSTANDING THE FEATURES OF YOUR VEHICLE
Page 176 of 558

WARNING!
Leaving the Electronic Speed Control system on
when not in use is dangerous. You could accidentally
set the system or cause it to go faster than you want.
You could lose control and have an accident. Always
leave the system OFF when you are not using it.
To Set A Desired Speed
Turn the Electronic Speed Control ON. When the vehicle
has reached the desired speed, press the SET (-) button
and release. Release the accelerator and the vehicle will
operate at the selected speed.
NOTE:The vehicle should be traveling at a steady
speed and on level ground before pressing the SET
button.
To Deactivate
A soft tap on the brake pedal, pushing the CANCEL
button, or normal brake pressure while slowing the
vehicle will deactivate Electronic Speed Control without
erasing the set speed memory. Pressing the ON/OFF
button or turning the ignition switch OFF erases the set
speed memory.
To Resume Speed
To resume a previously set speed, push the RES (+)
button and release. Resume can be used at any speed
above 20 mph (32 km/h).
To Vary The Speed Setting
When the Electronic Speed Control is set, you can in-
crease speed by pushing the RES (+) button. If the button
is continually pressed, the set speed will continue to
increase until the button is released, then the new set
speed will be established.
174 UNDERSTANDING THE FEATURES OF YOUR VEHICLE
Page 177 of 558
 button once will result ina1mph
(2 km/h) increase in set speed. Each subsequent tap of
the button results in an increase of 1 mph (2 km/h).
To decrease speed while the Electronic")
Pressing the RES (+) button once will result ina1mph
(2 km/h) increase in set speed. Each subsequent tap of
the button results in an increase of 1 mph (2 km/h).
To decrease speed while the Electronic Speed Control is
set, push the SET (-) button. If the button is continually
held in the SET (-) position, the set speed will continue to
decrease until the button is released. Release the button
when the desired speed is reached, and the new set speed
will be established.
Pressing the SET (-) button once will result ina1mph
(2 km/h) decrease in set speed. Each subsequent tap of
the button results in a decrease of 1 mph (2 km/h).
To Accelerate For Passing
Press the accelerator as you would normally. When the
pedal is released, the vehicle will return to the set speed.
Using Electronic Speed Control On Hills
The transmission may downshift on hills to maintain the
vehicle set speed.
NOTE:The Electronic Speed Control system maintains
speed up and down hills. A slight speed change on
moderate hills is normal.
On steep hills, a greater speed loss or gain may occur so
it may be preferable to drive without Electronic Speed
Control.
WARNING!
Electronic Speed Control can be dangerous where the
system cannot maintain a constant speed. Your ve-
hicle could go too fast for the conditions, and you
could lose control and have an accident. Do not use
Electronic Speed Control in heavy traffic or on roads
that are winding, icy, snow-covered or slippery.
3
UNDERSTANDING THE FEATURES OF YOUR VEHICLE 175
Page 178 of 558

PARKSENSE�REAR PARK ASSIST — IF
EQUIPPED
The ParkSense� Rear Park Assist system provides visual
and audible indications of the distance between the rear
fascia and a detected obstacle when backing up, e.g.
during a parking maneuver. Refer to ParkSense� System
Usage Precautions for limitations of this system and
recommendations.
ParkSense� will retain the last system state (enabled or
disabled) from the last ignition cycle when the ignition is
changed to the ON/RUN position.
ParkSense� can be active only when the shift lever is in
REVERSE. If ParkSense� is enabled at this shift lever
position, the system will remain active until the vehicle
speed is increased to approximately 11 mph (18 km/h) or
above. The system will become active again if the vehicle
speed is decreased to speeds less than approximately
10 mph (16 km/h).
ParkSense� Sensors
The four ParkSense� sensors, located in the rear fascia/
bumper, monitor the area behind the vehicle that is
within the sensors’ field of view. The sensors can detect
obstacles from approximately 12 in (30 cm) up to 79 in
(200 cm) from the rear fascia/bumper in the horizontal
direction, depending on the location, type and orienta-
tion of the obstacle.
ParkSense� Warning Display
The ParkSense� Warning screen will only be displayed if
Sound and Display is selected from the Customer- Pro-
grammable Features section of the Electronic Vehicle
Information Center (EVIC). Refer to “Electronic Vehicle
Information Center (EVIC)/Personal Settings (Customer-
Programmable Features)” in “Understanding Your In-
strument Panel” for further information.
176 UNDERSTANDING THE FEATURES OF YOUR VEHICLE
Page 179 of 558
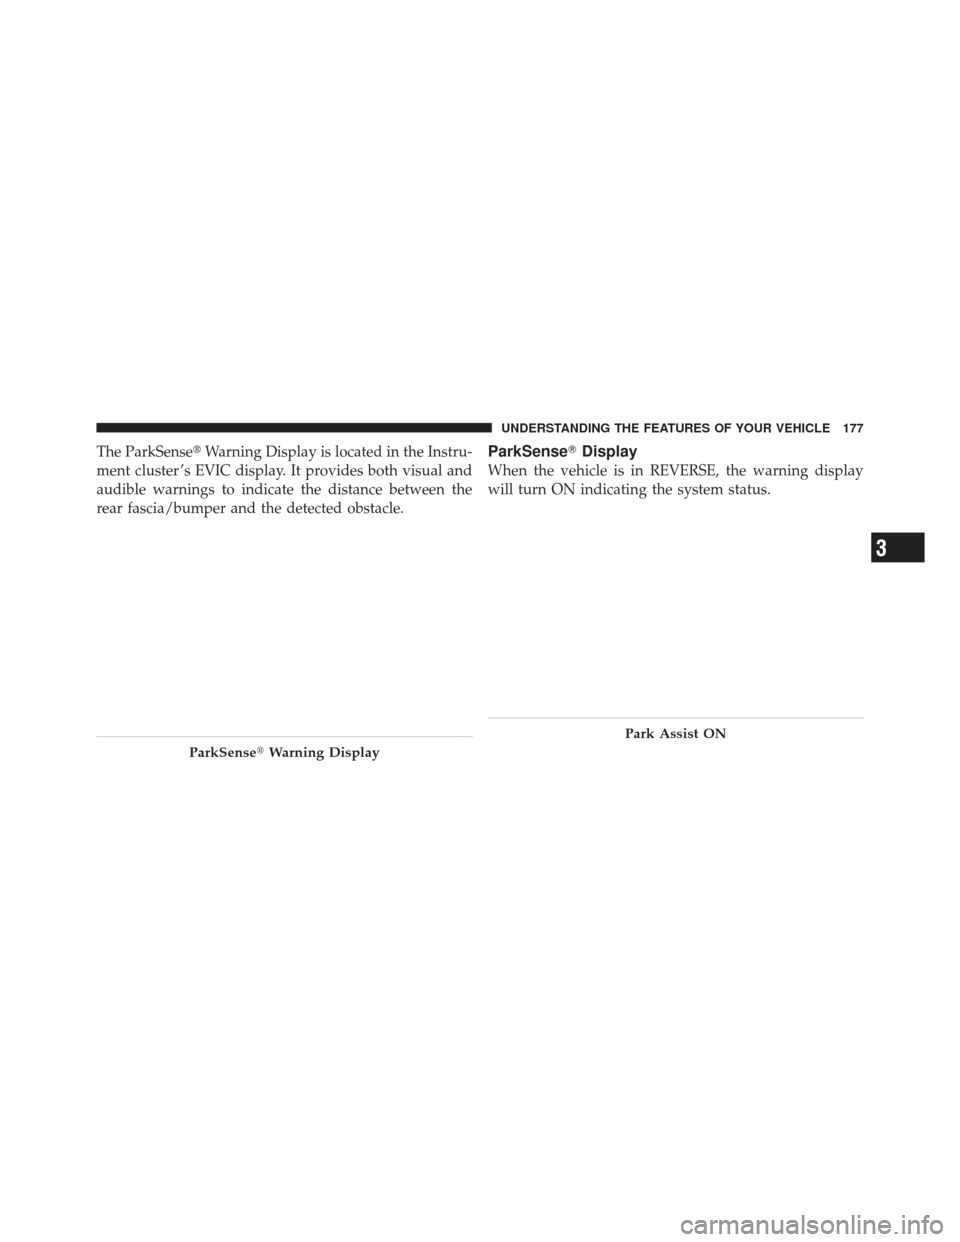
The ParkSense�Warning Display is located in the Instru-
ment cluster ’s EVIC display. It provides both visual and
audible warnings to indicate the distance between the
rear fascia/bumper and the detected obstacle.ParkSense� Display
When the vehicle is in REVERSE, the warning display
will turn ON indicating the system status.
ParkSense�Warning Display
Park Assist ON
3
UNDERSTANDING THE FEATURES OF YOUR VEHICLE 177