Page 16 of 411

Your vehicle at a glance22INTERIOR OVERVIEW
OYF011001N
1. Door lock/unlock button ....................4-19
2. Outside rearview mirror controlswitch...................................................4-48
3. Central door lock switch....................4-19
4. Power window lock switch.................4-27
5. Power window switches ....................4-24
6. Hood release lever ............................4-28
7. Parking brake* ..................................5-22
8. Instrument panel illumination control switch ................................................4-51
9. Active ECO button* ...........................5-35
10. ESC OFF button .............................5-26
11. Fuel filler lid release button.............4-29
12. Trunk lid release switch ...................4-22
13. Fuse box .........................................7-50
14. Brake pedal
15. Accelerator pedal
16. Steering wheel ................................4-35
17. Steering wheel manual tilt control* ...4-36
* : if equipped
Page 18 of 411
Your vehicle at a glance42ENGINE COMPARTMENT
OYF071060
* The actual engine room in the vehicle may differ from the illustration.1. Engine coolant reservoir ...................7-24
2. Engine oil filler cap ...........................7-22
3. Brake/clutch fluid reservoir ...............7-26
4. Air cleaner.........................................7-29
5. Fuse box ...........................................7-50
6. Positive battery terminal ...................7-34
7. Negative battery terminal..................7-34
8. Windshield washer fluid reservoir .....7-27
9. Radiator cap .....................................7-25
10. Engine oil dipstick ...........................7-22
* : if equipped■
■
2.4 GDI
Page 19 of 411
25
Your vehicle at a glance
OYF071200N
* The actual engine room in the vehicle may differ from the illustration.1. Engine coolant reservoir ...................7-24
2. Engine oil filler cap ...........................7-22
3. Brake/clutch fluid reservoir ...............7-26
4. Air cleaner.........................................7-29
5. Fuse box ...........................................7-50
6. Positive battery terminal ...................7-34
7. Negative battery terminal..................7-34
8. Windshield washer fluid reservoir .....7-27
9. Radiator cap .....................................7-25
10. Engine oil dipstick ...........................7-22
* : if equipped■
■
2.0 TGDI
Page 62 of 411

343
Safety features of your vehicle
WARNING
Do not install or place any acces-sories (drink holder, CD or discs
holder, sticker, etc.) on the front
passenger's panel above the
glove box in a vehicle with a pas-
senger's air bag. Such objects
may become dangerous projec-
tiles and cause injury if the pas-
senger's air bag inflates.
When installing a container of liq- uid air freshener inside the vehi-
cle, do not place it near the
instrument cluster nor on the
instrument panel surface.
It may become a dangerous pro-
jectile and cause injury if the pas-
senger's air bag inflates.
B240B05L
Passenger’s front air bag
WARNING
If an air bag deploys, there maybe a loud noise followed by a fine
dust released in the vehicle.
These conditions are normal and
are not hazardous - the air bags
are packed in this fine powder.
The dust generated during air
bag deployment may cause skin
or eye irritation as well as aggra-
vate asthma for some persons.
Always wash all exposed skin
areas thoroughly with lukewarm
water and a mild soap after an
accident in which the air bags
were deployed.
The SRS can function only when the ignition switch is in the ON
position. If the SRS air bag warn-
ing light " " does not illumi-
nate, or continuously remains on
after illuminating for about 6 sec-
onds when the ignition switch is
turned to the ON position, or after
the engine is started, comes on
while driving, the SRS is not
working properly. If this occurs,
have your vehicle immediately
inspected by an authorized
HYUNDAI dealer.
(Continued)
(Continued)
Before you replace a fuse or dis-connect a battery terminal, turn
the ignition switch to the LOCK
position and remove the ignition
key. Never remove or replace the
air bag related fuse(s) when the
ignition switch is in the ON posi-
tion. Failure to heed this warning
will cause the SRS air bag warn-
ing light to illuminate.
Page 109 of 411

427
Features of your vehicle
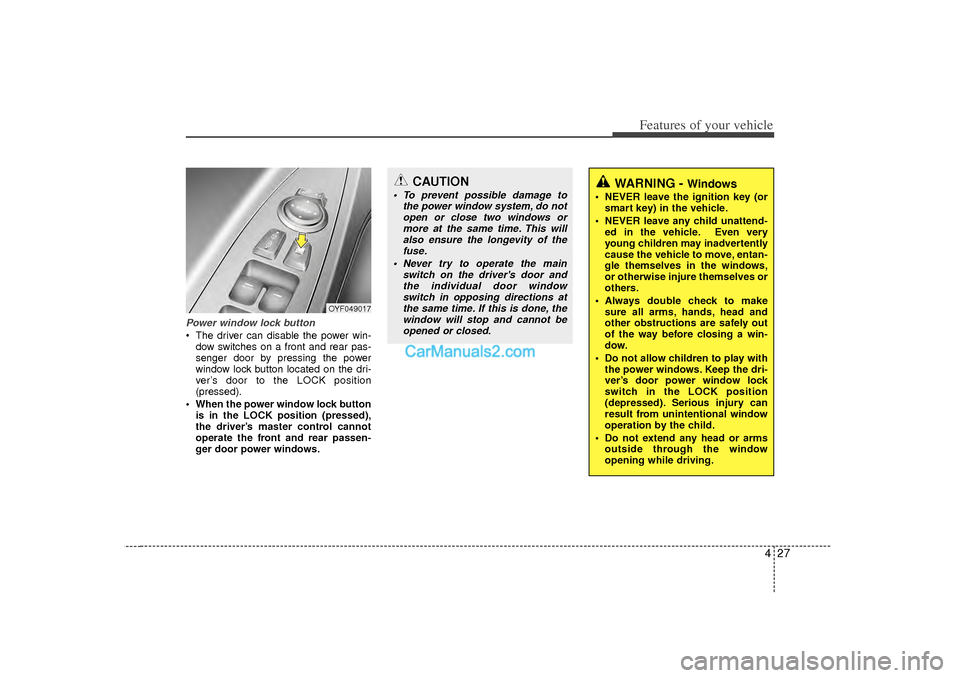
Power window lock button The driver can disable the power win-dow switches on a front and rear pas-
senger door by pressing the power
window lock button located on the dri-
ver’s door to the LOCK position
(pressed).
When the power window lock button is in the LOCK position (pressed),
the driver’s master control cannot
operate the front and rear passen-
ger door power windows.
OYF049017
CAUTION
To prevent possible damage to the power window system, do notopen or close two windows or more at the same time. This willalso ensure the longevity of thefuse.
Never try to operate the main switch on the driver's door andthe individual door window switch in opposing directions atthe same time. If this is done, the window will stop and cannot beopened or closed.
WARNING -
Windows
NEVER leave the ignition key (or smart key) in the vehicle.
NEVER leave any child unattend- ed in the vehicle. Even very
young children may inadvertently
cause the vehicle to move, entan-
gle themselves in the windows,
or otherwise injure themselves or
others.
Always double check to make sure all arms, hands, head and
other obstructions are safely out
of the way before closing a win-
dow.
Do not allow children to play with the power windows. Keep the dri-
ver’s door power window lock
switch in the LOCK position
(depressed). Serious injury can
result from unintentional window
operation by the child.
Do not extend any head or arms outside through the window
opening while driving.
Page 116 of 411

Features of your vehicle34
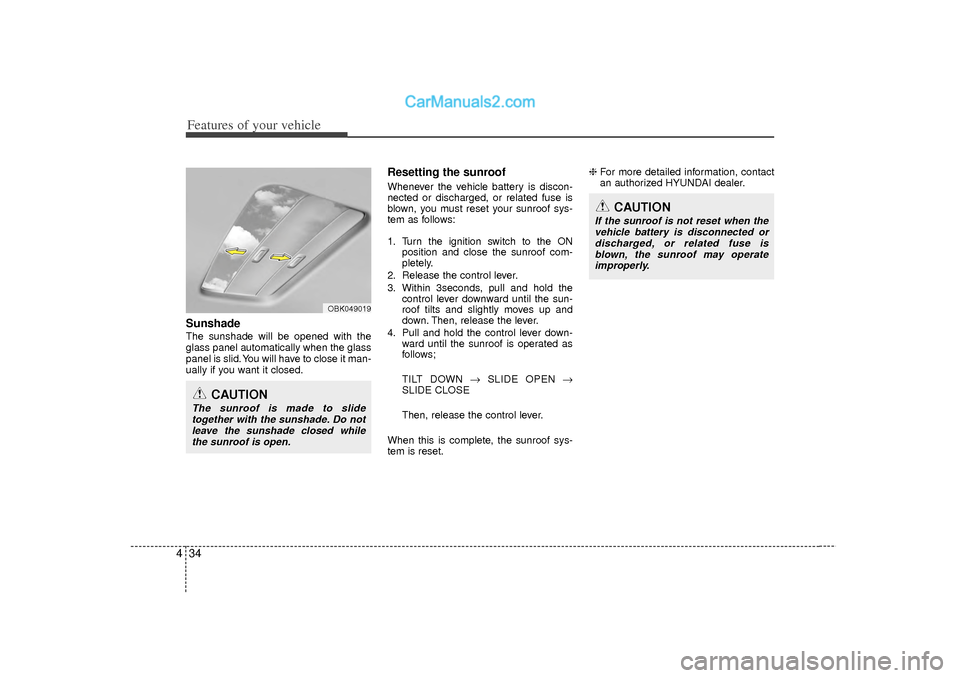
4Sunshade The sunshade will be opened with the
glass panel automatically when the glass
panel is slid. You will have to close it man-
ually if you want it closed.
Resetting the sunroofWhenever the vehicle battery is discon-
nected or discharged, or related fuse is
blown, you must reset your sunroof sys-
tem as follows:
1. Turn the ignition switch to the ON
position and close the sunroof com-
pletely.
2. Release the control lever.
3. Within 3seconds, pull and hold the control lever downward until the sun-
roof tilts and slightly moves up and
down. Then, release the lever.
4. Pull and hold the control lever down- ward until the sunroof is operated as
follows;
TILT DOWN → SLIDE OPEN →
SLIDE CLOSE
Then, release the control lever.
When this is complete, the sunroof sys-
tem is reset. ❈
For more detailed information, contact
an authorized HYUNDAI dealer.
CAUTION
The sunroof is made to slide
together with the sunshade. Do notleave the sunshade closed whilethe sunroof is open.
OBK049019
CAUTION
If the sunroof is not reset when thevehicle battery is disconnected or discharged, or related fuse isblown, the sunroof may operate improperly.
Page 120 of 411
Features of your vehicle38
4Resetting the sunroofWhenever the vehicle battery is discon-
nected or discharged, or related fuse is
open, you must reset your sunroof sys-
tem as follows:
1. Turn the ignition switch to the ON posi-
tion and close the sunroof glass and
sunshade completely.
2. Release the control lever.
3. Push the sunroof control lever forward in the direction of close (about 10 sec-
onds) until the sunroof moves slightly,
then release the lever.
4. Push the sunroof control lever forward in the direction of close until the sun-
roof operates as follows;
SUNSHADE OPEN → TILT OPEN →
SLIDE OPEN → SLIDE CLOSE →
SUNSHADE CLOSE
Release the control lever.
When this operation is complete, the
sunroof system is reset.
❈ For more detailed information, contact
an authorized HYUNDAI dealer.
Page 191 of 411

4 109
Features of your vehicle
Digital clock (if equipped)Whenever the battery terminals or relat-
ed fuses are disconnected, you must
reset the time.
When the ignition switch is in the ACC or
ON position, the clock buttons operate as
follows:
Hour (1)Pressing the H button with your finger, a
pencil or similar object will advance the
time displayed by one hour.Minute (2)Pressing the M button with your finger, a
pencil or similar object will advance the
time displayed by one minute.Display conversionTo change the 12 hour format to the 24
hour format, press the “H” and “M” but-
tons at the same time for more than 3
seconds.
For example, if the “H” and “M” buttons
are pressed for more than 3 seconds
while the time is 10:15 p.m., the display
will be changed to 22:15.
❈For the type of the clock built in the
audio or navigation, refer to a separately supplied manual.
Clothes hanger (if equipped)To use the hanger, pull down the upper
portion of hanger.
OYF049224
WARNING
Do not adjust the clock while driv-
ing. You may lose your steering
control and cause an accident that
results in severe personal injury or
death.
OUN026348
CAUTION
Do not hang heavy clothes, because it may damage the hook.