Page 344 of 403

751
Maintenance
Instrument panel fuse replace-
ment
1. Turn the engine start/stop button andall other switches off.
2. Open the fuse panel cover. 3. Pull the suspected fuse straight out.
Use the removal tool provided in the
engine compartment fuse panel.
4. Check the removed fuse; replace it if it is blown.
5. Push in a new fuse of the same rating, and make sure it fits tightly in the clips.
If it fits loosely, consult an authorized
HYUNDAI dealer.
If you do not have a spare, use a fuse of the same rating from a circuit you maynot need for operating the vehicle, suchas the cigarette lighter fuse.
If the headlights or other electrical com-
ponents do not work and the fuses are
OK, check the fuse panel in the engine
compartment. If a fuse is blown, it must
be replaced.
Memory fuse
Your vehicle is equipped with a memory
fuse to prevent battery discharge if your
vehicle is parked without being operated
for prolonged periods. Use the following
procedures before parking the vehicle for
prolonged periods.
1. Turn off the engine.
2. Turn off the headlights and tail lights.
3. Open the driver’s side panel cover and pull up the memory fuse.
OYF079020OYFH071021NOYF079022
Page 345 of 403

Maintenance
52
7
✽
✽
NOTICE
• If the memory fuse is pulled up from
the fuse panel, the warning chime,
audio, clock and interior lamps, etc.,
will not operate. Some items must be
reset after replacement. Refer to
“Battery” in this section.
• Even though the memory fuse is pulled up, the battery can still be dis-
charged by operation of the head-
lights or other electrical devices.
Engine compartment fuse
replacement
1. Turn the engine start/stop button and
all other switches off.
2. Remove the fuse panel cover by pressing the tab and pulling up. 3. Check the removed fuse; replace it if it
is blown. To remove or insert the fuse,
use the fuse puller in the engine com-
partment fuse panel.
4. Push in a new fuse of the same rating, and make sure it fits tightly in the clips.
If it fits loosely, consult an authorized
HYUNDAI dealer.
OYFH071023N
CAUTION
After checking the fuse panel in theengine compartment, securelyinstall the fuse panel cover. If not, electrical failures may occur fromwater contact.
Page 346 of 403

753
Maintenance
Multi fuse
If the multi fuse is blown, it must be
removed as follows:
1. Turn off the engine.
2. Disconnect the negative battery cable.
3. Remove the fuse panel on the rightside in the engine compartment.
4. Remove the nuts shown in the picture above.
5. Replace the fuse with a new one of the same rating.
6. Reinstall in the reverse order of removal.
✽ ✽NOTICE
If the multi fuse is blown, consult an
authorized HYUNDAI dealer.
Oil pump cooling fuse/
Cooling fan fuse
If the oil pump cooling fuse or cooling fan
fuse is blown, it must be removed as fol-
lows:
1. Turn off the engine.
2. Disconnect the negative battery cable.
3. Remove the fuse panel on the right side in the engine compartment.
4. Replace the fuse with a new one of the same rating.
5. Reinstall in the reverse order of removal.
Sub-relay fuse
If the sub-relay fuse is blown, it must be
removed as follows:
1. Turn off the engine.
2. Disconnect the negative battery cable.
3. Replace the fuse with a new one of thesame rating.
4. Reinstall in the reverse order of removal.
OYFH071088NOYFH071089NOYFH071072N
Page 347 of 403
Maintenance
54
7
Inner fuse panel
Engine compartment fuse panel
Fuse/relay panel description
Inside the fuse/relay panel covers, you can find the fuse/relay label describing fuse/relay name and capacity.
OYF079025/OYF071071N/OYF071026N
Sub-relay box
✽
✽NOTICE
Not all fuse panel descriptions in this
manual may be applicable to your vehi-
cle. It is accurate at the time of printing.
When you inspect the fuse panel in your
vehicle, refer to the fuse panel label.
Page 350 of 403

757
Maintenance
Engine compartment main fuse panel
Description Fuse ratingProtected component
MULTI FUSE B+3
60AI/P Junction Box (Power Window Relay, Fuse - TRUNK 10, S/HEATER FRT 15A,
SAFETY POWER WINDOW 25A, MODULE 3 7.5A, PDM 25A, Power Connector - AUDIO 15A)
IG 1 40A Smart Key - IG 1 Relay, ACC Relay
EMS 40A EMS Box (Fuse - HORN 15A, ECU 3 10A, ECU 1 30A, F/PUMP 20A)
RR HTD 40A RR HTD Relay
BLOWER 40A Blower Relay
B+4 60AI/P Junction Box (Fuse - P/SEAT DRI 30A, AMP 30A, START 2 7.5A, BMS 10A, IPS 2, IPS 3,
IPS 5, IPS 8)
MDPS 80A EPS Control Module
C/FAN LO 40A C/FAN LO Relay
FUSE B+2
50AI/P Junction Box (Fuse - SUNROOF 20A, DR LOCK, IPS 1, IPS 4, IPS 6, IPS 7, IPS 9,
Power Connector - ROOM LP 10A)
WIPER 10A PCM
RR HTD IND 10A A/C Control Module LDC 10A Low DC Converter, Hybrid Inverter
BMS C/FAN 15A BMS Blower Motor Relay TCU 1 20A PCU
STOP LP 15A Stop Lamp Relay, HAC Relay DEICER 20A Deicer Relay ECU 2 20A PCUHCU 20A Hybrid Control
IG 2 30A Smart Key - IG 2 Relay
AHB 1 40A AHB Control Module
OIL PUMP 1 20A Electric Oil Pump Unit
Page 352 of 403
759
Maintenance
Engine compartment sub fuse panel (Sub-relay box) Engine compartment main fuse panel (Engien junction fuses)
DescriptionFuse rating Protected component
OPCU 80AOPCU Relay
C/FAN 60AC/FAN HI Relay
Relay No. Relay Name Type
E41 ACC Relay PLUG MICRO
E42 RR HTD Relay PLUG MICRO
E43 - PLUG MICRO
E44 C/FAN LO Relay PLUG MICRO
E45 AUX Water Pump Relay PLUG MICRO
E46 - PLUG MICRO
E47 Deicer Relay PLUG MICRO
E48 - PLUG MICRO
E49 IG1 Relay PLUG MICRO
E50 IG2 Relay PLUG MICRO
E51 Wiper Relay PLUG MICRO
E52 T/Turn Door Unlock Relay PLUG MICRO
E53 HAC Realy PLUG MICRO
E54 Blower Relay PLUG MICRO
EMS BOX RLY.1 Horn Relay
PLUG MICRO
RLY.2 F/Pump Relay PLUG MICRO
RLY.3 ECU Relay PLUG MINI
Page 353 of 403

Maintenance
60
7
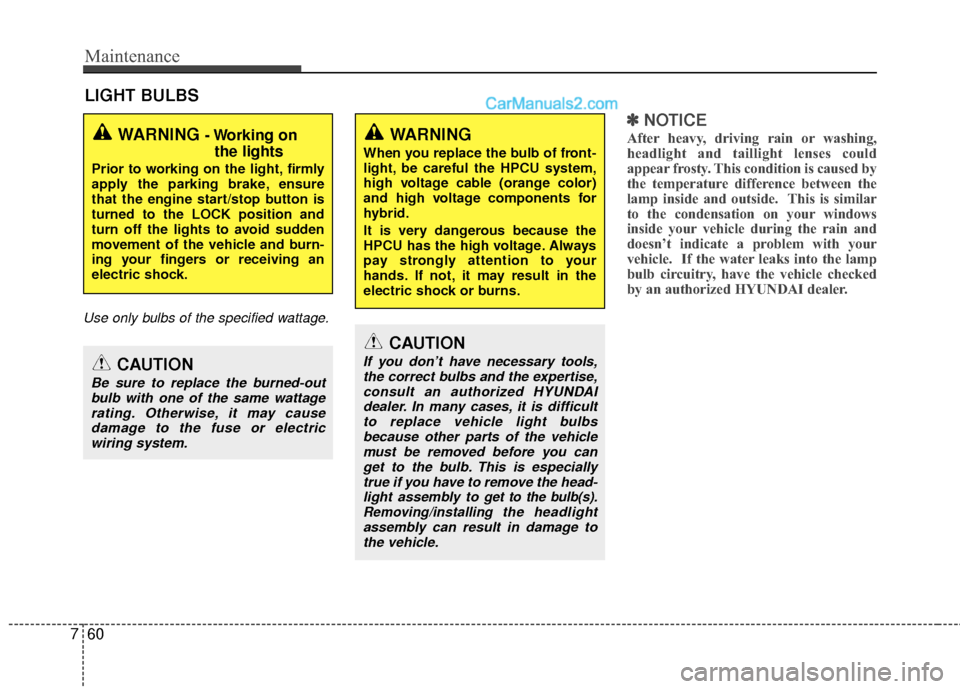
LIGHT BULBS
Use only bulbs of the specified wattage.
✽
✽
NOTICE
After heavy, driving rain or washing,
headlight and taillight lenses could
appear frosty. This condition is caused by
the temperature difference between the
lamp inside and outside. This is similar
to the condensation on your windows
inside your vehicle during the rain and
doesn’t indicate a problem with your
vehicle. If the water leaks into the lamp
bulb circuitry, have the vehicle checked
by an authorized HYUNDAI dealer.WARNING - Working on
the lights
Prior to working on the light, firmly
apply the parking brake, ensure
that the engine start/stop button is
turned to the LOCK position and
turn off the lights to avoid sudden
movement of the vehicle and burn-
ing your fingers or receiving an
electric shock.
CAUTION
Be sure to replace the burned-out
bulb with one of the same wattagerating. Otherwise, it may causedamage to the fuse or electric wiring system.
CAUTION
If you don’t have necessary tools,the correct bulbs and the expertise,consult an authorized HYUNDAIdealer. In many cases, it is difficultto replace vehicle light bulbsbecause other parts of the vehicle must be removed before you canget to the bulb. This is especiallytrue if you have to remove the head-light assembly to
get to the bulb(s).
Removing/installingthe headlight
assembly can result in damage to the vehicle.
WARNING
When you replace the bulb of front-
light, be careful the HPCU system,
high voltage cable (orange color)
and high voltage components for
hybrid.
It is very dangerous because the
HPCU has the high voltage. Always
pay strongly attention to your
hands. If not, it may result in the
electric shock or burns.
Page 362 of 403

769
Maintenance
APPEARANCE CARE
Exterior care
Exterior general caution
It is very important to follow the label
directions when using any chemical
cleaner or polish. Read all warning and
caution statements that appear on the
label.
Finish maintenance
Washing
To help protect your vehicle’s finish from
rust and deterioration, wash it thoroughly
and frequently at least once a month with
lukewarm or cold water.
If you use your vehicle for off-road driv-
ing, you should wash it after each off-
road trip. Pay special attention to the
removal of any accumulation of salt, dirt,
mud, and other foreign materials. Make
sure the drain holes in the lower edges of
the doors and rocker panels are kept
clear and clean.
Insects, tar, tree sap, bird droppings,
industrial pollution and similar deposits
can damage your vehicle’s finish if not
removed immediately.
Even prompt washing with plain water
may not completely remove all these
deposits. A mild soap, safe for use on
painted surfaces, may be used.After washing, rinse the vehicle thor-
oughly with lukewarm or cold water. Do
not allow soap to dry on the finish.
CAUTION
Do not use strong soap, chemical
detergents or hot water, and donot wash the vehicle in directsunlight or when the body of thevehicle is warm.
Be careful when washing the side windows of your vehicle.Especially, with high-pressure water, water may leak through thewindows and wet the interior.
To prevent damage to the plastic parts and lamps, do not cleanwith chemical solvents or strongdetergents.
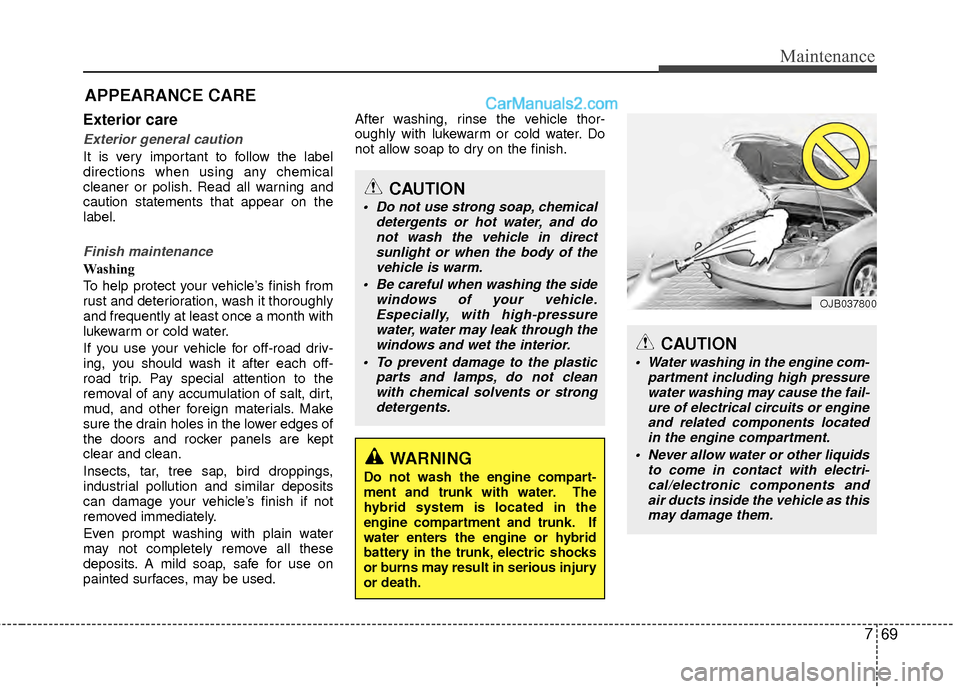
WARNING
Do not wash the engine compart-
ment and trunk with water. The
hybrid system is located in the
engine compartment and trunk. If
water enters the engine or hybrid
battery in the trunk, electric shocks
or burns may result in serious injury
or death.
CAUTION
Water washing in the engine com- partment including high pressurewater washing may cause the fail- ure of electrical circuits or engineand related components located in the engine compartment.
Never allow water or other liquids to come in contact with electri-cal/electronic components andair ducts inside the vehicle as this may damage them.
OJB037800