2012 Hyundai Sonata Hybrid engine overheat
[x] Cancel search: engine overheatPage 252 of 403
Driving your vehicle
30
5
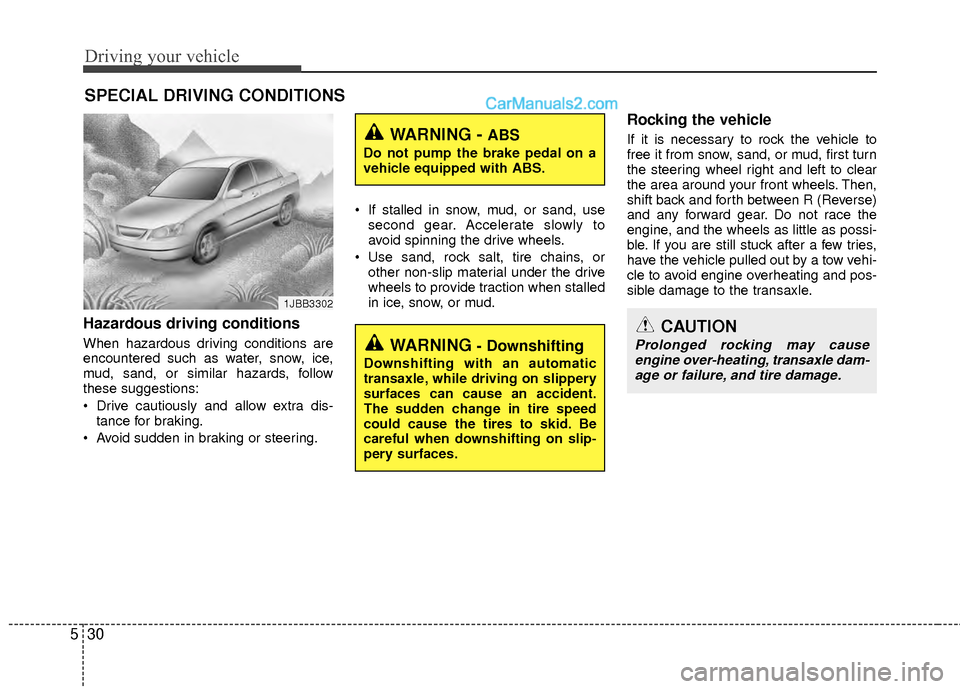
Hazardous driving conditions
When hazardous driving conditions are
encountered such as water, snow, ice,
mud, sand, or similar hazards, follow
these suggestions:
Drive cautiously and allow extra dis-
tance for braking.
Avoid sudden in braking or steering. If stalled in snow, mud, or sand, use
second gear. Accelerate slowly to
avoid spinning the drive wheels.
Use sand, rock salt, tire chains, or other non-slip material under the drive
wheels to provide traction when stalled
in ice, snow, or mud.
Rocking the vehicle
If it is necessary to rock the vehicle to
free it from snow, sand, or mud, first turn
the steering wheel right and left to clear
the area around your front wheels. Then,
shift back and forth between R (Reverse)
and any forward gear. Do not race the
engine, and the wheels as little as possi-
ble. If you are still stuck after a few tries,
have the vehicle pulled out by a tow vehi-
cle to avoid engine overheating and pos-
sible damage to the transaxle.
SPECIAL DRIVING CONDITIONS
1JBB3302
WARNING - ABS
Do not pump the brake pedal on a
vehicle equipped with ABS.
WARNING - Downshifting
Downshifting with an automatic
transaxle, while driving on slippery
surfaces can cause an accident.
The sudden change in tire speed
could cause the tires to skid. Be
careful when downshifting on slip-
pery surfaces.
CAUTION
Prolonged rocking may causeengine over-heating, transaxle dam- age or failure, and tire damage.
Page 255 of 403
533
Driving your vehicle
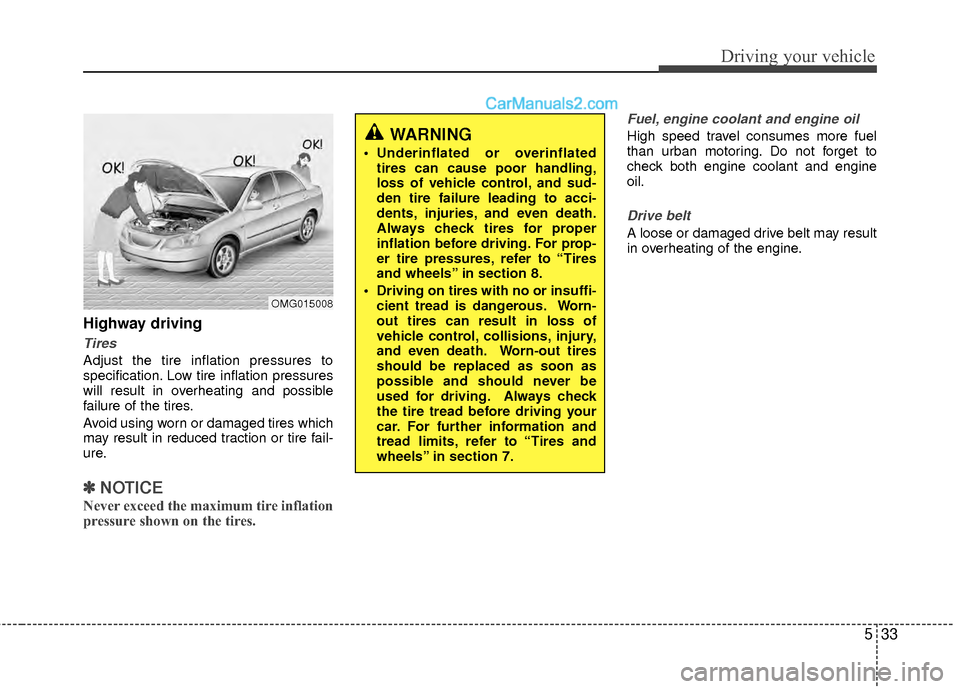
Highway driving
Tires
Adjust the tire inflation pressures to
specification. Low tire inflation pressures
will result in overheating and possible
failure of the tires.
Avoid using worn or damaged tires which
may result in reduced traction or tire fail-
ure.
✽ ✽NOTICE
Never exceed the maximum tire inflation
pressure shown on the tires.
Fuel, engine coolant and engine oil
High speed travel consumes more fuel
than urban motoring. Do not forget to
check both engine coolant and engine
oil.
Drive belt
A loose or damaged drive belt may result
in overheating of the engine.
WARNING
Underinflated or overinflated
tires can cause poor handling,
loss of vehicle control, and sud-
den tire failure leading to acci-
dents, injuries, and even death.
Always check tires for proper
inflation before driving. For prop-
er tire pressures, refer to “Tires
and wheels” in section 8.
Driving on tires with no or insuffi- cient tread is dangerous. Worn-
out tires can result in loss of
vehicle control, collisions, injury,
and even death. Worn-out tires
should be replaced as soon as
possible and should never be
used for driving. Always check
the tire tread before driving your
car. For further information and
tread limits, refer to “Tires and
wheels” in section 7.
OMG015008
Page 267 of 403
6
Road warning / 6-2
In case of an emergency while driving / 6-2
If the engine will not start / 6-3
Emergency starting / 6-4
If the engine overheats / 6-7
Tire pressure monitoring system (TPMS) / 6-8
If you have a flat tire / 6-13
If you have a flat tire (with TireMobilityKit) / 6-21
Towing / 6-27
What to do in an emergency
Page 271 of 403
65
What to do in an emergency
Jump starting procedure
1. Open the cover of battery in trunk room.
2. Make sure the booster battery is 12-volt and that its negative terminal is
grounded.
3. If the booster battery is in another vehi- cle, do not allow the vehicles to touch.
4. Turn off all unnecessary electrical loads. 5. Connect the jumper cables in the exact
sequence shown in the illustration.
First connect one end of a jumper
cable to the positive terminal of the
discharged battery (1), then connect
the other end to the positive terminal
on the booster battery (2). Proceed to
connect one end of the other jumper
cable to the negative terminal of the
booster battery (3), then the other end
to a solid, stationary, metallic point (for
example, the engine lifting bracket)
away from the battery (4). Do not con-
nect it to or near any part that moves
when the engine is cranked.
Do not allow the jumper cables to con-
tact anything except the correct battery
terminals or the correct ground. Do not
lean over the battery when making
connections. 6. Start the engine of the vehicle with the
booster battery and let it run at 2,000
rpm, then start the engine of the vehi-
cle with the discharged battery.
If the cause of your battery discharging isnot apparent, you should have your vehi-cle checked by an authorized HYUNDAI dealer.
CAUTION- Battery cables
Do not connect the jumper cablefrom the negative terminal of the booster battery to the negative ter-minal of the discharged battery.This can cause the discharged bat-tery to overheat and crack, releas- ing battery acid.
Page 273 of 403
67
What to do in an emergency
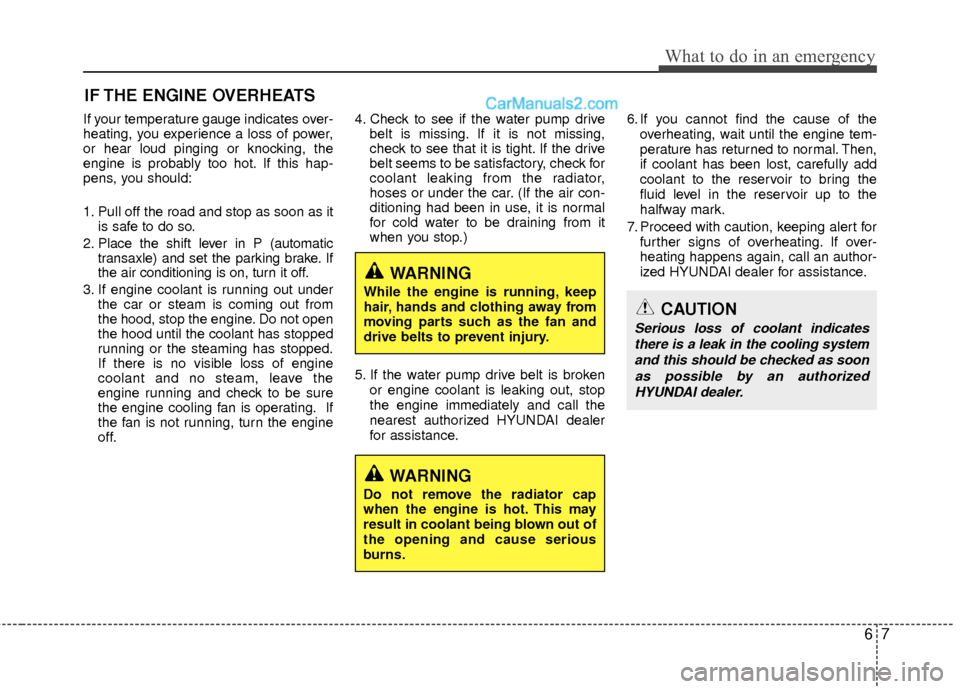
IF THE ENGINE OVERHEATS
If your temperature gauge indicates over-
heating, you experience a loss of power,
or hear loud pinging or knocking, the
engine is probably too hot. If this hap-
pens, you should:
1. Pull off the road and stop as soon as itis safe to do so.
2. Place the shift lever in P (automatic transaxle) and set the parking brake. If
the air conditioning is on, turn it off.
3. If engine coolant is running out under the car or steam is coming out from
the hood, stop the engine. Do not open
the hood until the coolant has stopped
running or the steaming has stopped.
If there is no visible loss of engine
coolant and no steam, leave the
engine running and check to be sure
the engine cooling fan is operating. If
the fan is not running, turn the engine
off. 4. Check to see if the water pump drive
belt is missing. If it is not missing,
check to see that it is tight. If the drive
belt seems to be satisfactory, check for
coolant leaking from the radiator,
hoses or under the car. (If the air con-
ditioning had been in use, it is normal
for cold water to be draining from it
when you stop.)
5. If the water pump drive belt is broken or engine coolant is leaking out, stop
the engine immediately and call the
nearest authorized HYUNDAI dealer
for assistance. 6. If you cannot find the cause of the
overheating, wait until the engine tem-
perature has returned to normal. Then,
if coolant has been lost, carefully add
coolant to the reservoir to bring the
fluid level in the reservoir up to the
halfway mark.
7. Proceed with caution, keeping alert for further signs of overheating. If over-
heating happens again, call an author-
ized HYUNDAI dealer for assistance.
WARNING
While the engine is running, keep
hair, hands and clothing away from
moving parts such as the fan and
drive belts to prevent injury.
CAUTION
Serious loss of coolant indicates
there is a leak in the cooling systemand this should be checked as soonas possible by an authorizedHYUNDAI dealer.
WARNING
Do not remove the radiator cap
when the engine is hot. This may
result in coolant being blown out of
the opening and cause serious
burns.
Page 288 of 403
What to do in an emergency
22
6
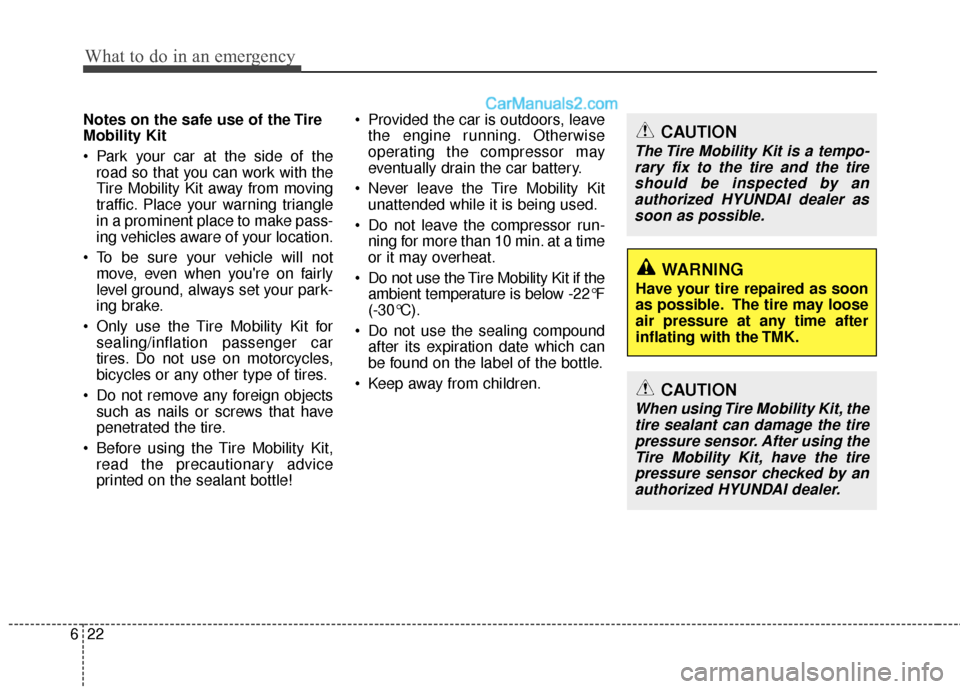
Notes on the safe use of the Tire
Mobility Kit
Park your car at the side of the
road so that you can work with the
Tire Mobility Kit away from moving
traffic. Place your warning triangle
in a prominent place to make pass-
ing vehicles aware of your location.
To be sure your vehicle will not move, even when you're on fairly
level ground, always set your park-
ing brake.
Only use the Tire Mobility Kit for sealing/inflation passenger car
tires. Do not use on motorcycles,
bicycles or any other type of tires.
Do not remove any foreign objects such as nails or screws that have
penetrated the tire.
Before using the Tire Mobility Kit, read the precautionary advice
printed on the sealant bottle! Provided the car is outdoors, leave
the engine running. Otherwise
operating the compressor may
eventually drain the car battery.
Never leave the Tire Mobility Kit unattended while it is being used.
Do not leave the compressor run- ning for more than 10 min. at a time
or it may overheat.
Do not use the Tire Mobility Kit if the ambient temperature is below -22°F
(-30°C).
Do not use the sealing compound after its expiration date which can
be found on the label of the bottle.
Keep away from children.
WARNING
Have your tire repaired as soon
as possible. The tire may loose
air pressure at any time after
inflating with the TMK.
CAUTION
The Tire Mobility Kit is a tempo- rary fix to the tire and the tireshould be inspected by anauthorized HYUNDAI dealer assoon as possible.
CAUTION
When using Tire Mobility Kit, thetire sealant can damage the tirepressure sensor. After using theTire Mobility Kit, have the tirepressure sensor checked by anauthorized HYUNDAI dealer.
Page 291 of 403
625
What to do in an emergency
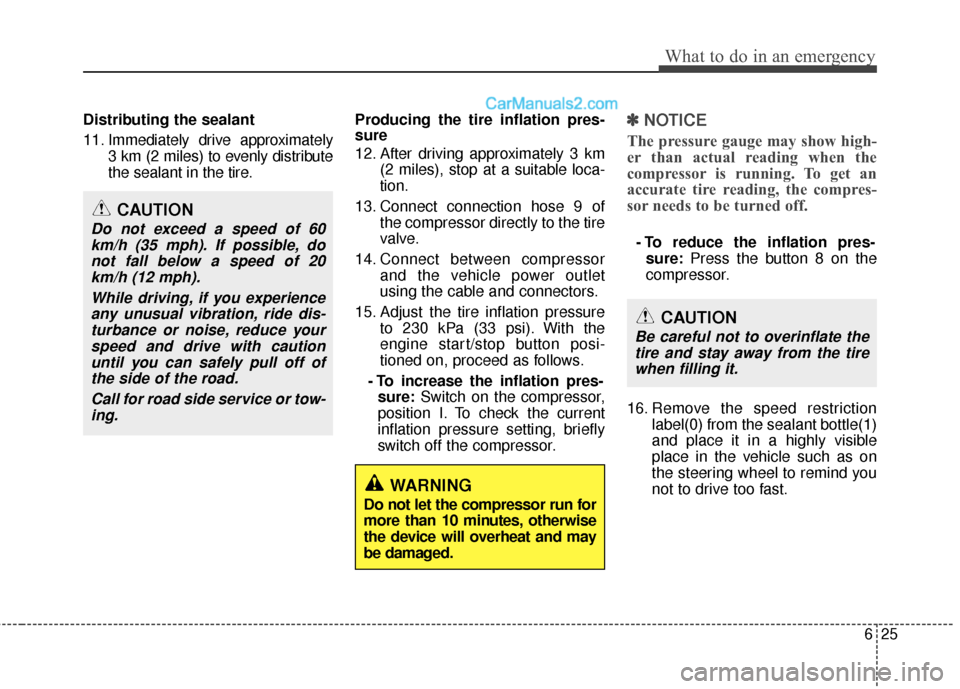
Distributing the sealant
11. Immediately drive approximately3 km (2 miles) to evenly distribute
the sealant in the tire. Producing the tire inflation pres-
sure
12. After driving approximately 3 km
(2 miles), stop at a suitable loca-
tion.
13. Connect connection hose 9 of the compressor directly to the tire
valve.
14. Connect between compressor and the vehicle power outlet
using the cable and connectors.
15. Adjust the tire inflation pressure to 230 kPa (33 psi). With the
engine start/stop button posi-
tioned on, proceed as follows.
- To increase the inflation pres- sure: Switch on the compressor,
position I. To check the current
inflation pressure setting, briefly
switch off the compressor.✽ ✽ NOTICE
The pressure gauge may show high-
er than actual reading when the
compressor is running. To get an
accurate tire reading, the compres-
sor needs to be turned off.
- To reduce the inflation pres-
sure: Press the button 8 on the
compressor.
16. Remove the speed restriction label(0) from the sealant bottle(1)
and place it in a highly visible
place in the vehicle such as on
the steering wheel to remind you
not to drive too fast.
WARNING
Do not let the compressor run for
more than 10 minutes, otherwise
the device will overheat and may
be damaged.
CAUTION
Do not exceed a speed of 60km/h (35 mph). If possible, donot fall below a speed of 20km/h (12 mph).
While driving, if you experienceany unusual vibration, ride dis-turbance or noise, reduce yourspeed and drive with cautionuntil you can safely pull off ofthe side of the road.
Call for road side service or tow-ing.
CAUTION
Be careful not to overinflate thetire and stay away from the tirewhen filling it.
Page 398 of 403
Index
4I
Economical operation ··················\
··················\
················5-28
Electric chromic mirror (ECM) with HomeLink system ··4-31
Electric power steering ··················\
··················\
··············4-29
Electronic stability control (ESC) ··················\
···············5-19
Emergency starting ··················\
··················\
··················\
····6-4 Jump starting ··················\
··················\
··················\
·········6-4
Push starting ··················\
··················\
··················\
··········6-6
Emergency while driving··················\
··················\
·············6-2
Emission control system ··················\
··················\
············7-75 Crankcase emission control system ··················\
········7-75
Evaporative emission control system··················\
······7-75
Exhaust emission control system ··················\
············7-76
Engine ··················\
··················\
··················\
··················\
······8-2
Engine compartment ··················\
··················\
············2-4, 7-2
Engine coolant ··················\
··················\
··················\
·········7-24
Engine number ··················\
··················\
··················\
···········8-7
Engine oil ··················\
··················\
··················\
·················7-22\
Engine overheats··················\
··················\
··················\
········6-7
Engine start/stop button ··················\
··················\
···············5-5
Engine temperature gauge ··················\
··················\
·········4-42
Engine will not start··················\
··················\
··················\
···6-3
Evaporative emission control system ··················\
··········7-75
Exhaust emission control system··················\
·················7-76\
Explanation of scheduled maintenance items ···············7-19
Exterior care··················\
··················\
··················\
·············7-69 Flat tire (with spare tire) ··················\
··················\
············6-13
Changing tires ··················\
··················\
··················\
·····6-14
Compact spare tire ··················\
··················\
················6-14
Jack and tools ··················\
··················\
··················\
······6-13
Removing and storing the spare tire ··················\
·······6-14
Flat tire (with tire mobility kit) ··················\
··················\
·6-21 Components of the tire mobility kit ··················\
········6-23
Technical data··················\
··················\
··················\
······6-26
Using the tire mobility kit ··················\
··················\
·····6-24
Floor mat anchor(s) ··················\
··················\
·················4-10\
9
Fluid Brakes fluid ··················\
··················\
··················\
·········7-27
Washer fluid ··················\
··················\
··················\
········7-28
Front passenger and rear seat 3-point system with combination locking retractor ··················\
·················3-20\
Front seat adjustment ··················\
··················\
··················\
·3-4
Fuel filler lid ··················\
··················\
··················\
············4-22
Fuel gauge··················\
··················\
··················\
················4-43
Fuel requirements ··················\
··················\
··················\
······1-3
Fuse/relay panel description ··················\
··················\
······7-55
Fuses ··················\
··················\
··················\
··················\
······7-50 Fuse/relay panel description··················\
··················\
··7-55
Instrument panel fuse ··················\
··················\
············7-51
Memory fuse ··················\
··················\
··················\
·······7-52
Multi fuse ··················\
··················\
··················\
············7-53
EF