Page 357 of 403
Maintenance
64
7
Side repeater light bulb replace-
ment (if equipped)
If the light bulb is not operating, have the
vehicle checked by an authorized
HYUNDAI dealer.
Rear combination light bulb
replacement
(1) Stop and tail light
(2) Rear turn signal light
(3) Tail light or stop and tail light
(4) Back-up light
(5) Light curtain (Tail light)
(6) Side marker
Rear turn signal
1. Open the trunk lid.
2. Remove the service cover by pulling out
the service cover.
OYF079042N
OYFH071043N
OYFH071035NOYF079041
Page 358 of 403

765
Maintenance
3. Remove the socket from the assemblyby turning the socket counterclockwise
until the tabs on the socket align with
the slots on the assembly.
4. Remove the bulb from the socket by pressing it in and rotating it counter-
clockwise until the tabs on the bulb
align with the slots in the socket. Pull
the bulb out of the socket.
5. Insert a new bulb by inserting it into the socket and rotating it until it locks
into place.
6. Install the socket in the assembly by aligning the tabs on the socket with the
slots in the assembly. Push the socket
into the assembly and turn the socket
clockwise.
7. Install the service cover by putting it into the service hole.
Tail light, stop and tail light,side marker, light curtain
If the light is not operating, have the vehi-
cle checked by an authorized HYUNDAI
dealer.
1. Open the trunk lid.
2. Remove the service cover by pulling out the service cover.
3. Remove the socket from the assembly by turning the socket counterclockwise
until the tabs on the socket align with
the slots on the assembly.
4. Remove the bulb from the socket by pressing it in and rotating it counter-
clockwise until the tabs on the bulb
align with the slots in the socket. Pull
the bulb out of the socket. 5. Insert a new bulb by inserting it into
the socket and rotating it until it locks
into place.
6. Install the socket in the assembly by aligning the tabs on the socket with the
slots in the assembly. Push the socket
into the assembly and turn the socket
clockwise.
7. Install the service cover by putting it into the service hole.
OYFH071087N
Page 359 of 403
Maintenance
66
7
OYF079036/OYFH071079N/OYFH071080N/OYFH071081N/OYFH071082N/OYFH071083N/OYFH071084N
High mounted stop light
replacement
1. Push the cushion up.
2. Disconnect the seat warmer cable is
located under the cushion.
3. Remove the nuts under the seatback connecting each seatback.
4. Push the seatback up. The seat back is connected to the hook attached to
package tray.
5. Remove the C pillar.
6. Remove the screws and package tray.
7. Remove the fabric and nuts.
8. Change the HMSL to a new one.
9. Reinstall all package tray, cable C Pillar and seatback as same way.
10. Connect the seat warmer cable again.
11. Reinstall the screws for the seatback.
12. Reinstall the cushion.
Page 360 of 403
767
Maintenance
License plate light bulb replace-
ment
1. Loosen the retaining screws with aphilips head screwdriver.
2. Remove the soket by turning it connterclockwise.
3. Remove the bulb by pulling it straight out.
4. Install a new bulb.
5. Reinstall the bulb assembly securely with the retaining screws.
OYF079037L
WARNING
When you replace the high mount-
ed stop light replacement, be care-
ful not to damage to the high volt-
age battery. If not, it may result in
electric shock or burns.
Page 361 of 403
Maintenance
68
7
Interior light bulb replacement
1. Using a flat-blade screwdriver, gently
pry the lens from the interior light hous-
ing.
2. Remove the bulb by pulling it straight out.
3. Install a new bulb in the socket.
4. Align the lens tabs with the interior light housing notches and snap the lens into
place.
WARNING
Prior to working on the Interior
Lights, ensure that the “OFF” but-
ton is depressed to avoid burning
your fingers or receiving an electric
shock.
CAUTION
Use care not to dirty or damagelens, lens tab, and plastic housings.
Map lampLuggage lamp (if equipped)
Room lamp
Personal lamp OYF079038/OYF079039/OYFH071039N
OYF079040/OTD079035
Sunvisor lamp
Page 362 of 403

769
Maintenance
APPEARANCE CARE
Exterior care
Exterior general caution
It is very important to follow the label
directions when using any chemical
cleaner or polish. Read all warning and
caution statements that appear on the
label.
Finish maintenance
Washing
To help protect your vehicle’s finish from
rust and deterioration, wash it thoroughly
and frequently at least once a month with
lukewarm or cold water.
If you use your vehicle for off-road driv-
ing, you should wash it after each off-
road trip. Pay special attention to the
removal of any accumulation of salt, dirt,
mud, and other foreign materials. Make
sure the drain holes in the lower edges of
the doors and rocker panels are kept
clear and clean.
Insects, tar, tree sap, bird droppings,
industrial pollution and similar deposits
can damage your vehicle’s finish if not
removed immediately.
Even prompt washing with plain water
may not completely remove all these
deposits. A mild soap, safe for use on
painted surfaces, may be used.After washing, rinse the vehicle thor-
oughly with lukewarm or cold water. Do
not allow soap to dry on the finish.
CAUTION
Do not use strong soap, chemical
detergents or hot water, and donot wash the vehicle in directsunlight or when the body of thevehicle is warm.
Be careful when washing the side windows of your vehicle.Especially, with high-pressure water, water may leak through thewindows and wet the interior.
To prevent damage to the plastic parts and lamps, do not cleanwith chemical solvents or strongdetergents.
WARNING
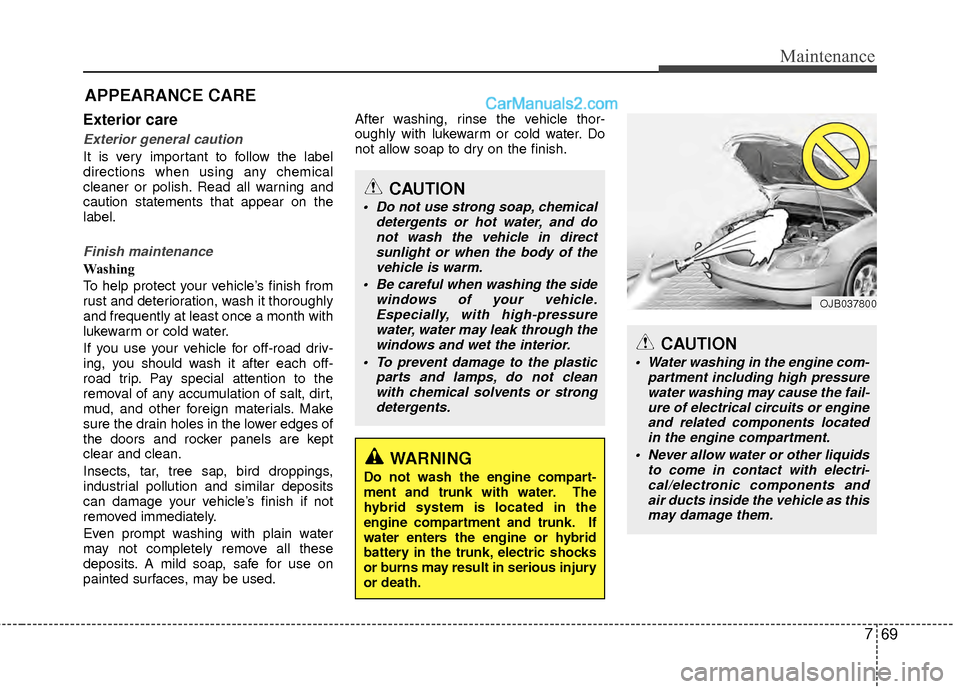
Do not wash the engine compart-
ment and trunk with water. The
hybrid system is located in the
engine compartment and trunk. If
water enters the engine or hybrid
battery in the trunk, electric shocks
or burns may result in serious injury
or death.
CAUTION
Water washing in the engine com- partment including high pressurewater washing may cause the fail- ure of electrical circuits or engineand related components located in the engine compartment.
Never allow water or other liquids to come in contact with electri-cal/electronic components andair ducts inside the vehicle as this may damage them.
OJB037800
Page 364 of 403

771
Maintenance
Aluminum wheel maintenance
The aluminum wheels are coated with a
clear protective finish.
Do not use any abrasive cleaner, pol-ishing compound, solvent, or wire
brushes on aluminum wheels. They
may scratch or damage the finish.
Use only a mild soap or neutral deter- gent, and rinse thoroughly with water.
Also, be sure to clean the wheels after
driving on salted roads. This helps pre-
vent corrosion.
Avoid washing the wheels with high- speed car wash brushes.
Do not use any cleaners containing acid or acid detergents. It may damage
and corrode the aluminum wheels
coated with a clear protective finish.
Corrosion protection
Protecting your vehicle from corrosion
By using the most advanced design and
construction practices to combat corro-
sion, we produce cars of the highest
quality. However, this is only part of the
job. To achieve the long-term corrosion
resistance your vehicle can deliver, the
owner's cooperation and assistance is
also required.
Common causes of corrosion
The most common causes of corrosion
on your car are:
allowed to accumulate underneath the
car.
Removal of paint or protective coatings by stones, gravel, abrasion or minor
scrapes and dents which leave unpro-
tected metal exposed to corrosion.WARNING
After washing the vehicle, test the
brakes while driving slowly to see if
they have been affected by water. If
braking performance is impaired,
dry the brakes by applying them
lightly while maintaining a slow for-
ward speed.
CAUTION
If the under cover is opened whiledriving, water or materials rusting the engine room may enter theengine room. It may result in the damage of Hybrid system.
Page 374 of 403
83
Specifications, Consumer information, Reporting safety defects
DIMENSIONS
Light BulbWattage Bulb type
Headlights (Low) 55 H11
Headlights (High) 55H7
Front turn signal lights 28 PY28/8W
Position lights LED-
Side repeater LED-
Front side marker LED-
Front fog lights* 35H8
Stop and tail lights LED-
Tail light* LED-
Rear turn signal lights 27 PY27W
Back-up lights 16 W16W
Light curtain LED-
Rear side marker LED-
High mounted stop light LED-
License plate lights 5 W5W
Map lamps 8 C8W
Room lamps 10 or 6 C10W/W6W
Luggage lamp* 5 C5W
Glove box lamp 5 C5W
Vanity mirror lamps 5 C5W
BULB WATTAGE
* : If equipped
Itemin (mm)
Overall length 189.8 (4820)
Overall width 72.2 (1835)
Overall height 57.7 (1465)
Front tread 62.9 (1597)*
1/ 62.6 (1591)*2
Rear tread62.9 (1597)*1/ 62.6 (1591)*2
Wheelbase 110.0 (2795)
*1: with R16 tire
*2: with R17 tire