Page 76 of 560
4
Keys / 4-2
Remote keyless entry / 4-5
Smart key / 4-8
Theft-alarm system / 4-11
Door locks / 4-13
Tailgate / 4-17
Windows / 4-19
Hood / 4-24
Fuel filler lid / 4-26
Panorama Sunroof / 4-29
Steering wheel / 4-33
Mirrors / 4-35
Instrument cluster / 4-42
Rear parking assist system / 4-67
Rearview camera / 4-71
Hazard warning flasher / 4-71
Lighting / 4-72
Wipers and washers / 4-78
Interior light / 4-82
Defroster / 4-85
Manual climate control system / 4-87
Automatic climate control system / 4-96
Windshield defrosting and defogging / 4-104
Storage compartment / 4-108
Interior features / 4-110
Exterior features / 4-117
Audio system / 4-118
Features of your vehicle
Page 95 of 560
Features of your vehicle
20
4
Power windows
The ignition switch must be in the ON
position for power windows to operate.
Each door has a power window switch
that controls the door’s window. The driv-
er has a power window lock switch which
can block the operation of rear (or front)
passenger windows.
The power windows can be operated for
approximately 30 seconds after the igni-
tion key is removed or turned to the ACC
or LOCK position. However, if the front
doors are opened, the power windows
cannot be operated even within the 30
seconds period. The driver’s door has a
master power window switch that con-
trols all the windows in the vehicle✽✽
NOTICE
While driving with the rear windows
down or with the sunroof (if equipped)
in an open (or partially open position),
your vehicle may demonstrate a wind
buffeting or pulsation noise. This
noise is a normal occurrence and can be
reduced or eliminated by taking the fol-
lowing actions. If the noise occurs with
one or both of the rear windows down,
partially lower both front windows
approximately one inch. If you experi-
ence the noise with the sunroof open,
slightly reduce the size of the sunroof
opening.
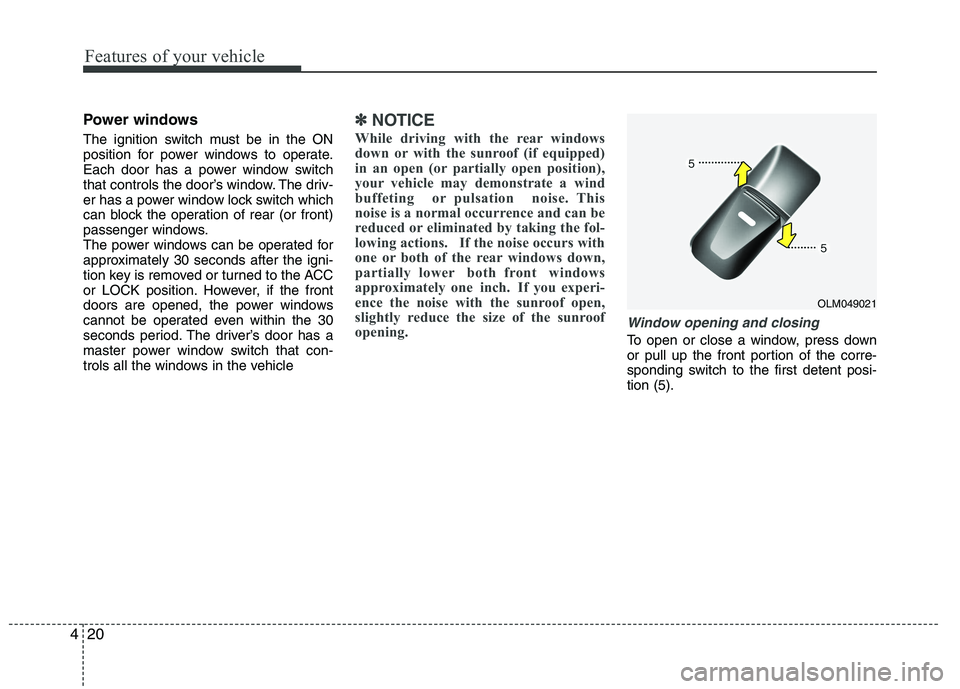
Window opening and closing
To open or close a window, press down
or pull up the front portion of the corre-
sponding switch to the first detent posi-tion (5).
OLM049021
Page 104 of 560
429
Features of your vehicle
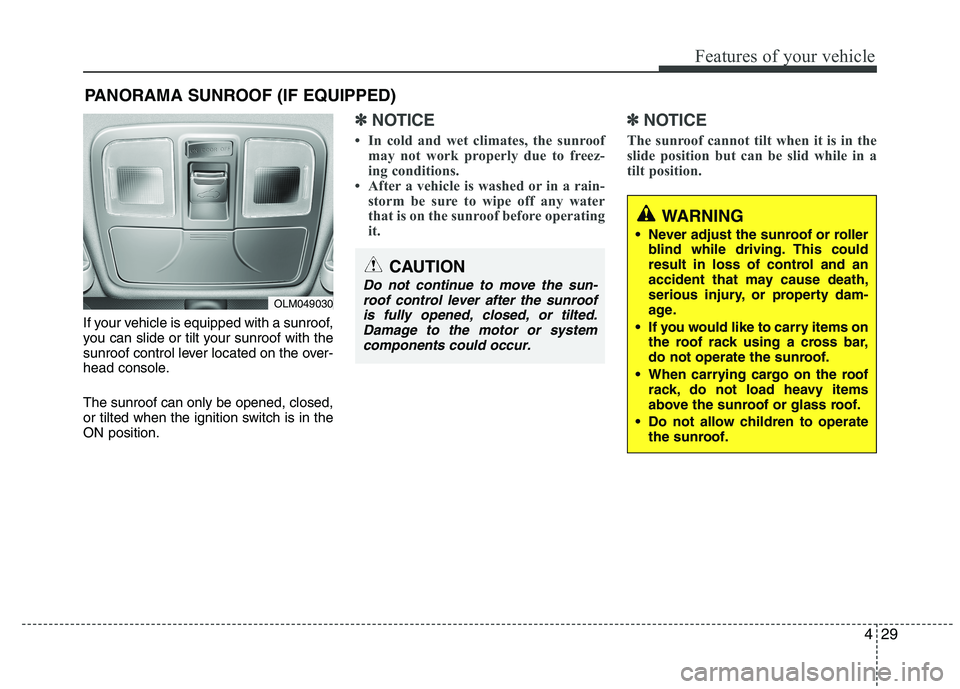
If your vehicle is equipped with a sunroof,
you can slide or tilt your sunroof with the
sunroof control lever located on the over-
head console. The sunroof can only be opened, closed,
or tilted when the ignition switch is in theON position.
✽✽NOTICE
In cold and wet climates, the sunroof may not work properly due to freez-
ing conditions.
After a vehicle is washed or in a rain- storm be sure to wipe off any water
that is on the sunroof before operating
it. ✽✽
NOTICE
The sunroof cannot tilt when it is in the
slide position but can be slid while in a
tilt position.
PANORAMA SUNROOF (IF EQUIPPED)
OLM049030
CAUTION
Do not continue to move the sun- roof control lever after the sunroofis fully opened, closed, or tilted.Damage to the motor or system components could occur.
WARNING
Never adjust the sunroof or roller blind while driving. This could
result in loss of control and an
accident that may cause death,
serious injury, or property dam-
age.
If you would like to carry items on the roof rack using a cross bar,
do not operate the sunroof.
When carrying cargo on the roof rack, do not load heavy items
above the sunroof or glass roof.
Do not allow children to operate the sunroof.
Page 105 of 560
Features of your vehicle
30
4
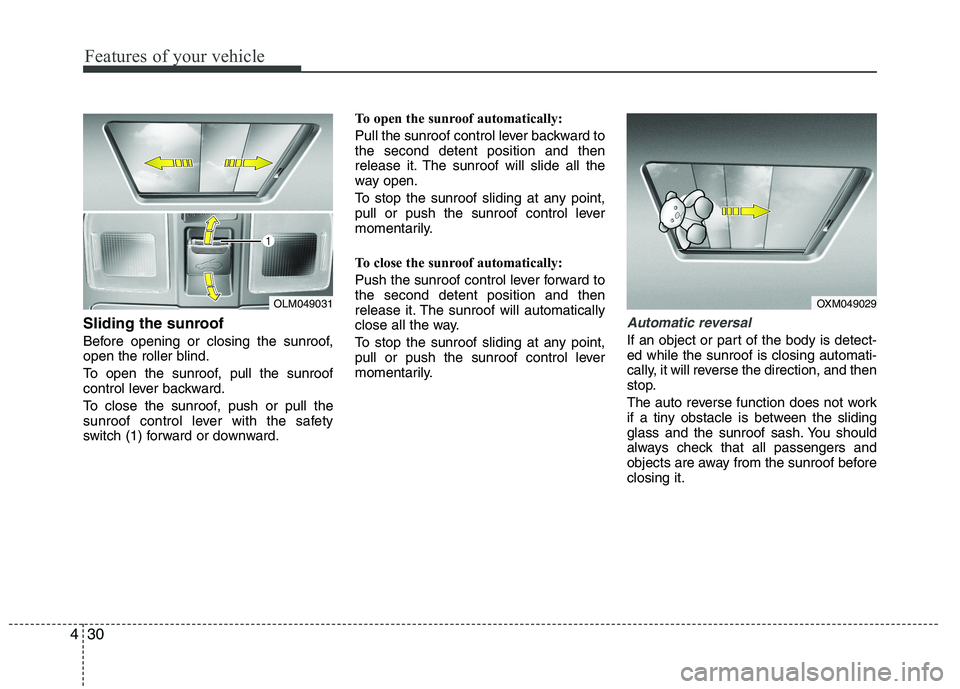
Sliding the sunroof
Before opening or closing the sunroof,
open the roller blind.
To open the sunroof, pull the sunroof
control lever backward.
To close the sunroof, push or pull the
sunroof control lever with the safety
switch (1) forward or downward. To open the sunroof automatically:
Pull the sunroof control lever backward to the second detent position and then
release it. The sunroof will slide all the
way open.
To stop the sunroof sliding at any point,
pull or push the sunroof control lever
momentarily.
To close the sunroof automatically:
Push the sunroof control lever forward to the second detent position and then
release it. The sunroof will automatically
close all the way.
To stop the sunroof sliding at any point,
pull or push the sunroof control lever
momentarily.Automatic reversal
If an object or part of the body is detect- ed while the sunroof is closing automati-
cally, it will reverse the direction, and then
stop.
The auto reverse function does not work
if a tiny obstacle is between the sliding
glass and the sunroof sash. You should
always check that all passengers and
objects are away from the sunroof beforeclosing it.
OLM049031OXM049029
Page 106 of 560
431
Features of your vehicle
WARNING
Never try pinching any part of your body intentionally to acti-
vate the Automatic reversal func-tion.
The Automatic reversal function may not work if something gets
caught just before the sunroof
fully closes.
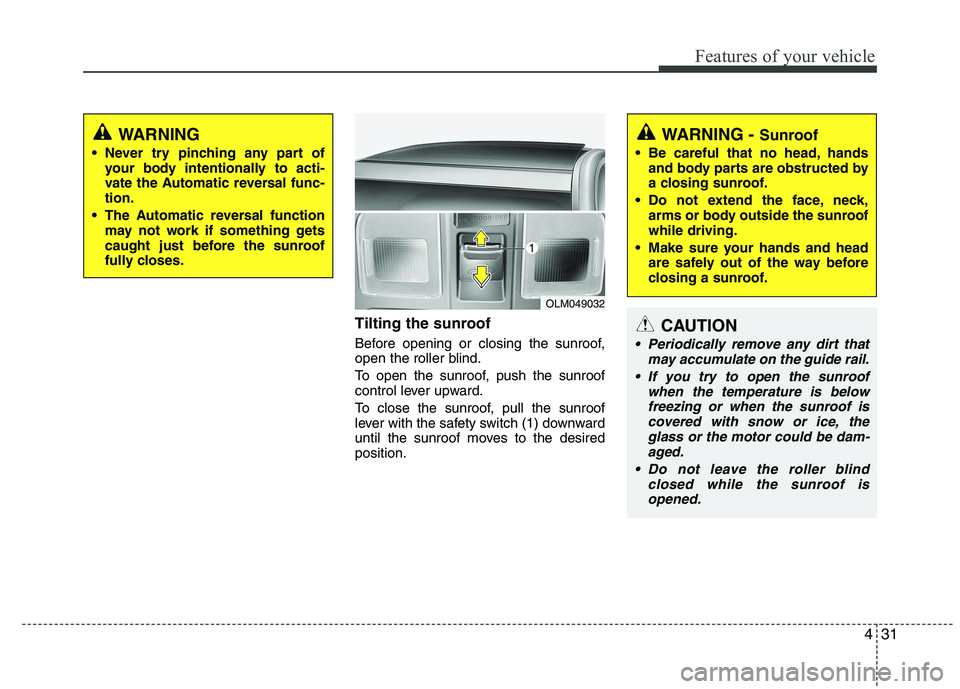
Tilting the sunroof
Before opening or closing the sunroof,
open the roller blind.
To open the sunroof, push the sunroof
control lever upward.
To close the sunroof, pull the sunroof
lever with the safety switch (1) downward
until the sunroof moves to the desiredposition.
OLM049032
WARNING - Sunroof
Be careful that no head, hands and body parts are obstructed by
a closing sunroof.
Do not extend the face, neck, arms or body outside the sunroofwhile driving.
Make sure your hands and head are safely out of the way before
closing a sunroof.
CAUTION
Periodically remove any dirt that
may accumulate on the guide rail.
If you try to open the sunroof when the temperature is below
freezing or when the sunroof is covered with snow or ice, theglass or the motor could be dam-aged.
Do not leave the roller blind closed while the sunroof isopened.
Page 107 of 560
Features of your vehicle
32
4
Roller blind
The roller blinds are installed inside of
the sunroof and glass roof.
Open or close it manually when you need
to.
Before opening or closing the sunroof,
open the roller blind.
✽✽
NOTICE
It is normal for wrinkles to form on the
blind because of its material character-
istic.
Resetting the sunroof
Whenever the vehicle battery is discon-
nected or discharged, you must reset
your sunroof system as follows:
1. Turn the ignition switch to the ON position.
2. Open the roller blind.
3. Close the sunroof.
4. Release the sunroof control lever.
5. Push the sunroof control lever forward in the direction of close (about 10 sec-
onds) until the sunroof is moved a lit-
tle. Then, release the lever.
6. Push the sunroof control lever forward in the direction of close until the sun-
roof operates as follows;
TILT OPEN �SLIDE OPEN �
SLIDE CLOSE
Then, release the lever.
When this is complete, the sunroof sys- tem has been reset.
OXM049031
Page 192 of 560
4117
Features of your vehicle
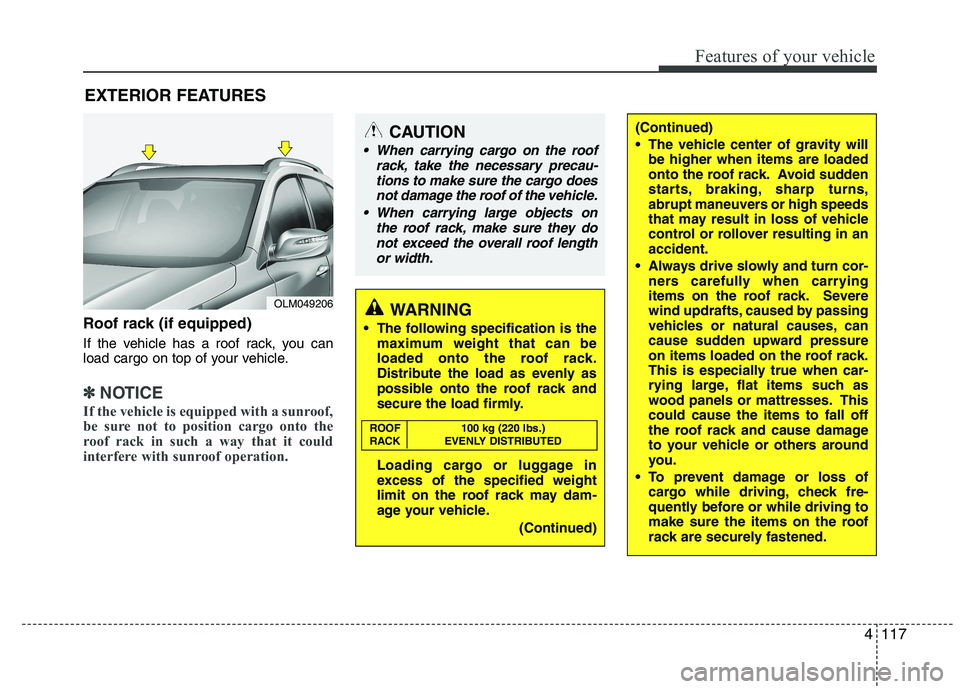
Roof rack (if equipped)
If the vehicle has a roof rack, you can
load cargo on top of your vehicle.
✽✽NOTICE
If the vehicle is equipped with a sunroof,
be sure not to position cargo onto the
roof rack in such a way that it could
interfere with sunroof operation.
EXTERIOR FEATURES
(Continued)
The vehicle center of gravity will be higher when items are loaded
onto the roof rack. Avoid sudden
starts, braking, sharp turns,
abrupt maneuvers or high speeds
that may result in loss of vehicle
control or rollover resulting in anaccident.
Always drive slowly and turn cor- ners carefully when carrying
items on the roof rack. Severe
wind updrafts, caused by passing
vehicles or natural causes, can
cause sudden upward pressure
on items loaded on the roof rack.
This is especially true when car-
rying large, flat items such as
wood panels or mattresses. Thiscould cause the items to fall off
the roof rack and cause damage
to your vehicle or others around
you.
To prevent damage or loss of cargo while driving, check fre-
quently before or while driving to
make sure the items on the roof
rack are securely fastened.CAUTION
When carrying cargo on the roof
rack, take the necessary precau-
tions to make sure the cargo doesnot damage the roof of the vehicle.
When carrying large objects on the roof rack, make sure they do
not exceed the overall roof length or width.
WARNING
The following specification is the maximum weight that can be
loaded onto the roof rack.
Distribute the load as evenly as
possible onto the roof rack and
secure the load firmly.
Loading cargo or luggage in
excess of the specified weight
limit on the roof rack may dam-
age your vehicle.
(Continued)
ROOF 100 kg (220 lbs.)
RACK EVENLY DISTRIBUTED
OLM049206
Page 348 of 560
Maintenance
28
7
Reset items
Items should be reset after the battery
has been discharged or the battery hasbeen disconnected.
Auto up/down window (See section 4)
Sunroof (See section 4)
Trip computer (See section 4)
Climate control system
(See section 4)
Clock (See section 4)
Audio (See section 4)(Continued)
Disconnect the battery charger in the following order.
1. Turn off the battery charger
main switch.
2. Unhook the negative clamp from the negative battery ter- minal.
3. Unhook the positive clamp from the positive battery termi-nal.
Before performing maintenance or recharging the battery, turn offall accessories and stop the
engine.
The negative battery cable must be removed first and installed
last when the battery is discon-nected.
EL UK 7.QXP 1/25/2010 10:03 AM Page 28