2012 HYUNDAI IX35 check engine light
[x] Cancel search: check engine lightPage 326 of 560
Maintenance
6
7
OWNER MAINTENANCE
The following lists are vehicle checks and
inspections that should be performed by
the owner or a HYUNDAI authorisedrepairer at the frequencies indicated to
help ensure safe, dependable operation
of your vehicle.
Any adverse conditions should be
brought to the attention of your dealer as
soon as possible.
These Owner Maintenance Checks are
generally not covered by warranties and
you may be charged for labour, parts and
lubricants used. Owner maintenance schedule
When you stop for fuel:
Check the engine oil level.
Check coolant level in coolant reser-
voir.
Check the windscreen washer fluid level.
Look for low or under-inflated tyres.
Whilst operating your vehicle:
Note any changes in the sound of the exhaust or any smell of exhaust fumes
in the vehicle.
Check for vibrations in the steering wheel. Notice any increased steering
effort or looseness in the steering
wheel, or change in its straight-aheadposition.
Notice if your vehicle constantly turns slightly or “pulls” to one side when trav-
elling on smooth, level road.
When stopping, listen and check for unusual sounds, pulling to one side,
increased brake pedal travel or “hard-
to-push” brake pedal.
If any slipping or changes in the oper- ation of your transaxle occurs, check
the transaxle fluid level.
Check manual transaxle operation, including clutch operation.
Check automatic transaxle P (Park) function.
Check parking brake.
Check for fluid leaks under your vehicle (water dripping from the air condition-
ing system during or after use is nor-mal).
WARNING
Be careful when checking your
engine coolant level when the
engine is hot. Scalding hot coolant
and steam may blow out under
pressure. This could cause burns
or other serious injury.
EL UK 7.QXP 1/25/2010 10:01 AM Page 6
Page 327 of 560
77
Maintenance
At least monthly:
Check coolant level in the enginecoolant reservoir.
Check the operation of all exterior lights, including the stoplights, turn sig-
nals and hazard warning flashers.
Check the inflation pressures of all tyres including the spare.
At least twice a year
(i.e., every Spring and Fall) :
Check radiator, heater and air condi- tioning hoses for leaks or damage.
Check windscreen washer spray and wiper operation. Clean wiper blades
with clean cloth dampened with wash-er fluid.
Check headlight alignment.
Check muffler, exhaust pipes, shields and clamps.
Check the lap/shoulder belts for wear and function.
Check for worn tyres and loose wheel lug nuts.
At least once a year :
Clean body and door drain holes.
Lubricate door hinges and checks, andbonnet hinges.
Lubricate door and bonnet locks and latches.
Lubricate door rubber weatherstrips.
Check the air conditioning system.
Check the power steering fluid level.
Inspect and lubricate automatic transaxle linkage and controls.
Clean battery and terminals.
Check the brake (and clutch) fluid level.
EL UK 7.QXP 1/25/2010 10:01 AM Page 7
Page 338 of 560
Maintenance
18
7
FUEL FILTER (FOR DIESEL)
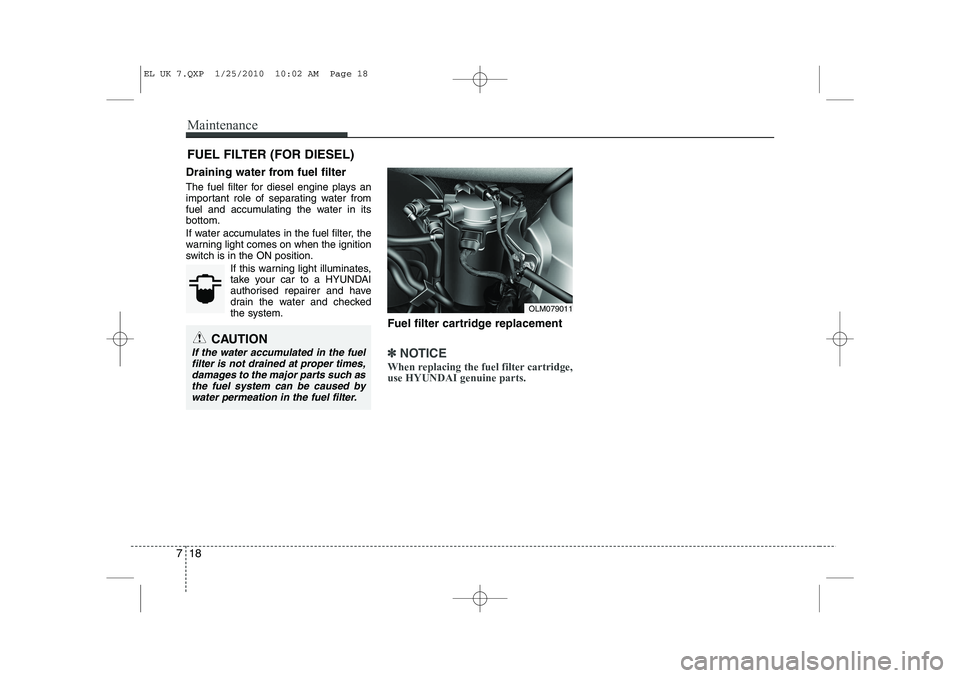
Draining water from fuel filter
The fuel filter for diesel engine plays an
important role of separating water from
fuel and accumulating the water in itsbottom.
If water accumulates in the fuel filter, the
warning light comes on when the ignition
switch is in the ON position. If this warning light illuminates,
take your car to a HYUNDAI
authorised repairer and have
drain the water and checkedthe system. Fuel filter cartridge replacement
✽✽NOTICE
When replacing the fuel filter cartridge, use HYUNDAI genuine parts.
OLM079011
CAUTION
If the water accumulated in the fuel filter is not drained at proper times,
damages to the major parts such asthe fuel system can be caused by water permeation in the fuel filter.
EL UK 7.QXP 1/25/2010 10:02 AM Page 18
Page 347 of 560
727
Maintenance
Battery recharging
Your vehicle has a maintenance-free,
calcium-based battery.
If the battery becomes discharged in ashort time (because, for example, the
headlights or interior lights were left on
whilst the vehicle was not in use),
recharge it by slow charging (trickle)
for 10 hours.
If the battery gradually discharges because of high electric load whilst the
vehicle is being used, recharge it at 20-
30A for two hours.(Continued)
When lifting a plastic-cased bat-tery, excessive pressure on the
case may cause battery acid to
leak, resulting in personal injury.
Lift with a battery carrier or with
your hands on opposite corners.
Never attempt to recharge the battery when the battery cablesare connected.
The electrical ignition system works with high voltage. Never
touch these components with theengine running or the ignition
switched on.
Failure to follow the above warn-
ings can result in serious bodily
injury or death.WARNING - Recharging
battery
When recharging the battery,
observe the following precautions:
The battery must be removed from the vehicle and placed in an area with good ventilation.
Do not allow cigarettes, sparks, or flame near the battery.
Watch the battery during charg- ing, and stop or reduce the charg-
ing rate if the battery cells begin
gassing (boiling) violently or if
the temperature of the electrolyte
of any cell exceeds 49°C (120°F).
Wear eye protection when check- ing the battery during charging.
(Continued)
EL UK 7.QXP 1/25/2010 10:03 AM Page 27
Page 359 of 560
739
Maintenance
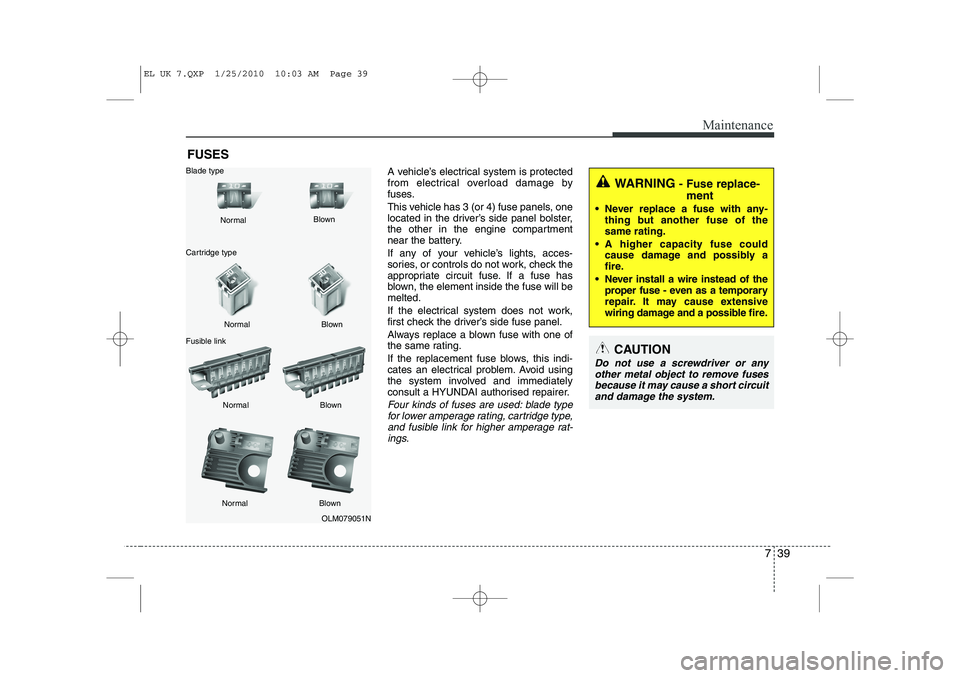
FUSESA vehicle’s electrical system is protected
from electrical overload damage by
fuses.
This vehicle has 3 (or 4) fuse panels, one
located in the driver’s side panel bolster,
the other in the engine compartment
near the battery.
If any of your vehicle’s lights, acces-
sories, or controls do not work, check the
appropriate circuit fuse. If a fuse has
blown, the element inside the fuse will bemelted.
If the electrical system does not work,
first check the driver’s side fuse panel.
Always replace a blown fuse with one of
the same rating.
If the replacement fuse blows, this indi-
cates an electrical problem. Avoid using
the system involved and immediately
consult a HYUNDAI authorised repairer.
Four kinds of fuses are used: blade typefor lower amperage rating, cartridge type,
and fusible link for higher amperage rat- ings.
WARNING - Fuse replace-
ment
Never replace a fuse with any- thing but another fuse of the same rating.
A higher capacity fuse could cause damage and possibly a
fire.
Never install a wire instead of the proper fuse - even as a temporary
repair. It may cause extensive
wiring damage and a possible fire.
CAUTION
Do not use a screwdriver or any
other metal object to remove fusesbecause it may cause a short circuit and damage the system.
OLM079051N
Normal
Normal
Blade type
Cartridge type
Fusible link Blown
Blown
Normal Blown
Normal Blown
EL UK 7.QXP 1/25/2010 10:03 AM Page 39
Page 360 of 560
Maintenance
40
7
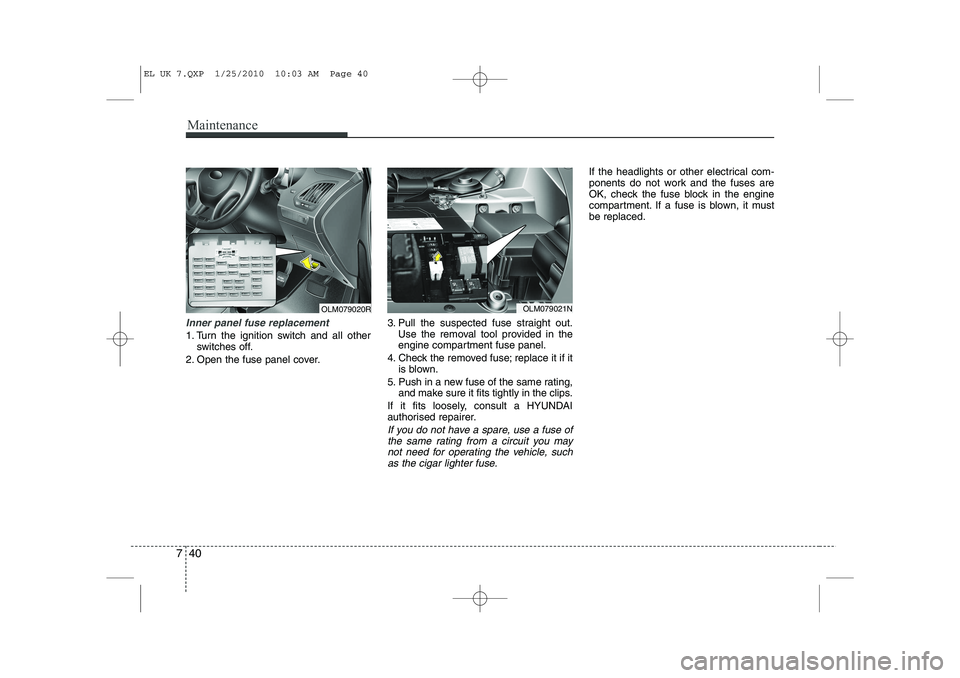
Inner panel fuse replacement
1. Turn the ignition switch and all other
switches off.
2. Open the fuse panel cover. 3. Pull the suspected fuse straight out.
Use the removal tool provided in the
engine compartment fuse panel.
4. Check the removed fuse; replace it if it is blown.
5. Push in a new fuse of the same rating, and make sure it fits tightly in the clips.
If it fits loosely, consult a HYUNDAI
authorised repairer.
If you do not have a spare, use a fuse of the same rating from a circuit you may
not need for operating the vehicle, such as the cigar lighter fuse.
If the headlights or other electrical com-
ponents do not work and the fuses are
OK, check the fuse block in the engine
compartment. If a fuse is blown, it mustbe replaced.
OLM079020ROLM079021N
EL UK 7.QXP 1/25/2010 10:03 AM Page 40
Page 372 of 560
Maintenance
52
7
Position light
1. Turn off the engine and open the bon-
net.
2. Remove the headlight bulb cover by turning it counterclockwise.
3. Remove the socket from the assembly by pulling it out.
4. Remove the bulb by pulling it straight out.
5. Insert a new bulb into the socket.
6. Install the socket into the assembly by pushing it in.Front fog light bulbs (if equipped)
1. Remove the front bumper under cover.
2. Reach your hand into the back of thefront bumper.
3. Disconnect the power connector from the socket.
4. Remove the bulb-socket from the housing by turning the socket counter
clockwise until the tabs on the socketalign with the slots on the housing.
5. Install the new bulb-socket into the housing by aligning the tabs on the
socket with the slots in the housing.
Push the socket into the housing and
turn the socket clockwise.
6. Connect the power connector to the socket.
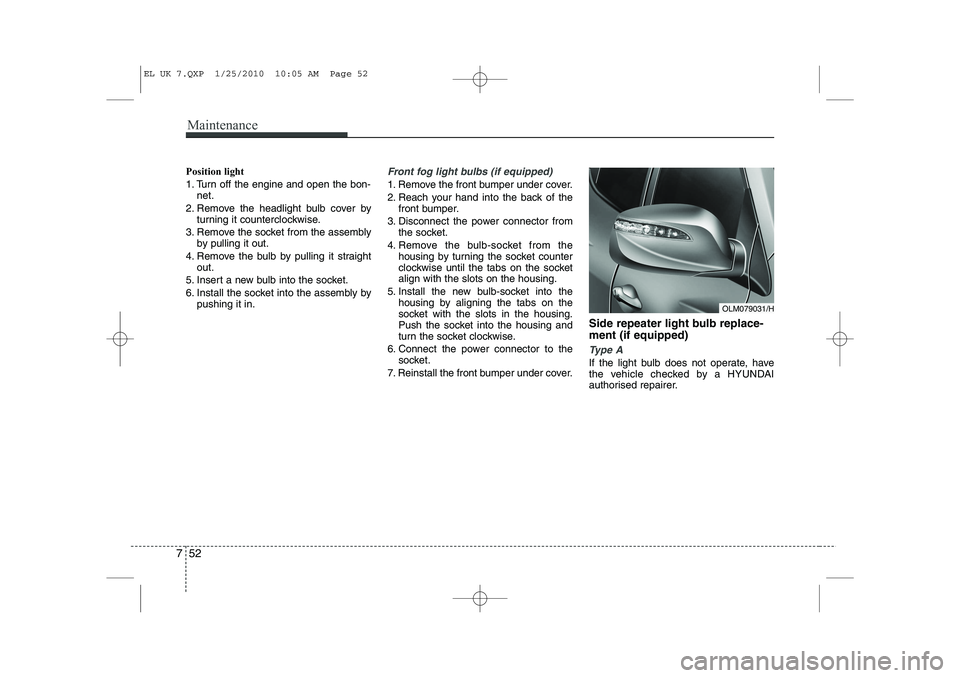
7. Reinstall the front bumper under cover. Side repeater light bulb replace- ment (if equipped)
Type A
If the light bulb does not operate, have
the vehicle checked by a HYUNDAI
authorised repairer.
OLM079031/H
EL UK 7.QXP 1/25/2010 10:05 AM Page 52
Page 404 of 560
I3
Index
Interior light bulb replacement··································7-56
License plate light bulb replacement ························7-55
Position light bulb replacement ································7-52
Rear combination light bulb replacement ·················7-53
Rear fog light bulb replacement································7-55Side repeater light bulb replacement·························7-52
Turn signal light bulb replacement ···························7-51
Bulb wattage ·····································································8-2
Button start/stop, see engine start/stop button ··················5-8
Capacities (Lubricants) ·····················································8-4 Care Exterior care ······························································7-57
Interior care ·······························································7-62
Tyre care····································································7-29
Cargo security screen····················································4-113
Central door lock switch ·················································4-14
Centre console storage ··················································4-106
Changing tyres ································································6-14Chains Tyre chains ································································5-55
Checking tyre inflation pressure ·····································7-31
Child restraint system ·····················································3-29 Tether anchor system ················································3-33
ISOFIX system ·························································3-35
Child-protector rear door lock ·······································4-16 Cigarette lighter ····························································4-108
Climate control air filter ·················································7-21
Climate control system (Automatic) ·····························4-96
Air conditioning ·····················································4-102Automatic heating and air conditioning ···················4-97
Manual heating and air conditioning ·······················4-98
Climate control system (Manual) ··································4-87 Air conditioning ·······················································4-92
Climate control air filter ··········································4-94
Heating and air conditioning·····································4-88
Clock (Digital) ······························································4-111
Combined instrument, see instrument cluster ················4-42Compass mirror, see the Electric chromic mirror (ECM) with compass ······································4-36
Cool box········································································4-107Coolant ···········································································7-13
Cooling fluid, see engine coolant ··································7-13
Crankcase emission control system ·······························7-63
Cruise control system ····················································5-43
Cup holder ···································································4-109
Curtain air bag ·······························································3-54
C
EL UK INDEX.QXP 1/12/2010 3:27 PM Page 3