Page 9 of 217

F9
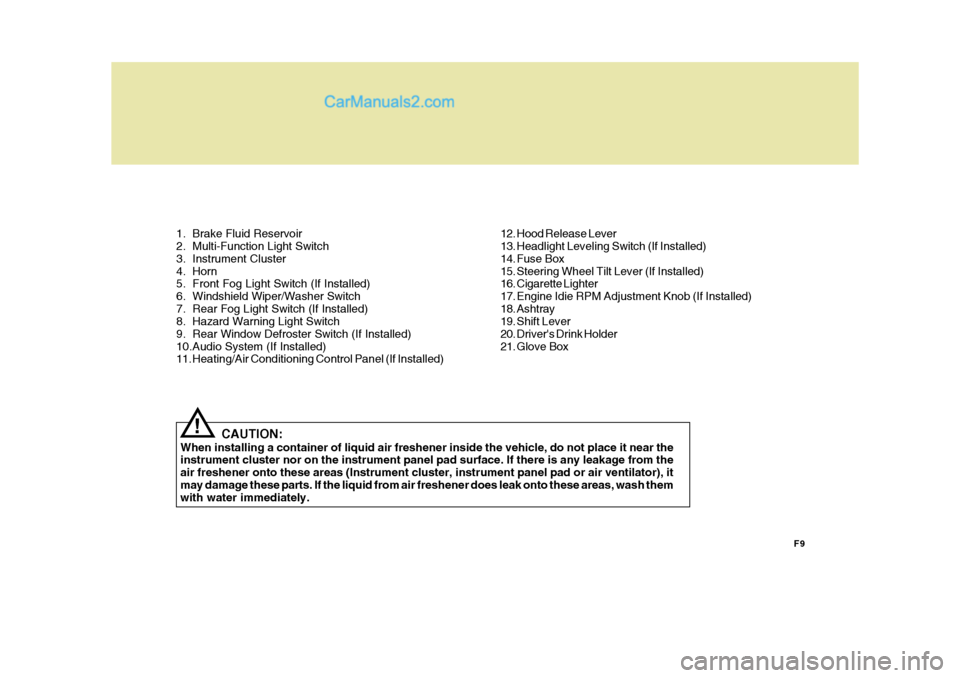
1. Brake Fluid Reservoir
2. Multi-Function Light Switch
3. Instrument Cluster
4. Horn
5. Front Fog Light Switch (If Installed)
6. Windshield Wiper/Washer Switch
7. Rear Fog Light Switch (If Installed)
8. Hazard Warning Light Switch
9. Rear Window Defroster Switch (If Installed)
10.Audio System (If Installed)
11. Heating/Air Conditioning Control Panel (If Installed)
CAUTION:
When installing a container of liquid air freshener inside the vehicle, do not place it near theinstrument cluster nor on the instrument panel pad surface. If there is any leakage from the air freshener onto these areas (Instrument cluster, instrument panel pad or air ventilator), itmay damage these parts. If the liquid from air freshener does leak onto these areas, wash them with water immediately.
! 12. Hood Release Lever
13. Headlight Leveling Switch (If Installed)
14. Fuse Box
15. Steering Wheel Tilt Lever (If Installed)
16. Cigarette Lighter
17. Engine Idie RPM Adjustment Knob (If Installed)
18. Ashtray
19. Shift Lever
20. Driver's Drink Holder
21. Glove Box
Page 11 of 217
F11
CAUTION:
When installing a container of liquid air freshener inside the vehicle, do not place it near the instrument cluster nor on the instrument panel pad surface. If there is any leakage from the air freshener onto these areas (Instrument cluster, instrument panel pad or air ventilator), it may damage these parts. If the liquid from air freshener does leak onto these areas, wash themwith water immediately.
!
1. Heating/Air Conditioning Control Panel (If Installed)
2. Audio System (If Installed)
3. Front Fog Light Switch (If Installed)
4. Rear Fog Light Switch (If Installed)
5. Hazard Warning Light Switch
6. Windshield Wiper/Washer Switch
7. Ticket Holder
8. Horn
9. Instrument Cluster
10. Multi-Function Light Switch
11. Brake Fluid Reservoir
12. Glove Box
13. Driver's Drink Holder
14. Shift Lever
15. Ashtray
16. Engine Idie RPM Adjustment Knob (If Installed)
17. Cigarette Lighter
18. Steering Wheel Tilt Lever (If Installed)
19. Fuse Box
20. Hood Release Lever
Page 45 of 217

1
FEATURES OF YOUR HYUNDAI
33
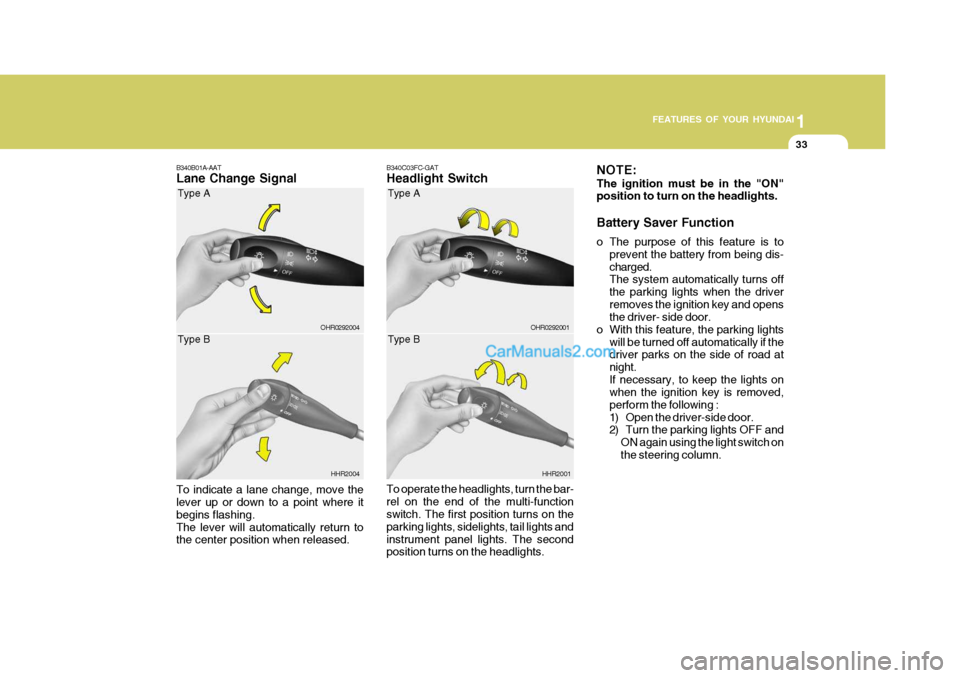
B340C03FC-GAT Headlight Switch To operate the headlights, turn the bar- rel on the end of the multi-function switch. The first position turns on the parking lights, sidelights, tail lights andinstrument panel lights. The second position turns on the headlights. HHR2001B340B01A-AAT Lane Change Signal To indicate a lane change, move the lever up or down to a point where it begins flashing.The lever will automatically return to the center position when released.OHR0292004
HHR2004
Type A Type B
NOTE: The ignition must be in the "ON" position to turn on the headlights.
OHR0292001
Type A Type B
Battery Saver Function
o The purpose of this feature is to
prevent the battery from being dis- charged. The system automatically turns off the parking lights when the driverremoves the ignition key and opens the driver- side door.
o With this feature, the parking lights will be turned off automatically if thedriver parks on the side of road at night.If necessary, to keep the lights on when the ignition key is removed, perform the following :
1) Open the driver-side door.
2) Turn the parking lights OFF and
ON again using the light switch on the steering column.
Page 84 of 217

1FEATURES OF YOUR HYUNDAI
72
Using a cellular phone or a two- way radio When a cellular phone is used inside the vehicle, noise may be producedfrom the audio equipment. This does not mean that something is wrong with the audio equipment. In such a case,use the cellular phone at a place as far as possible from the audio equipment. Precautions on handing the unit
o When the temperature inside your
car is high, open the window for ventilation, and then operate the unit.
o Do not use a cassette tape which
has longer play time than C-60 (60minute play time).
o Clean the head periodically (monthly)
using a cotton applicator soaked incolorless alcohol to enjoy excellent sound quality at all times.
o Be sure to check whether the tape is properly wound before inserting itinto the tape loading slot. When the tape is loose, tighten it using a pencilor similar instrument to take up the slack of the tape.
o Be sure to keep the cassette tapes always in the case to protect themfrom any dust. The dust or foreign substances attached to the tape candamage the tape head or deteriorate the sound quality.
o Keep the cassette tapes away from magnetic forces (speaker, TV, etc.)to maintain the recording on the tape in good condition. Take care not to let any other objectsthan the cassette tape enter thecassette loading slot.
o Do not use any gasoline, thinner,
benzene or any other organic sol-vents to clean the unit. Use a dry cloth to clean the unit.
o When the tapes are stored in an overlapping manner for a long time,the characteristics of the recording on the tape may be mutually trans-ferred, thus deteriorating the sound quality. When you rewind the tapes in everythree months to keep them for a long time, you can maintain good sound quality by preventing adhesion of thetape surfaces.
o Take care not to place the tapes on
the seat, instrument panel or nearwindow. Keep the tapes away from the direct sunlight.
!
! CAUTION:
When using a communication sys- tem such a cellular phone or a radio set inside the vehicle, a separate external antenna must be fitted. Whena cellular phone or a radio set is used with an internal antenna alone, it may interfere with the vehicle's elec-trical system and adversely affect safe operation of the vehicle.
WARNING:
Don't use a cellular phone when you are driving. You should stop at a safe place to use a cellular phone.