2012 Hyundai H-100 Truck oil pressure
[x] Cancel search: oil pressurePage 149 of 217
5VEHICLE MAINTENANCE REQUIREMENTS
10
!
EXPLANATION OF SCHEDULED MAINTENANCE ITEMS
F060M01A-AAT
o Engine Oil and Filter
The engine oil and filter should be
changed at those intervals specified in the maintenance schedule. If the ve- hicle is being driven in severe condi-tions, more frequent oil and filter changes are required.
F060N01HR-GAT
o Valve Clearances
An incorrect valve clearance will not
only result in rough engine operation, but will also cause excessive noiseand reduced engine output.
Inspect valve clearance and adjust as
required while the engine is hot.
See page 9-4 for the valve clearance
description. F060D01TB-GAT
o Fuel Lines, Fuel Hoses and
Connections
Check the fuel lines, fuel hoses and
connections for leakage and damage. Have a trained technician replace any damaged or leaking parts immediately. F060C01A-AAT
o Fuel Filter
A clogged filter can limit the speed at
which the vehicle may be driven, dam- age the emission system and cause hard starting. If an excessive amountof foreign matter accumulates in the fuel tank, the filter may require re- placement more frequently. After installing a new filter, run the
engine for several minutes, and checkfor leaks at the connections. Fuel fil- ters should be installed by trained technicians.
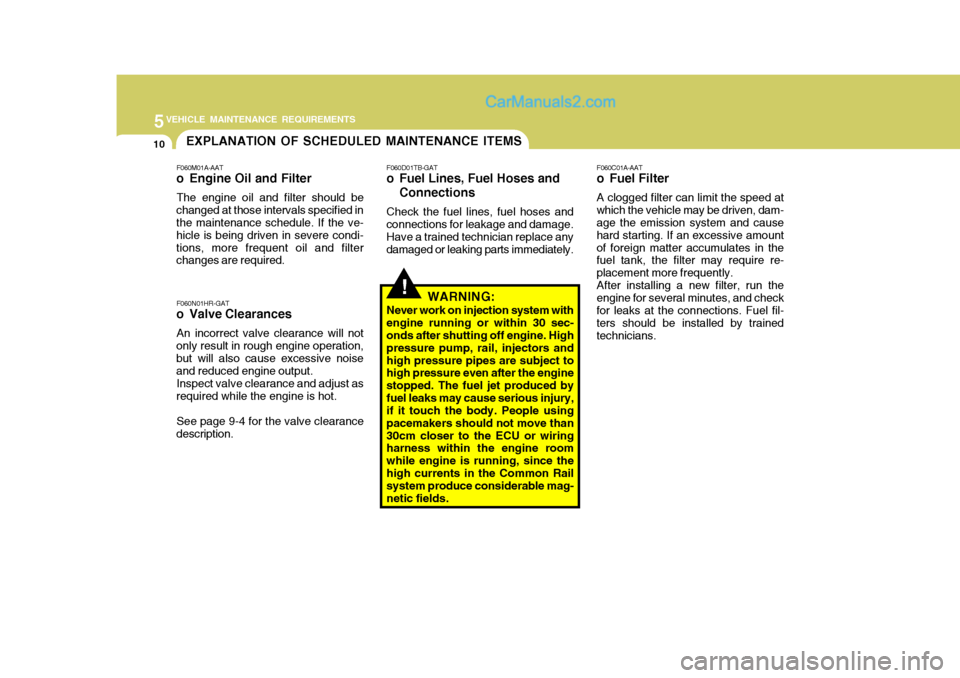
WARNING:
Never work on injection system withengine running or within 30 sec- onds after shutting off engine. High pressure pump, rail, injectors andhigh pressure pipes are subject to high pressure even after the engine stopped. The fuel jet produced byfuel leaks may cause serious injury, if it touch the body. People using pacemakers should not move than30cm closer to the ECU or wiring harness within the engine room while engine is running, since thehigh currents in the Common Rail system produce considerable mag- netic fields.
Page 157 of 217

6
DO-IT-YOURSELF MAINTENANCE
5
G020A01HR-GAT Engine Compartment The following should be checked regu- larly:
o Engine oil level and condition
o Transmission fluid level and condi-
tion
o Brake fluid level
o Engine coolant level
o Windshield washer fluid level
o Accessory drive belt condition
o Engine coolant hose condition
o Fluid leaks (on or below compo- nents)
o Power steering fluid level
o Battery condition
o Air filter condition G020C01HR-GAT Vehicle Interior The following should be checked each time when the vehicle is driven:
o Lights operation
o Windshield wiper operation
o Horn operation
o Defroster, heater system operation
(and air conditioning, if installed)
o Steering operation and condition
o Mirror condition and operation
o Turn signal operation
o Accelerator pedal operation
o Brake operation, including parking
brake
o Manual transmission operation, in- cluding clutch operation
o Seat control condition and operation
o Seat belt condition and operation
o Sunvisor operation If you notice anything that does not operate correctly or appears to be functioning incorrectly, inspect it care-fully and seek assistance from your Hyundai dealer if service is needed.
G020B01A-AAT Vehicle Exterior The following should be checked monthly:
o Overall appearance and condition
o Wheel condition and wheel nut torque
o Exhaust system condition
o Light condition and operation
o Windshield glass condition
o Wiper blade condition
o Paint condition and body corrosion
o Fluid leaks
o Door and hood lock condition
o Tire pressure and condition
(including spare tire)
GENERAL CHECKS
Page 160 of 217
6 DO-IT-YOURSELF MAINTENANCE
8
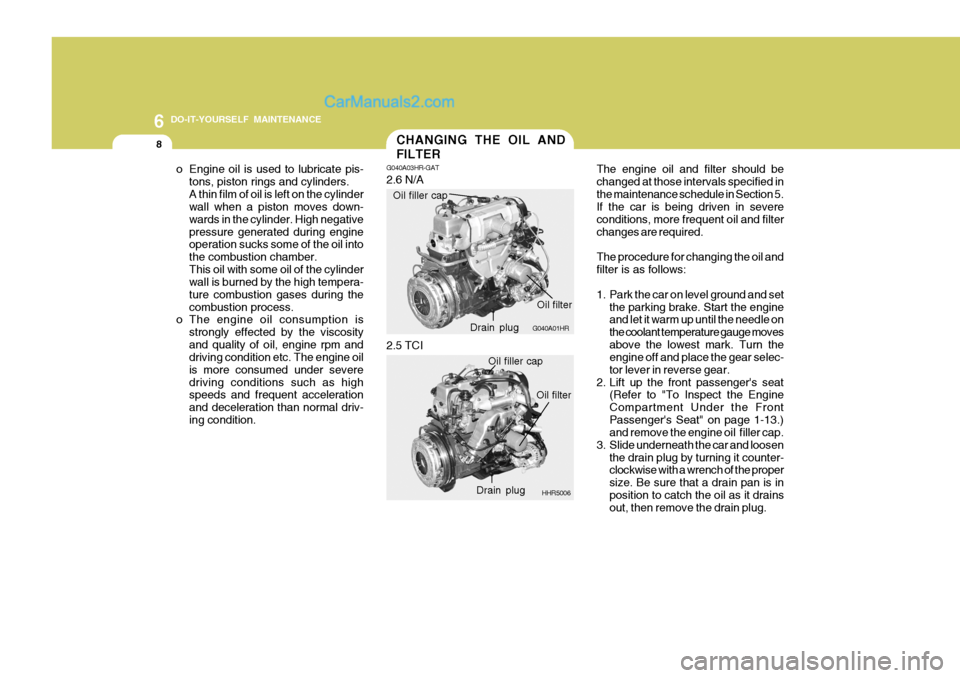
The engine oil and filter should be changed at those intervals specified inthe maintenance schedule in Section 5. If the car is being driven in severe conditions, more frequent oil and filterchanges are required. The procedure for changing the oil and filter is as follows:
1. Park the car on level ground and set
the parking brake. Start the engine and let it warm up until the needle on the coolant temperature gauge movesabove the lowest mark. Turn the engine off and place the gear selec- tor lever in reverse gear.
2. Lift up the front passenger's seat (Refer to "To Inspect the EngineCompartment Under the FrontPassenger's Seat" on page 1-13.) and remove the engine oil filler cap.
3. Slide underneath the car and loosen the drain plug by turning it counter-clockwise with a wrench of the proper size. Be sure that a drain pan is inposition to catch the oil as it drains out, then remove the drain plug.
CHANGING THE OIL AND FILTER
o Engine oil is used to lubricate pis- tons, piston rings and cylinders. A thin film of oil is left on the cylinder wall when a piston moves down- wards in the cylinder. High negativepressure generated during engine operation sucks some of the oil into the combustion chamber.This oil with some oil of the cylinder wall is burned by the high tempera-
ture combustion gases during thecombustion process.
o The engine oil consumption is
strongly effected by the viscosityand quality of oil, engine rpm and driving condition etc. The engine oil is more consumed under severedriving conditions such as high speeds and frequent acceleration and deceleration than normal driv-ing condition. G040A03HR-GAT 2.6 N/A
G040A01HR
Oil filler capDrain plugOil filter
2.5 TCI
HHR5006
Oil filler cap
Drain plug Oil filter
Page 182 of 217
6 DO-IT-YOURSELF MAINTENANCE
30
!WARNING:
o Do not smoke or have any other open flame near the vehicle while bleeding the fuel system.
o Be sure to carefully wipe away any
water drained out in this manner,because the fuel mixed in the wa- ter might be ignited and result in a fire.
HEADLIGHT AIMING ADJUSTMENT
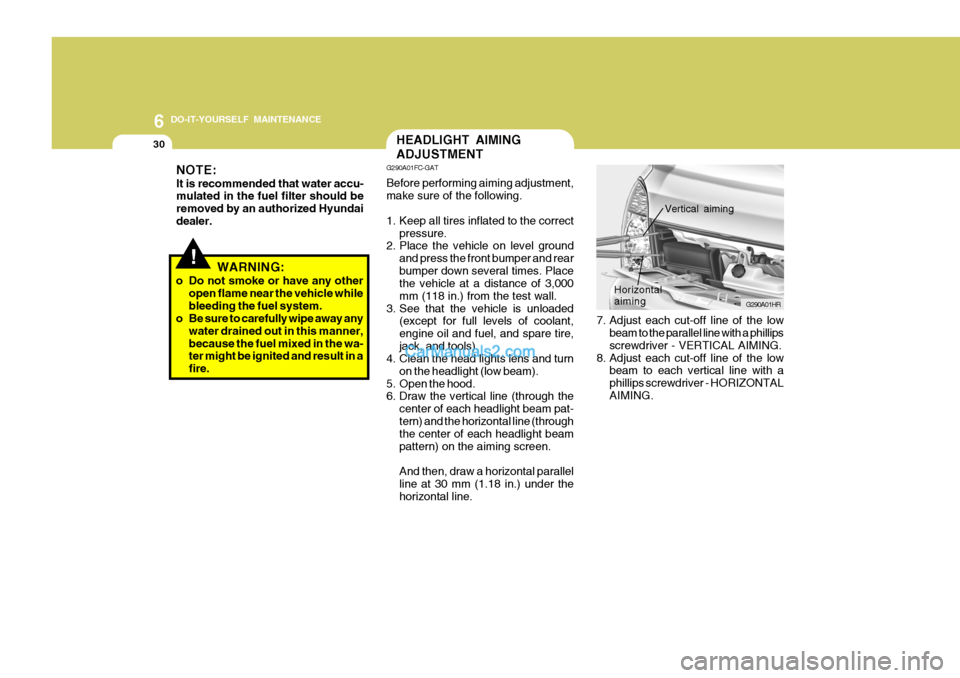
7. Adjust each cut-off line of the lowbeam to the parallel line with a phillips screwdriver - VERTICAL AIMING.
8. Adjust each cut-off line of the low beam to each vertical line with a phillips screwdriver - HORIZONTALAIMING. G290A01HR
Horizontal aiming
Vertical aiming
G290A01FC-GAT Before performing aiming adjustment, make sure of the following.
1. Keep all tires inflated to the correct
pressure.
2. Place the vehicle on level ground
and press the front bumper and rear bumper down several times. Place the vehicle at a distance of 3,000 mm (118 in.) from the test wall.
3. See that the vehicle is unloaded (except for full levels of coolant,engine oil and fuel, and spare tire,jack, and tools).
4. Clean the head lights lens and turn
on the headlight (low beam).
5. Open the hood.
6. Draw the vertical line (through the
center of each headlight beam pat- tern) and the horizontal line (through the center of each headlight beam pattern) on the aiming screen. And then, draw a horizontal parallel line at 30 mm (1.18 in.) under thehorizontal line.
NOTE: It is recommended that water accu- mulated in the fuel filter should be removed by an authorized Hyundaidealer.
Page 216 of 217
10
INDEX
5
O Odometer/Trip Odometer ............................................ 1-31
PParking Brake ............................................................. 1-46
Power Steering Fluid Level ......................................... 6-27
Power Windows ........................................................... 1-8
R Rear Axle Oi l .............................................................. 6-17
Rear Seat ................................................................... 1-11
Rear seat cushion under box ................................... 1-11
Rear Window Defroster Switch ................................... 1-48
S Seat Front seat ................................................................. 1-8Rear seat ................................................................. 1-11
Seat Belts 2-Point type ............................................................. 1-17
3-Point system ........................................................ 1-16
Adjusting your seat belt ........................................... 1-17
Care of seat belts .................................................... 1-15
Precautions .............................................................. 1-14
Spectacle Ca se .......................................................... 1-43
Speedometer .............................................................. 1-31
Starting ........................................................................ 2-5 Steering Wheel Free-play
........................................... 6-21
Steering Wheel Tilt Lever ........................................... 1-52
Stereo Sound System ................................................ 1-64
Sun Visor .................................................................... 1-51
TTachometer ................................................................. 1-31
Ticket Holder .............................................................. 1-39
Tires Balancing .................................................................. 8-5
Chains ...................................................................... 8-4
If you have a flat tire ................................................ 3-8
Information ................................................................ 8-3
Pressure ................................................................... 8-3
Replacement ............................................................. 8-5
Rotation .................................................................... 8-4
Snow tires ................................................................ 8-4
Spare tire .................................................................. 3-5
Traction ..................................................................... 8-5
Towing A trailer (or vehicle) ................................................. 2-15
Emergency .............................................................. 3-18
If your vehicle must be towed ................................. 3-16
Trailer or Vehicle Towing ............................................ 2-15
Transmission Manual ...................................................................... 2-7
Manual transmission Oil checking ........................... 6-16
Trip Odometer ............................................................. 1-31