2012 Hyundai Accent ECO
[x] Cancel search: ECOPage 330 of 370

755
Maintenance
Instrument panel (Driver’s side fuse panel)
Description Fuse ratingProtected component
P/OUTLET 15A Cigarette Lighter & Power Outlet (Power Outlet)
C/LIGHTER 15A Cigarette Lighter & Power Outlet (Cigarette Lighter)
ACC 10A Audio, Power Outside Mirror Switch
A/BAG IND 10A Instrument Cluster (Air Bag IND.)
A/BAG 10A SRS Control Module, Telltale, Passenger Occupant Detection Sensor
T/SIG 10A Hazard Switch
IG1 2 10A Not Used
WIPER RR 15A Multifunction Switch (Wiper), Rear Wiper Moter
SPARE 6 15A Not Used
SPARE 1 10A Not Used
FOG LP FRT 10A Front Fog Lamp Relay
ROOM LP 2 10A Auto Cut Relay
STOP LP 15AStop Lamp Switch, Battery Sensor, Stop Lamp RelayE/R Fuse & Relay Box (HAC Relay),
Data Link Connector
CLUSTER 10A Instrument Cluster (MICOM, IND.), BCM
IG1 1 10AStop Lamp Switch, ECO Switch, Driver/Passenger Seat Heater Module
Tire Pressure Monitoring Module, ATM Shift Lever Switch ILL. EPS Control Module, Rheostat
ABS 10AABS Control Module, ESC Control Module,
ESC Off Switch E/R Fuse & Relay Box (Multipurpose Check Connector, HAC Relay)
B/UP LP 10A Back-Up Lamp Switch
ECU 10A ECM, PCM
H/LP LH 10A Head Lamp LH
HAZARD 15A Hazard Relay, Hazard Switch
SPARE 2 25A Not Used
SUNROOF 15A Sunroof Motor
Page 331 of 370

Maintenance
56
7
Description Fuse rating Protected component
SPARE 3 10A Not Used
TCU 15A Vehicle Speed Sensor, Transaxle Range Switch
IGN COIL 15A Ignition Coil #1~#4, Condenser
IG2 10APower Window Relay, A/C Control Module, Instrument Cluster (MICOM) BCM,
Sunroof Motor, E/R Fuse & Relay Box (Blower Relay)
WIPER FRT 25A Multifunction Switch (Wiper), Front Wiper Motor
DR LOCK 20A Door Lock/Unlock Relay, Two Turn Unlock Relay Driver Door Lock Actuator
SPARE 4 25A Not Used
S/HEATER 15A Driver/Passenger Seat Heater Module
SPARE 5 10A Not Used
ROOM LP 1 10AInstrument Cluster (IND.,ILL.), Tire Pressure Monitoring Module, BCM A/C Control Module,
Luggage Room Lamp, Trunk Room Lamp Center Room Lamp, Overhead Console Lamp, Map Lamp
AUDIO 20A Audio
TAIL LP LH 10ARear Combination Lamp LH, Head Lamp LH, Front Turn Signal Lamp LH
License Lamp LH/RH (4Door), License Lamp (5Door)
TAIL LP RH 10AHead Lamp RH, Rear Combination Lamp RH, Rheostat, Audio Front Turn Signal Lamp RH,
Hazard Switch, Instrument Cluster (ILL.+) AUX & USB Jack, ESC Off Switch, A/C Switch,
ECO Switch Multifunction Switch (Remote Control), A/C Control Module R\
ear Defogger Switch,
Front Deicer Switch, ATM Shift Lever Switch ILL.
START 10A Transaxle Range Switch, Ignition Lock Switch
H/LP RH 10A Instrument Cluster (High Beam IND.), Head Lamp RH
P/WDW LH 25A Power Window Main Switch, Rear Power Window Switch LH
P/WDW RH 25A Power Window Main Switch, Rear Power Window Switch RHPassenger Power Window Switch
HTD MIRR 10AECM, PCM, Rear Defogger Switch, Driver Power Outside Mirror
Passenger Power Outside Mirror
A/CON 10A A/C Control Module (Auto A/C)
BLOWER 10A ECM, PCM, Blower Switch, Blower Resistor A/C Control Module (Manual A/C)
Page 335 of 370

Maintenance
60
7
Turn signal light/Position light
1. Turn off the engine and open the hood.
2. Remove the socket from the assembly
by turning the socket counterclockwise
until the tabs on the socket align with
the slots on the assembly.
3. Remove the bulb from the socket by pressing it in and rotating it counter-
clockwise until the tabs on the bulb
align with the slots in the socket. Pull
the bulb out of the socket
4. Insert a new bulb by inserting it into the socket and rotating it until it locks
into place.
5. Install the socket in the assembly by aligning the tabs on the socket with the
slots in the assembly. Push the socket
into the assembly and turn the socket
clockwise.
(Continued)
If a bulb becomes damaged orcracked, replace it immediately
and carefully dispose of it.
Wear eye protection when chang- ing a bulb. Allow the bulb to cool
down before handling it.
OHD076046
WARNING- Halogen bulbs
Halogen bulbs contain pressur-ized gas that will produce flying
pieces of glass if broken.
Always handle them carefully, and avoid scratches and abra-
sions. If the bulbs are lit, avoid
contact with liquids. Never touch
the glass with bare hands.
Residual oil may cause the bulb
to overheat and burst when lit. A
bulb should be operated only
when installed in a headlight.
(Continued)
ORBC070049
Page 347 of 370

Maintenance
72
7
give particular attention to the compo-
nents under the fenders and other
areas that are hidden from view. Do a
thorough job; just dampening the accu-
mulated mud rather than washing it
away will accelerate corrosion rather
than prevent it. Water under high pres-
sure and steam are particularly effec-
tive in removing accumulated mud and
corrosive materials.
rocker panels and frame members, be
sure that drain holes are kept open so
that moisture can escape and not be
trapped inside to accelerate corrosion.
Keep your garage dry
Don't park your car in a damp, poorly
ventilated garage. This creates a favor-
able environment for corrosion. This is
particularly true if you wash your car in
the garage or drive it into the garage
when it is still wet or covered with snow,
ice or mud. Even a heated garage can
contribute to corrosion unless it is well
ventilated so moisture is dispersed. Keep paint and trim in good condition
Scratches or chips in the finish should be
covered with "touch-up" paint as soon as
possible to reduce the possibility of cor-
rosion. If bare metal is showing through,
the attention of a qualified body and paint
shop is recommended.
Bird droppings : Bird droppings are high-
ly corrosive and may damage painted
surfaces in just a few hours. Always
remove bird droppings as soon as possi-
ble.
Don't neglect the interior
Moisture can collect under the floor mats
and carpeting to cause corrosion. Check
under the mats periodically to be sure
the carpeting is dry. Use particular care if
you carry fertilizers, cleaning materials or
chemicals in the car.
These should be carried only in proper
containers and any spills or leaks should
be cleaned up, flushed with clean water
and thoroughly dried.Interior care
Interior general precautions
Prevent caustic solutions such as per-
fume and cosmetic oil from contacting
the dashboard because they may cause
damage or discoloration. If they do con-
tact the dashboard, wipe them off imme-
diately. See the instructions that follow for
the proper way to clean vinyl.
CAUTION
Never allow water or other liquids
to come in contact with electri-cal/electronic components inside the vehicle as this may damagethem.
When cleaning leather products (steering wheel, seats etc.), useneutral detergents or low alcohol content solutions. If you use highalcohol content solutions or acid/alkaline detergents, the colorof the leather may fade or the sur-face may get stripped off.
Page 348 of 370

773
Maintenance
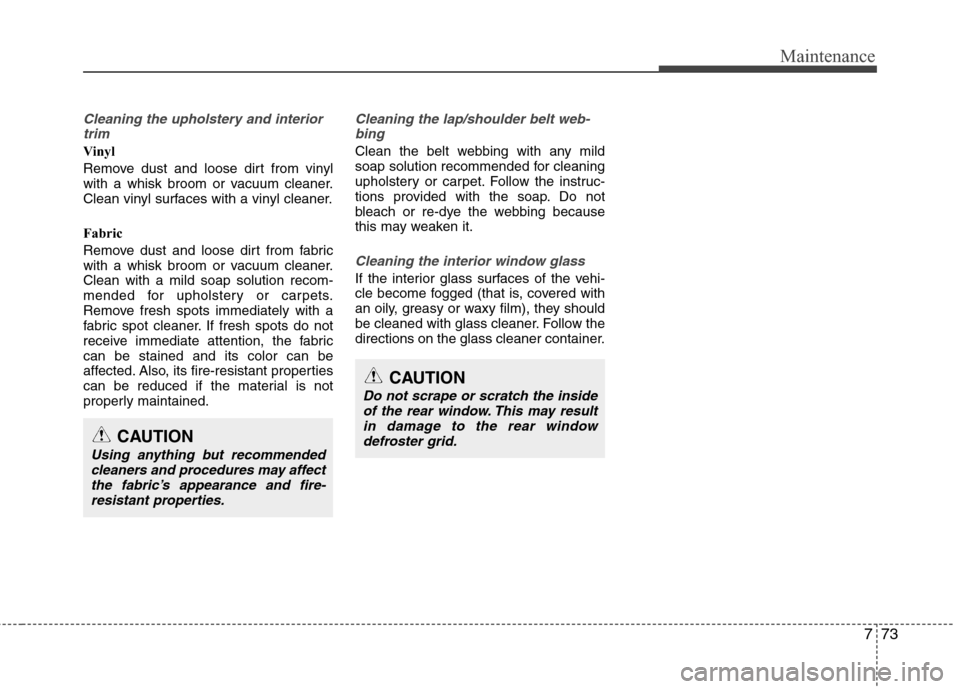
Cleaning the upholstery and interiortrim
Vinyl
Remove dust and loose dirt from vinyl
with a whisk broom or vacuum cleaner.
Clean vinyl surfaces with a vinyl cleaner.
Fabric
Remove dust and loose dirt from fabric
with a whisk broom or vacuum cleaner.
Clean with a mild soap solution recom-
mended for upholstery or carpets.
Remove fresh spots immediately with a
fabric spot cleaner. If fresh spots do not
receive immediate attention, the fabric
can be stained and its color can be
affected. Also, its fire-resistant properties
can be reduced if the material is not
properly maintained.
Cleaning the lap/shoulder belt web-bing
Clean the belt webbing with any mild
soap solution recommended for cleaning
upholstery or carpet. Follow the instruc-
tions provided with the soap. Do not
bleach or re-dye the webbing because
this may weaken it.
Cleaning the interior window glass
If the interior glass surfaces of the vehi-
cle become fogged (that is, covered with
an oily, greasy or waxy film), they should
be cleaned with glass cleaner. Follow the
directions on the glass cleaner container.
CAUTION
Using anything but recommendedcleaners and procedures may affectthe fabric’s appearance and fire-resistant properties.
CAUTION
Do not scrape or scratch the inside of the rear window. This may resultin damage to the rear windowdefroster grid.
Page 349 of 370

Maintenance
74
7
EMISSION CONTROL SYSTEM
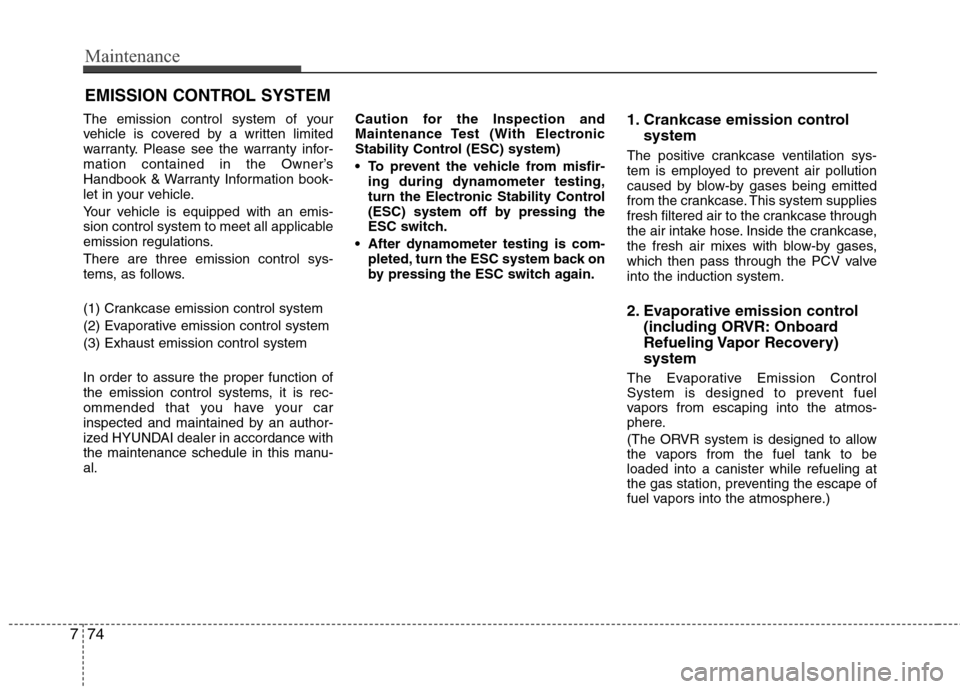
The emission control system of your
vehicle is covered by a written limited
warranty. Please see the warranty infor-
mation contained in the Owner’s
Handbook & Warranty Information book-
let in your vehicle.
Your vehicle is equipped with an emis-
sion control system to meet all applicable
emission regulations.
There are three emission control sys-
tems, as follows.
(1) Crankcase emission control system
(2) Evaporative emission control system
(3) Exhaust emission control system
In order to assure the proper function of
the emission control systems, it is rec-
ommended that you have your car
inspected and maintained by an author-
ized HYUNDAI dealer in accordance with
the maintenance schedule in this manu-
al. Caution for the Inspection and
Maintenance Test (With Electronic
Stability Control (ESC) system)
To prevent the vehicle from misfir-
ing during dynamometer testing,
turn the Electronic Stability Control
(ESC) system off by pressing the
ESC switch.
After dynamometer testing is com- pleted, turn the ESC system back on
by pressing the ESC switch again.1. Crankcase emission control system
The positive crankcase ventilation sys-
tem is employed to prevent air pollution
caused by blow-by gases being emitted
from the crankcase. This system supplies
fresh filtered air to the crankcase through
the air intake hose. Inside the crankcase,
the fresh air mixes with blow-by gases,
which then pass through the PCV valve
into the induction system.
2. Evaporative emission control(including ORVR: Onboard
Refueling Vapor Recovery)
system
The Evaporative Emission Control
System is designed to prevent fuel
vapors from escaping into the atmos-
phere.
(The ORVR system is designed to allow
the vapors from the fuel tank to be
loaded into a canister while refueling at
the gas station, preventing the escape of
fuel vapors into the atmosphere.)
Page 353 of 370

8
Engine / 8-2
Dimensions / 8-2
Bulb wattage / 8-2
Tires and wheels / 8-3
Capacity/weight / 8-3
Recommended lubricants and capacities / 8-4
Vehicle identification number (VIN) / 8-6
Vehicle certification label / 8-6
Tire specification and pressure label / 8-7
Engine number / 8-7
Refrigerant label / 8-7
Consumer information / 8-8
Reporting safety defects / 8-9
Binding arbitration / 8-9
Specifications, Consumer information,
Reporting safety defects
Page 356 of 370

Specifications, Consumer information, Reporting safety defeccts
48
RECOMMENDED LUBRICANTS AND CAPACITIES
To help achieve proper engine and powertrain performance and durability, use only lubricants of the proper quality. The correct
lubricants also help promote engine efficiency that results in improved fuel economy.
These lubricants and fluids are recommended for use in your vehicle.
*1Refer to the recommended SAE viscosity numbers on the next page.
*2Engine oils labeled Energy Conserving Oil are now available. Along with other additional benefits, they contribute to fuel econo my by reducing
the amount of fuel necessary to overcome engine friction. Often, these improvements are difficult to measure in everyday driving, but in a year’s
time, they can offer significant cost and energy savings.
*
3If the API service SM engine oil is not available in your country, you are able to use API service SL.
LubricantVolumeClassification
Engine oil *1 *2 (drain and refill)
Recommends
3.49 US qt. (3.3 l)API Service SM*3,
ILSAC GF-4 or above
Manual transaxle fluid1.9 US qt. (1.8 l)API GL-4, SAE 75W/85
Automatic transaxle fluid7.71 US qt. (7.3 l)
MICHANG ATF SP-IV, SK ATF SP-IV
NOCA ATF SP-IV, HYUNDAI genuine ATF SP-IV or other brands meeting the above specification approved by Hyundai Motor Co.,
Coolant Mixture of antifreeze and water (Ethylene glycol basecoolant for aluminum radiator)
Brake/clutch fluid0.7~0.8 US qt.
(0.7~0.8 l)FMVSS116 DOT-3 or DOT-4
Fuel11.4 US gal. (43 l)Unleaded gasoline
4.7 US qt. (5.3 l)