Page 120 of 361

119
uuOperating the Switches Around the Steering WheeluECON Button
Controls
ECON ButtonThe ECON button turns the ECON mode on
and off.
The ECON mode helps you improve your fuel
economy by adjusting the performance of the
engine, transmission, air conditioning system,
and cruise control.
Adjusting the Steering Wheel
The steering wheel height and distance from your body can be adjusted so that you
can comfortably grip the steering wheel in an appropriate driving posture. 1.Pull the steering wheel adjustment lever up.
uThe steering wheel adjustment lever is
under the steering column.
2. Move the steering wheel up or down, and
in or out.
uMake sure you can see the instrument
panel gauges and indicators.
3. Push the steering wheel adjustment lever
down to lock the steering wheel in position.
uAfter adjusting the position, make sure
you have securely locked the steering
wheel in place by trying to move it up,
down, in, and out.
1Adjusting the Steering Wheel
Make any steering wheel adjustments before you
start driving.
3WARNING
Adjusting the steering wheel position while
driving may cause you to lose control of the
vehicle and be seriously injured in a crash.
Adjust the steering wheel only when the
vehicle is stopped.To adjust
To lockLever
Page 130 of 361

129
uuAdjusting the SeatsuRear Seats
Continued
Controls
Rear Seats
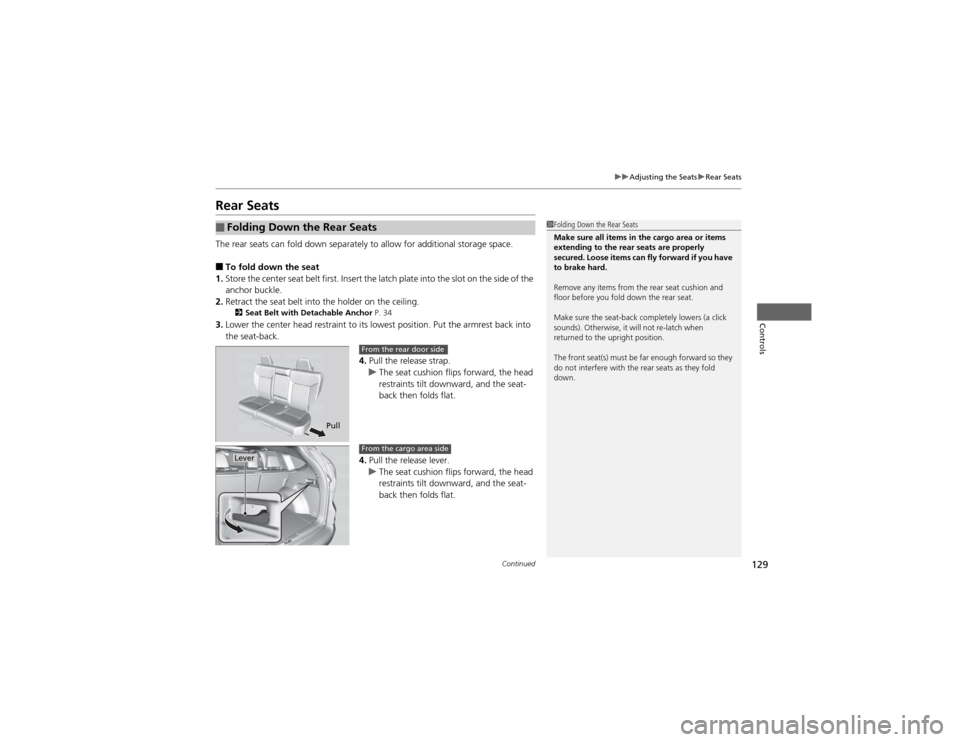
The rear seats can fold down separately to allow for additional storage space. ■To fold down the seat
1. Store the center seat belt first. Insert the latch plate into the slot on the side of the
anchor buckle.
2. Retract the seat belt into the holder on the ceiling.
2 Seat Belt with Detachable Anchor P. 34
3. Lower the center head restraint to its lowest position. Put the armrest back into the seat-back.
4.Pull the release strap.
uThe seat cushion flips forward, the head
restraints tilt downward, and the seat-
back then folds flat.
4. Pull the release lever.
uThe seat cushion flips forward, the head
restraints tilt downward, and the seat-
back then folds flat.
■Folding Down the Rear Seats1Folding Down the Rear Seats
Make sure all items in the cargo area or items
extending to the rear seats are properly
secured. Loose items can fly forward if you have to brake hard.
Remove any items from the rear seat cushion and
floor before you fold down the rear seat.
Make sure the seat-back completely lowers (a click
sounds). Otherwise, it will not re-latch when
returned to the upright position.
The front seat(s) must be far enough forward so they
do not interfere with the rear seats as they fold
down.
Pull
From the rear door side
LeverFrom the cargo area side
Page 131 of 361
uuAdjusting the SeatsuRear Seats
130
Controls
■ To return the seat to the original
position
1. Pull the seat-back up and push back into
place until a click is heard.
2. Push the head restraint up to its original
position.
3. Pull the seat cushion up and push it down
into its original position.
Pull the lever on the right to change the angle
of the right half of the seat-back, and left for
the left half.
■Rear Seat-back Adjusting
1To return the seat to the original position
Make sure the seat-back, head restraints, and seat
cushion are securely latched back into place before
driving.
Page 137 of 361
uuInterior Lights/Interior Convenience ItemsuInterior Convenience Items
136
Controls
There is a coat hook on the rear left grab
handle. Pull it down to use it.
Use the cargo side net to secure items to the
side.
■Coat Hook1Coat Hook
The coat hook is not designed for large or heavy items.
■Cargo Side Net
Page 138 of 361
Continued137
uuInterior Lights/Interior Convenience ItemsuInterior Convenience Items
Controls
Use floor cargo hooks to secure luggage in the cargo area.
There are also hooks on both sides of the cargo area.
■Cargo Hooks1Cargo Hooks
NOTICEDo not hang a large object or an object that weighs
more than 6lbs (3kg) on the side cargo hooks.
Hanging heavy or large objects may damage the hooks.
Hooks
Hooks
Hook
Page 142 of 361
141
uuInterior Lights/Interior Convenience ItemsuInterior Convenience Items
Controls
■To store:
The housing unit can be stored on the cargo
area floor to make more space available.
Push one end of the unit into the hole on one
side panel, then insert the other end into the
hole on the other side.
After storing the unit, rock it up and down to
make sure it is securely placed.
Page 153 of 361

152
uuAudio SystemuAudio Antenna
Features
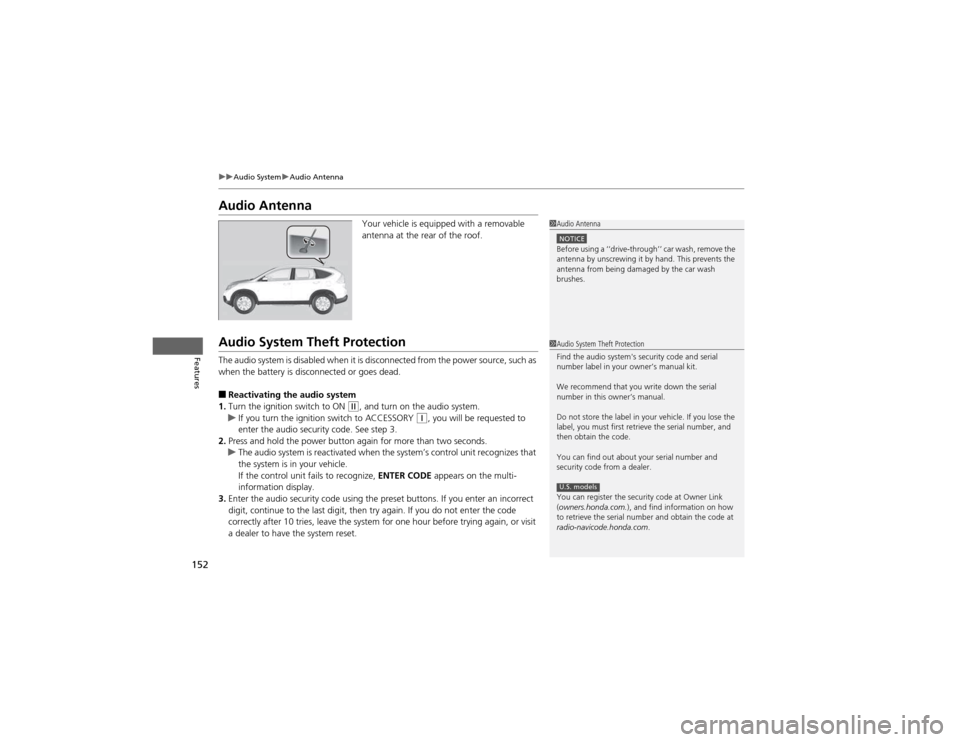
Audio AntennaYour vehicle is equipped with a removable
antenna at the rear of the roof.
Audio System Theft Protection
The audio system is disabled when it is disconnected from the power source, such as
when the battery is disconnected or goes dead. ■Reactivating the audio system
1. Turn the ignition switch to ON
(w , and turn on the audio system.uIf you turn the ignition switch to ACCESSORY (q, you will be requested to
enter the audio security code. See step 3.
2. Press and hold the power button again for more than two seconds.
uThe audio system is reactivated when the system’s control unit recognizes that
the system is in your vehicle.
If the control unit fails to recognize, ENTER CODE appears on the multi-
information display.
3. Enter the audio security code using the preset buttons. If you enter an incorrect
digit, continue to the last digit, then try again. If you do not enter the code
correctly after 10 tries, leave the system for one hour before trying again, or visit
a dealer to have the system reset.
1Audio Antenna
NOTICEBefore using a ‘‘drive-through’’ car wash, remove the
antenna by unscrewing it by hand. This prevents the
antenna from being damaged by the car wash brushes.
1Audio System Theft Protection
Find the audio system's security code and serial
number label in your owner’s manual kit.
We recommend that you write down the serial
number in this owner’s manual.
Do not store the label in your vehicle. If you lose the
label, you must first retrieve the serial number, and
then obtain the code.
You can find out about your serial number and
security code from a dealer.
You can register the security code at Owner Link (owners.honda.com. ), and find information on how
to retrieve the serial number and obtain the code at
radio-navicode.honda.com .
U.S. models
Page 194 of 361
193
uuGeneral Information on the Audio SystemuCompatible iPod® and USB Flash Drives
Features
Compatible iPod ® and USB Flash Drives
• Use a recommended USB flash drive of 256 MB or higher.
• Some digital audio players may not be compatible.
• Some USB flash drives (e.g., a device with security lockout) may not work.
• Some software files may not allow for audio play or text data display.
• Some versions of MP3, WMA, or AAC formats may be unsupported.
■iPod ® Model Compatibility
ModeliPod classic ® 80GB/160GBiPod classic ® 120GBiPod classic ® 160GB (launch in 2009)iPod ® (5th generation)iPod nano ®iPod touch ®iPhone ® 3GSiPhone ® 4
■USB Flash Drives
1iPod ® Model Compatibility
This system may not work with all software versions
of these devices.
1USB Flash Drives
Files on the USB flash drive are played in their stored
order. This order may be different from the order
displayed on your PC or device.