Page 265 of 345
uuMaintenance Under the HooduTransmission Fluid
264
Maintenance
Check the fluid level when the engine is at normal operating temperature. 1.Park the vehicle on level ground.
2. Remove the bolts with a wrench, then
carefully remove the under cover.
3. Remove the holding clip and the bolt, then
bend down the front edge of the left side
under cover as shown in the image.
■Manual Transmission Fluid
Specified fluid: Honda Manual Transmission Fluid (MTF)
1Manual Transmission Fluid
If Honda MTF is not available, you may use the API
certificated SAE 0 W-20 or 5 W-20 viscosity motor oil
as a temporary measure.
Replace with MTF as soon as possible. Motor oil does
not contain the proper additives for the transmission
and continued use can cause decreased shifting
performance and lead to transmission damage.
Under CoverBolt
1.8 � engine
models
1.8 � engine models
Bolt
Clip
Left Side
Under Cover1.8 � engine
models
Page 266 of 345
265
uuMaintenance Under the HooduTransmission Fluid
Maintenance
4.Remove the transmission filler bolt and
washer. Carefully feel inside the bolt hole
with your fingers.
uCheck if the fluid level is up to the edge
of the bolt hole.
5. If the fluid level is not up to the edge of the
bolt hole, add Honda Manual Transmission
Fluid (MTF) until it runs out of the hole.
6. Put a new washer on the filler bolt, then
reinstall the filler bolt.
uTightening torque:
33 lbf�ft (44 N�m, 4.5 kgf�m)
7. Reinstall the left side under cover with the
holding clip and the bolt.
8. Reinstall the under cover with the bolts.
1.8 � engine models
2.4 � engine models
All models
1.8 � engine models
Page 267 of 345

266
uuMaintenance Under the HooduBrake/Clutch Fluid
Maintenance
Brake/Clutch Fluid
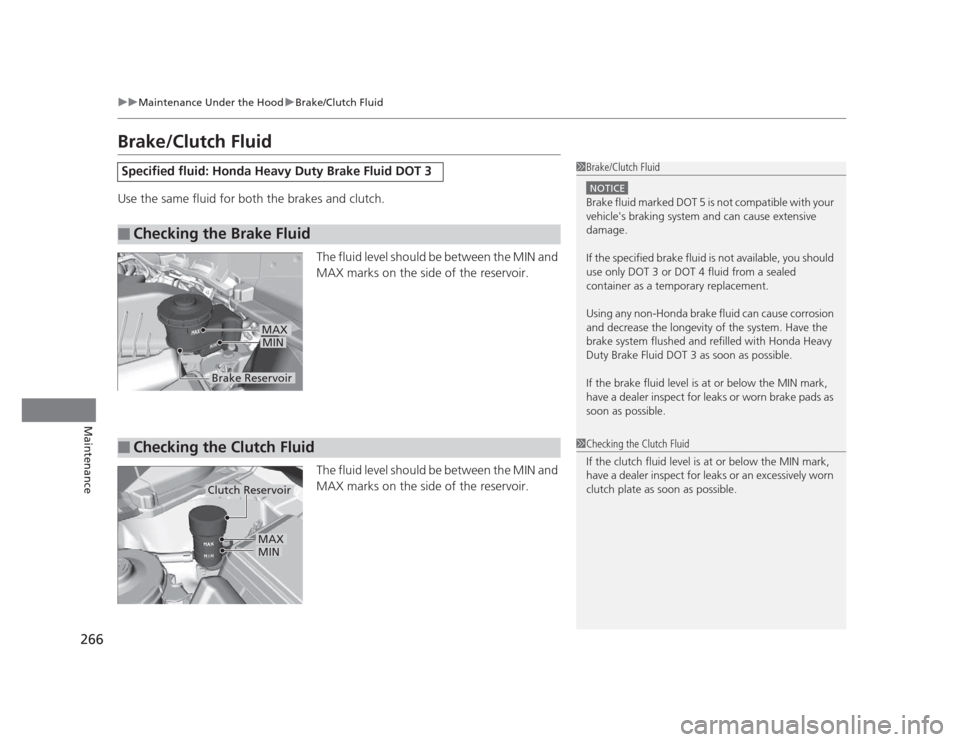
Use the same fluid for both the brakes and clutch.The fluid level should be between the MIN and
MAX marks on the side of the reservoir.
The fluid level should be between the MIN and
MAX marks on the side of the reservoir.
Specified fluid: Honda Heavy Duty Brake Fluid DOT 3
■Checking the Brake Fluid
1Brake/Clutch Fluid
NOTICE
Brake fluid marked DOT 5 is not compatible with your
vehicle's braking system and can cause extensive damage.
If the specified brake fluid is not available, you should
use only DOT 3 or DOT 4 fluid from a sealed
container as a temporary replacement.
Using any non-Honda brake fluid can cause corrosion
and decrease the longevity of the system. Have the
brake system flushed and refilled with Honda Heavy
Duty Brake Fluid DOT 3 as soon as possible.
If the brake fluid level is at or below the MIN mark,
have a dealer inspect for leaks or worn brake pads as
soon as possible.
Brake Reservoir
MIN
MAX
■Checking the Clutch Fluid1Checking the Clutch Fluid
If the clutch fluid level is at or below the MIN mark,
have a dealer inspect for leaks or an excessively worn
clutch plate as soon as possible.
Clutch Reservoir
MIN
MAX
Page 268 of 345
267
uuMaintenance Under the HooduRefilling Window Washer Fluid
Maintenance
Refilling Window Washer Fluid
Check the amount of window washer fluid using the washer fluid level gauge on the cap.If the level is low, fill the washer reservoir.
1Refilling Window Washer Fluid
NOTICE
Do not use engine antifreeze or a vinegar/water
solution in the windshield washer reservoir.
Antifreeze can damage your vehicle's paint. A
vinegar/water solution can damage the windshield washer pump.
Level Gauge
Page 296 of 345

295
uuCleaninguExterior Care
Maintenance
A good coat of automotive body wax helps protect your vehicle’s paint from the
elements. Wax will wear off over time and expose your vehicle’s paint to the
elements, so reapply as necessary.
If you get gasoline, oil, engine coolant, or battery fluid on resin coated parts, they
may be stained or the coating may peel. Promptly wipe it away using a soft cloth and
clean water.
Wipe using a glass cleaner.
Aluminum is susceptible to deterioration caused by salt and other road
contaminants. Use a sponge and mild detergent to wipe away promptly.
Be careful not to use harsh chemicals (including some commercial wheel cleaners) or
a stiff brush. They can damage the clear coat of the aluminum alloy wheels that
helps keep the aluminum from corroding and tarnishing.
■Applying Wax
■Maintaining the Bumpe rs and Other Resin Coated Parts
■Cleaning the Window
■Maintaining Aluminum Wheels *
1Applying Wax
NOTICE
Chemical solvents and strong cleaners can damage
the paint, metal, and plastic on your vehicle. Wipe up
spills immediately.
1Maintaining the Bumpers and Other Resin Coated Parts
Ask a dealer about the correct coating material when
you want to repair the painted surface of the parts
made of resin.
1Cleaning the Window
Wires are mounted to the inside of the rear window.
Wipe along the same direction as the wires with a
soft cloth so as not to damage them.
* Not available on all models
Page 316 of 345

315
uuIndicator, Coming On/BlinkinguIf the Brake System Indicator Comes On
Handling the Unexpected
If the Brake System Indicator Comes On■Reasons for the indicator to come on
• The brake fluid is low.
• There is a malfunction in the brake system.
■ What to do when the indicator comes on while driving
Press the brake pedal lightly to check pedal pressure. • If normal, check the brake fluid level the next time you stop.
• If abnormal, take immediate action. If necessary, downshift the
transmission to slow the vehicle using engine braking.
If the EPS Indicator Comes On
■Reasons for the indicator to come on
• Comes on when there is a problem with EPS.
• If you depress the accelerator pedal repeatedly to increase the engine
speed while the engine is idling, the indicator comes on, and
sometimes the steering wheel becomes harder to operate.
■ What to do when the indicator comes on
Stop the vehicle in a safe place and restart the engine.
If the indicator comes on and stays on, immediately have your vehicle
inspected by a dealer.
1If the Brake System Indicator Comes On
Have your vehicle repaired immediately.
It is dangerous to drive with low brake fluid. If there
is no resistance from the brake pedal, stop
immediately in a safe place. If necessary downshift
the gears.
If the brake system indicator and ABS indicator come
on simultaneously, the electronic brake distribution
system is not working. This can result in vehicle
instability under sudden braking.
Have your vehicle inspected by a dealer immediately.U.S.
Canada
1If the EPS Indicator Comes On
NOTICE
If you repeatedly turn the steering wheel at an
extremely low speed, or hold the steering wheel on
the full left or right position for a while, the system
heats up. The system goes into a protective mode,
and limits its performance. The steering wheel
becomes harder and harder to operate. Once the
system cools down, EPS is restored. Repeated
operation under these conditions can eventually
damage the system.
Page 319 of 345

318
Handling the Unexpected
Fuses
Fuse Locations
If any electrical devices are not working,
turn the ignition switch to LOCK
(0 and
check to see if any applicable fuse is blown.
Fuse locations are shown on the fuse box
cover. Locate the fuse in question by the
fuse number and box cover number.
Located near the brake fluid reservoir. Push
the tabs to open the box.
■Engine Compartment Fuse Box
■ Circuit protected and fuse rating
Circuit ProtectedAmps
1
EPS70 A
−−
ABS/VSA Motor30 A
ABS/VSA FSR30 A
−−
Main Fuse100 A
2
IG Main50 A
Fuse Box Main 60 A
Fuse Box Main 260 A
Headlight Main 30 A
−−
Rear Defogger 30 A −−
Blower 40 A −−
Sub Fan Motor 20 A
Main Fan Motor 20 A
3−−
4 Left Headlight Low Beam 10 A
5Starter DIAG, ST MG7.5 A
6 Right Headlight Low Beam 10 A
7−−
8− −
9−−
10 − −
11Oil Level7.5 A
12 Fog Lights *
(20 A)
13Driver’s Power Seat Sliding *(20 A)
14 Hazard 10 A
15FI Sub15 A
16 IG Coil 15 A
17Stop15 A
18 Horn 10 A
19Premium Amp *(20 A)
20 INJ (15 A)
21IGP15 A
22 DBW 15 A
23H/L LO20 A
24 Driver’s Power Seat
Reclining * (20 A)
25MG Clutch7.5 A
26 − −
27SMALL20 A
28 Interior Lights 7.5 A
29Backup10 A
Circuit ProtectedAmps
* Not available on all models
Page 325 of 345

324
Information
Specifications
■Vehicle Specifications
*1: DX, LX and HF models
*2: EX and EX-L models
ModelHonda Civic 4-Door
No. of Passengers:
Front 2
Rear 3
Total 5
Weights:
Gross Vehicle
Weight Rating U.S.: 3,660 lbs (1,660 kg) *1
Canada: 1,660 kg *1
U.S.: 3,792 lbs (1,720 kg) *2
Canada: 1,720 kg *2
Gross Axle Weight
Rating (Front)
U.S.: 1,985 lbs (900 kg)
*1
Canada: 900 kg *1
U.S.: 2,029 lbs (920 kg) *2
Canada: 920 kg *2
Gross Axle Weight
Rating (Rear)
U.S.: 1,742 lbs (790 kg) *1
Canada: 790 kg *1
U.S.: 1,786 lbs (810 kg) *2
Canada: 810 kg *2
Air Conditioning:
Refrigerant Type HFC-134a (R-134a)
Charge Quantity 13.2 – 15.0 oz (375 – 425 g)
Lubricant Type SP-10
1.8 � engine models■Engine Specifications
■Fuel
■Battery
■Washer Fluid
Displacement110 cu-in (1,798 cm 3
)
Spark Plugs NGK DILZKR7B11GS
DENSO DXU22HCR-D11S
Fuel: TypeUnleaded gasoline, Pump octane number
of 87 or higher
Fuel Tank Capacity 13.2 US gal (50 ℓ)
Capacity/Type36AH(5)/45AH(20)
36AH(5)/47AH(20)
38AH(5)/47AH(20)
Tank CapacityU.S.: 2.6 US qt (2.5 ℓ)
Canada: 4.8 US qt (4.5 ℓ)
■Light Bulbs
*3: Not available on all models
Headlights (Low Beam)51W (HB4)
Headlights (High Beam) 60W (HB3)
Front Turn Signal/Parking/Side
Marker Lights28/8W
Brake/Taillights 21/5W
Back-Up Lights21W
Rear Turn Signal Lights 21W (Amber)
Rear Side Marker Lights3CP
High-Mount Brake Light 21W
Rear License Plate Light5W
Trunk Light 5W
Interior Lights
Map Lights *38W
Ceiling Light8W