2012 GMC SIERRA 1500 parking brake
[x] Cancel search: parking brakePage 328 of 556
Black plate (52,1)GMC Sierra Owner Manual - 2012 - CRC - 11/15/11
9-52 Driving and Operating
Shifting into Neutral
To shift the transfer case to
N (Neutral) do the following:
1. Make sure the vehicle is parkedso that it will not roll.
2. Set the parking brake and apply the regular brake pedal. See
Parking Brake on page 9‑54 for
more information.
3. Start the vehicle or turn the ignition in ON/RUN.
4. Put the transmission in N (Neutral).
5. Shift the transfer case to Two-Wheel Drive High.
6. Turn the transfer case dial clockwise to N (Neutral) until it
stops and hold it there until
the N (Neutral) light starts
blinking. This will take at least
10 seconds. Then slowly release
the dial to the four low position.
The N (Neutral) light will come
on when the transfer case shift
to N (Neutral) is complete. 7. If the engine is running, make
sure that the transfer case is in
N (Neutral) by shifting the
transmission to R (Reverse) for
one second, then shift the
transmission to D (Drive) for
one second.
8. Turn the ignition to ACC/ ACCESSORY, which will turn
the engine off.
9. Place the transmission shift lever in P (Park).
10. Release the parking brake prior to moving the vehicle.
11. Turn the ignition to LOCK/OFF.
Shifting Out of Neutral
To shift out of N (Neutral) do the
following:
1. Set the parking brake and apply the regular brake pedal.
2. Turn the ignition to ON/RUN with the engine off, and shift the
transmission to N (Neutral). 3. Turn the transfer case dial
to Two-Wheel Drive High,
Four-Wheel Drive High,
or AUTO.
After the transfer case has
shifted out of N (Neutral), the
N (Neutral) light will go out.
4. Release the parking brake prior to moving the vehicle.
Notice: Shifting the transmission
into gear before the requested
mode indicator light has stopped
flashing could damage the
transfer case. To help avoid
damaging the vehicle, always wait
for the mode indicator lights to
stop flashing before shifting the
transmission into gear.
5. Start the engine and shift the transmission to the desired
position.
Page 330 of 556
Black plate (54,1)GMC Sierra Owner Manual - 2012 - CRC - 11/15/11
9-54 Driving and Operating
Parking Brake
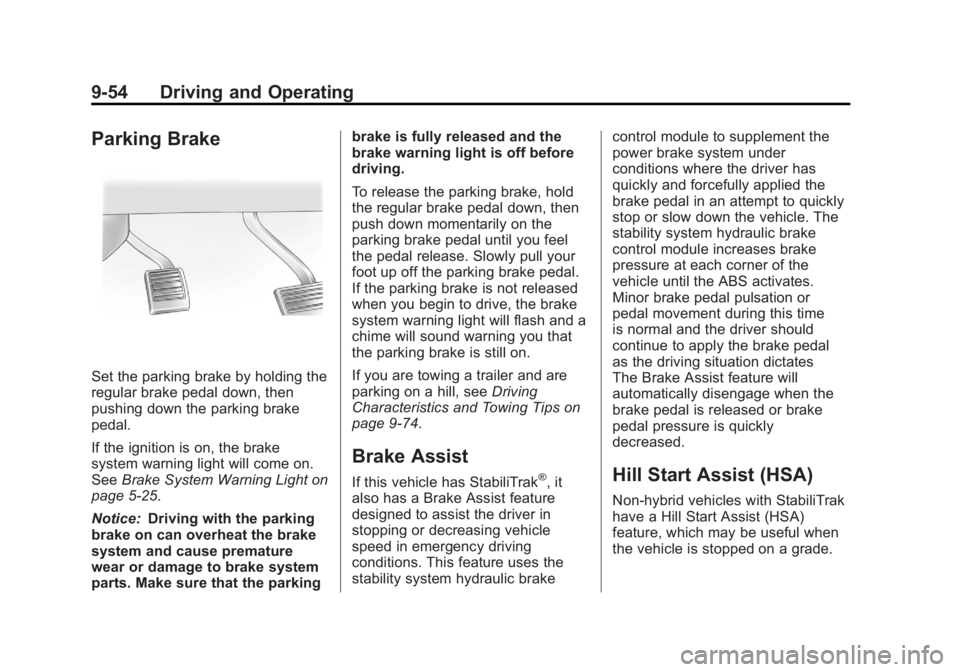
Set the parking brake by holding the
regular brake pedal down, then
pushing down the parking brake
pedal.
If the ignition is on, the brake
system warning light will come on.
SeeBrake System Warning Light on
page 5‑25.
Notice: Driving with the parking
brake on can overheat the brake
system and cause premature
wear or damage to brake system
parts. Make sure that the parking brake is fully released and the
brake warning light is off before
driving.
To release the parking brake, hold
the regular brake pedal down, then
push down momentarily on the
parking brake pedal until you feel
the pedal release. Slowly pull your
foot up off the parking brake pedal.
If the parking brake is not released
when you begin to drive, the brake
system warning light will flash and a
chime will sound warning you that
the parking brake is still on.
If you are towing a trailer and are
parking on a hill, see
Driving
Characteristics and Towing Tips on
page 9‑74.
Brake Assist
If this vehicle has StabiliTrak®, it
also has a Brake Assist feature
designed to assist the driver in
stopping or decreasing vehicle
speed in emergency driving
conditions. This feature uses the
stability system hydraulic brake control module to supplement the
power brake system under
conditions where the driver has
quickly and forcefully applied the
brake pedal in an attempt to quickly
stop or slow down the vehicle. The
stability system hydraulic brake
control module increases brake
pressure at each corner of the
vehicle until the ABS activates.
Minor brake pedal pulsation or
pedal movement during this time
is normal and the driver should
continue to apply the brake pedal
as the driving situation dictates
The Brake Assist feature will
automatically disengage when the
brake pedal is released or brake
pedal pressure is quickly
decreased.Hill Start Assist (HSA)
Non‐hybrid vehicles with StabiliTrak
have a Hill Start Assist (HSA)
feature, which may be useful when
the vehicle is stopped on a grade.
Page 352 of 556
Black plate (76,1)GMC Sierra Owner Manual - 2012 - CRC - 11/15/11
9-76 Driving and Operating
Backing Up
Hold the bottom of the steering
wheel with one hand. To move the
trailer to the left, move that hand to
the left. To move the trailer to the
right, move your hand to the right.
Always back up slowly and,
if possible, have someone
guide you.
Making Turns
Notice:Making very sharp turns
while trailering could cause the
trailer to come in contact with the
vehicle. The vehicle could be
damaged. Avoid making very
sharp turns while trailering.
When turning with a trailer, make
wider turns than normal. Do this
so the trailer will not strike soft
shoulders, curbs, road signs, trees,
or other objects. Avoid jerky or
sudden maneuvers. Signal well in
advance. If the trailer turn signal bulbs burn
out, the arrows on the instrument
panel will still flash for turns. It is
important to check occasionally to
be sure the trailer bulbs are still
working.
Driving on Grades
Reduce speed and shift to a
lower gear
beforestarting down a
long or steep downgrade. If the
transmission is not shifted down, the
brakes might get hot and no longer
work well.
Vehicles can tow in D (Drive). Shift
the transmission to a lower gear if
the transmission shifts too often
under heavy loads and/or hilly
conditions.
The Tow/Haul Mode may be used if
the transmission shifts too often.
See Tow/Haul Mode on page 9‑39.
When towing at high altitude on
steep uphill grades, consider the
following: Engine coolant will boil at
a lower temperature than at normal
altitudes. If the engine is turned off immediately after towing at high
altitude on steep uphill grades, the
vehicle may show signs similar to
engine overheating. To avoid this,
let the engine run while parked,
preferably on level ground, with the
automatic transmission in P (Park)
for a few minutes before turning the
engine off. If the overheat warning
comes on, see
Engine Overheating
on page 10‑22.
Parking on Hills
{WARNING
Parking the vehicle on a hill
with the trailer attached can be
dangerous. If something goes
wrong, the rig could start to move.
People can be injured, and both
the vehicle and the trailer can be
damaged. When possible, always
park the rig on a flat surface.
Page 353 of 556
Black plate (77,1)GMC Sierra Owner Manual - 2012 - CRC - 11/15/11
Driving and Operating 9-77
If parking the rig on a hill:
1. Press the brake pedal, but donot shift into P (Park) yet. Turn
the wheels into the curb if facing
downhill or into traffic if facing
uphill.
2. Have someone place chocks under the trailer wheels.
3. When the wheel chocks are in place, release the regular brakes
until the chocks absorb the load.
4. Reapply the brake pedal. Then apply the parking brake and shift
into P (Park).
5. If the vehicle is four-wheel-drive, be sure the transfer case is in a
drive gear and not in N (Neutral).
6. Release the brake pedal.{WARNING
It can be dangerous to get out of
the vehicle if the shift lever is not
fully in P (Park) with the parking
brake firmly set. The vehicle
can roll.
If the engine has been left
running, the vehicle can move
suddenly. You or others could be
injured. To be sure the vehicle will
not move, even when on fairly
level ground, use the steps that
follow.
Always put the shift lever fully in
P (Park) with the parking brake
firmly set. (Continued)
WARNING (Continued)
If the transfer case on a
four-wheel-drive vehicle is in
N (Neutral), the vehicle will be
free to roll, even if the shift lever
is in P (Park). Be sure the transfer
case is in a drive gear —not in
N (Neutral).
Leaving After Parking on a Hill
1. Apply and hold the brake pedal.
2. Start the engine.
3. Shift into a gear.
4. Release the parking brake.
5. Let up on the brake pedal.
6. Drive slowly until the trailer is clear of the chocks.
7. Stop and have someone pick up and store the chocks.
Page 375 of 556
Black plate (99,1)GMC Sierra Owner Manual - 2012 - CRC - 11/15/11
Driving and Operating 9-99
.When pulling a heavy trailer
or a large or heavy load in
stop-and-go traffic.
.When pulling a heavy trailer or
a large or heavy load in busy
parking lots where improved low
speed control of the vehicle is
desired.
Operating the vehicle in Tow/Haul
when lightly loaded or with no
trailer at all will not cause damage.
However, there is no benefit to the
selection of Tow/Haul when the
vehicle is unloaded. Such a
selection when unloaded may
result in unpleasant engine and
transmission driving characteristics
and reduced fuel economy. Tow/
Haul is recommended only when
pulling a heavy trailer or a large or
heavy load.
Integrated Trailer Brake
Control System
The vehicle may have an Integrated
Trailer Brake Control (ITBC) system
for electric trailer brakes.
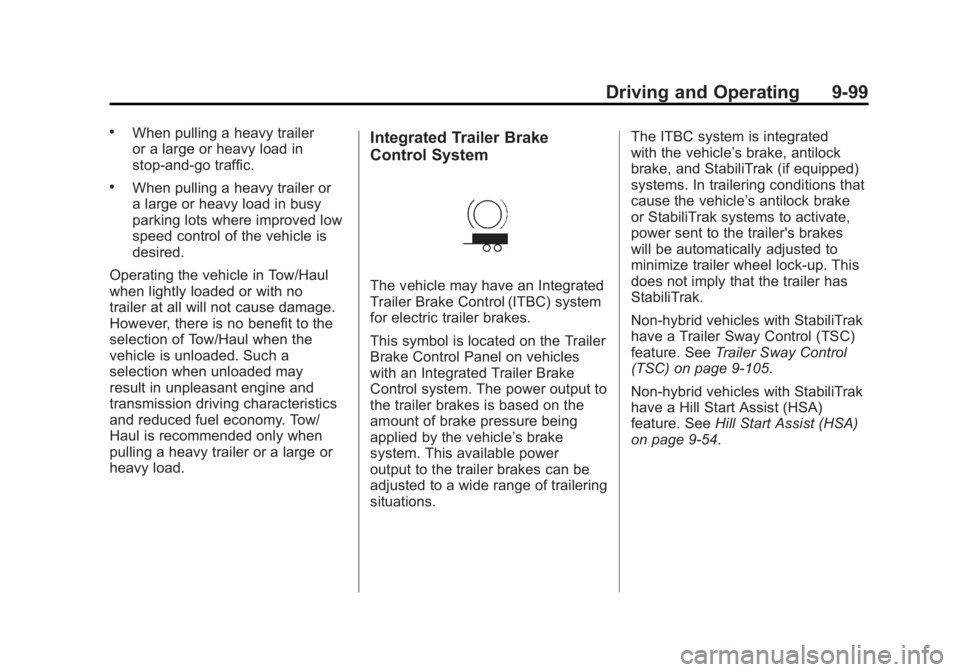
This symbol is located on the Trailer
Brake Control Panel on vehicles
with an Integrated Trailer Brake
Control system. The power output to
the trailer brakes is based on the
amount of brake pressure being
applied by the vehicle’s brake
system. This available power
output to the trailer brakes can be
adjusted to a wide range of trailering
situations. The ITBC system is integrated
with the vehicle’s brake, antilock
brake, and StabiliTrak (if equipped)
systems. In trailering conditions that
cause the vehicle’s antilock brake
or StabiliTrak systems to activate,
power sent to the trailer's brakes
will be automatically adjusted to
minimize trailer wheel lock-up. This
does not imply that the trailer has
StabiliTrak.
Non-hybrid vehicles with StabiliTrak
have a Trailer Sway Control (TSC)
feature. See
Trailer Sway Control
(TSC) on page 9‑105.
Non-hybrid vehicles with StabiliTrak
have a Hill Start Assist (HSA)
feature. See Hill Start Assist (HSA)
on page 9‑54.
Page 387 of 556
Black plate (1,1)GMC Sierra Owner Manual - 2012 - CRC - 11/15/11
Vehicle Care 10-1
Vehicle Care
General Information
General Information . . . . . . . . . . 10-2
California Proposition65 Warning . . . . . . . . . . . . . . . . . 10-3
California Perchlorate Materials Requirements . . . . 10-3
Accessories and Modifications . . . . . . . . . . . . . . . 10-3
Vehicle Checks
Doing Your OwnService Work . . . . . . . . . . . . . . . 10-4
Hood . . . . . . . . . . . . . . . . . . . . . . . . 10-5
Engine Compartment Overview . . . . . . . . . . . . . . . . . . . 10-6
Engine Oil . . . . . . . . . . . . . . . . . . . 10-7
Engine Oil Life System . . . . . 10-10
Automatic Transmission Fluid (4-Speed Transmission) . . . 10-11
Automatic Transmission Fluid (6-Speed
Transmission) . . . . . . . . . . . . . 10-14
Engine Air Cleaner/Filter . . . . 10-17
Cooling System . . . . . . . . . . . . 10-18
Engine Coolant . . . . . . . . . . . . . 10-19
Engine Overheating . . . . . . . . 10-22 Overheated Engine
Protection
Operating Mode . . . . . . . . . . . 10-24
Engine Fan . . . . . . . . . . . . . . . . . 10-24
Power Steering Fluid . . . . . . . 10-25
Washer Fluid . . . . . . . . . . . . . . . 10-26
Brakes . . . . . . . . . . . . . . . . . . . . . 10-27
Brake Fluid . . . . . . . . . . . . . . . . . 10-28
Battery . . . . . . . . . . . . . . . . . . . . . 10-30
Four-Wheel Drive . . . . . . . . . . . 10-30
Front Axle . . . . . . . . . . . . . . . . . . 10-31
Rear Axle . . . . . . . . . . . . . . . . . . 10-32
Noise Control System . . . . . . 10-34
Starter Switch Check . . . . . . . 10-35
Automatic Transmission Shift Lock Control Function
Check . . . . . . . . . . . . . . . . . . . . . 10-35
Ignition Transmission Lock Check . . . . . . . . . . . . . . . . . . . . . 10-35
Park Brake and P (Park) Mechanism Check . . . . . . . . 10-36
Wiper Blade Replacement . . . . . . . . . . . . . . 10-36
Glass Replacement . . . . . . . . 10-37
Headlamp Aiming
Headlamp Aiming . . . . . . . . . . 10-37
Bulb Replacement
Bulb Replacement . . . . . . . . . . 10-39
Halogen Bulbs . . . . . . . . . . . . . . 10-39
Headlamps, Front Turn Signal, Sidemarker, and
Parking Lamps . . . . . . . . . . . . 10-39
Pick-Up Box Identification and Fender Marker
Lamps . . . . . . . . . . . . . . . . . . . . 10-40
Taillamps (Chassis Cab Models) . . . . . . . . . . . . . . . . . . . 10-40
Taillamps, Turn Signal, Stoplamps, and Back-Up
Lamps . . . . . . . . . . . . . . . . . . . . 10-41
Center High-Mounted Stoplamp (CHMSL) and
Cargo Lamp . . . . . . . . . . . . . . 10-42
License Plate Lamp . . . . . . . . 10-42
Replacement Bulbs . . . . . . . . . 10-43
Electrical System
Electrical System Overload . . . . . . . . . . . . . . . . . . 10-43
Fuses and Circuit Breakers . . . . . . . . . . . . . . . . . . 10-44
Engine Compartment Fuse Block . . . . . . . . . . . . . . . . . . . . . 10-44
Instrument Panel Fuse Block . . . . . . . . . . . . . . . . . . . . . 10-48
Page 398 of 556
Black plate (12,1)GMC Sierra Owner Manual - 2012 - CRC - 11/15/11
10-12 Vehicle Care
Get the vehicle warmed up by
driving about 24 km (15 miles) when
outside temperatures are above
10°C (50°F). If it is colder than 10°C
(50°F), drive the vehicle in 3 (Third)
until the engine temperature gauge
moves and then remains steady for
10 minutes.
A cold fluid check can be made
after the vehicle has been sitting
for eight hours or more with the
engine off, but this is used only
as a reference. Let the engine run
at idle for five minutes if outside
temperatures are 10°C (50°F) or
more. If it is colder than 10°C
(50°F), the engine may have to idle
longer. Should the fluid level be low
during this cold check, the fluid must
be checked when hot before adding
fluid. Checking the fluid hot will give
you a more accurate reading of the
fluid level.Checking the Fluid Level
Prepare the vehicle as follows:
1. Park the vehicle on a level
place. Keep the engine running.
2. With the parking brake applied, place the shift lever in P (Park).
3. With your foot on the brake pedal, move the shift lever
through each gear range,
pausing for about three seconds
in each range. Then, position the
shift lever in P (Park).
4. Let the engine run at idle for three minutes or more. Then, without shutting off the
engine, follow these steps:
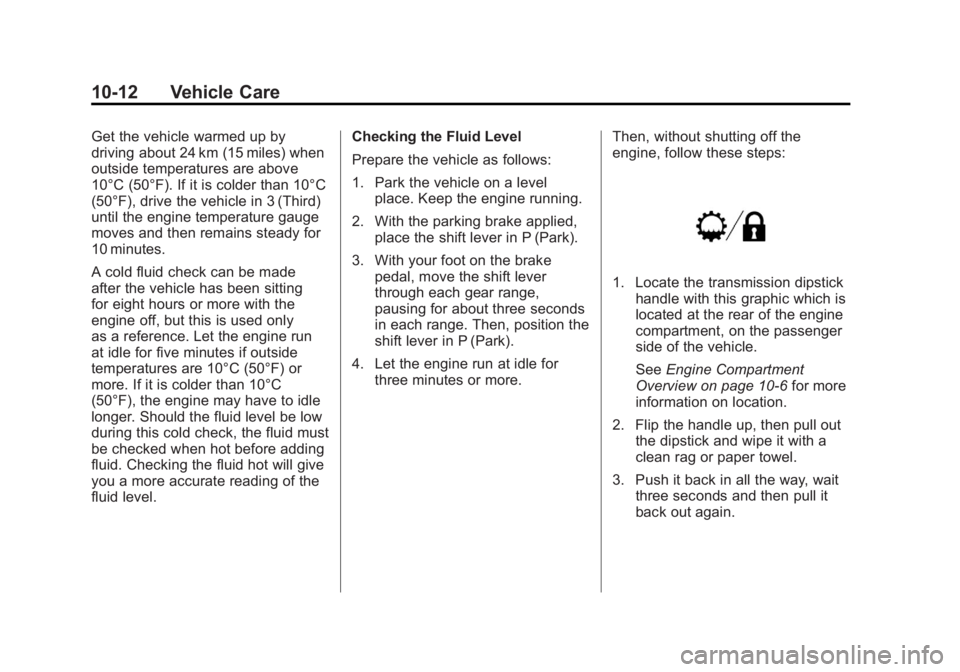
1. Locate the transmission dipstick
handle with this graphic which is
located at the rear of the engine
compartment, on the passenger
side of the vehicle.
See Engine Compartment
Overview on page 10‑6 for more
information on location.
2. Flip the handle up, then pull out the dipstick and wipe it with a
clean rag or paper towel.
3. Push it back in all the way, wait three seconds and then pull it
back out again.
Page 400 of 556
Black plate (14,1)GMC Sierra Owner Manual - 2012 - CRC - 11/15/11
10-14 Vehicle Care
Automatic Transmission
Fluid (6-Speed
Transmission)
When to Check and Change
Automatic Transmission Fluid
It is usually not necessary to check
the transmission fluid level. The
only reason for fluid loss is a
transmission leak or overheated
transmission. If a small leak is
suspected, then use the following
checking procedures to check the
fluid level. However, if there is a
large leak, then it may be necessary
to have the vehicle towed to a
dealer service department and have
it repaired before driving the vehicle
further.
Notice:Use of the incorrect
automatic transmission fluid
may damage the vehicle, and the
damages may not be covered by
the vehicle warranty. Always use
the automatic transmission fluid
listed in Recommended Fluids
and Lubricants on page 11‑12. Change the fluid and filter at the
scheduled maintenance intervals
listed in
Maintenance Schedule on
page 11‑3. Be sure to use the
transmission fluid listed in
Recommended Fluids and
Lubricants on page 11‑12.How to Check Automatic
Transmission Fluid
Notice: Too much or too
little fluid can damage the
transmission. Too much can
mean that some of the fluid could
come out and fall on hot engine
parts or exhaust system parts,
starting a fire. Too little fluid
could cause the transmission
to overheat. Be sure to get an
accurate reading if checking the
transmission fluid. Before checking the fluid level,
prepare the vehicle as follows:
1. Start the engine and park the
vehicle on a level surface. Keep
the engine running.
2. Apply the parking brake and place the shift lever in P (Park).
3. With your foot on the brake pedal, move the shift lever
through each gear range,
pausing for about three seconds
in each range. Then, move the
shift lever back to P (Park).
4. Allow the engine to idle (500 –800 rpm) for at least
1 minute. Slowly release the
brake pedal.
5. Keep the engine running and press the Trip/Fuel button or
trip odometer reset stem until
TRANS TEMP (Transmission
Temperature) displays on the
Driver Information Center (DIC).