2012 GMC SAVANA PASSENGER brake light
[x] Cancel search: brake lightPage 264 of 424
Black plate (56,1)GMC Savana Owner Manual - 2012 - 2nd - 11/11/11
9-56 Driving and Operating
If using the wiring provided with the
factory-installed trailering package,
no holes need to be made in the
body of the vehicle. However, if an
aftermarket hitch is installed, holes
may need to be made in the body.
If holes are made in the body, then
be sure to seal the holes later when
the hitch is removed. If the holes are
not sealed, deadly carbon monoxide
(CO) from the engine's exhaust can
get into the vehicle as well as dirt
and water. See“Carbon Monoxide”
under Engine Exhaust on
page 9‑24.
Safety Chains
Always attach chains between the
vehicle and the trailer. Cross the
safety chains under the tongue of
the trailer to help prevent the tongue
from contacting the road if it
becomes separated from the hitch.
Always leave just enough slack so
the rig can turn. Never allow safety
chains to drag on the ground.
Trailer Brakes
A loaded trailer that weighs more
than 680 kg (1,500 lbs) needs to
have its own brake system that is
adequate for the weight of the
trailer. Be sure to read and follow
the instructions for the trailer brakes
so they are installed, adjusted and
maintained properly.
Trailer Wiring Harness
The optional heavy-duty trailer
wiring package includes a wiring
harness, with a seven-pin connector
at the rear of the vehicle and a
four-wire harness assembly under
the driver side of the instrument
panel. The four-wire harness
assembly comes without a
connector.
If the vehicle does not have a trailer
hitch, the seven-wire harness
assembly with connector is taped
together and located in a frame
pocket at the driver side rear left
corner of the frame. If the vehicle has a trailer hitch, the
seven-wire harness assembly with
connector is attached to a bracket
on the hitch platform. In both cases,
the seven-wire harness has a
connector and includes a 30-amp
feed wire.
The seven-wire harness connector
contains the following trailer circuits:
.Light Green: Back-up Lamps
(10A fuse)**
.White: Ground
.Dark Blue: Trailer Brake Signal
.Dark Green: Right Rear Stop
and Turn Signal*
.Red/Black Stripe: Battery Feed
(30A Fuse)
.Brown: Trailer Park Lamp
Supply Voltage (15A fuse)**
.Yellow: Left Rear Stop and Turn
Signal *
Page 265 of 424
Black plate (57,1)GMC Savana Owner Manual - 2012 - 2nd - 11/11/11
Driving and Operating 9-57
The four-wire harness (without
connector) contains the following
circuits:
.Black: Ground
.Red/White: Battery Feed
.Dark Blue: Trailer Brake Signal
.Light Blue: CHMSL/Stoplamp
Supply Voltage
* If the vehicle is a cutaway with
trailer provisions, a 15 amp fuse will
be shared for both left/stop trailer
turn and right/stop trailer turn
signals. However, the cutaway
lighting connector will have a
10 amp fuse for each signal.
** If the vehicle is a cutaway with
trailer provisions, a 15 amp fuse will
be shared for trailer park lamps and
cutaway rear lighting connector park
lamps. Also, a 10 amp fuse will be
shared for trailer back-up lamps and
cutaway rear lighting connector
back-up lamps.
Tow/Haul Mode
This button is on the instrument
panel, to the right of the steering
wheel.
Pressing this button turns on and off
the Tow/Haul Mode.
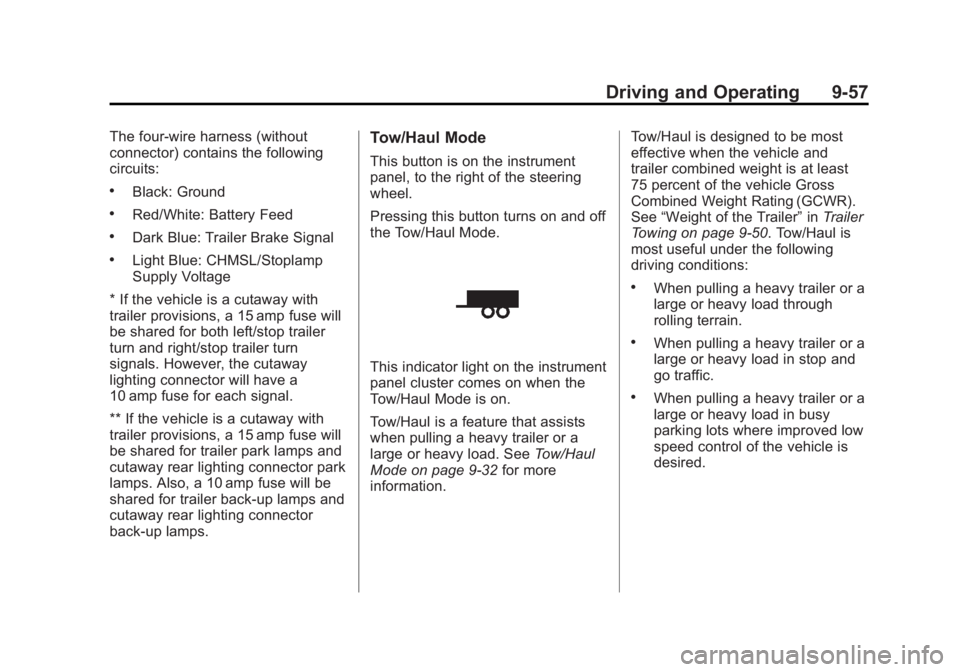
This indicator light on the instrument
panel cluster comes on when the
Tow/Haul Mode is on.
Tow/Haul is a feature that assists
when pulling a heavy trailer or a
large or heavy load. See Tow/Haul
Mode on page 9‑32 for more
information. Tow/Haul is designed to be most
effective when the vehicle and
trailer combined weight is at least
75 percent of the vehicle Gross
Combined Weight Rating (GCWR).
See
“Weight of the Trailer” inTrailer
Towing on page 9‑50. Tow/Haul is
most useful under the following
driving conditions:
.When pulling a heavy trailer or a
large or heavy load through
rolling terrain.
.When pulling a heavy trailer or a
large or heavy load in stop and
go traffic.
.When pulling a heavy trailer or a
large or heavy load in busy
parking lots where improved low
speed control of the vehicle is
desired.
Page 281 of 424
Black plate (15,1)GMC Savana Owner Manual - 2012 - 2nd - 11/11/11
Vehicle Care 10-15
A cold fluid level check can be
performed after the vehicle has
been sitting for eight hours or more
with the engine off, but this is used
only as a reference. Let the engine
run at idle for five minutes if outside
temperatures is between 15°C to
32°C (60°F to 90°F). Should the
fluid level be low during this cold
check, the fluid must be checked
Warm or Hot before adding fluid.
If the outside temperature is colder
than 15°C (60°F) or hotter than
32°C (90°F), a cold check cannot be
performed.
A warm fluid level check can be
performed by driving the vehicle
under lightly loaded conditions and
outside temperatures between 10°C
to 27°C (50°F to 80°F). The vehicle
should be driven for at least 24 km
(15 mi) before performing a warm
check. Checking the fluid Warm or
Hot will give a more accurate
reading of the fluid level than a cold
check.Because the vehicle is equipped
with a high-efficiency air-to-oil
cooler, the transmission fluid
temperature may not reach the
required Hot fluid level checking
temperature under normal lightly
loaded driving vehicle conditions.
Checking the Fluid Level
Prepare the vehicle as follows:
1. Park the vehicle on a level
place. Keep the engine running.
2. With the parking brake applied, place the shift lever in P (Park).
3. With foot on the brake pedal, move the shift lever through
each gear range, pausing for
about three seconds in each
range. When M is reached,
move the selector from M1
through M3. Then, position the
shift lever in P (Park).
4. Let the engine run at idle for two minutes or more. Then, without shutting off the
engine:
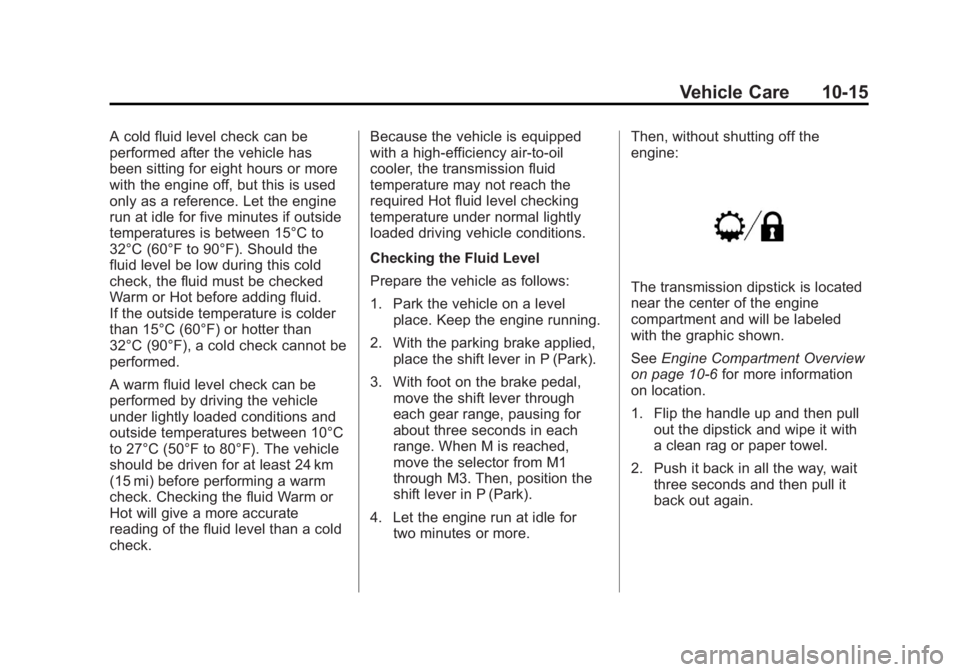
The transmission dipstick is located
near the center of the engine
compartment and will be labeled
with the graphic shown.
See
Engine Compartment Overview
on page 10‑6 for more information
on location.
1. Flip the handle up and then pull out the dipstick and wipe it with
a clean rag or paper towel.
2. Push it back in all the way, wait three seconds and then pull it
back out again.
Page 293 of 424
Black plate (27,1)GMC Savana Owner Manual - 2012 - 2nd - 11/11/11
Vehicle Care 10-27
Brakes
This vehicle has disc brakes. Disc
brake pads have built-in wear
indicators that make a high-pitched
warning sound when the brake pads
are worn and new pads are needed.
The sound can come and go or be
heard all the time the vehicle is
moving, except when applying the
brake pedal firmly.
{WARNING
The brake wear warning sound
means that soon the brakes will
not work well. That could lead to
a crash. When the brake wear
warning sound is heard, have the
vehicle serviced.
Notice: Continuing to drive with
worn-out brake pads could result
in costly brake repair. Some driving conditions or climates
can cause a brake squeal when the
brakes are first applied or lightly
applied. This does not mean
something is wrong with the brakes.
Properly torqued wheel nuts are
necessary to help prevent brake
pulsation. When tires are rotated,
inspect brake pads for wear and
evenly tighten wheel nuts in the
proper sequence to torque
specifications in
Capacities and
Specifications on page 12‑2.
Brake linings should always be
replaced as complete axle sets.
Brake Pedal Travel
See your dealer if the brake pedal
does not return to normal height,
or if there is a rapid increase in
pedal travel. This could be a sign
that brake service might be
required.
Brake Adjustment
Every time the brakes are applied,
with or without the vehicle moving,
the brakes adjust for wear.
Replacing Brake System Parts
The braking system on a vehicle is
complex. Its many parts have to be
of top quality and work well together
if the vehicle is to have really good
braking. The vehicle was designed
and tested with top-quality brake
parts. When parts of the braking
system are replaced, be sure to get
new, approved replacement parts.
If this is not done, the brakes might
not work properly. For example,
installing disc brake pads that are
wrong for the vehicle, can change
the balance between the front and
rear brakes —for the worse. The
braking performance expected can
change in many other ways if the
wrong replacement brake parts are
installed.
Page 320 of 424
Black plate (54,1)GMC Savana Owner Manual - 2012 - 2nd - 11/11/11
10-54 Vehicle Care
(B) Tire Width:The three‐digit
number indicates the tire section
width in millimeters from
sidewall to sidewall.
(C) Aspect Ratio
:A two‐digit
number that indicates the tire
height‐to‐width measurements.
For example, if the tire size
aspect ratio is 75, as shown in
item C of the light truck
(LT‐Metric) tire illustration, it
would mean that the tire's
sidewall is 75 percent as high as
it is wide.
(D) Construction Code
:A
letter code is used to indicate
the type of ply construction in
the tire. The letter R means
radial ply construction; the
letter D means diagonal or bias
ply construction; and the letter B
means belted‐bias ply
construction. (E) Rim Diameter
:Diameter of
the wheel in inches.
(F) Load Range
:Load Range.
(G) Service Description
:The
service description indicates the
load index and speed rating of a
tire. If two numbers are given as
in the example, 120/116, then
this represents the load index for
single versus dual wheel usage
(single/dual). The speed rating is
the maximum speed a tire is
certified to carry a load. This
does not apply to Goodyear
LT225/75R16 G949 RSA and
Goodyear LT225/75R16 G933
RSD commercial truck tires; see
the dual tire and single tire
maximum load and load range
letter designations on the tire
sidewall.
Tire Terminology and
Definitions
Air Pressure:The amount of
air inside the tire pressing
outward on each square inch
of the tire. Air pressure is
expressed in kPa (kilopascal)
or psi (pounds per square inch).
Accessory Weight
:The
combined weight of optional
accessories. Some examples
of optional accessories are
automatic transmission, power
steering, power brakes, power
windows, power seats, and air
conditioning.
Aspect Ratio
:The relationship
of a tire's height to its width.
Belt
:A rubber coated layer of
cords that is located between
the plies and the tread. Cords
may be made from steel or other
reinforcing materials.
Page 328 of 424
Black plate (62,1)GMC Savana Owner Manual - 2012 - 2nd - 11/11/11
10-62 Vehicle Care
TPMS Sensor Matching
Process
Each TPMS sensor has a unique
identification code. The identification
code needs to be matched to a new
tire/wheel position after rotating the
vehicle’s tires or replacing one or
more of the TPMS sensors. Also,
the TPMS sensor matching process
should be performed after replacing
a spare tire with a road tire
containing the TPMS sensor. The
malfunction light and the DIC
message should go off at the next
ignition cycle. The sensors are
matched to the tire/wheel positions,
using a TPMS relearn tool, in the
following order: driver side front tire,
passenger side front tire, passenger
side rear tire, and driver side rear.
See your dealer for service or to
purchase a relearn tool.
There are two minutes to match the
first tire/wheel position, and
five minutes overall to match all four
tire/wheel positions. If it takes
longer, the matching process stops
and must be restarted.The TPMS sensor matching
process is:
1. Set the parking brake.
2. Turn the ignition to ON/RUN with
the engine off.
3. Press the Remote Keyless Entry (RKE) transmitter's LOCK and
UNLOCK buttons at the same
time for approximately
five seconds. The horn sounds
twice to signal the receiver is in
relearn mode and TIRE
LEARNING ACTIVE message
displays on the DIC screen.
If the vehicle does not have
RKE, press the Driver
Information Center (DIC) vehicle
information button until the
PRESS
VTO RELEARN TIRE
POSITIONS message displays.
The horn sounds twice to signal
the receiver is in relearn mode
and TIRE LEARNING ACTIVE
message displays on the DIC
screen. If the vehicle does not have RKE
or DIC buttons, press the trip
odometer reset stem located on
the instrument panel cluster until
the PRESS
VTO RELEARN
TIRE POSITIONS message
displays. The horn sounds twice
to signal the receiver is in
relearn mode and TIRE
LEARNING ACTIVE message
displays on the DIC screen.
4. Start with the driver side front tire.
5. Place the relearn tool against the tire sidewall, near the valve
stem. Then press the button to
activate the TPMS sensor.
A horn chirp confirms that the
sensor identification code has
been matched to this tire and
wheel position.
6. Proceed to the passenger side front tire, and repeat the
procedure in Step 5.
Page 332 of 424
Black plate (66,1)GMC Savana Owner Manual - 2012 - 2nd - 11/11/11
10-66 Vehicle Care
Some commercial truck tires,
including Goodyear LT225/75R16
G949 RSA and Goodyear LT225/
75R16 G933 RSD, may not have
treadwear indicators. If the tires do
not have treadwear indicators,
replace the tires when the tread
depth is down to 3.2 mm (1/8 in) for
the front tires, or 1.6 mm (1/16 in) for
the rear tires. SeeTire Inspection
on page 10‑63 andTire Rotation on
page 10‑63 for additional
information.
The rubber in tires ages over time.
This also applies to the spare tire,
if the vehicle has one, even if it is
never used. Multiple conditions
including temperatures, loading
conditions, and inflation pressure
maintenance affect how fast aging
takes place. Tires will typically need
to be replaced due to wear before
they may need to be replaced
due to age. Consult the tire
manufacturer for more information
on when tires should be replaced.Vehicle Storage
Tires age when stored normally
mounted on a parked vehicle. Park
a vehicle that will be stored for at
least a month in a cool, dry, clean
area away from direct sunlight to
slow aging. This area should be free
of grease, gasoline or other
substances that can deteriorate
rubber.
Parking for an extended period can
cause flat spots on the tires that
may result in vibrations while
driving. When storing a vehicle for
at least a month, remove the tires or
raise the vehicle to reduce the
weight from the tires.
Buying New Tires
GM has developed and matched
specific tires for the vehicle. The
original equipment tires installed
were designed to meet General
Motors Tire Performance Criteria
Specification (TPC Spec) system
rating. When replacement tires are needed, GM strongly recommends
buying tires with the same TPC
Spec rating.
GM's exclusive TPC Spec system
considers over a dozen critical
specifications that impact the
overall performance of the
vehicle, including brake system
performance, ride and handling,
traction control, and tire pressure
monitoring performance. GM's TPC
Spec number is molded onto the
tire's sidewall near the tire size.
If the tires have an all‐season tread
design, the TPC Spec number will
be followed by MS for mud and
snow. See
Tire Sidewall Labeling on
page 10‑51 for additional
information.
GM recommends replacing all the
tires at the same time. Uniform tread
depth on all tires will help to
maintain the performance of the
vehicle. Braking and handling
performance may be adversely
affected if all the tires are not
replaced at the same time.
Page 351 of 424
Black plate (85,1)GMC Savana Owner Manual - 2012 - 2nd - 11/11/11
Vehicle Care 10-85
Notice:Ignoring these steps
could result in costly damage to
the vehicle that would not be
covered by the warranty.
Trying to start the vehicle by
pushing or pulling it will not
work, and it could damage the
vehicle.
1. Check the other vehicle. It must
have a 12-volt battery with a
negative ground system.
Notice: Only use a vehicle that
has a 12-volt system with a
negative ground for jump
starting. If the other vehicle does
not have a 12-volt system with a
negative ground, both vehicles
can be damaged. 2. Get the vehicles close enough
so the jumper cables can reach,
but be sure the vehicles are not
touching each other. If they are,
it could cause a ground
connection you do not want. You
would not be able to start your
vehicle, and the bad grounding
could damage the electrical
systems.
To avoid the possibility of the
vehicles rolling, set the parking
brake firmly on both vehicles
involved in the jump start
procedure. Put an automatic
transmission in P (Park) or a
manual transmission in
N (Neutral) before setting the
parking brake. Notice:
If any accessories are left
on or plugged in during the jump
starting procedure, they could be
damaged. The repairs would not
be covered by the vehicle
warranty. Whenever possible,
turn off or unplug all accessories
on either vehicle when jump
starting the vehicle.
3. Turn off the ignition on both
vehicles. Unplug unnecessary
accessories plugged into the
cigarette lighter or the accessory
power outlet. Turn off the radio
and all lamps that are not
needed. This will avoid sparks
and help save both batteries.
And it could save the radio!