2012 GMC SAVANA PASSENGER light
[x] Cancel search: lightPage 246 of 424

Black plate (38,1)GMC Savana Owner Manual - 2012 - 2nd - 11/11/11
9-38 Driving and Operating
+RES (Resume/Accelerate):
Press briefly to make the vehicle
resume to a previously set speed,
or press and hold to accelerate.
SET−(Set/Coast): Press to set the
speed and activate cruise control or
press and hold to decelerate.
[(Cancel): Press to disengage
cruise control without erasing the
set speed from memory.
Setting Cruise Control
If the cruise button is on when not in
use, it could get bumped and go into
cruise when not desired. Keep the
cruise control switch off when cruise
is not being used.
The cruise control light on the
instrument panel cluster comes on
after the cruise control has been set
to the desired speed.
1. Press the
Ibutton.
2. Get up to the desired speed. 3. Press the SET−
button located
on the steering wheel and
release it.
4. Take your foot off the accelerator.
Resuming a Set Speed
If the cruise control is set at a
desired speed and then the brakes
are applied, the cruise control is
disengaged without erasing the set
speed from memory.
Once the vehicle speed reaches
about 40 km/h (25 mph) or more,
press the +RES button on the
steering wheel. The vehicle returns
to the previous set speed and stays
there. Increasing Speed While Using
Cruise Control
If the cruise control system is
already activated,
.Press and hold the +RES button
on the steering wheel until the
desired speed is reached, then
release it.
.To increase vehicle speed in
small amounts, press the +RES
button. Each time this is done,
the vehicle goes about 1.6 km/h
(1 mph) faster.
Reducing Speed While Using
Cruise Control
If the cruise control system is
already activated,
.Press and hold the SET– button
on the steering wheel until the
desired lower speed is reached,
then release it.
Page 247 of 424
Black plate (39,1)GMC Savana Owner Manual - 2012 - 2nd - 11/11/11
Driving and Operating 9-39
.To slow down in small amounts,
press the SET–button on the
steering wheel briefly. Each time
this is done, the vehicle goes
about 1.6 km/h (1 mph) slower.
Passing Another Vehicle While
Using Cruise Control
Use the accelerator pedal to
increase the vehicle speed. When
you take your foot off the pedal, the
vehicle will slow down to the
previous set cruise speed.
Using Cruise Control on Hills
How well the cruise control works
on hills depends on the vehicle
speed, the load, and the steepness
of the hills. When going up steep
hills, pressing the accelerator pedal
may be necessary to maintain
vehicle speed. While going downhill:
.Vehicles with a four speed
automatic transmission may
need to have the brakes applied
or the transmission shifted to a
lower gear to keep the
speed down.
.Vehicles with a six speed
automatic transmission have a
Cruise Grade Braking feature
that may automatically shift to a
lower gear to keep the speed
down. It may be necessary to
apply the brake or manually shift
the transmission to a lower gear.
The vehicle may shift to a higher
gear when grade braking
assistance is no longer required.
Cruise Grade Braking is not
available while in Range
Selection Mode. This feature is
active when the exhaust brake is
enabled (if equipped). See
"Range Selection Mode" under
Manual Mode on page 9‑31.When the brakes are manually
applied the cruise control is
disengaged.
Ending Cruise Control
There are three ways to end cruise
control:.To disengage cruise control,
step lightly on the brake pedal.
.Press the[on the steering
wheel.
.To turn off the cruise control,
press
Ion the steering wheel.
Erasing Speed Memory
The cruise control set speed is
erased from memory if
Iis
pressed or if the vehicle is
turned off.
Page 252 of 424
Black plate (44,1)GMC Savana Owner Manual - 2012 - 2nd - 11/11/11
9-44 Driving and Operating
If the vehicle has E85 fuel capability,
the fuel cap will be yellow and state
that E85 or gasoline can be used.
SeeFuel E85 (85% Ethanol) on
page 9‑42.
To remove the fuel cap, turn it
slowly counterclockwise.
While refueling, hang the tethered
fuel cap from the hook on the
fuel door.
{WARNING
Fuel can spray out on you if you
open the fuel cap too quickly.
If you spill fuel and then
something ignites it, you could be
badly burned. This spray can
happen if the tank is nearly full,
and is more likely in hot weather.
Open the fuel cap slowly and wait
for any hiss noise to stop. Then
unscrew the cap all the way. Be careful not to spill fuel. Do not
top off or overfill the tank and wait a
few seconds after you have finished
pumping before removing the
nozzle. Clean fuel from painted
surfaces as soon as possible. See
Exterior Care on page 10‑92.
When replacing the fuel cap, turn it
clockwise until it clicks. Make sure
the cap is fully installed. The
diagnostic system can determine if
the fuel cap has been left off or
improperly installed. This would
allow fuel to evaporate into the
atmosphere. See
Malfunction
Indicator Lamp on page 5‑20.
{WARNING
If a fire starts while you are
refueling, do not remove the
nozzle. Shut off the flow of fuel by
shutting off the pump or by
notifying the station attendant.
Leave the area immediately.
Notice: If you need a new fuel
cap, be sure to get the right type.
Your dealer can get one for you.
If you get the wrong type, it may
not fit properly. This may cause
the malfunction indicator lamp to
light and may damage the fuel
tank and emissions system. See
Malfunction Indicator Lamp on
page 5‑20.
Page 254 of 424
Black plate (46,1)GMC Savana Owner Manual - 2012 - 2nd - 11/11/11
9-46 Driving and Operating
For information on towing a disabled
vehicle, seeTowing the Vehicle on
page 10‑89. For information on
towing the vehicle behind another
vehicle such as a motor home, see
Recreational Vehicle Towing on
page 10‑90.
Driving Characteristics
and Towing Tips
Pulling a Trailer
Here are some important points:
.There are many different laws,
including speed limit restrictions,
having to do with trailering.
Make sure the rig will be legal,
not only where you live but also
where you will be driving.
A good source for this
information can be state or
provincial police.
.Consider using a sway control.
See “Hitches” inTowing
Equipment on page 9‑55.
.Do not tow a trailer at all during
the first 800 km (500 mi) the new
vehicle is driven. The engine,
axle or other parts could be
damaged.
.Then, during the first 800 km
(500 mi) that a trailer is towed,
do not drive over 80 km/h
(50 mph) and do not make starts
at full throttle. This helps the
engine and other parts of the
vehicle wear in at the heavier
loads.
.Vehicles with an automatic
transmissions can tow in
D (Drive). Shift the transmission
to a lower gear if the
transmission shifts too often
under heavy loads and/or hilly
conditions.
Three important considerations
have to do with weight:
.The weight of the trailer.
.The weight of the trailer tongue.
.The weight on the vehicle's tires.
Also see “Tow/Haul Mode” later in
this section for information about the
Tow/Haul button and the Tow/Haul
indicator light.
Page 264 of 424
Black plate (56,1)GMC Savana Owner Manual - 2012 - 2nd - 11/11/11
9-56 Driving and Operating
If using the wiring provided with the
factory-installed trailering package,
no holes need to be made in the
body of the vehicle. However, if an
aftermarket hitch is installed, holes
may need to be made in the body.
If holes are made in the body, then
be sure to seal the holes later when
the hitch is removed. If the holes are
not sealed, deadly carbon monoxide
(CO) from the engine's exhaust can
get into the vehicle as well as dirt
and water. See“Carbon Monoxide”
under Engine Exhaust on
page 9‑24.
Safety Chains
Always attach chains between the
vehicle and the trailer. Cross the
safety chains under the tongue of
the trailer to help prevent the tongue
from contacting the road if it
becomes separated from the hitch.
Always leave just enough slack so
the rig can turn. Never allow safety
chains to drag on the ground.
Trailer Brakes
A loaded trailer that weighs more
than 680 kg (1,500 lbs) needs to
have its own brake system that is
adequate for the weight of the
trailer. Be sure to read and follow
the instructions for the trailer brakes
so they are installed, adjusted and
maintained properly.
Trailer Wiring Harness
The optional heavy-duty trailer
wiring package includes a wiring
harness, with a seven-pin connector
at the rear of the vehicle and a
four-wire harness assembly under
the driver side of the instrument
panel. The four-wire harness
assembly comes without a
connector.
If the vehicle does not have a trailer
hitch, the seven-wire harness
assembly with connector is taped
together and located in a frame
pocket at the driver side rear left
corner of the frame. If the vehicle has a trailer hitch, the
seven-wire harness assembly with
connector is attached to a bracket
on the hitch platform. In both cases,
the seven-wire harness has a
connector and includes a 30-amp
feed wire.
The seven-wire harness connector
contains the following trailer circuits:
.Light Green: Back-up Lamps
(10A fuse)**
.White: Ground
.Dark Blue: Trailer Brake Signal
.Dark Green: Right Rear Stop
and Turn Signal*
.Red/Black Stripe: Battery Feed
(30A Fuse)
.Brown: Trailer Park Lamp
Supply Voltage (15A fuse)**
.Yellow: Left Rear Stop and Turn
Signal *
Page 265 of 424
Black plate (57,1)GMC Savana Owner Manual - 2012 - 2nd - 11/11/11
Driving and Operating 9-57
The four-wire harness (without
connector) contains the following
circuits:
.Black: Ground
.Red/White: Battery Feed
.Dark Blue: Trailer Brake Signal
.Light Blue: CHMSL/Stoplamp
Supply Voltage
* If the vehicle is a cutaway with
trailer provisions, a 15 amp fuse will
be shared for both left/stop trailer
turn and right/stop trailer turn
signals. However, the cutaway
lighting connector will have a
10 amp fuse for each signal.
** If the vehicle is a cutaway with
trailer provisions, a 15 amp fuse will
be shared for trailer park lamps and
cutaway rear lighting connector park
lamps. Also, a 10 amp fuse will be
shared for trailer back-up lamps and
cutaway rear lighting connector
back-up lamps.
Tow/Haul Mode
This button is on the instrument
panel, to the right of the steering
wheel.
Pressing this button turns on and off
the Tow/Haul Mode.
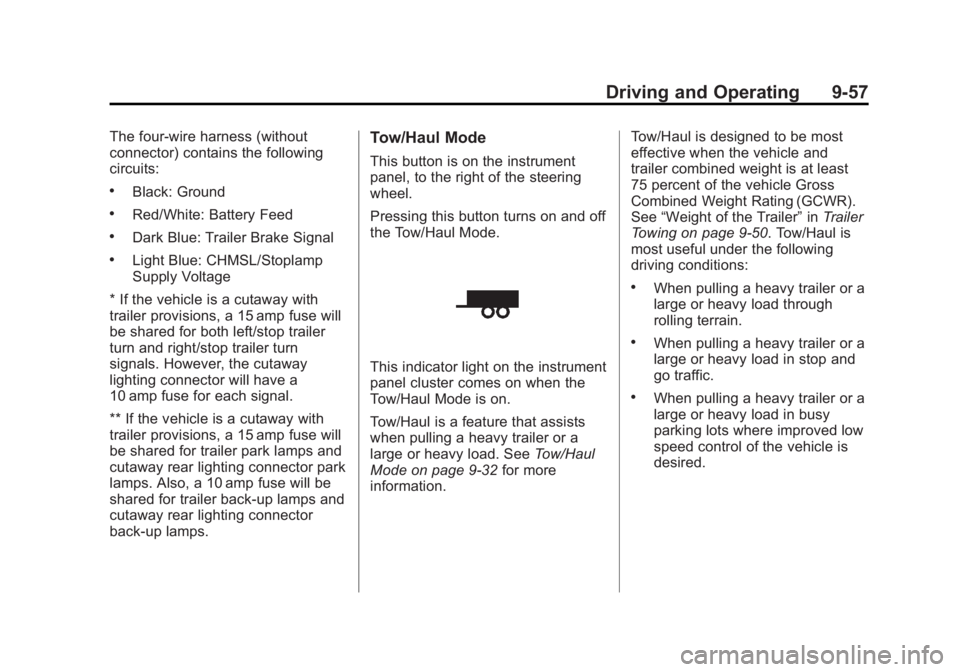
This indicator light on the instrument
panel cluster comes on when the
Tow/Haul Mode is on.
Tow/Haul is a feature that assists
when pulling a heavy trailer or a
large or heavy load. See Tow/Haul
Mode on page 9‑32 for more
information. Tow/Haul is designed to be most
effective when the vehicle and
trailer combined weight is at least
75 percent of the vehicle Gross
Combined Weight Rating (GCWR).
See
“Weight of the Trailer” inTrailer
Towing on page 9‑50. Tow/Haul is
most useful under the following
driving conditions:
.When pulling a heavy trailer or a
large or heavy load through
rolling terrain.
.When pulling a heavy trailer or a
large or heavy load in stop and
go traffic.
.When pulling a heavy trailer or a
large or heavy load in busy
parking lots where improved low
speed control of the vehicle is
desired.
Page 266 of 424
Black plate (58,1)GMC Savana Owner Manual - 2012 - 2nd - 11/11/11
9-58 Driving and Operating
Operating the vehicle in Tow/Haul
when lightly loaded or with no trailer
at all will not cause damage.
However, there is no benefit to the
selection of Tow/Haul when the
vehicle is unloaded. Such a
selection when unloaded may
result in unpleasant engine and
transmission driving characteristics
and reduced fuel economy. Tow/
Haul is recommended only when
pulling a heavy trailer or a large or
heavy load.Conversions and
Add-Ons
Add-On Electrical
Equipment
Notice:Do not add anything
electrical to the vehicle unless
you check with your dealer first.
Some electrical equipment can
damage the vehicle and the
damage would not be covered by
the vehicle's warranty. Some
add-on electrical equipment can
keep other components from
working as they should. Add-on equipment can drain the
vehicle's 12‐volt battery, even if the
vehicle is not operating.
The vehicle has an airbag system.
Before attempting to add anything
electrical to the vehicle, see
Servicing the Airbag-Equipped
Vehicle on page 3‑35
andAdding
Equipment to the Airbag-Equipped
Vehicle on page 3‑36.
Page 281 of 424
Black plate (15,1)GMC Savana Owner Manual - 2012 - 2nd - 11/11/11
Vehicle Care 10-15
A cold fluid level check can be
performed after the vehicle has
been sitting for eight hours or more
with the engine off, but this is used
only as a reference. Let the engine
run at idle for five minutes if outside
temperatures is between 15°C to
32°C (60°F to 90°F). Should the
fluid level be low during this cold
check, the fluid must be checked
Warm or Hot before adding fluid.
If the outside temperature is colder
than 15°C (60°F) or hotter than
32°C (90°F), a cold check cannot be
performed.
A warm fluid level check can be
performed by driving the vehicle
under lightly loaded conditions and
outside temperatures between 10°C
to 27°C (50°F to 80°F). The vehicle
should be driven for at least 24 km
(15 mi) before performing a warm
check. Checking the fluid Warm or
Hot will give a more accurate
reading of the fluid level than a cold
check.Because the vehicle is equipped
with a high-efficiency air-to-oil
cooler, the transmission fluid
temperature may not reach the
required Hot fluid level checking
temperature under normal lightly
loaded driving vehicle conditions.
Checking the Fluid Level
Prepare the vehicle as follows:
1. Park the vehicle on a level
place. Keep the engine running.
2. With the parking brake applied, place the shift lever in P (Park).
3. With foot on the brake pedal, move the shift lever through
each gear range, pausing for
about three seconds in each
range. When M is reached,
move the selector from M1
through M3. Then, position the
shift lever in P (Park).
4. Let the engine run at idle for two minutes or more. Then, without shutting off the
engine:
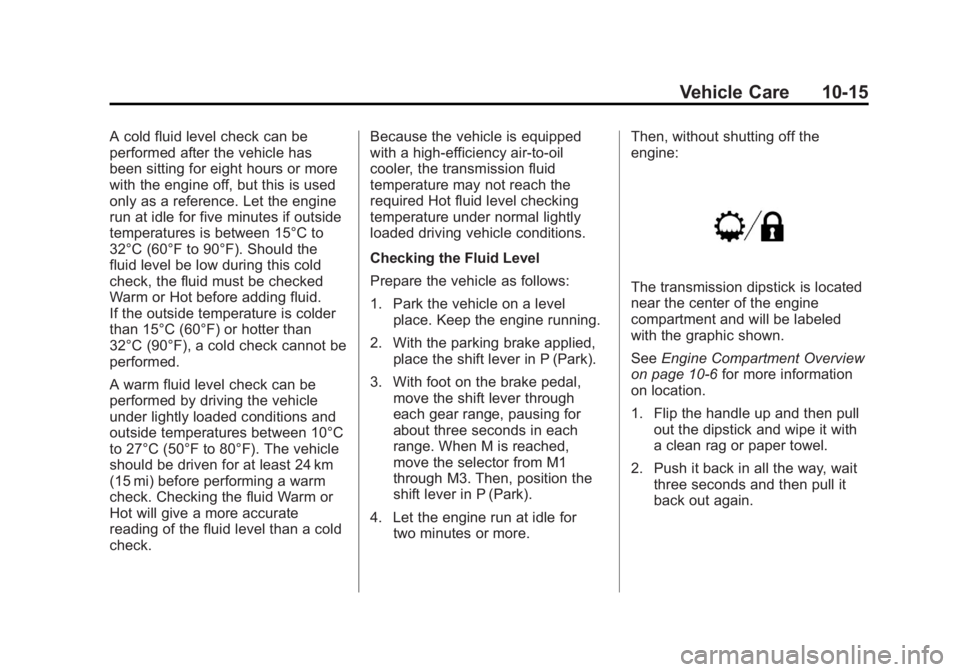
The transmission dipstick is located
near the center of the engine
compartment and will be labeled
with the graphic shown.
See
Engine Compartment Overview
on page 10‑6 for more information
on location.
1. Flip the handle up and then pull out the dipstick and wipe it with
a clean rag or paper towel.
2. Push it back in all the way, wait three seconds and then pull it
back out again.