Page 73 of 406
Replacing rear brake/tail/turn and sidemarker lamp bulbs
The brake/tail/turn and side marker lamp bulbs are located in the tail
lamp assembly. Follow the same steps to replace either bulb.
•(1)Tail/side marker lamp
•(2)Brake/tail lamp
•(3)Turn signal lamp
1. Make sure the headlamp switch is in the off position and open the
trunk.
2. Remove the press pin and cargo
net fastener (if equipped) and
carefully pull the carpet away to
expose the backside of the tail lamp
assembly.
3. Remove the nut and washer
assemblies, then pull the lamp
assembly away from the vehicle.
4. Remove the bulb socket by
rotating it counterclockwise, then
pulling it out of the lamp assembly.
5. Pull the bulb straight from the
socket.
Install new bulb(s) in reverse order.
Lights
73
2012 Taurus
Owners Guide, 1st Printing
USA(fus)
Page 74 of 406
Replacing backup lamp bulbs
The backup lamp bulbs are located in the deck lid assembly.
1. Make sure the headlamp switch is in the off position.
2. Remove the deck lid trim panel
press pins and carefully pull the
panel away to expose the backside
of the backup lamp assembly.
3. Remove bulb socket by rotating it
counterclockwise, then pull it out of
the lamp assembly.
4. Disconnect the wire harness connector from the bulb/socket.
5. Install the new bulb in reverse order.
Replacing high-mount brake lamp bulbs
Your vehicle is equipped with an LED high-mount brake lamp. It is
designed to last the life of the vehicle. If replacement is required, it is
recommended that you see your authorized dealer.
Lights
74
2012 Taurus
Owners Guide, 1st Printing
USA(fus)
Page 75 of 406
Replacing license plate lamp bulbs
1. Make sure the headlamp switch is
in the off position.
2. Remove the two screws from the
license plate lamp assembly.
3. Carefully pull the bulb out from
the contacts.
Install new bulb(s) in reverse order.
Replacing supplemental park lamp bulbs
Your vehicle is equipped with an LED supplemental park lamp. It is
designed to last the life of the vehicle. If replacement is required, it is
recommended that you see your authorized dealer.
Lights
75
2012 Taurus
Owners Guide, 1st Printing
USA(fus)
Page 85 of 406

INTERIOR MIRROR
The interior rearview mirror has two pivot points on the support arm
which lets you adjust the mirror up or down and from side to side.
WARNING:Do not adjust the mirror while the vehicle is in
motion.
Automatic dimming interior rear view mirror (if equipped)
The interior rear view mirror has an auto-dimming function (optional on
the driver’s side exterior mirror). The electronic day/night mirror will
change from the normal (high reflective) state to the non-glare
(darkened) state when bright lights (glare) reach the interior mirror.
When the interior mirror detects bright light from behind the vehicle, the
interior rear view mirror and the driver’s side exterior mirror (if
equipped) will automatically adjust (darken) to minimize glare.
The mirrors will automatically return to the normal state whenever the
vehicle is placed in R (Reverse) to ensure a bright clear view when
backing up.
Do not block the sensors on the front and back of the interior
rear view mirror since this may impair proper mirror
performance.
Note:A rear center passenger and/or raised rear center headrest (if
equipped) may also block the light from reaching the sensor.
Do not clean the housing or glass of any mirror with harsh
abrasives, fuel or other petroleum-based cleaning products.
Note:If equipped with a rearview camera system, a video image will
display in the mirror or the navigation system display (if equipped) when
the vehicle is put in R (Reverse). As you shift into any other gear from R
(Reverse), the image will remain for a few seconds and then turn off.
Refer toRearview camera systemin theDrivingchapter.
Driver Controls
85
2012 Taurus
Owners Guide, 1st Printing
USA(fus)
Page 102 of 406

model manufactured before April 1, 1982). A garage door which cannot
detect an object, signaling the door to stop and reverse, does not meet
current U.S. federal safety standards. For more information, contact
HomeLink�at:www.homelink.comor1–800–355–3515.
Retain the original transmitter for use in other vehicles as well as for
future programming procedures (i.e. new HomeLink�equipped vehicle
purchase). It is also suggested that upon the sale of the vehicle, the
programmed Homelink�buttons be erased for security purposes, refer to
Programmingin this section.
Programming
Do not program HomeLink�with the vehicle parked in the garage.
Note:Your vehicle may require the ignition switch to be turned to the
accessory position for programming and/or operation of the HomeLink�.
It is also recommended that a new battery be placed in the hand-held
transmitter of the device being programmed to HomeLink�for quicker
training and accurate transmission of the radio-frequency signal.
1. Position the end of your
hand-held transmitter 1–3 inches
(2–8 cm) away from the HomeLink�
button you wish to program (located
on your visor) while keeping the
indicator light in view.
2. Simultaneously press and hold
both the chosen HomeLink�and
hand-held transmitter buttons until the HomeLink�indicator light
changes from a slow to a rapidly blinking light. Now you may release
both the HomeLink�and hand-held transmitter buttons.
Note:Some entry gates and garage door openers may require you to
replace Step 2 with procedures noted in theGate Operator and
Canadian Programmingin this section for Canadian residents.
3. Firmlypress and hold for five seconds and releasethe
programmed HomeLink�button up to two separate times to activate the
door. If the door does not activate, press and hold the just-trained
HomeLink�button and observe the indicator light.
•If the indicator lightstays on constantly, programming is complete
and your device should activate when the HomeLink�button is pressed
and released.
•If the indicator light blinksrapidly for two seconds and then turns
to a constant light continue with “Programming” Steps 4 through
Driver Controls
102
2012 Taurus
Owners Guide, 1st Printing
USA(fus)
Page 127 of 406

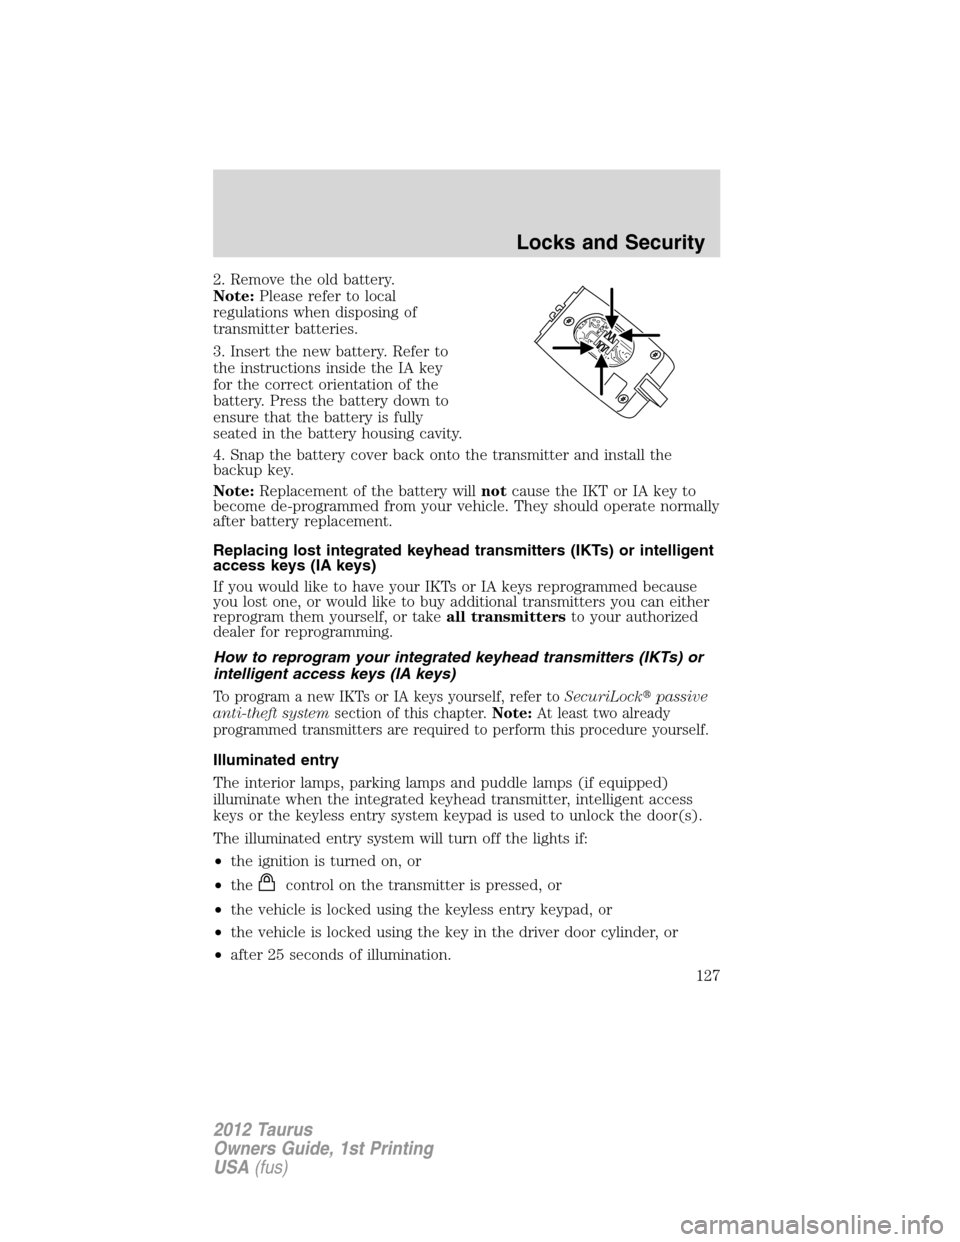
2. Remove the old battery.
Note:Please refer to local
regulations when disposing of
transmitter batteries.
3. Insert the new battery. Refer to
the instructions inside the IA key
for the correct orientation of the
battery. Press the battery down to
ensure that the battery is fully
seated in the battery housing cavity.
4. Snap the battery cover back onto the transmitter and install the
backup key.
Note:Replacement of the battery willnotcause the IKT or IA key to
become de-programmed from your vehicle. They should operate normally
after battery replacement.
Replacing lost integrated keyhead transmitters (IKTs) or intelligent
access keys (IA keys)
If you would like to have your IKTs or IA keys reprogrammed because
you lost one, or would like to buy additional transmitters you can either
reprogram them yourself, or takeall transmittersto your authorized
dealer for reprogramming.
How to reprogram your integrated keyhead transmitters (IKTs) or
intelligent access keys (IA keys)
To program a new IKTs or IA keys yourself, refer toSecuriLock�passive
anti-theft systemsection of this chapter.Note:At least two already
programmed transmitters are required to perform this procedure yourself.
Illuminated entry
The interior lamps, parking lamps and puddle lamps (if equipped)
illuminate when the integrated keyhead transmitter, intelligent access
keys or the keyless entry system keypad is used to unlock the door(s).
The illuminated entry system will turn off the lights if:
•the ignition is turned on, or
•the
control on the transmitter is pressed, or
•the vehicle is locked using the keyless entry keypad, or
•the vehicle is locked using the key in the driver door cylinder, or
•after 25 seconds of illumination.
Locks and Security
127
2012 Taurus
Owners Guide, 1st Printing
USA(fus)
Page 128 of 406

The lights will not turn off if:
•they have been turned on with the dimmer control, or
•any door is open.
Illuminated exit
When all vehicle doors are closed, the ignition is turned off and the key
is removed from the ignition (IKT only), the interior dome lamps,
parking lamps and the puddle lamps (if equipped) will illuminate.
The lamps will turn off if all the doors remain closed and
•25 seconds elapse, or
•the key is inserted in the ignition (IKT only) or (if equipped with
intelligent access with push button start feature) the start button is
pressed.
Battery saver
The battery saver will shut off the lamps 10 minutes after the ignition
has been turned off.
•If the dome lamps were turned on using the panel dimmer control, the
battery saver will shut them off 10 minutes after the ignition has been
turned off.
•If the courtesy lamps were turned on because one of the vehicle doors
or the trunk was opened, the battery saver will shut them off
10 minutes after the ignition has been turned off.
•The battery saver will shut off the headlamps 10 minutes after the
ignition has been turned off.
Accessory mode battery saver for intelligent access keys with
push button start (if equipped)
If you shut off the engine and leave the ignition in the on or accessory
mode, the ignition will shut off after 30 minutes.
Locks and Security
128
2012 Taurus
Owners Guide, 1st Printing
USA(fus)
Page 129 of 406

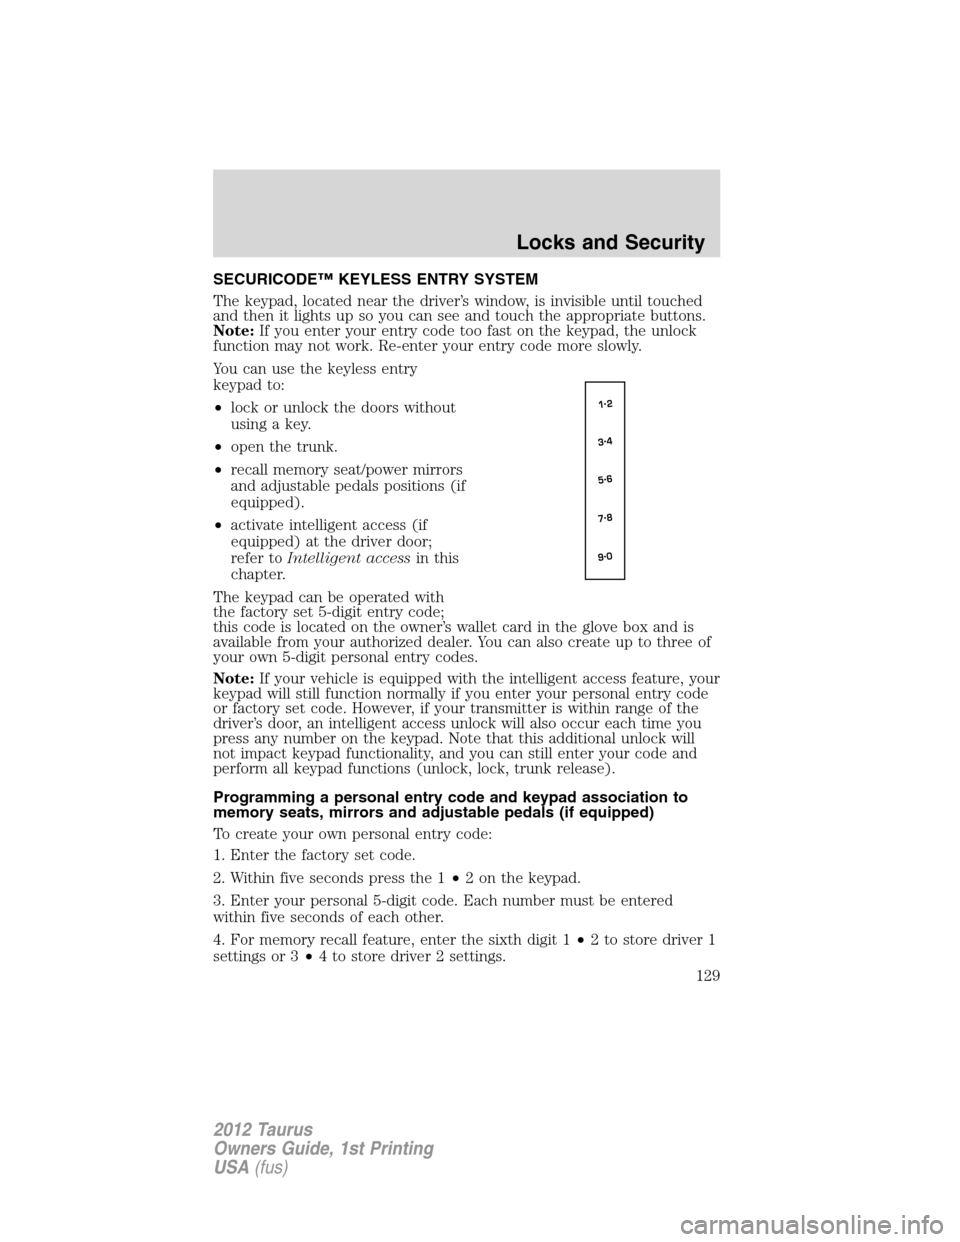
SECURICODE™ KEYLESS ENTRY SYSTEM
The keypad, located near the driver’s window, is invisible until touched
and then it lights up so you can see and touch the appropriate buttons.
Note:If you enter your entry code too fast on the keypad, the unlock
function may not work. Re-enter your entry code more slowly.
You can use the keyless entry
keypad to:
•lock or unlock the doors without
using a key.
•open the trunk.
•recall memory seat/power mirrors
and adjustable pedals positions (if
equipped).
•activate intelligent access (if
equipped) at the driver door;
refer toIntelligent accessin this
chapter.
The keypad can be operated with
the factory set 5-digit entry code;
this code is located on the owner’s wallet card in the glove box and is
available from your authorized dealer. You can also create up to three of
your own 5-digit personal entry codes.
Note:If your vehicle is equipped with the intelligent access feature, your
keypad will still function normally if you enter your personal entry code
or factory set code. However, if your transmitter is within range of the
driver’s door, an intelligent access unlock will also occur each time you
press any number on the keypad. Note that this additional unlock will
not impact keypad functionality, and you can still enter your code and
perform all keypad functions (unlock, lock, trunk release).
Programming a personal entry code and keypad association to
memory seats, mirrors and adjustable pedals (if equipped)
To create your own personal entry code:
1. Enter the factory set code.
2. Within five seconds press the 1•2 on the keypad.
3. Enter your personal 5-digit code. Each number must be entered
within five seconds of each other.
4. For memory recall feature, enter the sixth digit 1•2 to store driver 1
settings or 3•4 to store driver 2 settings.
Locks and Security
129
2012 Taurus
Owners Guide, 1st Printing
USA(fus)