2012 FORD F250 parking brake
[x] Cancel search: parking brakePage 267 of 448
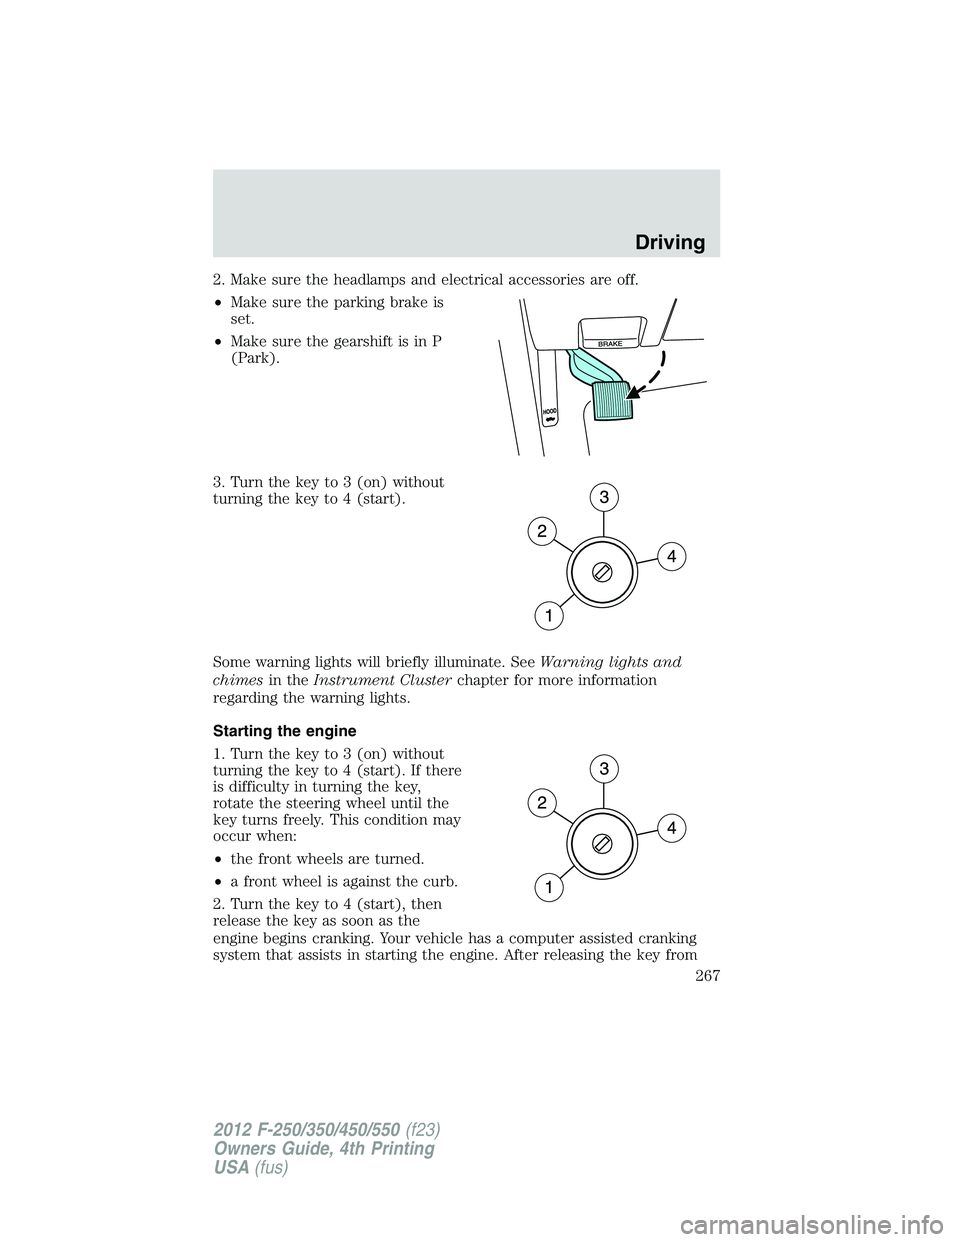
2. Make sure the headlamps and electrical accessories are off.
•Make sure the parking brake is
set.
•Make sure the gearshift is in P
(Park).
3. Turn the key to 3 (on) without
turning the key to 4 (start).
Some warning lights will briefly illuminate. SeeWarning lights and
chimesin theInstrument Clusterchapter for more information
regarding the warning lights.
Starting the engine
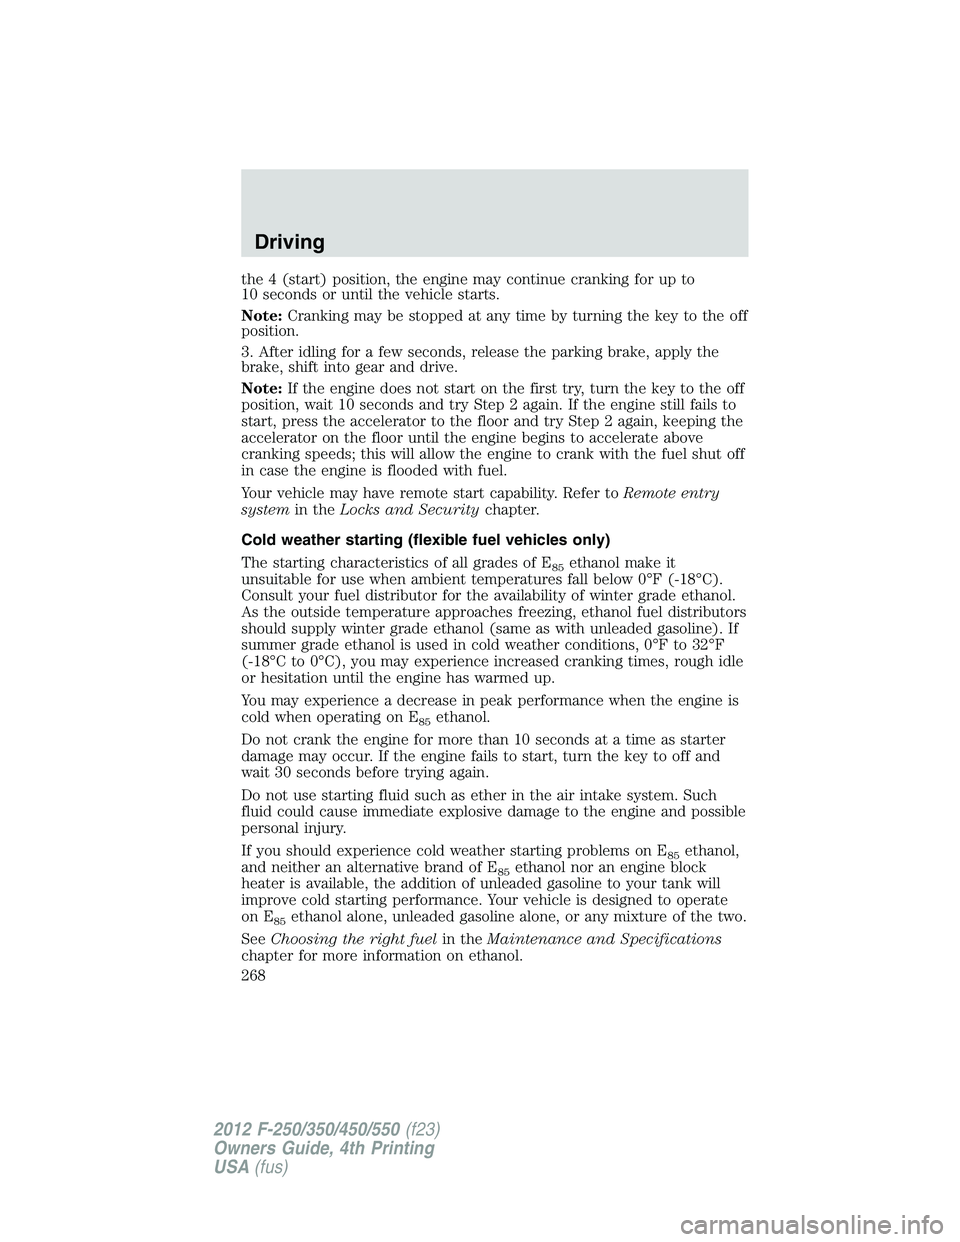
1. Turn the key to 3 (on) without
turning the key to 4 (start). If there
is difficulty in turning the key,
rotate the steering wheel until the
key turns freely. This condition may
occur when:
•the front wheels are turned.
•a front wheel is against the curb.
2. Turn the key to 4 (start), then
release the key as soon as the
engine begins cranking. Your vehicle has a computer assisted cranking
system that assists in starting the engine. After releasing the key from
Driving
267
2012 F-250/350/450/550(f23)
Owners Guide, 4th Printing
USA(fus)
Page 268 of 448
the 4 (start) position, the engine may continue cranking for up to
10 seconds or until the vehicle starts.
Note:Cranking may be stopped at any time by turning the key to the off
position.
3. After idling for a few seconds, release the parking brake, apply the
brake, shift into gear and drive.
Note:If the engine does not start on the first try, turn the key to the off
position, wait 10 seconds and try Step 2 again. If the engine still fails to
start, press the accelerator to the floor and try Step 2 again, keeping the
accelerator on the floor until the engine begins to accelerate above
cranking speeds; this will allow the engine to crank with the fuel shut off
in case the engine is flooded with fuel.
Your vehicle may have remote start capability. Refer toRemote entry
systemin theLocks and Securitychapter.
Cold weather starting (flexible fuel vehicles only)
The starting characteristics of all grades of E
85ethanol make it
unsuitable for use when ambient temperatures fall below 0°F (-18°C).
Consult your fuel distributor for the availability of winter grade ethanol.
As the outside temperature approaches freezing, ethanol fuel distributors
should supply winter grade ethanol (same as with unleaded gasoline). If
summer grade ethanol is used in cold weather conditions, 0°F to 32°F
(-18°C to 0°C), you may experience increased cranking times, rough idle
or hesitation until the engine has warmed up.
You may experience a decrease in peak performance when the engine is
cold when operating on E
85ethanol.
Do not crank the engine for more than 10 seconds at a time as starter
damage may occur. If the engine fails to start, turn the key to off and
wait 30 seconds before trying again.
Do not use starting fluid such as ether in the air intake system. Such
fluid could cause immediate explosive damage to the engine and possible
personal injury.
If you should experience cold weather starting problems on E
85ethanol,
and neither an alternative brand of E
85ethanol nor an engine block
heater is available, the addition of unleaded gasoline to your tank will
improve cold starting performance. Your vehicle is designed to operate
on E
85ethanol alone, unleaded gasoline alone, or any mixture of the two.
SeeChoosing the right fuelin theMaintenance and Specifications
chapter for more information on ethanol.
Driving
268
2012 F-250/350/450/550(f23)
Owners Guide, 4th Printing
USA(fus)
Page 272 of 448
Brake assist
The brake assist system provides full braking force during panic braking
situations. It detects a rapid application of the brake pedal and uses the
ABS system to achieve maximum braking pressure. Once a panic brake
application is detected, the system will remain activated as long as the
brake pedal is pressed or ABS is engaged. The system is deactivated by
either releasing the brake pedal or coming to a complete stop. When the
system activates, noise from the ABS pump motor and brake pedal
pulsation may be observed; this is normal.
ABS warning lamp
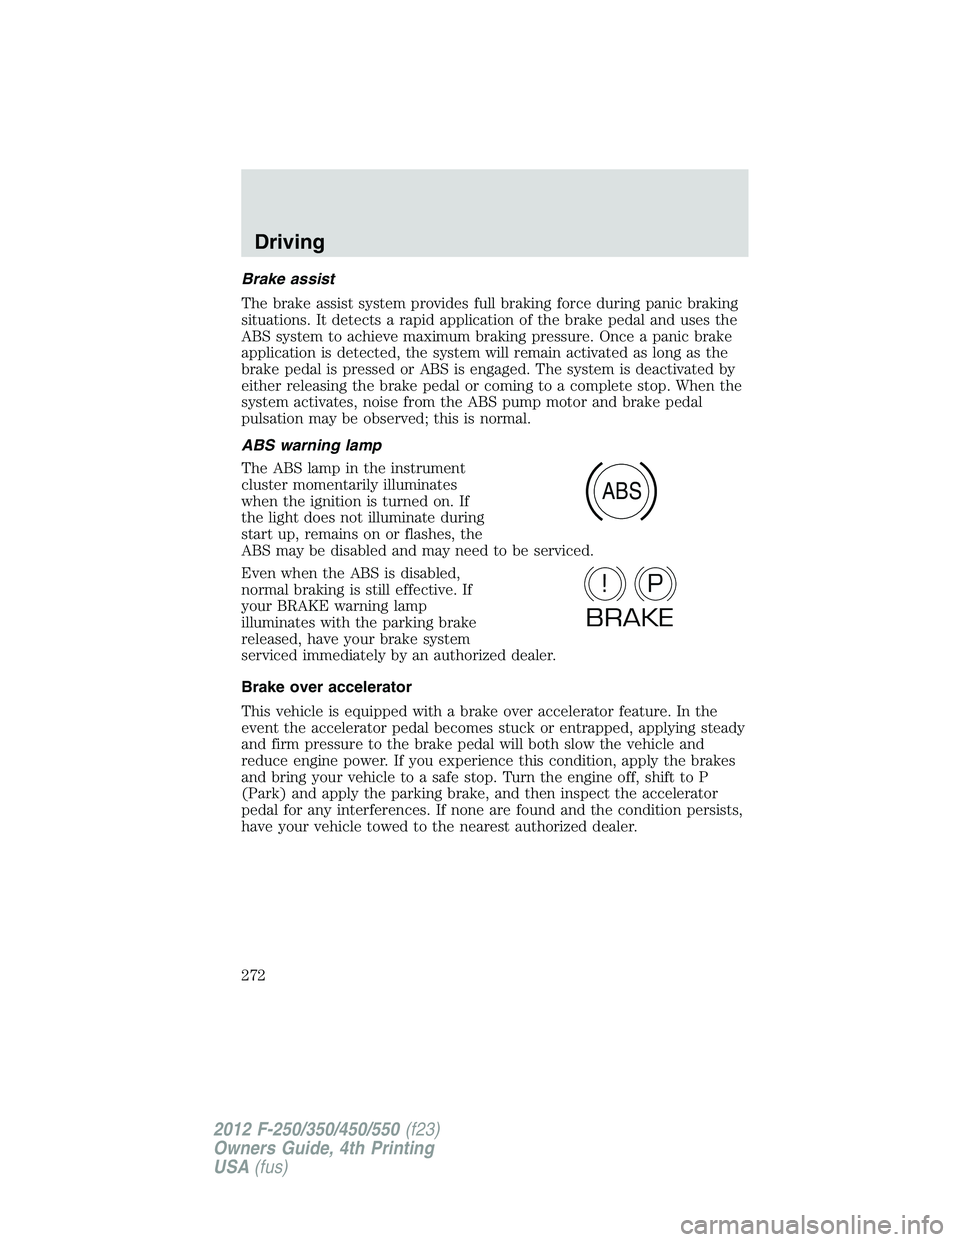
The ABS lamp in the instrument
cluster momentarily illuminates
when the ignition is turned on. If
the light does not illuminate during
start up, remains on or flashes, the
ABS may be disabled and may need to be serviced.
Even when the ABS is disabled,
normal braking is still effective. If
your BRAKE warning lamp
illuminates with the parking brake
released, have your brake system
serviced immediately by an authorized dealer.
Brake over accelerator
This vehicle is equipped with a brake over accelerator feature. In the
event the accelerator pedal becomes stuck or entrapped, applying steady
and firm pressure to the brake pedal will both slow the vehicle and
reduce engine power. If you experience this condition, apply the brakes
and bring your vehicle to a safe stop. Turn the engine off, shift to P
(Park) and apply the parking brake, and then inspect the accelerator
pedal for any interferences. If none are found and the condition persists,
have your vehicle towed to the nearest authorized dealer.
ABS
P!
BRAKE
Driving
272
2012 F-250/350/450/550(f23)
Owners Guide, 4th Printing
USA(fus)
Page 273 of 448
Parking brake
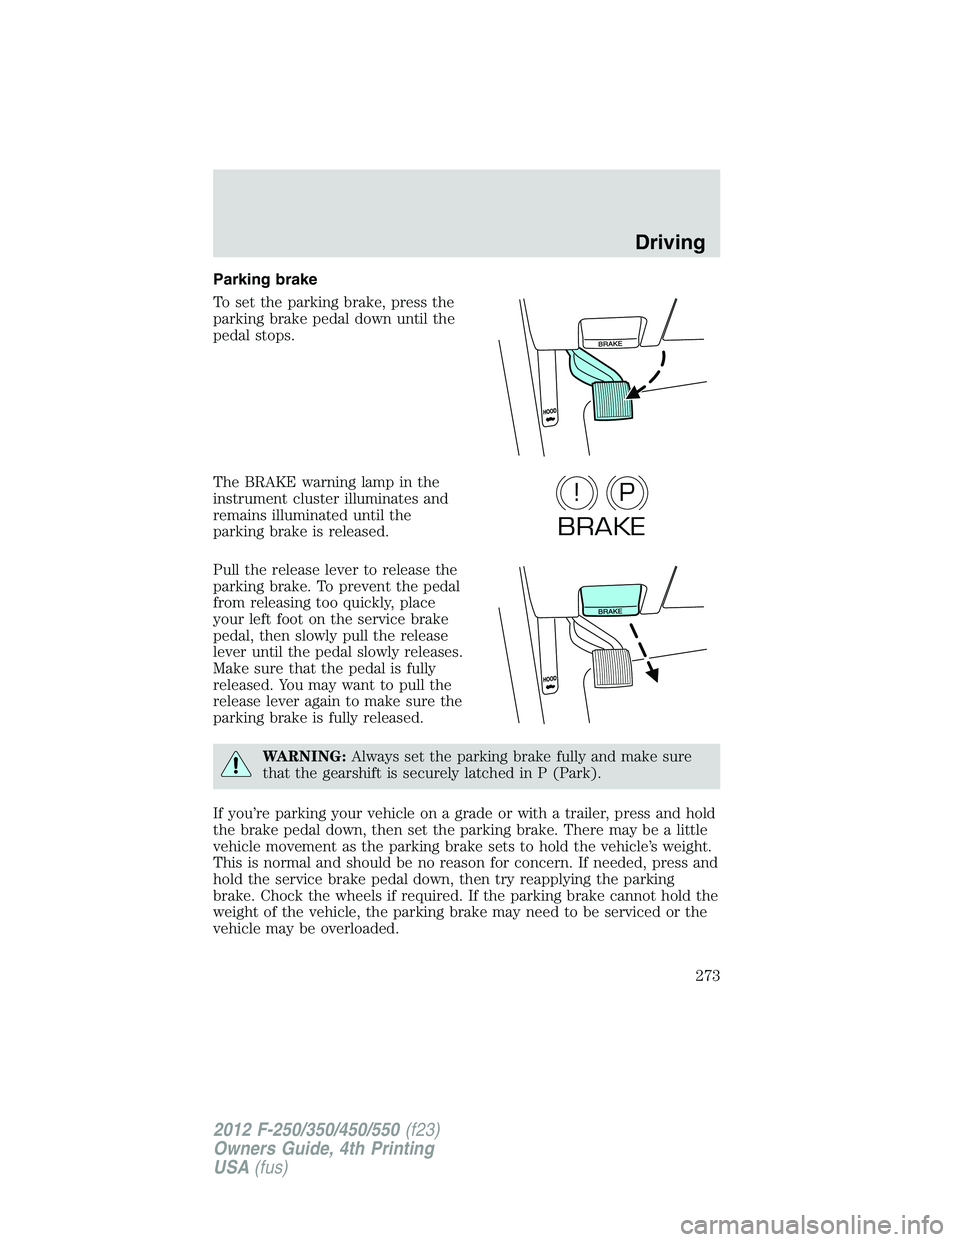
To set the parking brake, press the
parking brake pedal down until the
pedal stops.
The BRAKE warning lamp in the
instrument cluster illuminates and
remains illuminated until the
parking brake is released.
Pull the release lever to release the
parking brake. To prevent the pedal
from releasing too quickly, place
your left foot on the service brake
pedal, then slowly pull the release
lever until the pedal slowly releases.
Make sure that the pedal is fully
released. You may want to pull the
release lever again to make sure the
parking brake is fully released.
WARNING:Always set the parking brake fully and make sure
that the gearshift is securely latched in P (Park).
If you’re parking your vehicle on a grade or with a trailer, press and hold
the brake pedal down, then set the parking brake. There may be a little
vehicle movement as the parking brake sets to hold the vehicle’s weight.
This is normal and should be no reason for concern. If needed, press and
hold the service brake pedal down, then try reapplying the parking
brake. Chock the wheels if required. If the parking brake cannot hold the
weight of the vehicle, the parking brake may need to be serviced or the
vehicle may be overloaded.
P!
BRAKE
Driving
273
2012 F-250/350/450/550(f23)
Owners Guide, 4th Printing
USA(fus)
Page 281 of 448

Disabling trailer sway control
Trailer sway control can be disabled during any key cycle. See trailer
sway control under theMessage centerin theInstrument Cluster
chapter. Note that regardless of chosen enable state, trailer sway control
will be re-enabled at each new key cycle.
WARNING:Turning off trailer sway control increases the risk of
loss of vehicle control, serious injury, or death. Ford does not
recommend disabling this feature except in situations where speed
reduction may be detrimental (e.g., hill climbing), the driver has
significant trailer towing experience, and can control trailer sway and
maintain safe operation.
HILL DESCENT CONTROL (IF EQUIPPED)
Hill descent control allows the driver to set and maintain vehicle speed
while descending steep grades in various surface conditions.
WARNING:Hill descent control cannot control descent in all
surface conditions and circumstances, such as ice or extremely
steep grades. Hill descent control is a driver assist system and cannot
substitute for good judgment by the driver. Failure to do so may result
in loss of vehicle control, crash or serious injury.
Hill descent control can maintain vehicle speeds on downhill grades
between 2 mph (3 km/h) and 12 mph (20 km/h). Above 20 mph
(32 km/h), the system remains armed, but descent speed cannot be set
or maintained.
WARNING:Hill descent control does not provide hill hold at
zero mph (0 km/h). When stopped, the parking brake must be
applied and/or the vehicle must be placed in P (Park) or it may roll
away.
Hill descent control requires a cooling down interval after a period of
sustained use. The amount of time that the feature can remain active
before cooling varies with conditions. The system will provide a warning
in the message center and a chime will sound when the system is about
to disengage for cooling. At this time, manually apply the brakes as
needed to maintain descent speed.
Driving
281
2012 F-250/350/450/550(f23)
Owners Guide, 4th Printing
USA(fus)
Page 286 of 448

If the fuse is not blown and the brake lamps are working properly, the
following procedure will allow you to move the gearshift lever from P (Park):
1. Apply the parking brake. Turn the ignition key to 1 (off), then remove
the key.
2. Move the steering column to the full down and full rearward position
(toward the driver’s seat).
3. Remove the gearshift lever boot.
4. Place fingers into hole where the gearshift lever boot was removed
from and pull top half of shroud up and forward to separate it from the
lower half of the shroud. There is a hinge at the forward edge of the top
shroud. Roll the top half of the shroud upward on the hinge point to
clear the hazard flasher button, then pull straight rearward toward the
driver’s seat to remove.
5. Remove the top half of the shroud.
6. Remove the three fasteners under
the column that secure the lower
shroud half to the column.
7. Pull the lock lever into the full
unlocked position and remove the
lower shroud cover by pulling the
lever handle through the slot in the
cover.
8. Apply the brake and move the gearshift lever into N (Neutral).
9. Start the vehicle.
Perform Steps 4 through 8 in reverse order, making sure to engage the
hinge pivots between the upper and lower halves of the shroud. Keep slight
pressure in the forward direction as the halves are rotated together.
Driving
286
2012 F-250/350/450/550(f23)
Owners Guide, 4th Printing
USA(fus)
Page 287 of 448

WARNING:Do not drive your vehicle until you verify that the
brake lamps are working.
WARNING:When doing this procedure, you will be taking the
vehicle out of park which means the vehicle can roll freely. To
avoid unwanted vehicle movement, always fully set the parking brake
prior to doing this procedure. Use wheel chocks if appropriate.
WARNING:If the parking brake is fully released, but the brake
warning lamp remains illuminated, the brakes may not be
working properly. See your authorized dealer as soon as possible.
AUTOMATIC TRANSMISSION OPERATION
Understanding the shift positions of the 5–speed automatic
transmission (if equipped)
This vehicle is equipped with an adaptive transmission shift strategy.
Adaptive transmission shift strategy offers the optimal transmission
operation and shift quality. When the vehicle’s battery has been
disconnected for any type of service or repair, the transmission will need
to relearn the normal shift strategy parameters, much like having to reset
your radio stations when your vehicle battery has been disconnected.
The adaptive transmission shift strategy allows the transmission to
relearn these operating parameters. This learning process could take
several transmission upshifts and downshifts; during this learning
process, slightly firmer shifts may occur. After this learning process,
normal shift feel and shift scheduling will resume.
P (Park)
This position locks the transmission and prevents the rear wheels from
turning.
To put your vehicle in gear:
•Start the engine
•Press the brake pedal
•Move the gearshift lever into the desired gear
Driving
287
2012 F-250/350/450/550(f23)
Owners Guide, 4th Printing
USA(fus)
Page 288 of 448
To put your vehicle in P (Park):
•Come to a complete stop
•Move the gearshift lever and securely latch it in P (Park)
WARNING:Always set the parking brake fully and make sure
the gearshift is latched in P (Park). Turn the ignition to the off
position and remove the key whenever you leave your vehicle.
R (Reverse)
With the gearshift lever in R (Reverse), the vehicle will move backward.
Always come to a complete stop before shifting into and out of R (Reverse).
N (Neutral)
With the gearshift lever in N (Neutral), the vehicle can be started and is
free to roll. Hold the brake pedal down while in this position.
D (Overdrive) with Tow/Haul Off
D (Overdrive) with tow/haul off is the normal driving position for the
best fuel economy. The overdrive function allows automatic upshifts and
downshifts through gears one through five.
D (Overdrive) with Tow/Haul On
The tow/haul feature improves transmission operation when towing a
trailer or a heavy load. All transmission gear ranges are available when
using tow/haul.
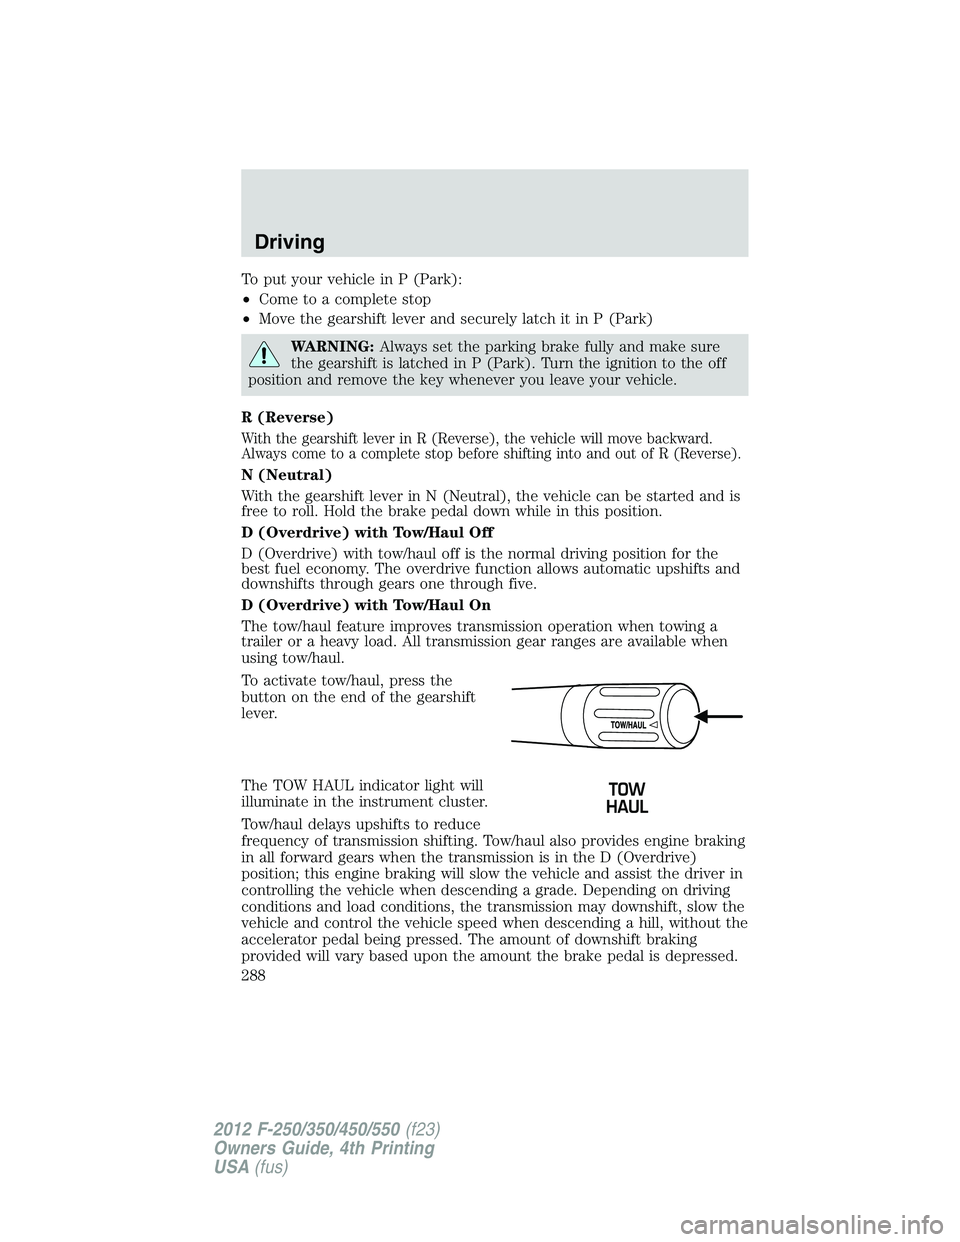
To activate tow/haul, press the
button on the end of the gearshift
lever.
The TOW HAUL indicator light will
illuminate in the instrument cluster.
Tow/haul delays upshifts to reduce
frequency of transmission shifting. Tow/haul also provides engine braking
in all forward gears when the transmission is in the D (Overdrive)
position; this engine braking will slow the vehicle and assist the driver in
controlling the vehicle when descending a grade. Depending on driving
conditions and load conditions, the transmission may downshift, slow the
vehicle and control the vehicle speed when descending a hill, without the
accelerator pedal being pressed. The amount of downshift braking
provided will vary based upon the amount the brake pedal is depressed.
Driving
288
2012 F-250/350/450/550(f23)
Owners Guide, 4th Printing
USA(fus)