Page 74 of 391

▫Seat Height Adjustment ................. 90
▫ Ez Entry Feature ...................... 90
▫ Memory Feature ...................... 91
▫ Heated Seats — If Equipped ............. 91
▫ Head Restraints ...................... 92
� To Open And Close The Hood ............. 94
� Lights .............................. 96
▫ Multifunction Lever ................... 96
▫ Headlights .......................... 96
▫ High Beams ......................... 97
▫ Flash-To-Pass ........................ 97
▫ Parking Lights ....................... 97
▫ Daytime Running Lights — If Equipped ..... 97▫
Turn Signals ......................... 98
▫ Lane Change Assist .................... 98
▫ Follow Me Home/Headlight Delay ........ 98
▫ Interior Lights ....................... 99
▫ Front Fog Lights — If Equipped .......... 100
� Windshield Wipers And Washers .......... 101
▫ Front Windshield Wiper Operation ........ 101
▫ Rear Windshield Wiper ................ 103
� Tilt Steering Column — If Equipped ........ 104
� Electronic Speed Control ................ 105
▫ To Activate ......................... 106
▫ To Set A Desired Speed ................ 106
▫ To Deactivate ....................... 106
72 UNDERSTANDING THE FEATURES OF YOUR VEHICLE
Page 99 of 391
High Beams
With the low beams activated, push the multifunc-
tion lever towards the instrument panel to turn on
the high beams. Pull the multifunction lever toward the
steering wheel to turn off the high beams.
Flash-To-Pass
You can signal another vehicle with your headlights by
lightly pulling the multifunction lever toward the steer-
ing wheel. This will turn on the high beams until the
lever is released.
Parking Lights
To turn on the parking lights, remove the key
or turn the ignition to OFF/LOCK position and
turn on the headlights.
Daytime Running Lights — If Equipped
To activate the Daytime Running Lights (DRL), rotate the
end of the multifunction lever to the Osymbol.
NOTE: The low beams and side/taillights will not be on
with DRL.
The DRL function can be turned on or off using the
display menus. Refer to “Electronic Vehicle Information
Center (EVIC)” in “Understanding Your Instrument
Panel” for further information.
3
UNDERSTANDING THE FEATURES OF YOUR VEHICLE 97
Page 132 of 391

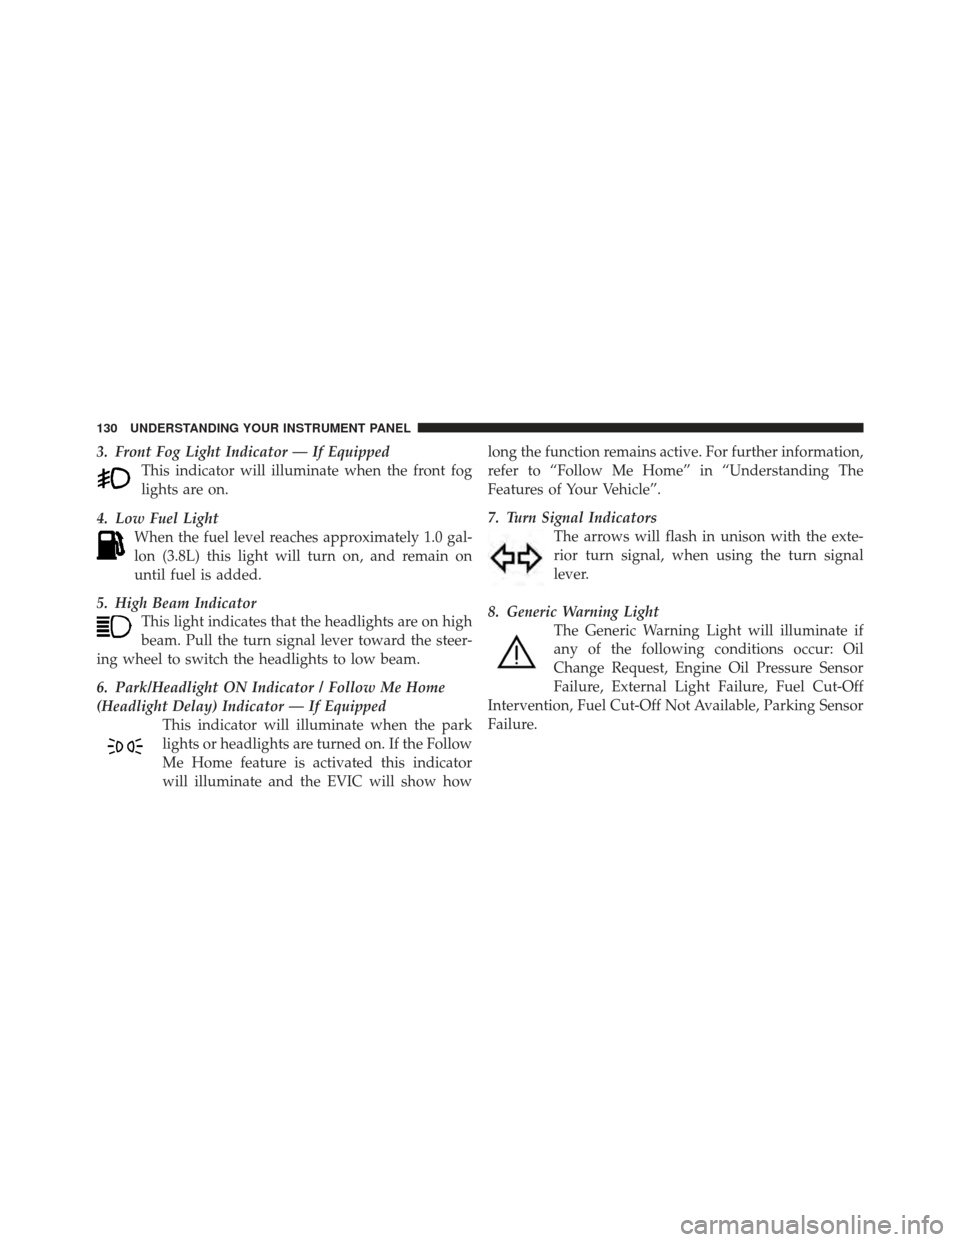
3. Front Fog Light Indicator — If EquippedThis indicator will illuminate when the front fog
lights are on.
4. Low Fuel Light When the fuel level reaches approximately 1.0 gal-
lon (3.8L) this light will turn on, and remain on
until fuel is added.
5. High Beam Indicator This light indicates that the headlights are on high
beam. Pull the turn signal lever toward the steer-
ing wheel to switch the headlights to low beam.
6. Park/Headlight ON Indicator / Follow Me Home
(Headlight Delay) Indicator — If Equipped This indicator will illuminate when the park
lights or headlights are turned on. If the Follow
Me Home feature is activated this indicator
will illuminate and the EVIC will show how long the function remains active. For further information,
refer to “Follow Me Home” in “Understanding The
Features of Your Vehicle”.
7. Turn Signal Indicators
The arrows will flash in unison with the exte-
rior turn signal, when using the turn signal
lever.
8. Generic Warning Light The Generic Warning Light will illuminate if
any of the following conditions occur: Oil
Change Request, Engine Oil Pressure Sensor
Failure, External Light Failure, Fuel Cut-Off
Intervention, Fuel Cut-Off Not Available, Parking Sensor
Failure.
130 UNDERSTANDING YOUR INSTRUMENT PANEL
Page 336 of 391
FUSES
Interior Fuses
The interior fuse panel is part of the Body Control
Module (BCM) and is located on the driver’s side under
the instrument panel.
Cavity VehicleFuse
Number Mini
Fuse Description
1 F12 7.5 Amp
BrownRight Low Beam
2 F32 5 Amp
Ta nFront and Rear
Ceiling Lights
Trunk and Door
Courtesy Lights
3 F53 5 Amp
Ta nInstrument Panel
Node
4 F38 20 Amp
YellowCentral Door Lock-
ing
5 F36 10 Amp
RedDiagnostic Socket,
Car Radio, Climate
Control System
6 F43 20 Amp
YellowBi-Directional
Washer
Fuse Panel
334 MAINTAINING YOUR VEHICLE
Page 337 of 391
Cavity VehicleFuse
Number Mini
Fuse Description
7 F48 20 Amp
YellowPassenger Power
Window
8 F13 7.5 Amp
BrownLeft Low Beam,
Headlamp Leveling
9 F50 7.5 Amp
BrownAirbag
10 F51 5 Amp
Ta nCar Radio Switch,
Climate Control
System, Stop Light,
ClutchCavity Vehicle
Fuse
Number Mini
Fuse Description
11 F37 5 Amp
Ta nStop Light Switch,
Instrument Panel
Node
12 F49 5 Amp
Ta nExterior Mirror,
GPS, Electric Mir-
ror, Parking Sensor
13 F31 5 Amp
Ta nIgnition, Climate
Control
14 F47 20 Amp
YellowDriver Power Win-
dow
7
MAINTAINING YOUR VEHICLE 335
Page 339 of 391
Cavity Maxi Fuse Mini Fuse DescriptionF08 30 Amp Green Blower Motor
F09 10 Amp RedPowertrain
F10 10 Amp RedHorn
F11 15 Amp BluePowertrain
F11 10 Amp
Red Powertrain (Multi-
air – If Equipped)
F14 5 Amp Tan High beam (Shut-
ter)
F15 15 Amp
Blue Cigar Lighter
F16 7.5 Amp
Brown TransmissionCavity Maxi Fuse Mini Fuse Description
F17 25 Amp
White Powertrain (Multi-
air – If Equipped)
F17 15 Amp
Blue Powertrain
F18 15 Amp
Blue Powertrain
F18 5 Amp Tan Powertrain (Multi-
air – If Equipped)
F19 7.5 Amp
Brown Air Conditioning
F20 15 Amp
Blue Heated Seats – If
Equipped
F21 15 Amp
Blue Fuel Pump
F23 20 Amp
Yellow Anti-Lock Brake
Valves
7
MAINTAINING YOUR VEHICLE 337
Page 341 of 391

REPLACEMENT BULBS
Interior LightsBulb Type
Overhead Lamp ........................ C5W
Courtesy Lamp ........................ W5W
Exterior Lights Bulb Type
Front Low and High Beam Headlamp .........HIR2
Front Parking/Daytime Running Lamps .....W21/5W
Front Fog Lamps ........................ H11
Front Side Marker Lamps ................. W3W
Front Turn Signal Lamps ................WY21W
Side Direction Lamps .................... W5W
Rear Turn Signal Lamps .................PY21W
Rear Side Marker Lamps .................. W3W
Rear Tail and Stop Lamps ..............P21W/5W
Rear Backup Lamps .................... W16W
Center High Mounted Stop Lamp ........... W5W
License Plate Lamps ...................... LED
(See Authorized Dealer) NOTE:
Numbers refer to commercial bulb types that
can be purchased from your authorized dealer.
If a bulb needs to be replaced, visit your authorized
dealer or refer to the applicable Service Manual.
BULB REPLACEMENT
Headlamps
1. Remove the plastic cap from the back of the headlamp
housing.
2. Rotate the bulb counter-clockwise.
3. Remove the bulb and replace as needed.
4. Install the bulb and rotate clockwise to lock in place.
5. Reinstall the plastic cap.
7
MAINTAINING YOUR VEHICLE 339
Page 381 of 391

Light............................. 130
Octane Rating ....................... 257
Requirements ....................... 257
Tank Capacity ....................... 343
Fuel System Caution ..................... 262
Gas Cap (Fuel Filler Cap) ...............262,263
Gasoline (Fuel) ....................... 257,343
Gasoline, Clean Air ...................... 257
Gasoline, Reformulated ................... 258
Gauges Coolant Temperature .................. 138
Fuel .............................. 140
Odometer .......................... 139
Tachometer ......................... 140
Gear Ranges ........................... 209
Gear Select Lever Override ................. 294
General Information .................... 15,256
General Maintenance ..................... 305 Glass Cleaning
.......................... 330
Hazard Driving Through Flowing, Rising, or Shallow
Standing Water ...................... 217
Headlights ............................. 96
Cleaning ........................... 330
High Beam ......................... 130
Switch ............................. 97
Heated Seats ............................ 91
Heater ............................... 186
Hill Start Assist ......................... 227
Holder, Cup ........................... 120
Hood Release ........................... 94
Ignition ............................... 12
Key ............................. 1 1,12
Ignition Key Removal ..................... 12
Immobilizer (Sentry Key) ................... 14
10
INDEX 379