2012 FIAT 500 GUCCI flat tire
[x] Cancel search: flat tirePage 278 of 391
CAUTION!
•The metal end fitting from Power Plug (8) may get
hot after use, so it should be handled carefully.
•Failure to reinstall the cap on the fitting at the end
of the Sealant Hose (6) can result in sealant con-
tacting your skin, clothing, and the vehicle’s inte-
rior. It can also result in sealant contacting internal
TIREFIT kit components which may cause perma-
nent damage to the kit.
(D) Drive Vehicle:
Immediately after injecting sealant and inflating the tire,
drive the vehicle 5 miles (8 km) or 10 minutes to ensure
distribution of the TIREFIT Sealant within the tire. Do not
exceed 55 mph (88 km/h).
WARNING!
TIREFIT is not a permanent flat tire repair. Have the
tire inspected and repaired or replaced after using
TIREFIT. Do not exceed 55 mph (88 km/h) until the
tire is repaired or replaced. Failure to follow this
warning can result in injuries that are serious or fatal
to you, your passengers, and others around you.
(E) After Driving:
Pull over to a safe location. Refer to “Whenever You Stop
to Use TIREFIT” before continuing.
1. Turn the Mode Select Knob (5) to the Air Mode
position.
2. Uncoil the power plug and insert the plug into the
vehicle’s 12 Volt power outlet.
276 WHAT TO DO IN EMERGENCIES
Page 279 of 391
3. Uncoil the Air Pump Hose (7) (black in color) and
screw the fitting at the end of hose (7) onto the valve
stem.
4. Check the pressure in the tire by reading the Pressure
Gauge (3).
If tire pressure is less than 19 psi (1.3 Bar), the tire is too
badly damaged. Do not attempt to drive the vehicle
further. Call for assistance.
If the tire pressure is 19 psi (1.3 bar) or higher:
1. Press the Power Button (4) to turn on TIREFIT and
inflate the tire to the pressure indicated on the tire and
loading information label on the driver-side door open-
ing.
NOTE: If the tire becomes over-inflated, press the
Deflation Button to reduce the tire pressure to the recom-
mended inflation pressure before continuing. 2. Disconnect the TIREFIT kit from the valve stem,
reinstall the cap on the valve stem and unplug from 12
Volt outlet.
3. Place the TIREFIT kit in its proper storage area in the
vehicle.
4. Have the tire inspected and repaired or replaced at the
earliest opportunity at an authorized dealer or tire ser-
vice center.
5. Replace the Sealant Bottle (1) and Sealant Hose (6)
assembly at your authorized dealer as soon as possible.
Refer to “(F) Sealant Bottle and Hose Replacement.”
NOTE:
When having the tire serviced, advise the au-
thorized dealer or service center that the tire has been
sealed using the TIREFIT service kit.
(F) Sealant Bottle And Hose Replacement:
1. Uncoil the Sealant Hose (6) (clear in color).
6
WHAT TO DO IN EMERGENCIES 277
Page 286 of 391
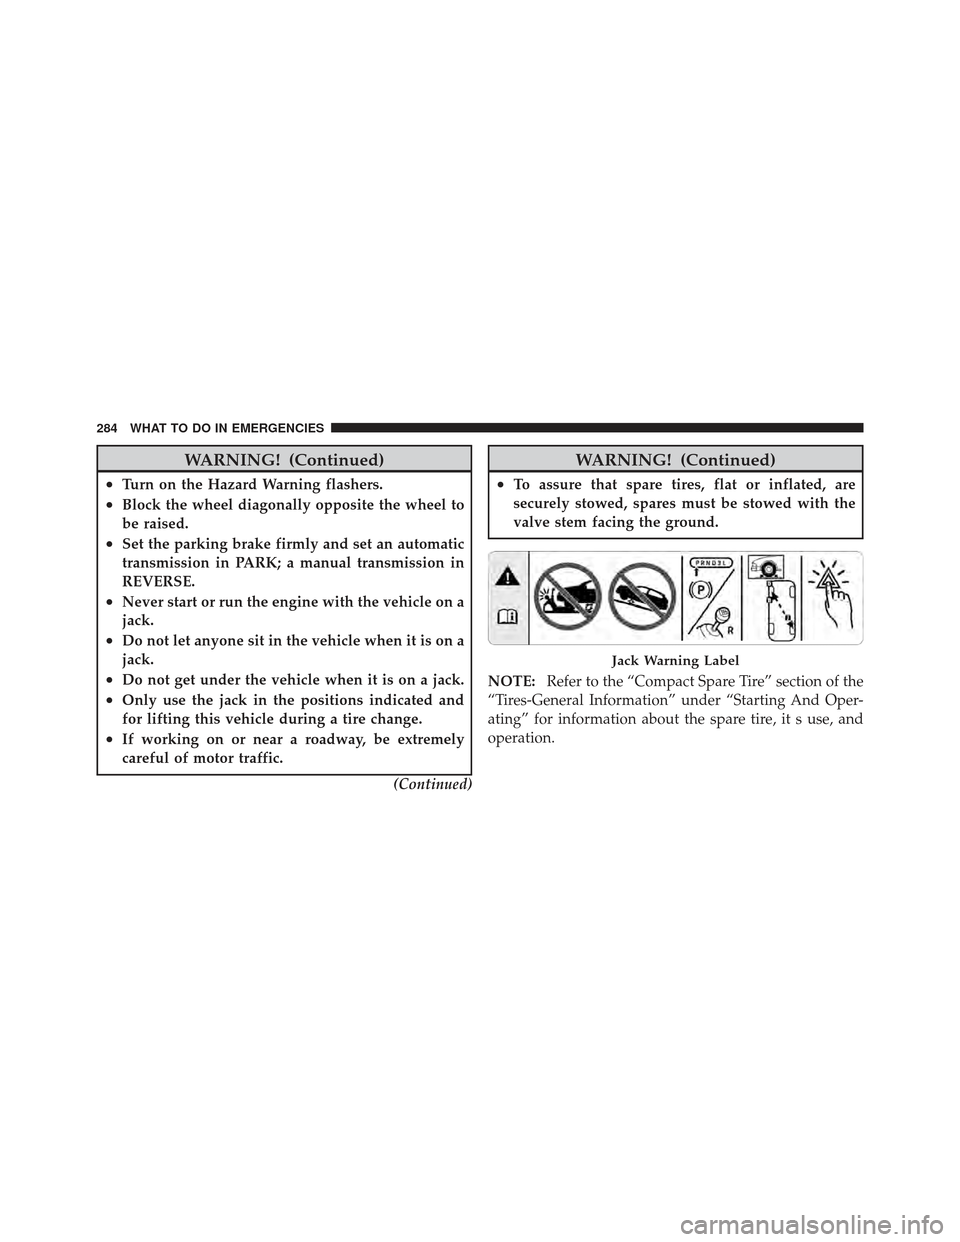
WARNING! (Continued)
•Turn on the Hazard Warning flashers.
•Block the wheel diagonally opposite the wheel to
be raised.
•Set the parking brake firmly and set an automatic
transmission in PARK; a manual transmission in
REVERSE.
•Never start or run the engine with the vehicle on a
jack.
•Do not let anyone sit in the vehicle when it is on a
jack.
•Do not get under the vehicle when it is on a jack.
•Only use the jack in the positions indicated and
for lifting this vehicle during a tire change.
•If working on or near a roadway, be extremely
careful of motor traffic.(Continued)
WARNING! (Continued)
•To assure that spare tires, flat or inflated, are
securely stowed, spares must be stowed with the
valve stem facing the ground.
NOTE: Refer to the “Compact Spare Tire” section of the
“Tires-General Information” under “Starting And Oper-
ating” for information about the spare tire, it s use, and
operation.
Jack Warning Label
284 WHAT TO DO IN EMERGENCIES
Page 290 of 391
NOTE:The wheel cover is held on the wheel by the
wheel bolts. When reinstalling the original wheel, prop-
erly align the wheel cover to the valve stem, place the
wheel cover onto the wheel, then install the wheel bolts.
6. Install the spare wheel and wheel bolts with the cone
shaped end of the bolts toward the wheel. Lightly tighten
the bolts. To avoid the risk of forcing the vehicle off the
jack, do not tighten the bolts fully until the vehicle has
been lowered.
7. Lower the vehicle by turning the jack screw to the left.
8. Finish tightening the bolts. Push down on the wrench
while tightening the wheel bolts. Alternate bolts until
each bolt has been tightened twice. The correct wheel bolt
torque is 63 ft lbs (85 N·m) for steel wheels and 75 ft lbs
(100 N·m) for aluminum wheels. If you doubt that you
have tightened the bolts correctly, have them checked
with a torque wrench by your authorized dealer or
service station. 9. Disassemble the jack and tools and place them in the
bag. Stow it under the driver’s seat and secure the bag to
the floor with the straps attached to the floor of the
vehicle.
WARNING!
A loose tire or jack thrown forward in a collision or
hard stop could endanger the occupants of the ve-
hicle. Always stow the jack parts and the spare tire in
the places provided.
10. Place the deflated (flat) tire in the cargo area. Have
the tire repaired or replaced as soon as possible.
288 WHAT TO DO IN EMERGENCIES
Page 291 of 391
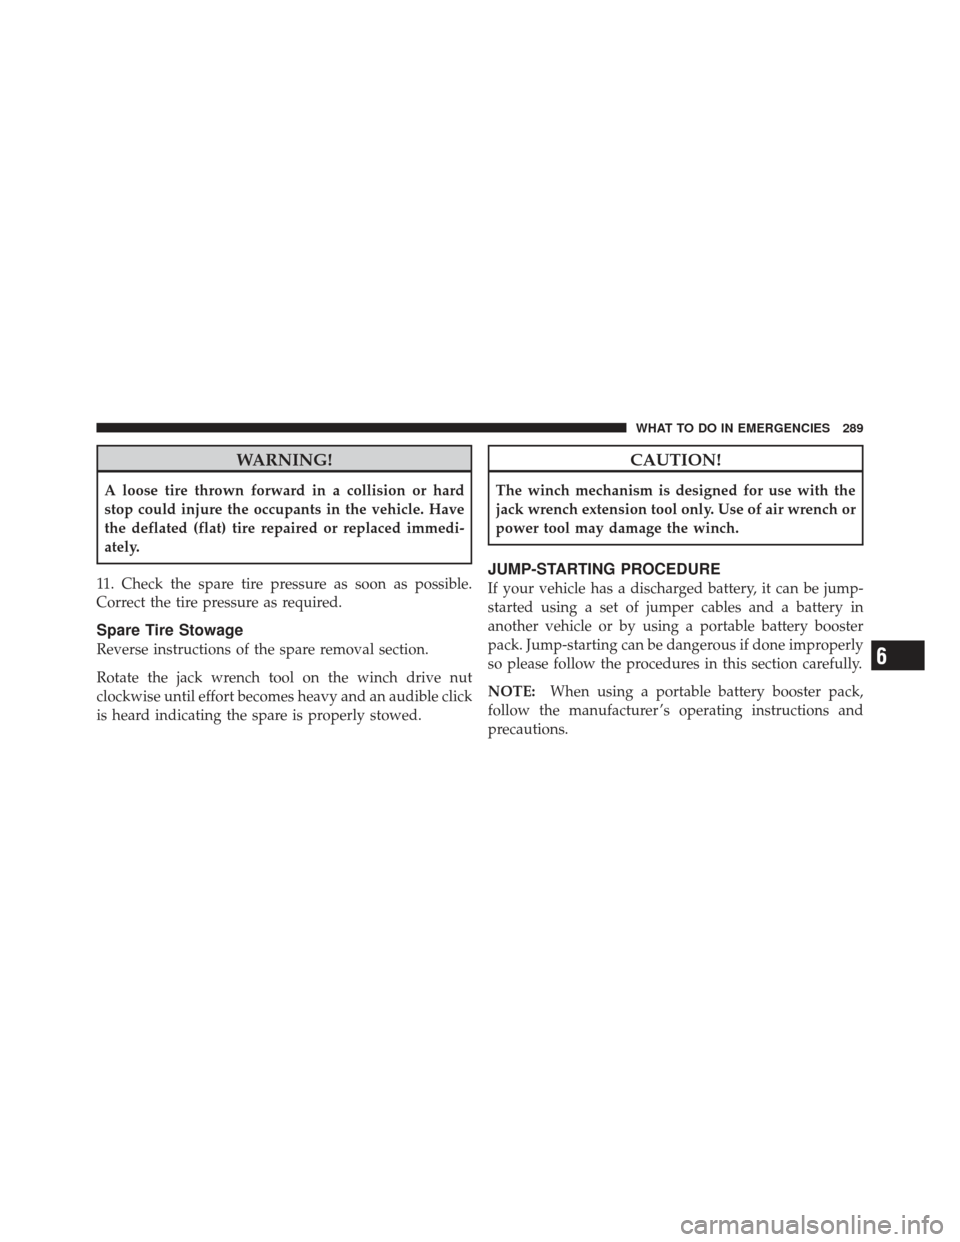
WARNING!
A loose tire thrown forward in a collision or hard
stop could injure the occupants in the vehicle. Have
the deflated (flat) tire repaired or replaced immedi-
ately.
11. Check the spare tire pressure as soon as possible.
Correct the tire pressure as required.
Spare Tire Stowage
Reverse instructions of the spare removal section.
Rotate the jack wrench tool on the winch drive nut
clockwise until effort becomes heavy and an audible click
is heard indicating the spare is properly stowed.
CAUTION!
The winch mechanism is designed for use with the
jack wrench extension tool only. Use of air wrench or
power tool may damage the winch.
JUMP-STARTING PROCEDURE
If your vehicle has a discharged battery, it can be jump-
started using a set of jumper cables and a battery in
another vehicle or by using a portable battery booster
pack. Jump-starting can be dangerous if done improperly
so please follow the procedures in this section carefully.
NOTE: When using a portable battery booster pack,
follow the manufacturer ’s operating instructions and
precautions.
6
WHAT TO DO IN EMERGENCIES 289
Page 373 of 391
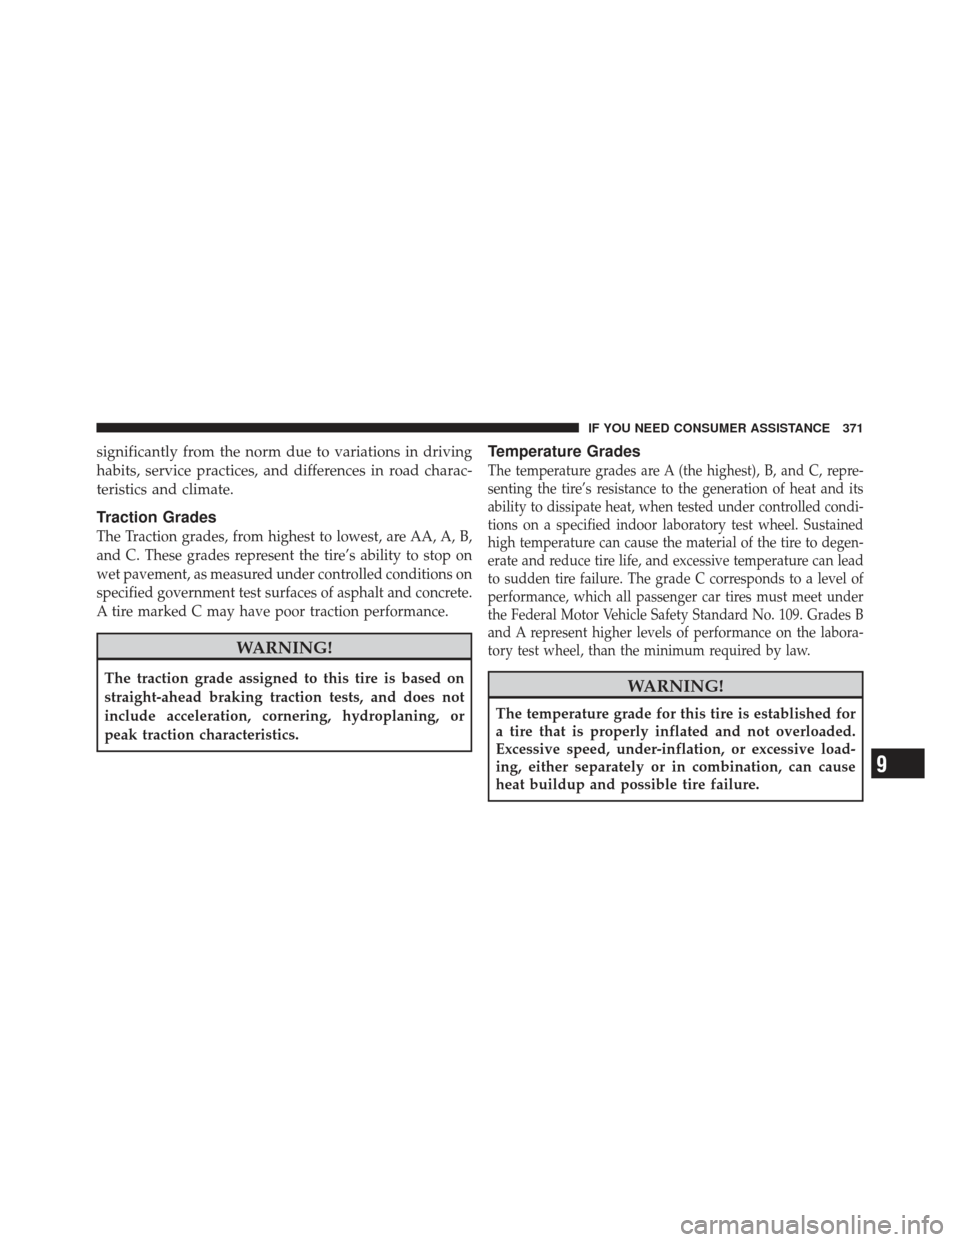
significantly from the norm due to variations in driving
habits, service practices, and differences in road charac-
teristics and climate.
Traction Grades
The Traction grades, from highest to lowest, are AA, A, B,
and C. These grades represent the tire’s ability to stop on
wet pavement, as measured under controlled conditions on
specified government test surfaces of asphalt and concrete.
A tire marked C may have poor traction performance.
WARNING!
The traction grade assigned to this tire is based on
straight-ahead braking traction tests, and does not
include acceleration, cornering, hydroplaning, or
peak traction characteristics.
Temperature Grades
The temperature grades are A (the highest), B, and C, repre-
senting the tire’s resistance to the generation of heat and its
ability to dissipate heat, when tested under controlled condi-
tions on a specified indoor laboratory test wheel. Sustained
high temperature can cause the material of the tire to degen-
erate and reduce tire life, and excessive temperature can lead
to sudden tire failure. The grade C corresponds to a level of
performance, which all passenger car tires must meet under
the Federal Motor Vehicle Safety Standard No. 109. Grades B
and A represent higher levels of performance on the labora-
tory test wheel, than the minimum required by law.
WARNING!
The temperature grade for this tire is established for
a tire that is properly inflated and not overloaded.
Excessive speed, under-inflation, or excessive load-
ing, either separately or in combination, can cause
heat buildup and possible tire failure.
9
IF YOU NEED CONSUMER ASSISTANCE 371
Page 377 of 391
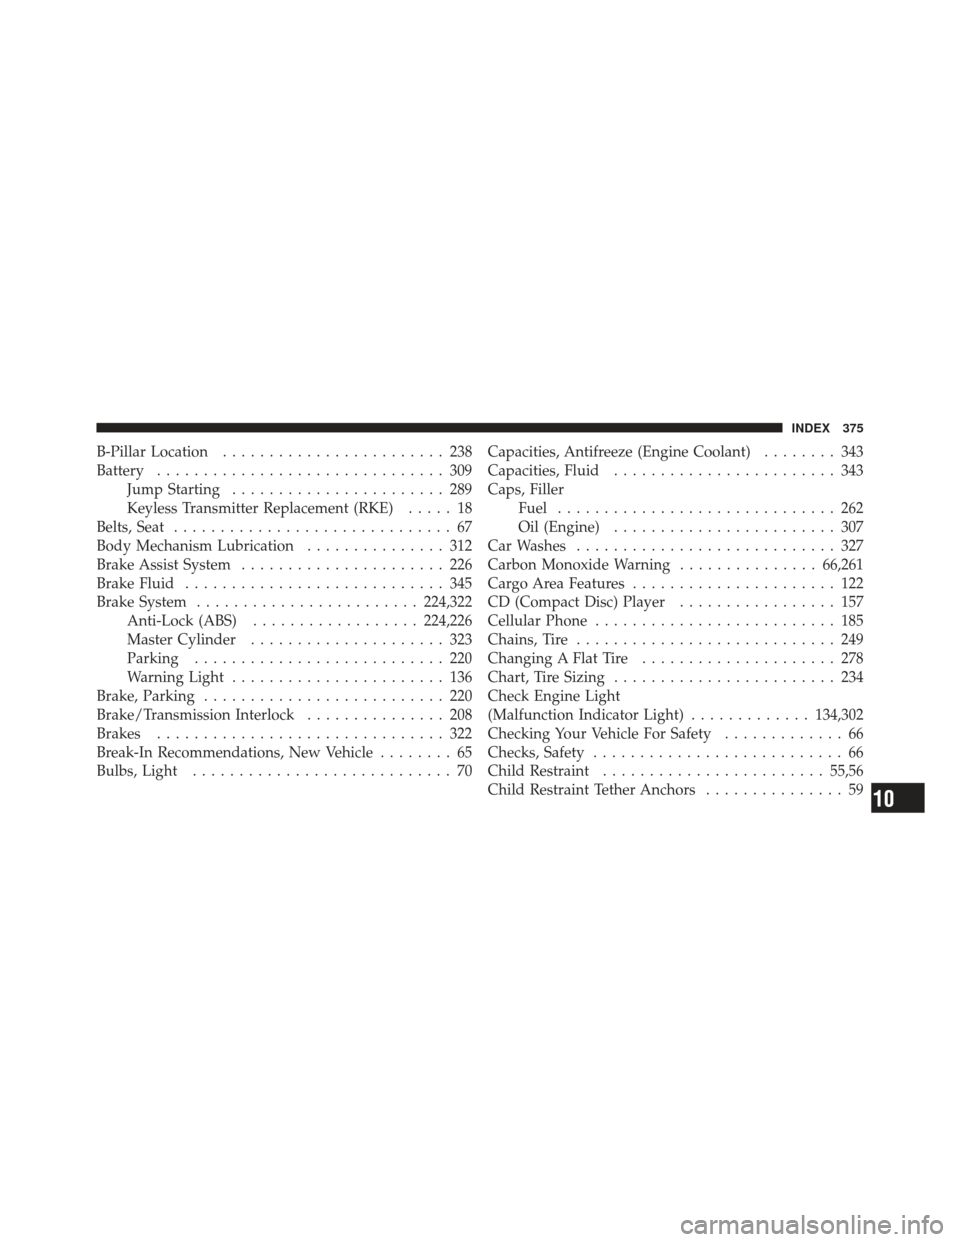
B-Pillar Location........................ 238
Battery ............................... 309
Jump Starting ....................... 289
Keyless Transmitter Replacement (RKE) ..... 18
Belts, Seat .............................. 67
Body Mechanism Lubrication ............... 312
Brake Assist System ...................... 226
Brake Fluid ............................ 345
Brake System ........................ 224,322
Anti-Lock (ABS) .................. 224,226
Master Cylinder ..................... 323
Parking ........................... 220
Warning Light ....................... 136
Brake, Parking .......................... 220
Brake/Transmission Interlock ............... 208
Brakes ............................... 322
Break-In Recommendations, New Vehicle ........ 65
Bulbs, Light ............................ 70 Capacities, Antifreeze (Engine Coolant)
........ 343
Capacities, Fluid ........................ 343
Caps, Filler Fuel .............................. 262
Oil (Engine) ........................ 307
Car Washes ............................ 327
Carbon Monoxide Warning ...............66,261
Cargo Area Features ...................... 122
CD (Compact Disc) Player ................. 157
Cellular Phone .......................... 185
Chains, Tire ............................ 249
Changing A Flat Tire ..................... 278
Chart, Tire Sizing ........................ 234
Check Engine Light
(Malfunction Indicator Light) .............134,302
Checking Your Vehicle For Safety ............. 66
Checks, Safety ........................... 66
Child Restraint ........................ 55,56
Child Restraint Tether Anchors ............... 59
10
INDEX 375
Page 387 of 391
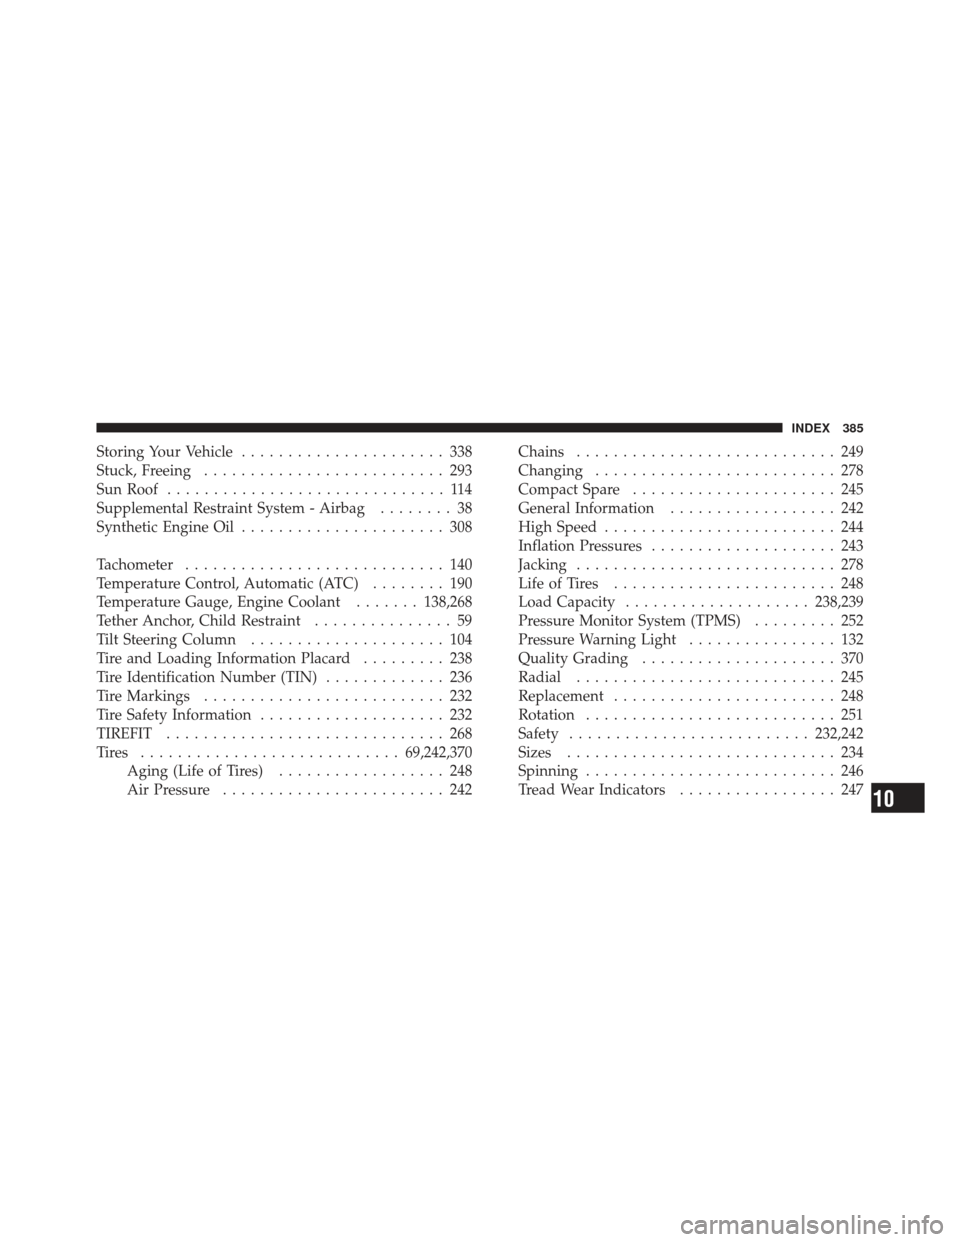
Storing Your Vehicle...................... 338
Stuck, Freeing .......................... 293
Sun Roof .............................. 114
Supplemental Restraint System - Airbag ........ 38
Synthetic Engine Oil ...................... 308
Tachometer ............................ 140
Temperature Control, Automatic (ATC) ........ 190
Temperature Gauge, Engine Coolant .......138,268
Tether Anchor, Child Restraint ............... 59
Tilt Steering Column ..................... 104
Tire and Loading Information Placard ......... 238
Tire Identification Number (TIN) ............. 236
Tire Markings .......................... 232
Tire Safety Information .................... 232
TIREFIT .............................. 268
Tires ............................ 69,242,370
Aging (Life of Tires) .................. 248
Air Pressure ........................ 242 Chains
............................ 249
Changing .......................... 278
Compact Spare ...................... 245
General Information .................. 242
High Speed ......................... 244
Inflation Pressures .................... 243
Jacking ............................ 278
Life of Tires ........................ 248
Load Capacity .................... 238,239
Pressure Monitor System (TPMS) ......... 252
Pressure Warning Light ................ 132
Quality Grading ..................... 370
Radial ............................ 245
Replacement ........................ 248
Rotation ........................... 251
Safety .......................... 232,242
Sizes ............................. 234
Spinning ........................... 246
Tread Wear Indicators ................. 247
10
INDEX 385