Page 136 of 358
WARNING!
A hot engine cooling system is dangerous. You or
others could be badly burned by steam or boiling
coolant. You may want to call an authorized dealer
for service if your vehicle overheats. If you decide to
look under the hood yourself, see “Maintaining Your
Vehicle.” Follow the warnings under the “Cooling
System Pressure Cap” paragraph.
26. Odometer / Trip Odometer / Electronic Vehicle
Information Center (EVIC) Display Area
This display indicates the total distance the vehicle has
been driven.
U.S. Federal regulations require that upon transfer of
vehicle ownership, the seller certify to the purchaser the
correct mileage that the vehicle has been driven. If your
odometer needs to be repaired or serviced, the repair
technician should leave the odometer reading the same as it was before the repair or service. If s/he cannot do so,
then the odometer must be set at zero, and a sticker must
be placed in the door jamb stating what the mileage was
before the repair or service. It is a good idea for you to
make a record of the odometer reading before the repair/
service, so that you can be sure that it is properly reset, or
that the door jamb sticker is accurate if the odometer
must be reset at zero.
NOTE:
If the vehicle is equipped with the Electronic
Vehicle Information Center (EVIC) in the instrument
cluster, all warnings including “door” and “gate” and
“Change Engine Oil” will only be displayed in the EVIC
display. For additional information, refer to “Electronic
Vehicle Information Center (EVIC).”
Refer to the “Electronic Vehicle Information Center
(EVIC)” for further information.
134 UNDERSTANDING YOUR INSTRUMENT PANEL
Page 140 of 358
Selecting An Option Of The Main Menu With Submenu
1. Briefly press theMENU ESCbutton to display the
first submenu option.
2. Press the +or –button (by single presses) to scroll
through all the submenu options.
3. Briefly press the MENU ESCbutton to select the
displayed submenu option and to open the relevant
setup menu.
4. Press the +or –button (by single presses) to select the
new setting for this submenu option.
5. Briefly press the MENU ESCbutton to store the new
setting and go back to the previously selected submenu
option.
6. Press and hold the MENU ESCbutton to return to the
main menu (short hold) or the main screen (longer hold).Change Engine Oil Indicator System
Change Engine Oil
Your vehicle is equipped with an engine oil change
indicator system. The “Change Engine Oil” message will
flash in the EVIC display for approximately 10 seconds
after a single chime has sounded to indicate the next
scheduled oil change interval. The engine oil change
indicator system is duty cycle based, which means the
engine oil change interval may fluctuate, dependent
upon your personal driving style.
Unless reset, this message will continue to display each
time you turn the ignition switch to the ON/RUN
position. To turn off the message temporarily, press and
release the MENU/ESC button. To reset the oil change
indicator system (after performing the scheduled main-
tenance), refer to the following procedure.
1. Turn the ignition switch to the ON position.(Do not
start the engine.)
138 UNDERSTANDING YOUR INSTRUMENT PANEL
Page 141 of 358
2. Fully depress the accelerator pedal slowly, three times
within 10 seconds.
3. Turn the ignition switch to the OFF/LOCK position.
NOTE:If the indicator message illuminates when you
start the vehicle, the oil change indicator system did not
reset. If necessary, repeat this procedure.
Trip Computer
The Trip Computer is located in the instrument cluster. It
features a driver-interactive display (displays informa-
tion such as; trip information, range, fuel consumption,
average speed and travel time).
Trip Button
The TRIP button, located on the right steering column
stalk, can be used to display and to reset the previously
described values.
•A short button press displays the different values.
•A long button press resets the system and then starts a
new trip.
New Trip
To reset:
•Press and hold the TRIPbutton to reset the system
manually.
•When the “Trip distance” reaches 9999.9 miles or
kilometers or when the “Travel time” reaches 99.59
(99 hours and 59 minutes), the system is reset auto-
matically.
•Disconnecting/Reconnecting the battery resets the
system.
NOTE: If the reset operation occurs in the presence of
the screens concerning Trip A or Trip B, only the infor-
mation associated with Trip A or Trip B functions will be
reset.
4
UNDERSTANDING YOUR INSTRUMENT PANEL 139
Page 199 of 358

Cold Weather Operation
To prevent possible engine damage while starting at low
temperatures, this vehicle will inhibit engine cranking
when the ambient temperature is less than –22° F (–30° C)
and the oil temperature sensor reading indicates an
engine block heater has not been used. An externally-
powered electric engine block heater is available as
optional equipment or from your authorized dealer.
The message�plug in engine heater� will be displayed in
the instrument cluster when the ambient temperature is
below 5° F (–15° C) at the time the engine is shut off as a
reminder to avoid possible crank delays at the next cold
start.CAUTION!
Use of the recommended SAE 5W-40 synthetic en-
gine oil and adhering to the prescribed oil change
intervals is important to prevent engine damage and
ensure satisfactory starting in cold conditions.
Extended Park Starting
NOTE: Extended Park condition occurs when the ve-
hicle has not been started or driven for at least 35 days.
1. Install a battery charger or jumper cables to the battery
to ensure a full battery charge during the crank cycle.
2. Turn the ignition switch to the START position and
release it when the engine starts.5
STARTING AND OPERATING 197
Page 203 of 358
CAUTION! (Continued)
•Driving through standing water may cause dam-
age to your vehicle’s drivetrain components. Al-
ways inspect your vehicle’s fluids (i.e., engine oil,
transmission, axle, etc.) for signs of contamination
(i.e., fluid that is milky or foamy in appearance)
after driving through standing water. Do not con-
tinue to operate the vehicle if any fluid appears
contaminated, as this may result in further dam-
age. Such damage is not covered by the New
Vehicle Limited Warranty.
•Getting water inside your vehicle’s engine can
cause it to lock up and stall out, and cause serious
internal damage to the engine. Such damage is not
covered by the New Vehicle Limited Warranty.
WARNING!
•Driving through standing water limits your vehi-
cle’s traction capabilities. Do not exceed 5 mph
(8 km/h) when driving through standing water.
•Driving through standing water limits your vehi-
cle’s braking capabilities, which increases stop-
ping distances. Therefore, after driving through
standing water, drive slowly and lightly press on
the brake pedal several times to dry the brakes.
•Getting water inside your vehicle’s engine can
cause it to lock up and stall out, and leave you
stranded.
•Failure to follow these warnings may result in
injuries that are serious or fatal to you, your
passengers, and others around you.
5
STARTING AND OPERATING 201
Page 232 of 358
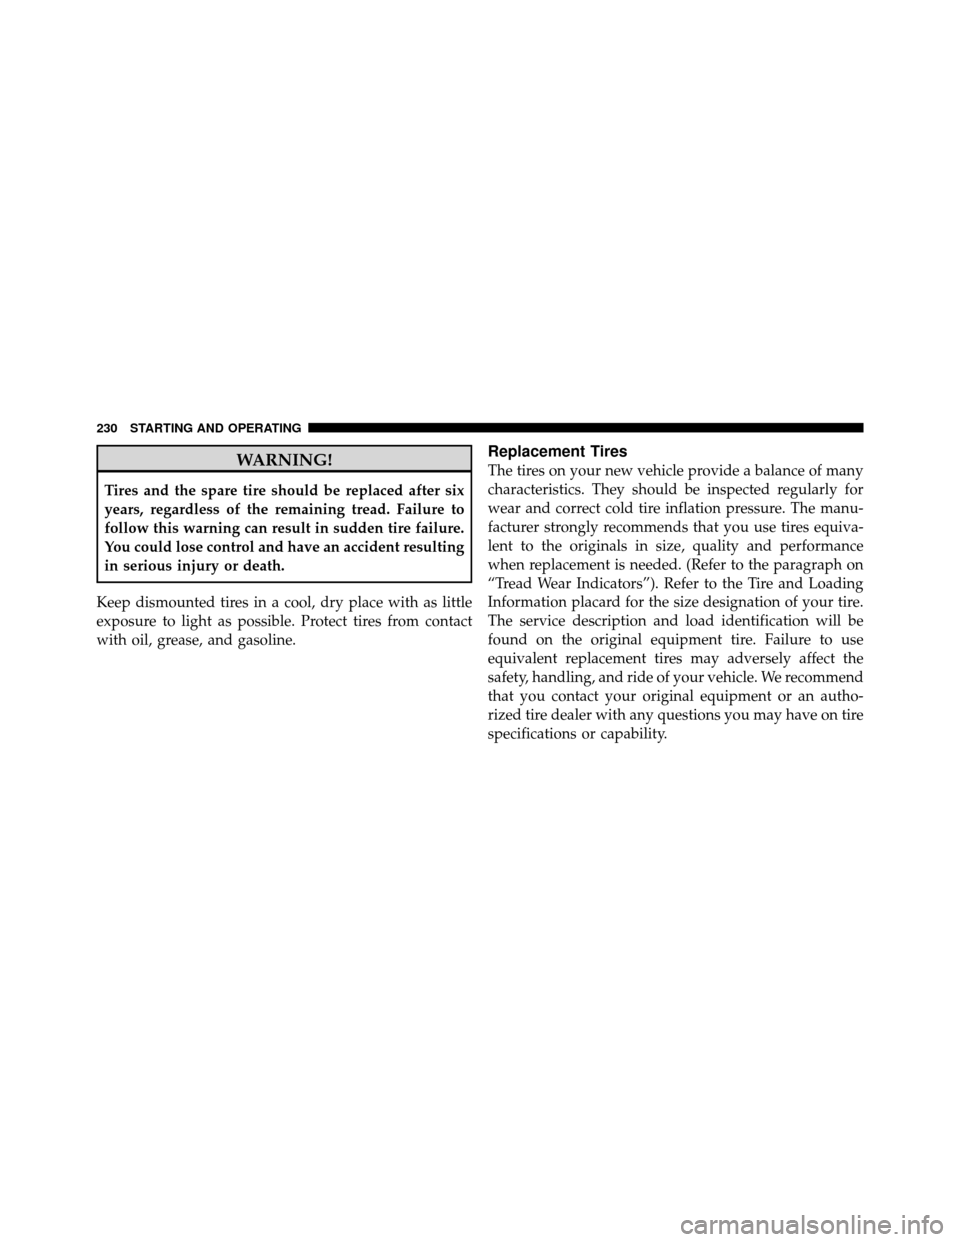
WARNING!
Tires and the spare tire should be replaced after six
years, regardless of the remaining tread. Failure to
follow this warning can result in sudden tire failure.
You could lose control and have an accident resulting
in serious injury or death.
Keep dismounted tires in a cool, dry place with as little
exposure to light as possible. Protect tires from contact
with oil, grease, and gasoline.
Replacement Tires
The tires on your new vehicle provide a balance of many
characteristics. They should be inspected regularly for
wear and correct cold tire inflation pressure. The manu-
facturer strongly recommends that you use tires equiva-
lent to the originals in size, quality and performance
when replacement is needed. (Refer to the paragraph on
“Tread Wear Indicators”). Refer to the Tire and Loading
Information placard for the size designation of your tire.
The service description and load identification will be
found on the original equipment tire. Failure to use
equivalent replacement tires may adversely affect the
safety, handling, and ride of your vehicle. We recommend
that you contact your original equipment or an autho-
rized tire dealer with any questions you may have on tire
specifications or capability.
230 STARTING AND OPERATING
Page 242 of 358

Problems that result from using methanol/gasoline
blends are not the responsibility of the manufacturer.
While MTBE is an oxygenate made from Methanol, it
does not have the negative effects of Methanol.
E-85 Usage In Non-Flex Fuel Vehicles
Non-FFV vehicles are compatible with gasoline contain-
ing 10% Ethanol (E10). Gasoline with higher Ethanol
content may void the vehicle’s warranty.
If a Non-FFV vehicle is inadvertently fueled with E-85
fuel, the engine will have some or all of these symptoms:
•operate in a lean mode
•OBD II “check engine light” on
•poor engine performance
•poor cold start and cold driveability
•increased risk for fuel system component corrosionTo recover from a Non-FFV vehicle inadvertently fueled
once with E-85 perform the following:
•drain the fuel tank
•change the engine oil
•replace the fuel filter and oil filter
•disconnect the battery to reset the engine controller
long term adaptive memory
More extensive repairs will be required for prolonged
exposure to E-85 fuel.
MMT In Gasoline
MMT is a manganese containing metallic additive that is
blended into some gasoline to increase the octane num-
ber. Gasoline blended with MMT offers no performance
advantage beyond gasoline of the same octane number
without MMT. Gasoline blended with MMT has been
shown to reduce spark plug life and reduce emission
240 STARTING AND OPERATING
Page 256 of 358

Sealing A Tire With TIREFIT
(A) Whenever You Stop To Use TIREFIT:
1. Pull over to a safe location and turn on the vehicle’s
Hazard Warning flashers.
2. Verify that the valve stem (on the wheel with the
deflated tire) is in a position that is near to the ground.
This will allow the TIREFIT Hoses (6) and (7) to reach the
valve stem and keep the TIREFIT kit flat on the ground.
This will provide the best positioning of the kit when
injecting the sealant into the deflated tire and running the
air pump. Move the vehicle as necessary to place the
valve stem in this position before proceeding.
3. Place the transmission in Gear and turn Off the
ignition.
4. Set the parking brake.
(B) Setting Up To Use TIREFIT:
1. Turn the Mode Select Knob (5) to the Sealant Mode
position.
2. Uncoil the Sealant Hose (6) and then remove the cap
from the fitting at the end of the hose.
3. Place the TIREFIT kit flat on the ground next to the
deflated tire.
4. Remove the cap from the valve stem and then screw
the fitting at the end of the Sealant Hose (6) onto the
valve stem.
5. Uncoil the Power Plug (8) and insert the plug into the
vehicle’s 12 Volt power outlet.
NOTE:Do not remove foreign objects (e.g., screws or
nails) from the tire.
254 WHAT TO DO IN EMERGENCIES