Page 480 of 643

The “Tire Pressure Monitoring Telltale Light” will flash
on and off for 75 seconds, and remain on solid when a
system fault is detected. The system fault will also sound
a chime. If the ignition switch is cycled, this sequence will
repeat, providing the system fault still exists. The “Tire
Pressure Monitoring Telltale Light” will turn off when
the fault condition no longer exists. A system fault can
occur with any of the following scenarios:
1. Jamming due to electronic devices or driving next to
facilities emitting the same radio frequencies as the TPMS
sensors.
2. Installing some form of aftermarket window tinting
that affects radio wave signals.
3. Accumulation of excessive snow and/or ice around
the wheels or wheel housings.
4. Using tire chains on the vehicle.
5. Using wheels/tires not equipped with TPMS sensors.Vehicles With Compact Spare
1. The compact spare tire (if equipped) does not have a
TPMS sensor. Therefore the TPMS will not monitor the
pressure in the compact spare tire.
2. If you install the compact spare tire in place of a road
tire that has a pressure below the low-pressure warning
limit, upon the next ignition switch cycle, a chime will
sound, a “LOW TIRE PRESSURE” message will be
displayed and the “Tire Pressure Monitoring Telltale
Light” will turn on.
3. After driving for up to 20 minutes above 15 mph
(24 km/h), the “Tire Pressure Monitoring Telltale Light”
will flash on and off for 75 seconds and then remain on
solid.
4. For each subsequent ignition switch cycle, a chime will
sound, the “Tire Pressure Monitoring Telltale Light” will
flash on and off for 75 seconds and then remain on solid.
5
STARTING AND OPERATING 477
Page 482 of 643

Should a low tire condition occur on any of the four
active road tire(s), you should stop as soon as possible,
and inflate the low tire(s) that is flashing on the graphic
display to the vehicle’s recommended cold tire pressure
value. The system will automatically update, the graphic
display of the pressure value(s) will stop flashing, and
the “Tire Pressure Monitoring Telltale Light” will extin-
guish once the updated tire pressure(s) have been re-
ceived.
NOTE:The vehicle may need to be driven for up to
20 minutes above 15 mph (24 km/h) to receive this
information.
SERVICE TPM SYSTEM Message
The “Tire Pressure Monitoring Telltale Light” will flash
on and off for 75 seconds, and remain on solid when a
system fault is detected. The system fault will also sound
a chime. The EVIC will display a “SERVICE TPM SYS-
TEM” message for a minimum of five seconds. This text message is then followed by a graphic display, with
--in
place of the pressure value(s) indicating which TPMS
Sensor(s) is not being received.
If the ignition switch is cycled, this sequence will repeat,
providing the system fault still exists. If the system fault
no longer exists, the “Tire Pressure Monitoring Telltale
Light” will no longer flash, the “SERVICE TPM SYSTEM”
message will not be present, and a pressure value will be
displayed instead of dashes. A system fault can occur by
any of the following scenarios:
1. Jamming due to electronic devices or driving next to
facilities emitting the same radio frequencies as the TPMS
sensors.
2. Installing some form of aftermarket window tinting
that affects radio wave signals.
3. Accumulation of excessive snow and/or ice around
the wheels or wheel housings.
5
STARTING AND OPERATING 479
Page 489 of 643

Carbon Monoxide Warnings
WARNING!
Carbon monoxide (CO) in exhaust gases is deadly.
Follow the precautions below to prevent carbon
monoxide poisoning:
•Do not inhale exhaust gases. They contain carbon
monoxide, a colorless and odorless gas, which can
kill. Never run the engine in a closed area, such as
a garage, and never sit in a parked vehicle with the
engine running for an extended period. If the
vehicle is stopped in an open area with the engine
running for more than a short period, adjust the
ventilation system to force fresh, outside air into
the vehicle.(Continued)
WARNING! (Continued)
•Guard against carbon monoxide with proper
maintenance. Have the exhaust system inspected
every time the vehicle is raised. Have any abnor-
mal conditions repaired promptly. Until repaired,
drive with all side windows fully open.
•Keep the liftgate closed when driving your vehicle
to prevent carbon monoxide and other poisonous
exhaust gases from entering the vehicle.
FLEXIBLE FUEL — IF EQUIPPED
E-85 General Information
The information in this section is for Flexible Fuel ve-
hicles only. These vehicles can be identified by a unique
fuel filler door label that statesEthanol (E-85) or Un-
leaded Gasoline Only. This section only covers those
subjects that are unique to these vehicles. Please refer to
486 STARTING AND OPERATING
Page 564 of 643

Avoid using the wiper blades to remove frost or ice from
the windshield. Keep the blade rubber out of contact with
petroleum products such as engine oil, gasoline, etc.
NOTE:Life expectancy of wiper blades varies depend-
ing on geographical area and frequency of use. Poor
performance of blades may be present with chattering,
marks, water lines or wet spots. If any of these conditions
are present, clean the wiper blades or replace as neces-
sary.
Adding Washer Fluid
The fluid reservoir for the windshield washers and the
rear window washer is shared. It is located in the engine
compartment and should be checked at regular intervals.
Fill the reservoir with windshield washer solvent (not
radiator antifreeze) and operate the system for a few
seconds to flush out any residual water.
The washer fluid reservoir will hold a full gallon of fluid
when the Low Washer Fluid Light illuminates.
WARNING!
Commercially available windshield washer solvents
are flammable. They could ignite and burn you. Care
must be exercised when filling or working around
the washer solution.
After the engine has warmed, operate the defroster for a
few minutes to reduce the possibility of smearing or
freezing the fluid on the cold windshield. MOPAR� All
Weather Windshield Washer Solution or equivalent, used
with water as directed on the container, aids cleaning
action, reduces the freezing point to avoid line clogging,
and is not harmful to paint or trim.
7
MAINTAINING YOUR VEHICLE 561
Page 579 of 643

To minimize the possibility of scratching the lenses and
reducing light output, avoid wiping with a dry cloth. To
remove road dirt, wash with a mild soap solution fol-
lowed by rinsing.
Do not use abrasive cleaning components, solvents, steel
wool or other aggressive material to clean the lenses.
Glass Surfaces
All glass surfaces should be cleaned on a regular basis
with MOPAR�Glass Cleaner or equivalent or any com-
mercial household-type glass cleaner. Never use an abra-
sive type cleaner. Use caution when cleaning the inside
rear window equipped with electric defrosters or the
right rear quarter window equipped with the radio
antenna. Do not use scrapers or other sharp instruments
that may scratch the elements.
When cleaning the rearview mirror, spray cleaner on the
towel or rag that you are using. Do not spray cleaner
directly on the mirror.
Cleaning Plastic Instrument Cluster Lenses
The lenses in front of the instruments in this vehicle are
molded in clear plastic. When cleaning the lenses, care
must be taken to avoid scratching the plastic.
1. Clean with a wet soft rag. A mild soap solution may be
used, but do not use high alcohol content or abrasive
cleaners. If soap is used, wipe clean with a clean damp
rag.
2. Dry with a soft cloth.
Seat Belt Maintenance
Do not bleach, dye or clean the seat belts with chemical
solvents or abrasive cleaners. This will weaken the fabric.
Sun damage can also weaken the fabric.
If the seat belts need cleaning, use a mild soap solution or
lukewarm water. Do not remove the belts from the car to
wash them. Dry with a soft cloth.
576 MAINTAINING YOUR VEHICLE
Page 583 of 643
CavityCartridge
Fuse Mini-
Fuse Description
J8 40 Amp Green — Power Memory Seat –
If Equipped
J9 40 Amp Green — Partial Zero Emis-
sions Vehicle Motor/
Flex Fuel – If
Equipped
J10 30 Amp Pink — Headlamp Wash/
Manifold Tuning
Valve – If Equipped
J11 30 Amp Pink — Power Sliding Door
Module/Anti–Theft
Module – If Equipped
J12 30 Amp Pink HVAC Rear Blower,
Radiator Fan Motor
J13 60 Amp Yellow — Ignition Off Draw
(IOD) – MainCavity Cartridge
Fuse Mini-
Fuse Description
J14 40 Amp Green — Rear Window Defog-
ger
J15 40 Amp Green — Front Blower
J17 40 Amp Green — Starter Solenoid
J18 20 Amp Blue — Powertrain Control
Module Trans Range
J19 60 Amp Yellow — Radiator Fan
J20 30 Amp Pink — Front Wiper LO/HI
J21 20 Amp Blue — Front/Rear Washer
J22 25 Amp Natural — Sunroof Module
580 MAINTAINING YOUR VEHICLE
Page 586 of 643
CavityCartridge
Fuse Mini-
Fuse Description
M19 — 25 Amp NaturalPowertrain
M20 — 15 Amp BlueInstrument Cluster
Interior Light, Switch
Bank, Steering Col-
umn Module, Switch
Steering Wheel
M21 — 20 Amp YellowPowertrain
M22 — 10 Amp RedHorn
M23 — 10 Amp RedHorn
M24 — 25 Amp NaturalRear WiperCavity
Cartridge
Fuse Mini-
Fuse Description
M25 — 20 Amp YellowFuel Pump, Diesel
Lift Pump – If
Equipped
M26 — 10 Amp RedPower Mirror Switch,
Driver Window
Switch
M27 — 10 Amp RedWireless Control
Module, Keyless
Entry Module
M28 — 10 Amp RedPowertrain, Transmis-
sion Control Module
M29 — 10 Amp RedOccupant Classifica-
tion Module
M30 — 15 Amp BlueRear Wiper Module,
Power Folding Mirror
M31 — 20 Amp YellowBack-Up Lamps
7
MAINTAINING YOUR VEHICLE 583
Page 587 of 643

CavityCartridge
Fuse Mini-
Fuse Description
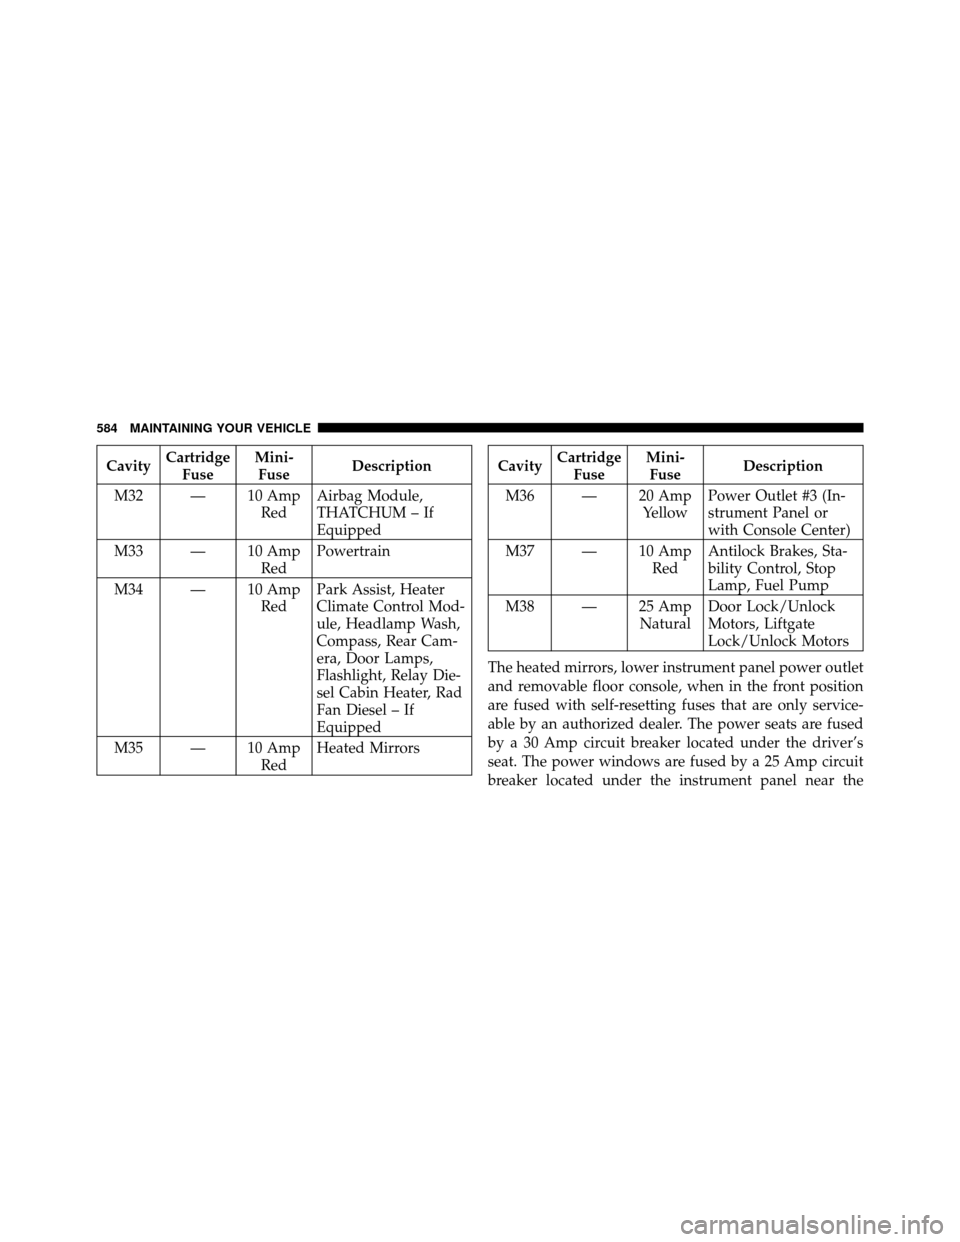
M32 — 10 Amp RedAirbag Module,
THATCHUM – If
Equipped
M33 — 10 Amp RedPowertrain
M34 — 10 Amp RedPark Assist, Heater
Climate Control Mod-
ule, Headlamp Wash,
Compass, Rear Cam-
era, Door Lamps,
Flashlight, Relay Die-
sel Cabin Heater, Rad
Fan Diesel – If
Equipped
M35 — 10 Amp RedHeated MirrorsCavity
Cartridge
Fuse Mini-
Fuse Description
M36 — 20 Amp YellowPower Outlet #3 (In-
strument Panel or
with Console Center)
M37 — 10 Amp RedAntilock Brakes, Sta-
bility Control, Stop
Lamp, Fuel Pump
M38 — 25 Amp NaturalDoor Lock/Unlock
Motors, Liftgate
Lock/Unlock Motors
The heated mirrors, lower instrument panel power outlet
and removable floor console, when in the front position
are fused with self-resetting fuses that are only service-
able by an authorized dealer. The power seats are fused
by a 30 Amp circuit breaker located under the driver’s
seat. The power windows are fused by a 25 Amp circuit
breaker located under the instrument panel near the
584 MAINTAINING YOUR VEHICLE