Page 247 of 643
Sunroof Maintenance
Use only a non-abrasive cleaner and a soft cloth to clean
the glass panel.
Ignition Off Operation
For vehicles not equipped with the Electronic Vehicle
Information Center (EVIC), the power sunroof switch
will remain active for 45 seconds after the ignition switch
is turned to the LOCK position. Opening either front
door will cancel this feature.
NOTE:For vehicles equipped with the EVIC, the power
sunroof switch will remain active for up to approxi-
mately ten minutes after the ignition switch is turned to
the LOCK position. Opening either front door will cancel
this feature.
Sunroof Fully Closed
Press the switch forward and release to ensure that the
sunroof is fully closed.
ELECTRICAL POWER OUTLETS — IF EQUIPPED
Two 12 Volt (13 Amp) power outlets are located on the
lower instrument panel, below the open storage bin. The
driver-side power outlet is controlled by the ignition
switch and the passenger-side power outlet is connected
directly to the battery. The driver-side power outlet will
also operate a conventional cigar lighter unit (if equipped
with an optional Smoker’s Package).
244 UNDERSTANDING THE FEATURES OF YOUR VEHICLE
Page 258 of 643
Lower Glove Compartment
To open the lower compartment pull out on the release
handle.NOTE:
The lower compartment is equipped with a lock
that is part of the compartment handle.
Door Trim Panel Storage
Front Door Storage
Both interior front door panels have multiple pockets for
storage.
Lower Compartment
3
UNDERSTANDING THE FEATURES OF YOUR VEHICLE 255
Page 320 of 643

Auto Unlock Doors
When ON is selected, all doors will unlock when the
vehicle is stopped and the transmission is in the PARK or
NEUTRAL position and the driver’s door is opened. To
make your selection, press and release the SELECT
button until a check-mark appears next to the feature
showing the system has been activated or the check-mark
is removed showing the system has been deactivated.
Remote Unlock Sequence
WhenDriver Door 1st Press is selected, only the driver’s
door will unlock on the first press of the Remote Keyless
Entry (RKE) transmitter UNLOCK button. When Driver
Door 1st Press is selected, you must press the RKE
transmitter UNLOCK button twice, to unlock the passen-
ger’s doors. When All Doors 1st Press is selected, all of
the doors will unlock on the first press of the RKE
transmitter UNLOCK button. To make your selection,
press and release the SELECT button until a check-mark appears next to the feature showing the system has been
activated or the check-mark is removed showing the
system has been deactivated.
RKE Linked To Memory
When this feature is selected the memory seat, mirror,
and radio settings will return to the memory set position
when the RKE transmitter UNLOCK button is pressed. If
this feature is not selected then the memory seat, mirror,
and radio settings can only return to the memory set
position using the door mounted switch. To make your
selection, press and release the SELECT button until a
check-mark appears next to the feature showing the
system has been activated or the check-mark is removed
showing the system has been deactivated.
Remote Start Comfort Sys.
When this feature is selected and the remote start is
activated, the heated steering wheel and driver heated
seat features will automatically turn on in cold weather.
4
UNDERSTANDING YOUR INSTRUMENT PANEL 317
Page 321 of 643
In warm weather, the driver vented seat feature will
automatically turn on when the remote start is activated.
These features will stay on through the duration of
remote start or until the key is turned to RUN. To make
your selection, press and release the SELECT button until
a check-mark appears next to the feature showing the
system has been activated or the check-mark is removed
showing the system has been deactivated.
Horn with Remote Lock
When this feature is selected, a short horn sound will
occur when the RKE transmitter LOCK button is pressed.
This feature may be selected with or without the Flash
Lamps with Lock feature. To make your selection, press
and release the SELECT button until a check-mark ap-
pears next to the feature showing the system has been
activated or the check-mark is removed showing the
system has been deactivated.
Flash Lamps with Lock
When ON is selected, the front and rear turn signals will
flash when the doors are locked or unlocked with the
RKE transmitter. This feature may be selected with or
without the sound horn on lock feature selected. To make
your selection, press and release the SELECT button until
a check-mark appears next to the feature showing the
system has been activated or the check-mark is removed
showing the system has been deactivated.
Headlamp Off Delay
When this feature is selected, the driver can choose to
have the headlights remain on for 0, 30, 60, or 90 seconds
when exiting the vehicle. To make your selection, scroll
up or down until the preferred setting is highlighted,
then press and release the SELECT button until a check-
mark appears next to the setting, showing that the setting
has been selected.
318 UNDERSTANDING YOUR INSTRUMENT PANEL
Page 323 of 643
Illuminated Approach
When this feature is selected, the headlights will activate
and remain on for up to 90 seconds when the doors are
unlocked with the RKE transmitter. To make your selec-
tion, scroll up or down until the preferred setting is
highlighted, then press and release the SELECT button
until a check-mark appears next to the setting, showing
that the setting has been selected.
Flashers with Sliding Door
When this feature is selected the signal lamps activate
when power or manual sliding doors are in operation,
signaling other drivers that someone may be exiting or
entering the vehicle. To make your selection, press and
release the SELECT button until a check-mark appears
next to the feature showing the system has been activated
or the check-mark is removed showing the system has
been deactivated.
Easy Entry/Exit Seat
This feature provides automatic driver seat positioning to
enhance driver mobility when entering and exiting the
vehicle. To make your selection, press and release the
SELECT button until a check-mark appears next to the
feature showing the system has been activated or the
check-mark is removed showing the system has been
deactivated.
NOTE:The seat will return to the memorized seat
location (if Recall Memory with Remote Key Unlock is set
to ON) when the RKE transmitter is used to unlock the
door. Refer to “Driver Memory Seat” in “Understanding
The Features Of Your Vehicle” for further information.
Tilt Mirror In Reverse
When this feature is selected and the vehicle is placed in
a reverse gear, the driver’s side mirror will tilt downward
to allow the driver to see into the previous blind spot and
avoid objects in close proximity to the rear of the vehicle.
320 UNDERSTANDING YOUR INSTRUMENT PANEL
Page 401 of 643
NOTE:For maximum airflow to the rear, the center
instrument panel outlets can be directed toward the rear
seat passengers.
Economy Mode
If ECONOMY mode is desired, press the A/C button to
turn off the indicator light and the A/C compressor.
Rotate the temperature control knob to the desired
temperature.
Max A/C
For maximum cooling use the A/C and Recirculation
mode buttons at the same time.
Rear Manual Climate Control — If Equipped
The Rear Manual Climate Control system has floor air
outlets at the rear of the right side sliding door, and
overhead outlets at each outboard rear seating position.
The unit provides warm or cool air through the floor and
upper outlets. The rear blower and temperature controls for the rear
seat passengers are located in the headliner, near the
center of the vehicle.
Rear Manual Climate Controls
1 – Rear Blower
3 – Rear Mode
2 – Rear Temperature 4 – Rear Climate Control Lock
398 UNDERSTANDING YOUR INSTRUMENT PANEL
Page 402 of 643
Rear Blower Control
The primary control for the rear blower is on the front
climate control unit, located on the instrument panel.
Only when the front control for the rear blower is in the
REARposition do the second row seat occupants have
control of the rear blower speed.
The rear blower control, located in the rear overhead
console, has an off position and a range of blower speeds.
This allows the second row seat occupants to control the
volume of air circulated in the rear of the vehicle.CAUTION!
Interior air enters the Rear Manual Climate Control
system through an intake grille, located in the right
side trim panel behind the third row seats. The
heater outlets are located in the right side trim panel,
just behind the sliding door. Do not block or place
objects directly in front of the inlet grille or heater
outlets. The electrical system could overload, causing
damage to the blower motor.
Rear Temperature Control
The rear mode selection REAR,allows the settings to be
controlled by the rear mode control knob.
To change the temperature in the rear of the vehicle,
rotate the temperature control knob counterclockwise for
cold air, and clockwise for heated air.
4
UNDERSTANDING YOUR INSTRUMENT PANEL 399
Page 408 of 643
customer-programmable feature. Refer to the “Elec-
tronic Vehicle Information Center (EVIC) — Customer-
Programmable Features” in this Section.
To provide you with maximum comfort in the automatic
mode, during cold start-ups, the blower fan will remain
on low until the engine warms up. The fan will engage
immediately if the Defrost mode is selected, or by chang-
ing the front blower knob setting
Manual Operation
This system offers a full complement of manual override
features. The AUTO symbol in the front ATC display will
be turned off when the system is being used in the
manual mode.
NOTE: Each of these features operate independently
from each other. If any one feature is controlled manually,
the temperature doors will continue to operate automati-
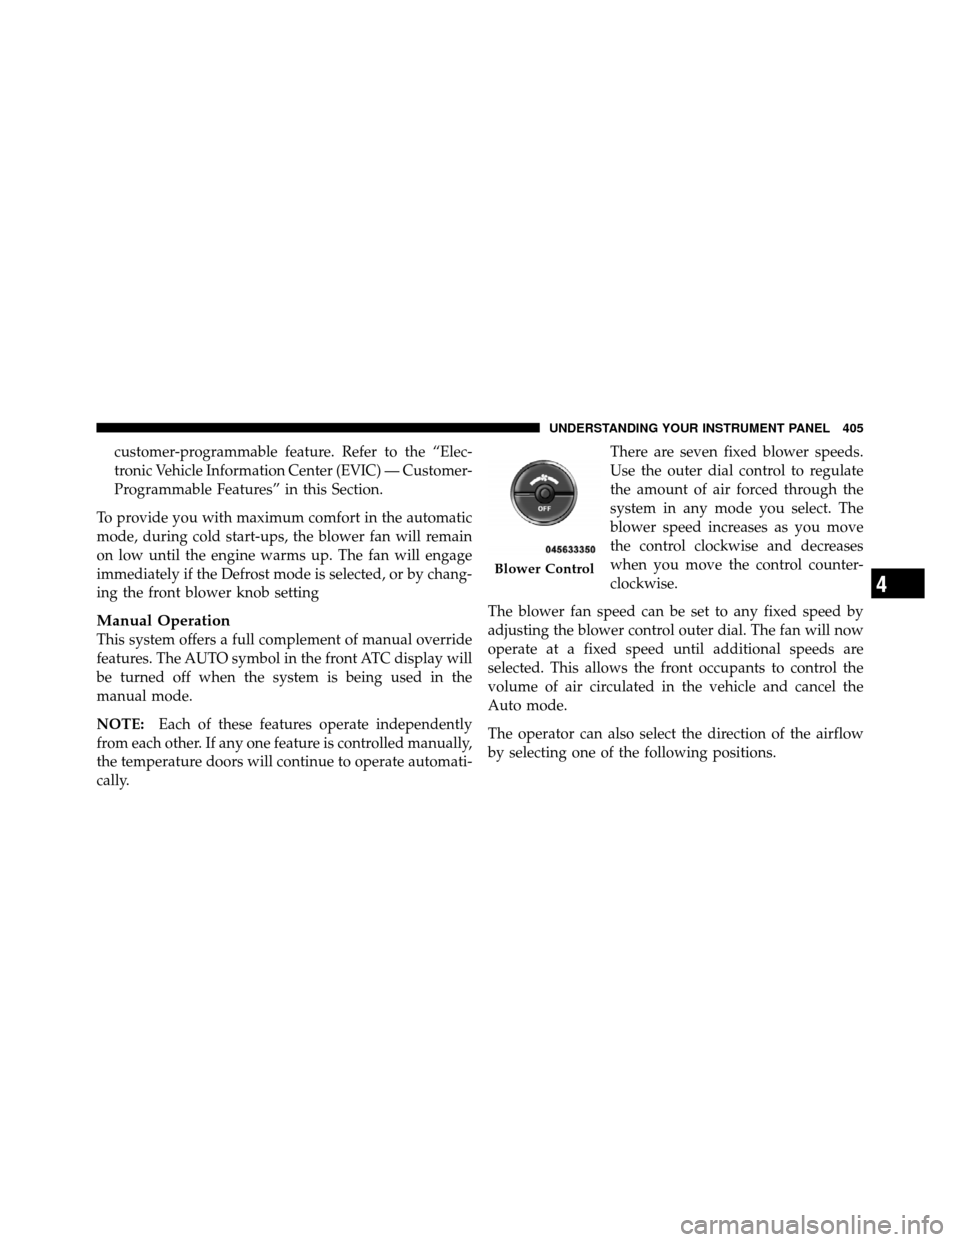
cally. There are seven fixed blower speeds.
Use the outer dial control to regulate
the amount of air forced through the
system in any mode you select. The
blower speed increases as you move
the control clockwise and decreases
when you move the control counter-
clockwise.
The blower fan speed can be set to any fixed speed by
adjusting the blower control outer dial. The fan will now
operate at a fixed speed until additional speeds are
selected. This allows the front occupants to control the
volume of air circulated in the vehicle and cancel the
Auto mode.
The operator can also select the direction of the airflow
by selecting one of the following positions.
Blower Control
4
UNDERSTANDING YOUR INSTRUMENT PANEL 405